1. Introduction
This manual provides detailed instructions for the safe and efficient use of your XtremepowerUS Solar Pool Ionizer, Model 90134-1. This device is designed to purify pool water by releasing copper ions, reducing the need for traditional chemical treatments like chlorine. It is suitable for both fresh and salt water pools, including above-ground and in-ground types, with a capacity of up to 35,000 gallons.
Please read this manual thoroughly before installation and operation to ensure proper function and longevity of the product.
2. Safety Information
General Safety Precautions:
- Keep the ionizer out of reach of children and pets when not in use or during maintenance.
- Do not attempt to open or repair the solar panel or internal components beyond the specified maintenance steps.
- Ensure the pool water chemistry is balanced according to standard pool guidelines before and during ionizer use.
- Always follow local regulations regarding pool maintenance and chemical usage.
Electrical Safety:
- The ionizer is solar-powered and does not require external electrical connections.
- Do not connect the device to any external power source.
3. Package Contents
Verify that all components are present and undamaged upon opening the package:
- XtremepowerUS Solar Pool Ionizer Unit (with integrated solar panel)
- Copper Anode
- Stainless Steel Spring
- Filter Basket
- Retaining Screw
- Instruction Manual (this document)

Image: Components of the XtremepowerUS Solar Pool Ionizer, including the main unit, copper anode, stainless steel spring, and filter basket.
4. Setup and Installation
The XtremepowerUS Solar Pool Ionizer is designed for easy assembly and deployment.
- Unpack Components: Carefully remove all items from the packaging.
- Assemble the Anode: Insert the copper anode into the designated opening on the underside of the ionizer unit.
- Install the Spring: Place the stainless steel spring over the copper anode.
- Attach the Filter Basket: Secure the filter basket over the spring and anode, ensuring it clicks into place or is fastened with the retaining screw if provided.

Image: Step-by-step assembly of the ionizer, showing the copper anode, spring, and filter basket being installed into the main unit.
Once assembled, the ionizer is ready for placement in your pool.
5. Operating Instructions
The solar pool ionizer operates automatically using sunlight.
- Placement: Gently place the assembled ionizer into your pool. Ensure it floats freely and the solar panel is exposed to direct sunlight.
- Initial Operation: The ionizer will begin releasing copper ions into the water when exposed to sunlight. This process helps to suppress bacterial and algal growth.
- Water Testing: After 24 hours of initial use, test your pool water for copper ion levels. The ideal range for copper ions is typically 0.2-0.4 ppm (parts per million). Adjust usage or consult a pool professional if levels are outside this range.
- Chlorine Reduction: With consistent use and proper copper levels, you can significantly reduce the amount of chlorine or other chemicals needed for your pool, potentially by up to 85%. Continue to monitor water chemistry regularly.

Image: The solar pool ionizer floating on the water surface, indicating its readiness for operation and its effectiveness for pools up to 35,000 gallons.

Image: A close-up view of the ionizer's submerged copper anode, illustrating the release of copper ions at a rate of 0.61 grams per hour for water purification.
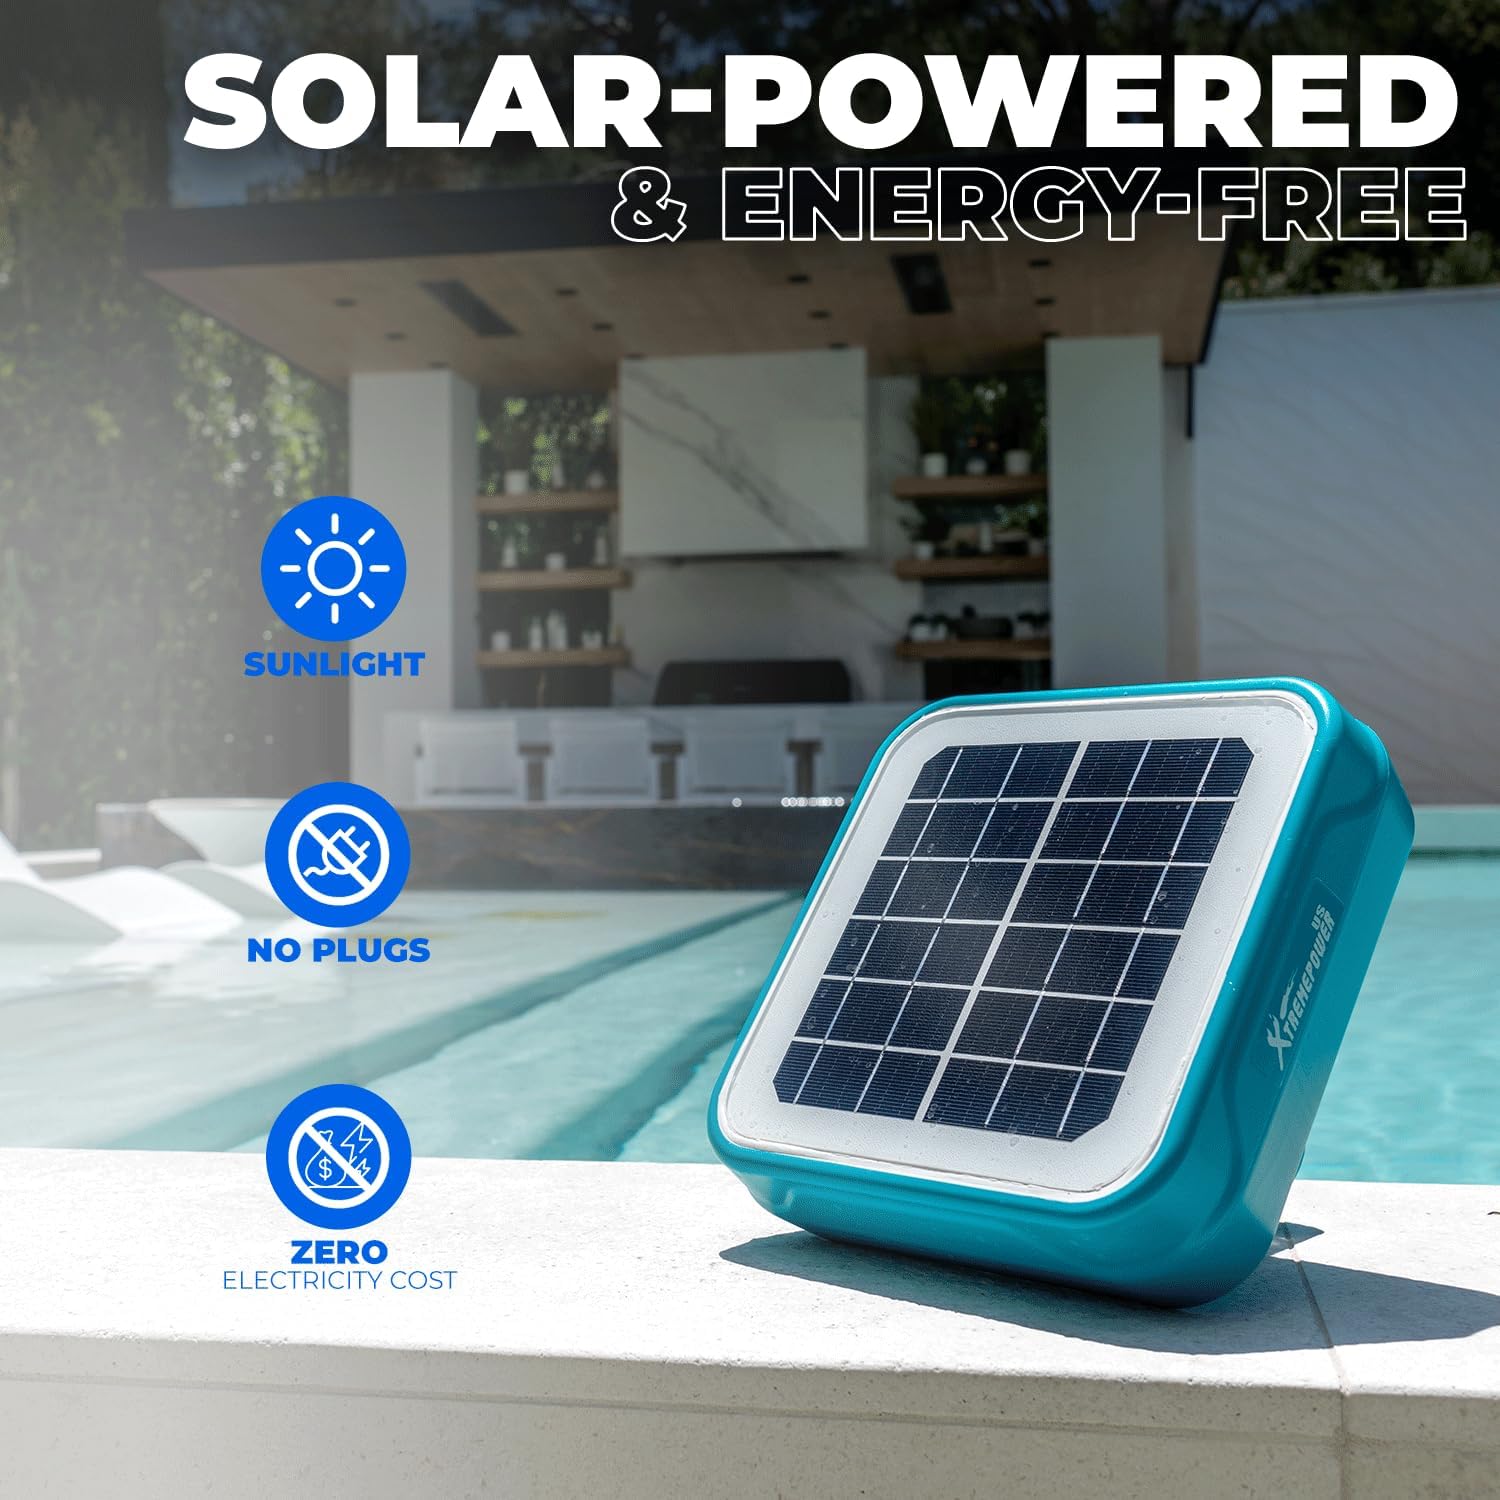
Image: The solar pool ionizer positioned next to a pool, highlighting its solar-powered, energy-free operation, requiring only sunlight and no external power.
Video: An overview of the XtremepowerUS Solar Pool Ionizer (Model 90134-1), demonstrating its features such as ion release rate (0.61 g/h), ability to suppress bacterial and algal growth, and reduction of chemical usage. The video also shows the easy installation process and its compact design.
6. Maintenance
Regular maintenance ensures optimal performance and extends the lifespan of your ionizer.
- Anode Cleaning: Every 2-3 months, or as needed, remove the ionizer from the pool. Disassemble the filter basket, spring, and copper anode. Clean the copper anode using a brush or mild abrasive to remove any mineral buildup.
- Filter Basket Cleaning: Rinse the filter basket thoroughly to remove any debris.
- Reassembly: Reassemble the components in reverse order of disassembly.
- Solar Panel Cleaning: Periodically wipe the solar panel with a soft, damp cloth to ensure maximum sunlight absorption.
Note: The copper anode will gradually deplete over time and will need replacement. The lifespan of the anode depends on pool size, usage, and water chemistry.
7. Troubleshooting
| Problem | Possible Cause | Solution |
|---|---|---|
| Low copper ion levels | Insufficient sunlight; dirty solar panel; depleted copper anode; large pool volume. | Ensure direct sunlight exposure. Clean solar panel. Check and replace copper anode if necessary. For larger pools, ensure adequate ionizer coverage. |
| Algae growth persists | Low copper ion levels; poor water circulation; high phosphate levels. | Increase copper ion levels to recommended range. Ensure proper pool filtration and circulation. Test and treat for phosphates if present. |
| Ionizer not floating correctly | Debris accumulation; damaged unit. | Clean any debris from the unit. Inspect for damage; contact support if damaged. |
8. Specifications
- Model: 90134-1
- Brand: XtremepowerUS
- Dimensions: 10 x 10 x 7 inches (25.4 x 25.4 x 17.8 cm)
- Item Weight: 4.35 pounds (1.97 kg)
- Power Source: Solar-powered
- Ion Release Rate: Approximately 0.61 grams per hour
- Pool Capacity: Up to 35,000 gallons
- Compatibility: Fresh and salt water pools, above-ground and in-ground pools
9. Warranty and Support
For warranty information and customer support, please refer to the documentation included with your purchase or visit the official XtremepowerUS website. Keep your purchase receipt as proof of purchase for any warranty claims.
Contact Information:
- Brand: XtremepowerUS
- Website: XtremepowerUS Store on Amazon (for general product information)
- For specific support, please refer to the contact details provided in your product packaging.


