Introduction
This manual provides comprehensive instructions for the installation, operation, and maintenance of your Shine LUEST Modern LED Ceiling Light. Please read this manual thoroughly before installation and retain it for future reference.
Safety Information
- Always turn off the main power supply at the circuit breaker before beginning installation or maintenance.
- Installation should be performed by a qualified electrician or a person with sufficient knowledge of electrical wiring.
- Ensure the voltage supply matches the requirements of the fixture (110V).
- Do not connect the fixture to a dimmer switch unless explicitly stated as compatible. This fixture is designed for remote control dimming.
- Handle the acrylic components with care to prevent damage.
- Keep packaging materials away from children.
- This product is for indoor use only.
Package Contents
Verify that all components are present and undamaged before proceeding with installation.
- LED Ceiling Light Fixture (8H-FANG-BL-04)
- Remote Control
- Mounting Hardware (screws, wire nuts, etc.)
- Instruction Manual
Specifications
| Feature | Detail |
|---|---|
| Model Name | 8H-FANG-BL-04 |
| Brand | Shine LUEST |
| Color | Black 8 Rings |
| Material | Acrylic, Wrought Iron |
| Product Dimensions | 40"L x 32"W x 6"H (100cm x 80cm x 14cm) |
| Power Source | Corded Electric |
| Voltage | 110 Volts |
| Wattage | 100W (8000lm) |
| Light Source Type | Integrated LED |
| Color Temperature | 3000K-6000K (Dimmable) |
| Brightness Control | 5%-100% (Stepless Dimmable) |
| Control Method | Remote Control, Wall Switch (ON/OFF only), APP Control |
| Special Feature | Dimmable, Light Memory Function, Flicker-Free, CRI 90+ |
| Installation Type | Semi Flush Mount |
| Lifetime | Up to 50,000 hours |
 Image: Product dimensions (40"L x 32"W x 6"H) and a note indicating compatibility with remote control and standard wall switches, but not with dimmable wall switches.
 Image: Detailed diagram illustrating the dimensions of the light fixture and listing specifications such as color temperature, power, material, voltage, illuminant type, and control methods.
 Image: Close-up details of the ceiling light, highlighting the acrylic lamp shade, the wrought iron lamp body, and the integrated LED light source.
Setup and Installation
Follow these steps carefully to install your LED ceiling light. Professional installation is recommended.
- Preparation: Turn off power at the circuit breaker. Ensure you have all necessary tools (screwdriver, wire strippers, ladder, etc.).
- Mounting Bracket Installation: Attach the mounting bracket to the junction box in the ceiling using the provided screws. Ensure it is securely fastened.
- Wiring: Connect the electrical wires from the ceiling to the fixture's wires. Typically, connect the black wire (live) to the black wire, the white wire (neutral) to the white wire, and the ground wire to the ground wire. Use wire nuts to secure connections.
- Fixture Attachment: Carefully lift the light fixture and attach it to the mounting bracket. Secure it with the provided screws or fasteners.
- Power Restoration: Once the fixture is securely installed and wired, restore power at the circuit breaker.
 Image: This diagram illustrates that the light fixture is compatible with its dedicated remote control and standard ON/OFF wall switches. It is explicitly incompatible with various types of wall dimmer switches.
Operating Instructions
Your LED ceiling light can be controlled via the included remote control or a compatible mobile application.
Remote Control Pairing
To pair the remote control with the ceiling light:
- Ensure the light fixture is powered off at the wall switch.
- Turn on the light fixture at the wall switch.
- Within 5 seconds of turning on the light, press and hold the "ON" button on the remote control for 5 seconds.
- The light will flash 3 times, indicating successful pairing.
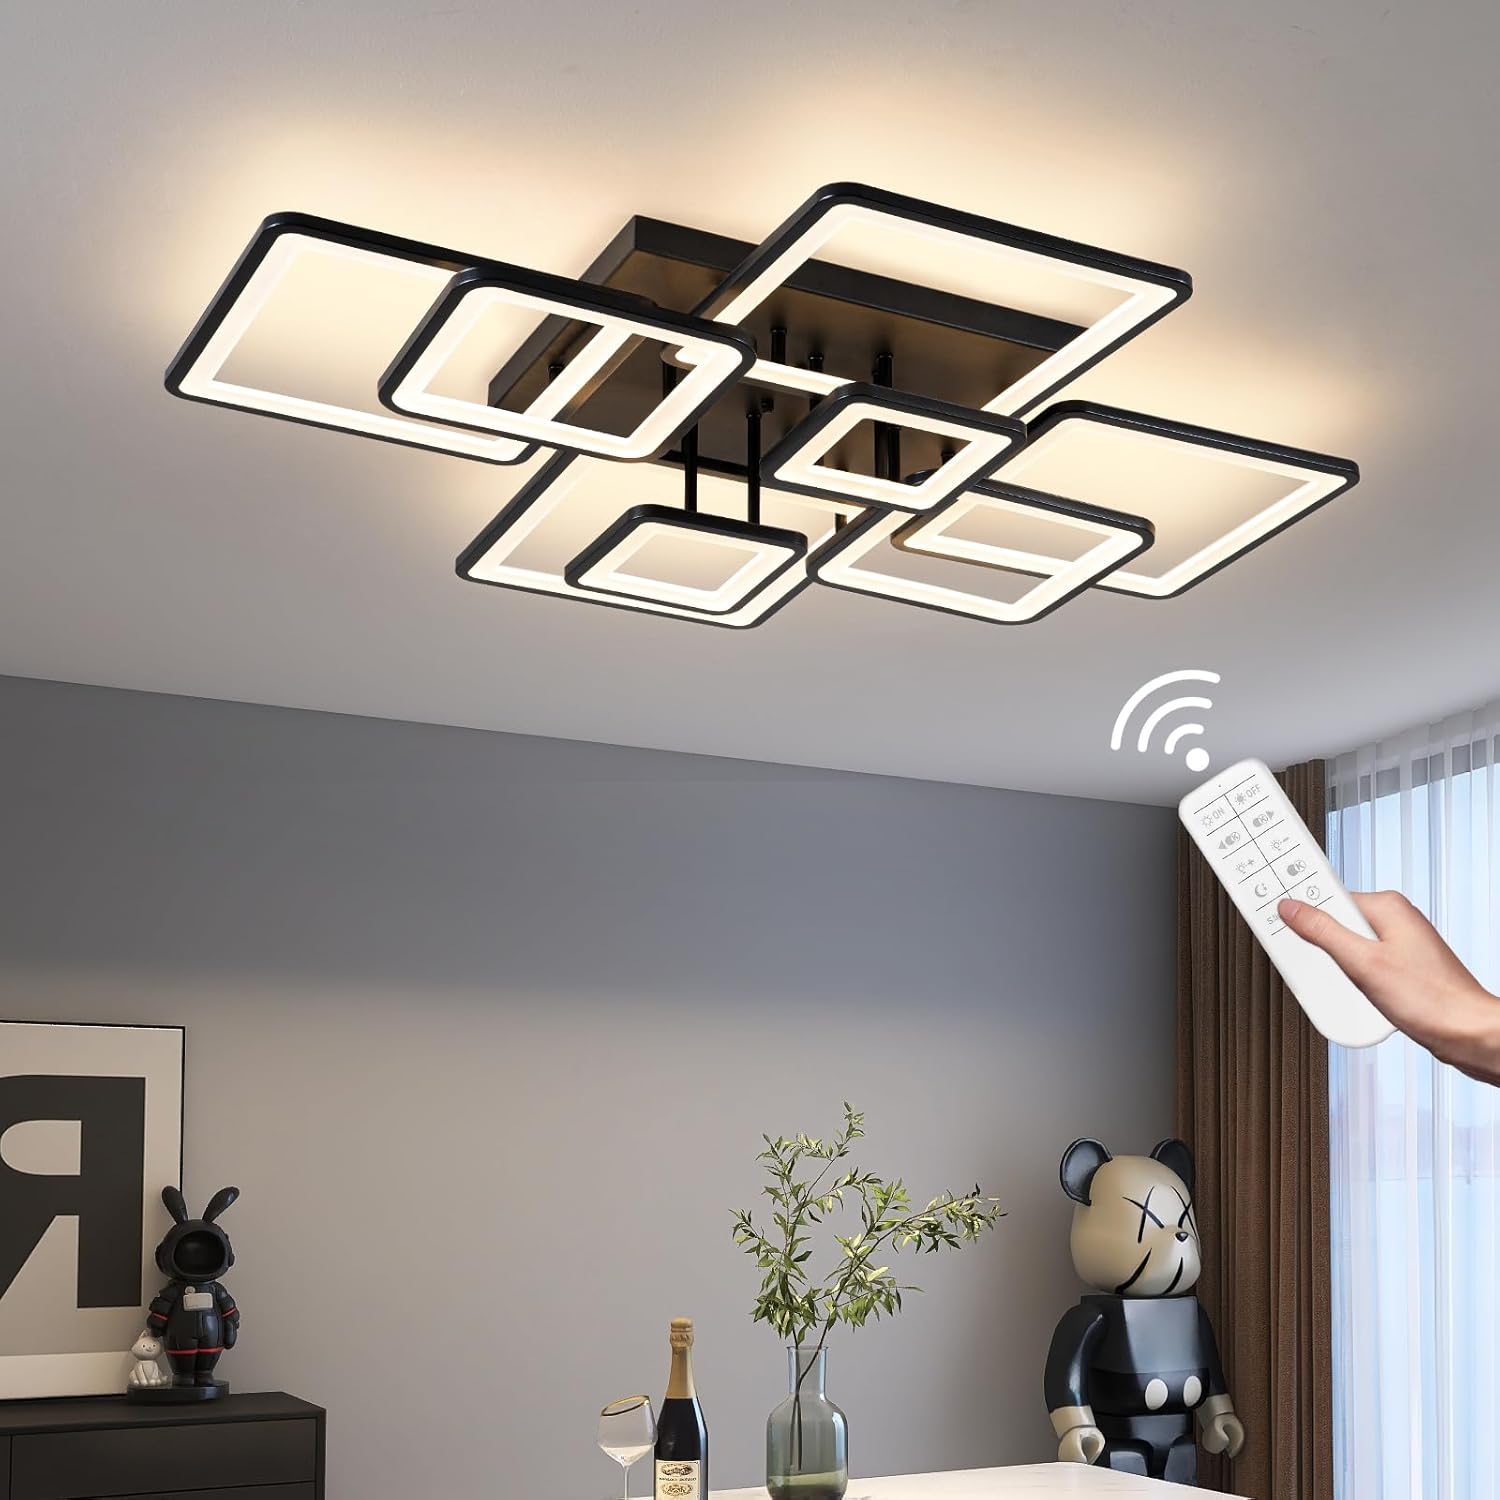 Image: A hand is shown operating the ceiling light with the remote control, illustrating the wireless control functionality.
 Image: This image provides detailed instructions on how to pair the ceiling light with both the remote control and a mobile application. It also labels the functions of the remote control buttons, such as ON/OFF, brightness adjustment, color temperature selection (3000K, 6000K), night light mode, and a timer. A QR code is included for downloading the app. For more information on the app, visit http://www.jasonghost.com/lampsmartpro/.
Brightness and Color Temperature Adjustment
Use the remote control to adjust the light's brightness and color temperature.
- Brightness: The light offers stepless dimming from 5% to 100%. Use the '+' and '-' buttons on the remote to increase or decrease brightness.
- Color Temperature: Adjust the color temperature between 3000K (Warm White), 4000K (Neutral White), and 6000K (Cool White) using the dedicated buttons on the remote.
- Memory Function: The light will remember your last brightness and color temperature setting when turned off and on again.
- Night Light Mode: Activate a low-brightness, warm light setting for night use.
 Image: This graphic demonstrates the adjustable color temperature settings (3000K, 4000K, 6000K) and the brightness control range from 10% to 100%, illustrating the visual effect of each setting.
 Image: This image shows the three color temperature options: 6000K (Cool White), 4000K (Neutral White), and 3000K (Warm White), and indicates that these can be controlled via a wall switch (ON/OFF only), smart remote control, or a mobile application.
 Image: A visual guide demonstrating the dimmable range of the light from 10% (dark) to 100% (bright), controlled by the remote.
Maintenance
- Cleaning: Ensure the power is off before cleaning. Use a soft, dry cloth to wipe the fixture. Do not use abrasive cleaners or solvents, as they may damage the finish or acrylic.
- Bulb Replacement: The LED light source is integrated and not user-replaceable. The LEDs have a long lifespan of up to 50,000 hours.
Troubleshooting
| Problem | Possible Cause | Solution |
|---|---|---|
| Light does not turn on. | No power supply; loose wiring; remote control not paired. | Check circuit breaker. Verify wiring connections. Re-pair remote control (see Operating Instructions). |
| Remote control not working. | Remote batteries low/dead; remote not paired; interference. | Replace remote batteries. Re-pair remote control. Ensure no obstructions between remote and light. If remote control can't work normally, please cut off power for 10 seconds, then restart the power and take long press 'ON' at the same time. |
| Light flickers or dims unexpectedly. | Incompatible wall dimmer switch; unstable power supply. | Ensure a standard ON/OFF wall switch is used, not a dimmer. Consult an electrician to check power supply stability. |
| Cannot change color temperature or brightness. | Remote control issue; light not responding. | Re-pair remote control. Ensure remote is pointed directly at the fixture. |
 Image: This image demonstrates the flicker-free operation of the Shine LUEST LED ceiling light, contrasting it with a flickering light from another product. It also highlights the CRI 90+ rating, indicating accurate color rendering.
Warranty
The Shine LUEST Modern LED Ceiling Light comes with a Limited Warranty. Please refer to the product packaging or contact customer support for specific warranty terms and conditions.
Optional protection plans are available for purchase:
- 3-Year Protection Plan
- 4-Year Protection Plan
- Complete Protect (monthly plan covering eligible purchases)
Customer Support
For technical assistance, troubleshooting, or warranty inquiries, please contact Shine LUEST customer support.
- Manufacturer: Shine LUEST
- Model Number: 8H-FANG-BL-04
- Online Support: Visit the Shine LUEST Store on Amazon for more product information and support resources.
- App Support: For the mobile application, refer to http://www.jasonghost.com/lampsmartpro/.
Additional Information
This product is designed for various indoor environments, including living rooms, dining rooms, bedrooms, offices, and negotiation rooms.
 Image: A collage showcasing the versatility of the LED ceiling light installed in different settings, including an office, living room, dining room, and a negotiation room.
Video Resources
No instructional videos from the seller were provided in the product data for this manual.


