
DEWENWILS 15Amp GFCI Outlet
Contents
DEWENWILS 15Amp GFCI Outlet Instruction Manual
Model: 15Amp GFCI Outlet | Brand: DEWENWILS
Introduction
The DEWENWILS 15Amp GFCI (Ground Fault Circuit Interrupter) Outlet is designed to provide continuous protection against ground faults, preventing personal injury and reducing the risk of electrical fires. This outlet features a self-test function, LED indicators, and is both tamper-resistant (TR) and weather-resistant (WR), making it suitable for various indoor and outdoor applications. This manual provides essential information for safe installation, operation, and maintenance of your GFCI outlets.

Image: Two DEWENWILS 15Amp GFCI Outlets with white wallplates, highlighting their design and features.
Safety Information
WARNING: Risk of Electric Shock or Electrocution. Installation requires knowledge of electrical systems. If you are not qualified, do not attempt installation. Contact a qualified electrician.
- Always turn off power at the circuit breaker or fuse box before installing or servicing the GFCI outlet.
- Test the power supply with a voltage tester to ensure it is off before touching any wires.
- Do not install in wet locations unless protected by a weatherproof cover.
- Ensure all wiring connections are secure and properly insulated.
- The Tamper-Resistant (TR) feature helps prevent accidental insertion of foreign objects into the receptacle slots, enhancing safety, especially for children.
Product Features
- 15AMP GFCI Protection: Continuously monitors for ground faults and trips to prevent electrical shock.
- Tamper-Resistant (TR): Features internal shutters that prevent the insertion of single objects into the receptacle openings, enhancing child safety.
- Weather-Resistant (WR): Designed for use in damp or wet locations, such as bathrooms, kitchens, and outdoor areas, providing enhanced durability against environmental elements.
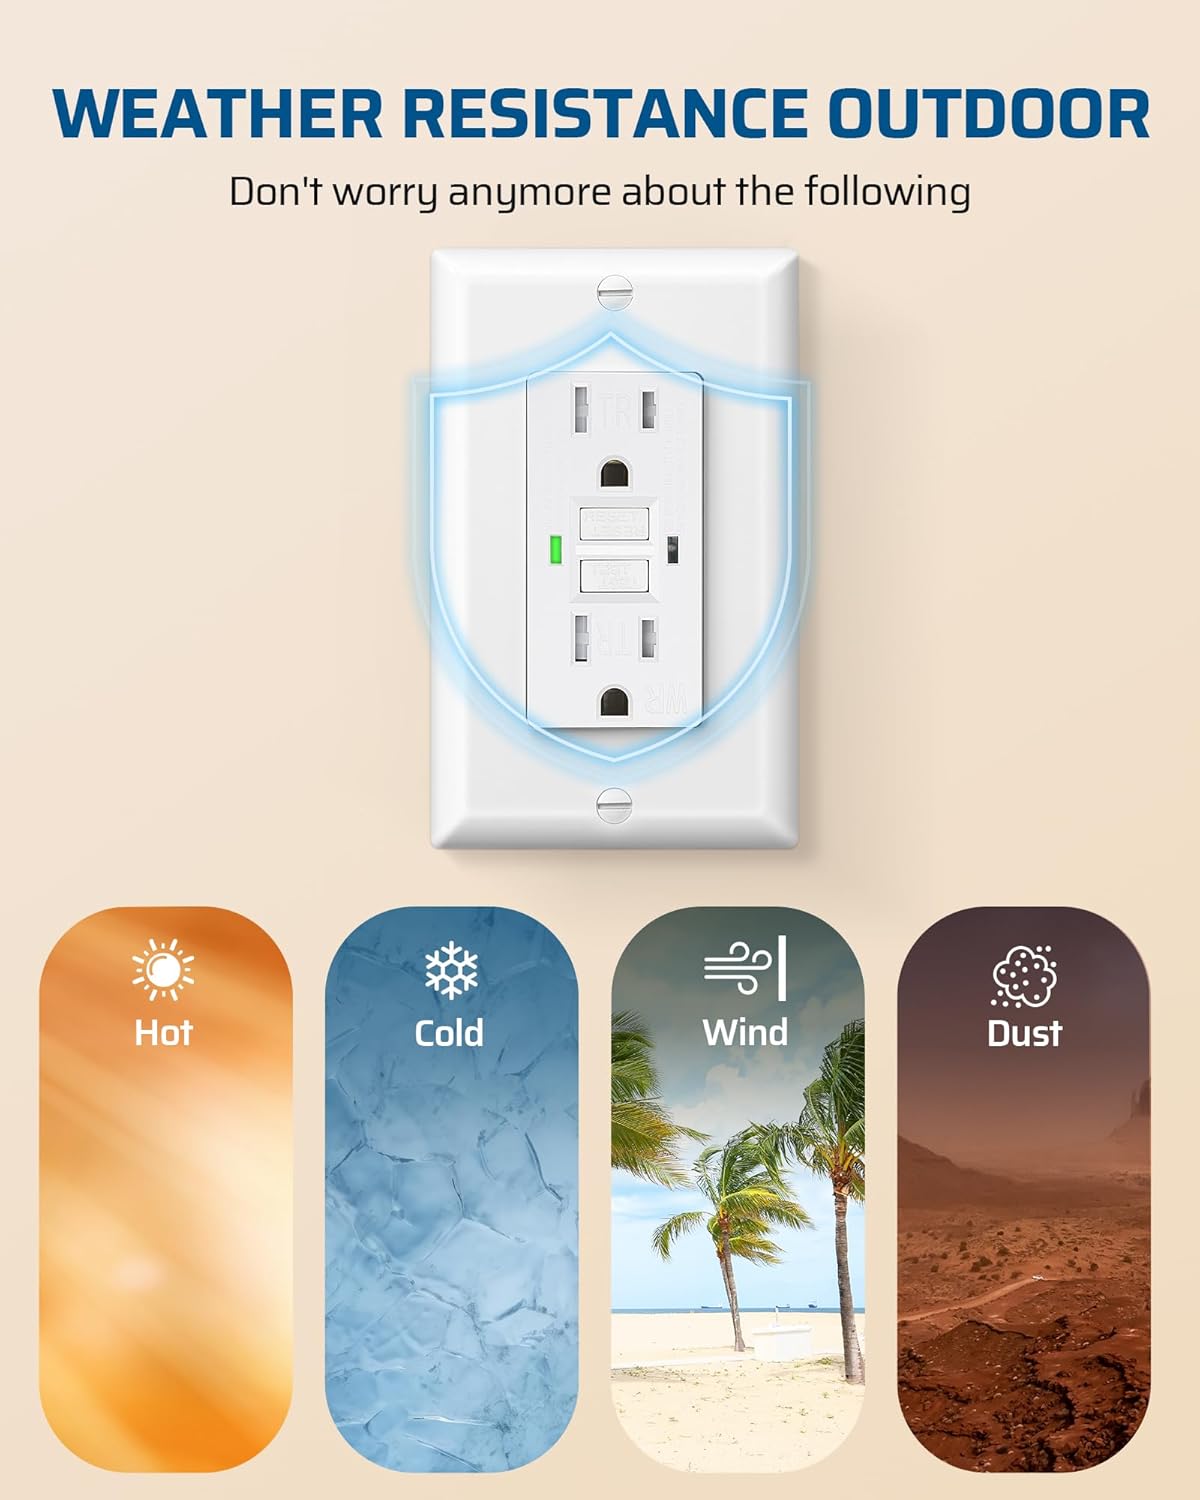
Image: The Weather Resistance feature of the GFCI outlet, indicating its suitability for various environmental conditions including hot, cold, wind, and dust.
- Self-Test Function: Automatically performs a self-test every 40 seconds to ensure the GFCI protection circuit is functioning correctly.
- LED Indicator Lights:
- Green Light: Indicates the outlet is working properly and providing ground fault protection.
- Red Light: Turns on when the outlet can no longer provide ground fault protection, signaling that it needs to be replaced. It may also flash red during self-testing.

Image: Diagram illustrating the green LED indicator for normal operation and the red alarm indicator for end-of-life or fault conditions.
- Easy Installation: Designed for quick and straightforward wiring with pre-loosened screws for wire loops. Includes a decorative wall plate.

Image: The screw-less wall plate cover design, emphasizing added child safety by hiding screws.
Setup and Installation
Before beginning installation, ensure the power to the circuit is OFF at the main service panel. Use a voltage tester to confirm the power is off.
Wiring Instructions:
The DEWENWILS GFCI outlet supports both line and load connections. The "LINE" terminals deliver power to the GFCI, while the "LOAD" terminals provide power to downstream receptacles or equipment, offering GFCI protection to them as well.

Image: Detailed wiring diagrams for connecting the GFCI outlet with either one cable (2-3 wires) or two cables (4 or 6 wires) entering the electrical box, showing line, load, and grounding connections.
- Turn Off Power: Locate the circuit breaker or fuse that controls the outlet you are replacing or installing. Turn it OFF.
- Verify Power is Off: Use a voltage tester to confirm that the power is completely off at the outlet.
- Remove Old Outlet (if applicable): Carefully disconnect the wires from the existing outlet.
- Connect Wires to New GFCI:
- Connect the incoming hot (black) wire to the brass "LINE" terminal.
- Connect the incoming neutral (white) wire to the silver "LINE" terminal.
- Connect the incoming ground (green or bare copper) wire to the green ground screw.
- If connecting to downstream outlets, connect the outgoing hot (black) wire to the brass "LOAD" terminal and the outgoing neutral (white) wire to the silver "LOAD" terminal.
- Mount the GFCI: Gently push the wired GFCI outlet into the electrical box. Secure it with the mounting screws.
- Install Wall Plate: Attach the included decorative wall plate.
- Restore Power: Turn the power back on at the circuit breaker.
Operating Instructions
Once installed and power is restored, the GFCI outlet is ready for use. The green LED indicator should be lit, confirming proper operation.
Testing the GFCI Outlet:
It is recommended to test the GFCI outlet monthly to ensure it is functioning correctly.
- Plug a lamp or other device into the GFCI outlet.
- Press the "TEST" button on the GFCI. The lamp should turn off, and the red LED indicator may illuminate. This indicates the GFCI has tripped and interrupted power.
- Press the "RESET" button. The lamp should turn back on, and the green LED indicator should illuminate. This indicates the GFCI has reset and power is restored.
- If the lamp does not turn off or on as described, the GFCI may be faulty and should be replaced.
Maintenance
Regular maintenance ensures the continued safety and functionality of your DEWENWILS GFCI outlet.
- Monthly Testing: Perform the operating test as described in the "Operating Instructions" section at least once a month.
- Visual Inspection: Periodically inspect the GFCI outlet for any signs of physical damage, wear, or discoloration. For outdoor installations, ensure the weatherproof cover is intact and free from debris.
- Cleaning: Clean the surface of the outlet and wall plate with a soft, damp cloth. Do not use abrasive cleaners or solvents.
Troubleshooting
| Problem | Possible Cause | Solution |
|---|---|---|
| GFCI will not reset (Red LED on) | Ground fault detected, wiring error, or end-of-life. |
|
| GFCI trips frequently | Overload, ground fault, or faulty appliance. |
|
| No power to outlet | Circuit breaker tripped, loose wiring, or faulty GFCI. |
|
Specifications
| Attribute | Value |
|---|---|
| Brand | DEWENWILS |
| Model Number | 767637598668 |
| Amperage | 15 Amp |
| Voltage | 125V |
| Frequency | 60Hz |
| Product Dimensions (L x W) | 4.52" x 2.75" |
| Material | Iron |
| Color | White |
| Certifications | UL Listed |
| Features | Weather-Resistant (WR), Tamper-Resistant (TR), Self-Test, LED Indicator |
Warranty and Support
For warranty information, technical support, or any questions regarding your DEWENWILS GFCI outlet, please contact DEWENWILS customer service directly. Refer to the product packaging or the official DEWENWILS website for the most up-to-date contact details.
Online Resources: For additional support, wiring diagrams, and FAQs, visit the official DEWENWILS website.
Ask a question about this manual
Ask about setup, troubleshooting, compatibility, parts, safety, or missing instructions. Manuals+ will review the question and use this page’s manual context to help answer it.