
1. Introduction
Thank you for choosing the ASHATA FHD 1080P Dual Dash Cam. This device is designed to provide reliable front and rear video recording for your vehicle, enhancing driving safety and providing evidence in case of incidents. This manual will guide you through the installation, operation, and maintenance of your dash cam.
2. Safety Information
- Do not operate the dash cam while driving. Adjust settings only when the vehicle is safely parked.
- Ensure the dash cam is installed securely and does not obstruct the driver's view or interfere with vehicle safety features.
- Use only the provided power cord and accessories to prevent damage or fire.
- Avoid exposing the device to extreme temperatures, direct sunlight for prolonged periods, or excessive moisture.
- Do not attempt to disassemble or repair the device yourself. Contact customer support for assistance.
- Regularly format the memory card to ensure optimal recording performance.
3. Package Contents
Please check the package for the following items:
- 1 x Front Camera (Main Unit)
- 1 x Rear Camera
- 1 x Power Cord
- 1 x Instruction Manual
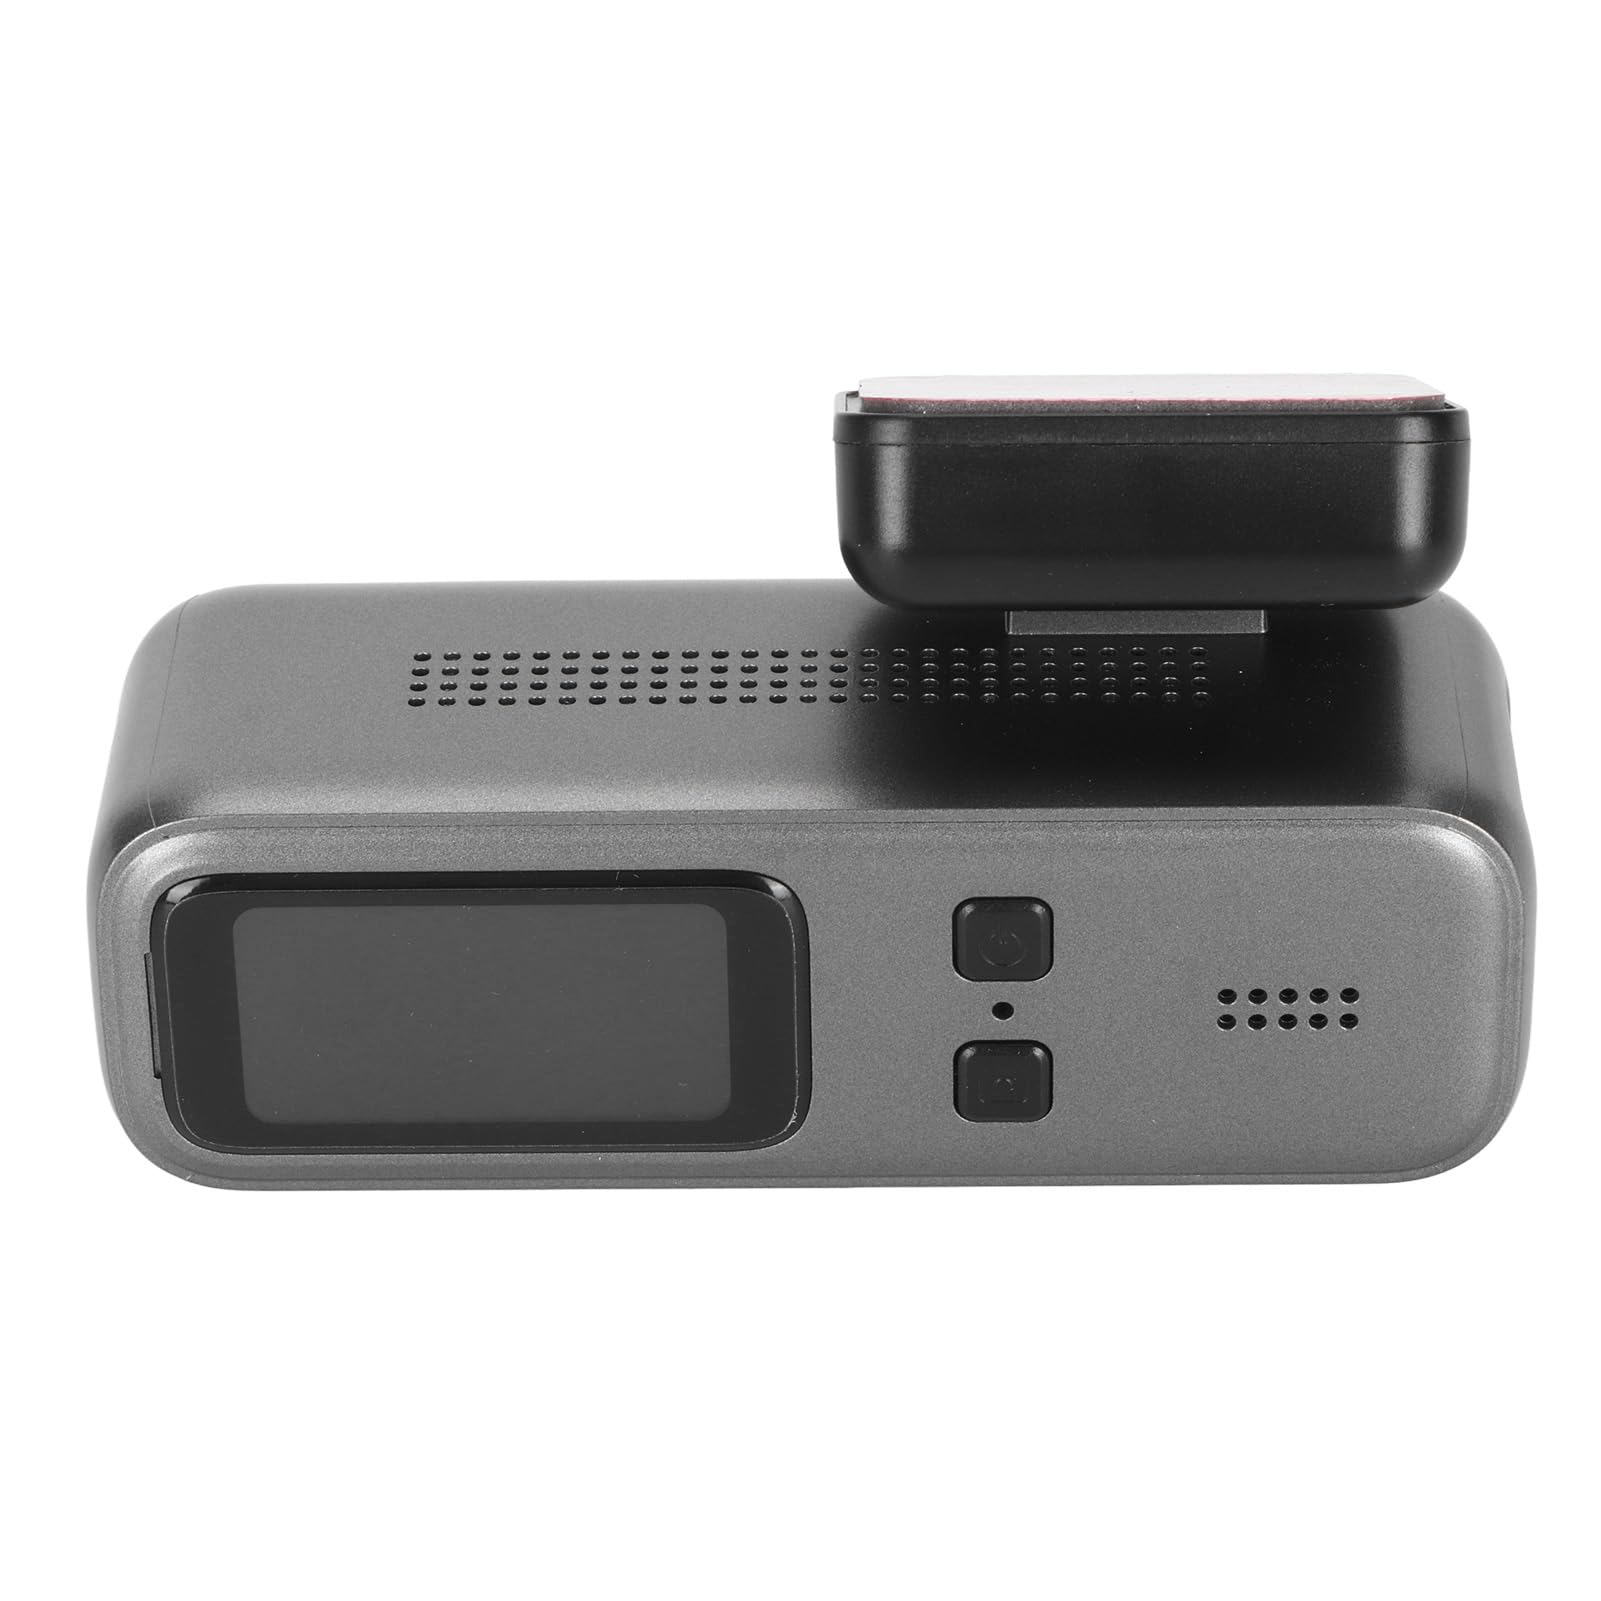
Image: Contents of the ASHATA Dual Dash Cam package, including the main front camera unit, the smaller rear camera, and necessary power cables.
4. Product Overview
Familiarize yourself with the main components and controls of your dash cam.
Front Camera (Main Unit)

Image: Top view of the main dash cam unit, highlighting the 1.47-inch IPS HD display and control buttons (power and photo capture).
- Display Screen: 1.47 Inch IPS HD Display for viewing recordings and settings.
- Power Button: Turns the device on/off.
- Record/Photo Button: Initiates recording or captures a still image.
- Front Lens: 170-degree A+ grade high-resolution ultra-wide-angle lens.
- Microphone: Records audio inside the vehicle.
- Speaker: For audio playback.

Image: Side view of the dash cam, illustrating the Type-C power input port and the Micro SD card slot.
- Type-C Port: Power input connection.
- Micro SD Card Slot: For inserting a memory card (supports up to 64GB, not included).
Rear Camera

Image: Detailed view of the compact rear camera unit, which connects to the main dash cam.
- Rear Lens: Records the view from the rear of the vehicle.
- Connection Cable: Connects to the main front camera unit.
5. Setup
5.1 Memory Card Installation
- Ensure the dash cam is powered off.
- Insert a Class 10 or higher Micro SD card (up to 64GB, not included) into the Micro SD card slot until it clicks into place.
- To remove, gently push the card until it pops out.
5.2 Front Camera Installation
- Clean the windshield area where you intend to mount the dash cam.
- Attach the mounting bracket to the dash cam.
- Peel off the protective film from the adhesive pad on the bracket.
- Firmly press the dash cam onto the windshield, ideally behind the rearview mirror, ensuring it does not obstruct your view.
- Adjust the lens angle to capture the road ahead clearly.

Image: An angled view of the main dash cam unit, illustrating how the mounting bracket attaches to the top of the device for windshield installation.
5.3 Rear Camera Installation
- Connect the rear camera cable to the main front camera unit.
- Route the cable neatly along the vehicle's headliner and pillars to the rear of the vehicle.
- Mount the rear camera on the rear windshield using its adhesive pad, ensuring a clear view of the road behind.
5.4 Power Connection
- Connect the provided power cord to the Type-C port on the dash cam.
- Plug the other end of the power cord into your vehicle's 12V power outlet (cigarette lighter socket).
- For 24-hour parking monitoring, the dash cam requires a hardwire kit (not included) to connect directly to the car's fuse box. Consult a professional for hardwire installation.
5.5 APP Connectivity (Waycam)
The dash cam supports APP connectivity for the Waycam application. Refer to the Waycam app's instructions for pairing and using its features with your dash cam.
6. Operating Instructions
6.1 Power On/Off
- The dash cam will automatically power on and begin recording when the vehicle's ignition is turned on (if connected to a switched power source).
- To manually power on/off, press and hold the Power button.
6.2 Basic Recording (Loop Recording)
- Once powered on, the dash cam automatically starts recording in a continuous loop.
- When the memory card is full, the oldest unlocked video files will be overwritten by new recordings.
- The display shows both front and rear camera views simultaneously.

Image: The dash cam's screen showing a split view, displaying live footage from both the front and rear cameras simultaneously.
6.3 Parking Monitoring (24 Hours)
- With a hardwire kit (sold separately) and proper installation, the dash cam can monitor your vehicle for 24 hours.
- When the vehicle is parked and the ignition is off, the dash cam will detect impacts or motion and automatically record a short video, protecting your vehicle.

Image: The dash cam positioned in a car, with a graphic overlay illustrating its parking monitoring capabilities, detecting activity around a parked vehicle.
6.4 Night Vision
- The dash cam is equipped with night vision capabilities to capture clear images even in low-light conditions or at night.
6.5 G-Sensor (Gravity Sensor)
- The built-in G-sensor detects sudden movements or impacts (e.g., collisions).
- When triggered, it automatically locks the current video file to prevent it from being overwritten by loop recording.
6.6 ADAS Driver Assistance
- The dash cam includes ADAS (Advanced Driver Assistance System) features to assist the driver. Specific functions and settings can be accessed via the device menu or the Waycam APP.
6.7 One-Touch Photography
- Press the dedicated photo button on the main unit to capture a still image during video recording.
7. Maintenance
7.1 Cleaning
- Use a soft, dry cloth to clean the dash cam's body and lenses.
- Do not use abrasive cleaners or solvents.
7.2 Memory Card Management
- It is recommended to format the Micro SD card regularly (e.g., once a month) to maintain optimal performance and prevent data corruption.
- Format the card using the dash cam's menu settings.
8. Troubleshooting
- Dash cam does not power on: Check the power connection. Ensure the vehicle's 12V outlet is working.
- Recording stops unexpectedly: Ensure the memory card is inserted correctly and is not full. Format the memory card. Use a high-speed (Class 10 or higher) Micro SD card.
- Video quality is poor: Clean the camera lenses. Ensure the protective film has been removed from the lenses. Check settings for resolution.
- Dash cam freezes: Press and hold the power button to restart the device. If the issue persists, try formatting the memory card.
- Parking monitoring not working: Verify that a hardwire kit is correctly installed and configured.
9. Specifications
| Item Type | Front and Rear Dash Cam |
| Model Number | ASHATAbui60pvgs7 |
| Material | ABS |
| Lens | 170 Degree A+ High Resolution Ultra Wide Angle Lens |
| Screen | 1.47 Inch IPS HD Display |
| Resolution | 1080P 30fps |
| Recording Video Format | H.264 |
| Storage | Supports Up to 64GB Memory Card (not Included) |
| Functions | APP Connectivity, FHD 1080P Video, Night Vision, WDR, 170 Degree Ultra Wide Angle, Loop Recording, 24 Hours Parking Monitor, Gravity Sensor, Built-in Speaker, One Touch Photography, ADAS Driver Assistance |
| APP | Waycam |
| Item Weight | 1.03 pounds |
| Are Batteries Included | Yes |
10. Warranty and Support
For warranty information and technical support, please refer to the ASHATA official website or contact your retailer. Keep your purchase receipt as proof of purchase.