1. Installation and Initial Setup
Before operating your new Candy Smart Pro Inverter washing machine, it is crucial to follow these installation steps carefully to ensure proper function and safety.
Unpacking
- Carefully remove all packaging materials, including the polystyrene base and any protective film.
- Remove the transit bolts located at the rear of the machine. These bolts secure the drum during transport and must be removed before use. Keep them for future transport if needed.
Positioning
- Place the washing machine on a firm, level surface. Ensure there is adequate space around the machine for ventilation and access.
- Adjust the leveling feet at the bottom of the machine to ensure it is perfectly stable and does not wobble. Use a spirit level for accuracy.
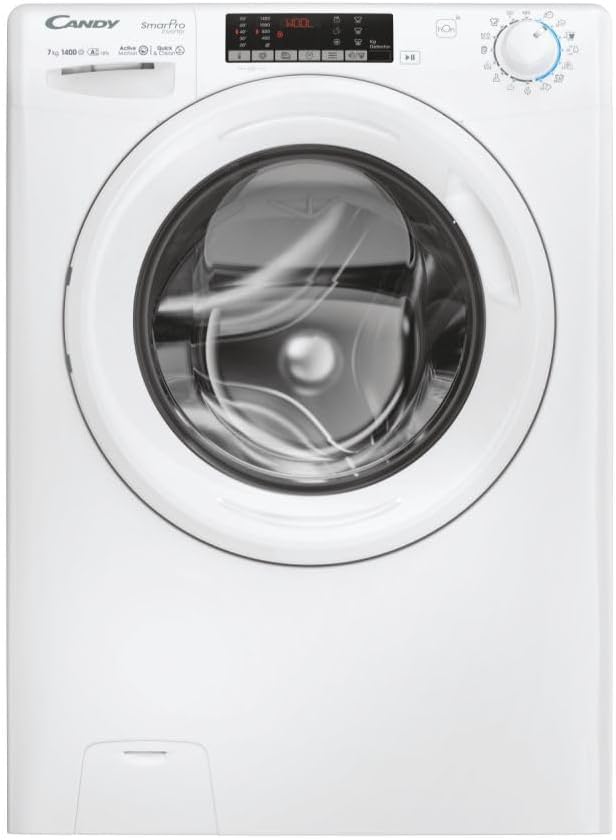
Figure 1.1: Front view of the Candy Smart Pro Inverter washing machine. This image shows the overall design of the appliance, including the control panel, detergent drawer, and main door.
Water Connection
- Connect the water inlet hose to a cold water tap with a 3/4" thread. Ensure the connection is tight to prevent leaks.
- Position the drain hose into a suitable standpipe or sink, ensuring it is securely fixed to prevent displacement during operation.

Figure 1.2: The washing machine with its front-loading door open, revealing the stainless steel drum. This view is useful for checking the drum and ensuring no packing materials remain inside.
Electrical Connection
- Plug the power cord into a grounded electrical outlet. Ensure the voltage and frequency match the specifications on the machine's rating plate.
- Do not use extension cords or adapters.
2. Operating Instructions
This section provides a guide on how to use your Candy Smart Pro Inverter washing machine for optimal performance.
Control Panel Overview
The control panel allows you to select wash programs, adjust settings, and monitor the wash cycle.

Figure 2.1: Detailed view of the washing machine's control panel, showing the program selector dial, digital display, and various function buttons.
Loading Laundry
- Open the washing machine door.
- Load laundry loosely into the drum, ensuring not to overload the machine. Refer to the maximum load capacity (7 kg) for different programs.
- Close the door firmly until it clicks.

Figure 2.2: View of laundry placed inside the stainless steel drum of the washing machine, illustrating a typical load.
Adding Detergent and Additives
The detergent dispenser has compartments for pre-wash, main wash, and fabric softener.
- Pull out the detergent drawer.
- Add the appropriate amount of detergent to the main wash compartment (II).
- If using, add fabric softener to the designated compartment (flower symbol).
- Push the detergent drawer back in completely.

Figure 2.3: The detergent dispenser drawer pulled out, showing the different compartments for detergent and fabric softener.
Program Selection
- Turn the program selector dial to choose the desired wash program (e.g., Cotton, Synthetics, Delicates, Eco).
- The display will show the default temperature and spin speed for the selected program.
Adjusting Settings
- Use the temperature button to adjust the wash temperature.
- Use the spin speed button to modify the spin speed.
- Select any additional functions (e.g., pre-wash, extra rinse) using the corresponding buttons.
Starting a Wash Cycle
- Press the 'Start/Pause' button to begin the wash cycle.
- The machine will automatically lock the door and begin filling with water.
3. Maintenance and Care
Regular maintenance ensures the longevity and efficient operation of your washing machine.
Cleaning the Detergent Dispenser
- Remove the detergent drawer by pressing the release lever (if present) and pulling it out.
- Rinse the drawer under running water to remove any detergent residue.
- Clean the housing of the drawer with a brush to remove any build-up.
- Reinsert the drawer.
Cleaning the Drum
- Periodically run a maintenance wash cycle (e.g., a hot wash with no laundry and a descaling agent or washing machine cleaner) to prevent odors and limescale build-up.
- Leave the door slightly ajar after each wash to allow the drum to air dry and prevent mildew.
Filter Cleaning
- Locate the drain pump filter, usually at the bottom front of the machine.
- Place a shallow container beneath the filter to catch any residual water.
- Carefully unscrew and remove the filter. Clean any lint, debris, or foreign objects.
- Screw the filter back in securely.
Exterior Cleaning
- Wipe the exterior surfaces of the machine with a soft, damp cloth.
- Do not use abrasive cleaners or solvents.
4. Troubleshooting Guide
This section provides solutions to common issues you might encounter with your washing machine.
| Problem | Possible Cause | Solution |
|---|---|---|
| Machine does not start | No power supply; Door not closed properly; Program not selected. | Check power plug and fuse; Ensure door is firmly closed; Select a wash program and press 'Start'. |
| Water not filling | Water tap closed; Water inlet hose kinked or blocked; Water pressure too low. | Open water tap; Straighten hose and check for blockages; Check household water pressure. |
| Machine not draining | Drain hose kinked or blocked; Drain pump filter blocked. | Straighten drain hose and check for blockages; Clean the drain pump filter. |
| Excessive vibration/noise | Transit bolts not removed; Machine not level; Uneven laundry load. | Remove transit bolts; Adjust leveling feet; Redistribute laundry inside the drum. |
| Detergent residue in dispenser | Insufficient water pressure; Detergent drawer blocked. | Check water pressure; Clean the detergent drawer and its housing. |
5. Technical Specifications
Detailed specifications for the Candy Smart Pro Inverter CO 474TWM6/1-S washing machine.
| Feature | Specification |
|---|---|
| Brand | Candy |
| Model Name | CO 474TWM6/1-S |
| Capacity | 7 Kilograms |
| Access Location | Front Load |
| Color | Black |
| Operation Mode | Semi-automatic |
| Included Components | 1 package |
| Installation Type | Freestanding |
| Drum Material | Stainless Steel |
| Manufacturer | Candy |
6. Warranty and Customer Support
For warranty information, please refer to the warranty card included with your appliance or visit the official Candy website. Keep your proof of purchase for any warranty claims.
If you require technical assistance or have questions not covered in this manual, please contact Candy customer support. Contact details can typically be found on the manufacturer's website or in your product documentation.
For further assistance, please visit the Official Candy Website.


