
Positive Grid HW0205
Contents
Positive Grid Spark Link Wireless Guitar System User Manual
Model: HW0205
Introduction
The Positive Grid Spark Link is a compact and efficient wireless system designed for electric, acoustic, and bass guitars, as well as other instruments with a 1/4-inch output. It provides a reliable and low-latency connection, allowing musicians freedom of movement without the constraints of traditional cables. This manual provides detailed instructions for setting up, operating, maintaining, and troubleshooting your Spark Link system.
Key Features
- Superior, reliable 2.4G wireless transmission technology delivers 24-bit/48kHz audio across a vast frequency range of 20Hz to 20kHz with no sacrifice in sound quality.
- Ultra-low latency at under 3ms which rivals any other wireless systems, ensuring your dynamic touch and feel is always in perfect sync.
- Enjoy up to 70ft (over 20 meters) of transmission range, allowing you to move freely without any lag or signal drop.
- Rechargeable battery offers up to 6 hours of playtime on a single charge. Dual-end USB-C cables are also included.
- 110° hinged plug is designed to fit every guitar body and other instruments with a secure and versatile connection.
Package Contents
Please ensure all items are present and in good condition upon unboxing:
- Positive Grid Spark Link Transmitter (TX)
- Positive Grid Spark Link Receiver (RX)
- Dual-end USB-C Charging Cable
- User Manual (this document)
Setup
1. Charging the Devices
Before first use, fully charge both the Spark Link Transmitter and Receiver. A full charge provides up to 6 hours of playtime.
- Locate the USB-C charging port on the back of each unit.
- Connect the dual-end USB-C cable to both the transmitter and receiver.
- Plug the other end of the USB-C cable into a compatible USB power adapter (not included) or a computer USB port.
- The LED indicator on each unit will show charging status (e.g., red for charging, blue for fully charged).

Figure 1: Rear view of Spark Link units, highlighting the USB-C charging ports.
2. Connecting to Your Instrument and Amplifier
The Spark Link features a 110° hinged plug for flexible connection.
- Plug the Spark Link Transmitter (TX) into your instrument's 1/4-inch output jack. Adjust the hinged plug for optimal fit and clearance.
- Plug the Spark Link Receiver (RX) into your amplifier's 1/4-inch input jack. Adjust the hinged plug as needed.

Figure 2: Side view of Spark Link units demonstrating the 110° hinged plug design.

Figure 3: Spark Link transmitter connected to an electric guitar, with the receiver connected to a Positive Grid Spark amplifier.
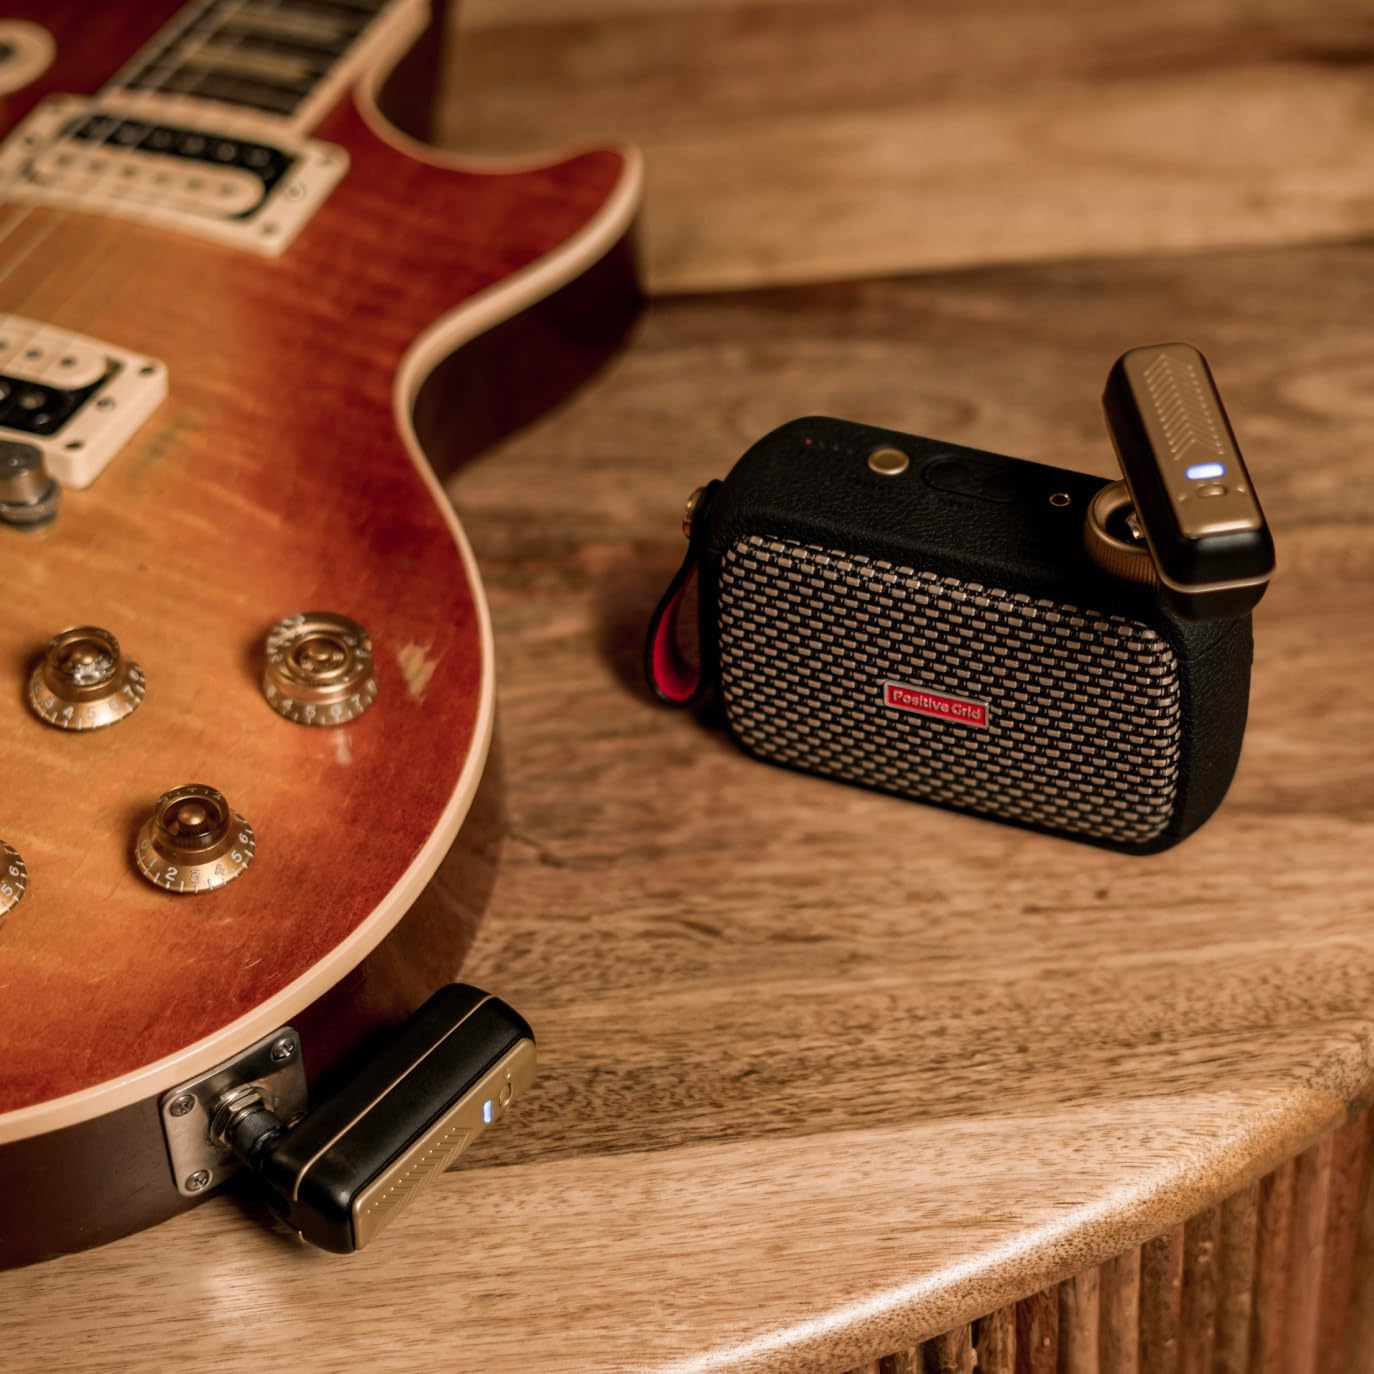
Figure 4: Spark Link transmitter plugged into an electric guitar, positioned next to a Spark Mini amplifier.
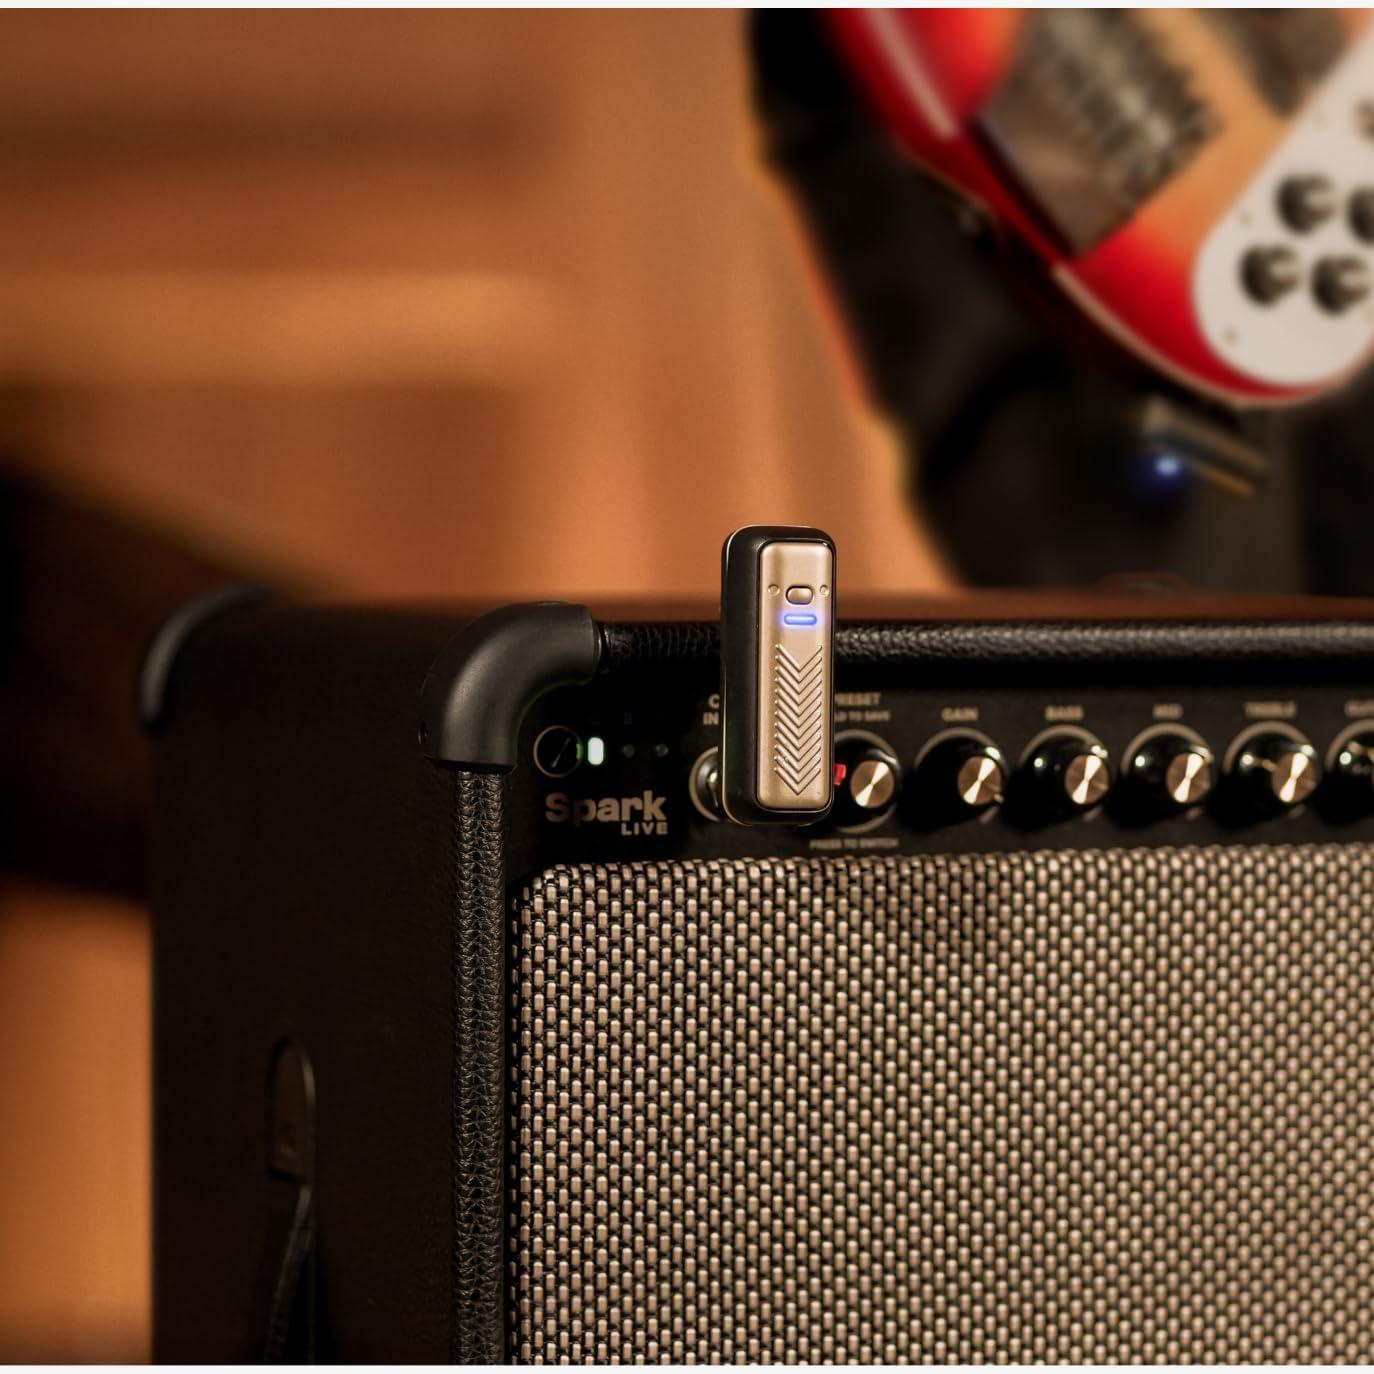
Figure 5: Spark Link receiver plugged into the input jack of a Positive Grid Spark Live amplifier.
Operating Instructions
1. Powering On/Off
To power on or off each unit (Transmitter or Receiver), press and hold the power button located on the front of the unit for approximately 2-3 seconds until the LED indicator illuminates or extinguishes.
2. Pairing the Transmitter and Receiver
The Spark Link units are pre-paired at the factory. If re-pairing is necessary, follow these steps:
- Ensure both the Transmitter (TX) and Receiver (RX) units are powered off.
- Press and hold the power button on both units simultaneously for approximately 5 seconds. The LED indicators will flash rapidly, indicating pairing mode.
- Release the buttons. The units will automatically search for each other and pair. Once successfully paired, the LED indicators will turn solid blue.

Figure 6: Front view of Spark Link units, showing the power button and LED indicator.
3. Understanding LED Indicators
The LED indicator provides important information about the unit's status:
| LED Status | Meaning |
|---|---|
| Solid Blue | Powered On, Paired, and Operating Normally |
| Flashing Blue (Slow) | Powered On, Not Paired / Searching for Partner |
| Flashing Blue (Rapid) | Pairing Mode Active |
| Solid Red | Charging (when connected to power) |
| Flashing Red | Low Battery Warning |
| Off | Powered Off or Fully Charged (when connected to power) |
Maintenance
1. Cleaning
Wipe the units with a soft, dry cloth. Do not use abrasive cleaners or solvents, as they may damage the finish or internal components.
2. Storage
When not in use, store the Spark Link system in a cool, dry place away from direct sunlight and extreme temperatures. It is recommended to store the units with a partial charge to prolong battery life.
3. Battery Care
To maximize the lifespan of the internal rechargeable batteries:
- Avoid fully discharging the batteries frequently.
- Charge the units regularly, even if not used for extended periods (e.g., once every 3 months).
- Use only the provided USB-C cable or a certified equivalent for charging.
Troubleshooting
If you encounter any issues with your Spark Link system, please refer to the following common problems and solutions:
- No Sound:
- Ensure both Transmitter and Receiver are powered on and their LEDs are solid blue.
- Check that the units are correctly plugged into the instrument and amplifier.
- Verify that your instrument and amplifier are functioning correctly with a standard cable.
- Re-pair the units as described in the 'Pairing' section.
- Interference/Signal Dropouts:
- Ensure you are within the 70ft (20m) operating range.
- Move away from other 2.4G wireless devices (Wi-Fi routers, cordless phones, microwaves) that may cause interference.
- Avoid physical obstructions between the transmitter and receiver.
- Short Battery Life:
- Ensure both units are fully charged before use.
- Check the charging cable and power adapter for proper function.
- Battery performance may degrade over time with extensive use.
- Unit Not Powering On:
- Connect the unit to the charger and allow it to charge for at least 30 minutes before attempting to power on again.
- Ensure the charging cable and power source are working.
Specifications
| Specification | Value |
|---|---|
| Model Number | HW0205 |
| Wireless Technology | 2.4G Wireless |
| Audio Quality | 24-bit/48kHz |
| Latency | Under 3ms |
| Transmission Range | Up to 70ft (20 meters) |
| Battery Life | Up to 6 hours (rechargeable) |
| Charging Port | USB-C |
| Plug Type | 110° Hinged 1/4-inch |
| Package Dimensions | 6.34 x 5.55 x 1.5 inches |
| Item Weight | 7 ounces |
| Color | Gold, Black |
| Compatible Devices | Double Bass, Guitar |
| Material | Aluminium Alloy |
Warranty and Support
Positive Grid products are designed for durability and performance. For information regarding warranty coverage, product registration, or technical support, please visit the official Positive Grid website or their Amazon Brand Store.
For the latest updates, FAQs, and community support, please visit: Positive Grid Amazon Store
Ask a question about this manual
Ask about setup, troubleshooting, compatibility, parts, safety, or missing instructions. Manuals+ will review the question and use this page’s manual context to help answer it.