Introduction
This manual provides instructions for the proper use and care of your Thule Subterra 2 Toiletry Bag. Designed for efficient organization and travel convenience, this bag features durable construction and thoughtful compartments to keep your personal items secure and accessible during transit.
Key features include a fully TPU-coated interior for easy cleaning, a dedicated TSA-compliant pouch for liquids, a stowable hanging strap, and versatile mesh storage options. The product adheres to bluesign® criteria, ensuring responsible manufacturing practices.
Setup and Initial Inspection
Upon receiving your Thule Subterra 2 Toiletry Bag, perform a visual inspection to ensure all components are present and undamaged. The bag is designed for immediate use without complex assembly.
- Unzip the main compartment and examine the interior for any packing materials.
- Locate the dedicated TPU pouch and the internal mesh pockets.
- Familiarize yourself with the hanging strap, which can be extended or stowed as needed.
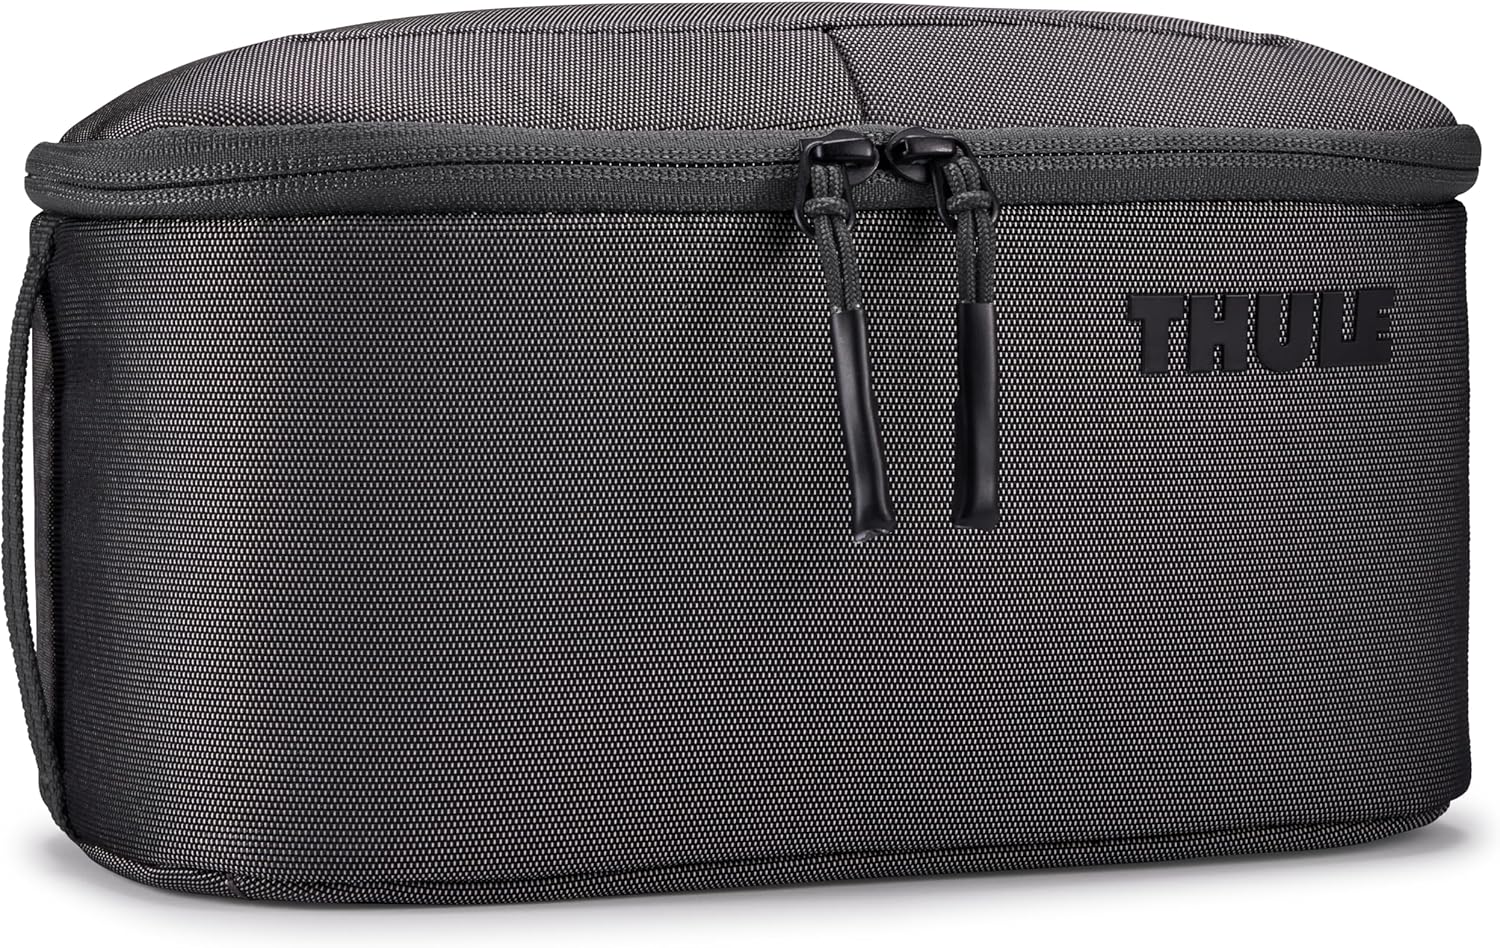
Figure 1: Front view of the Thule Subterra 2 Toiletry Bag, showcasing its compact design and dual zipper pullers.
Operating and Usage
Organizing Contents
The Thule Subterra 2 Toiletry Bag is designed for efficient organization of personal care items. Utilize the various compartments to separate wet and dry items, or frequently accessed products.
- Main Compartment: Store larger items such as shampoo bottles, lotions, or hairbrushes.
- TPU-Coated Pouch: This dedicated, wipeable pouch is ideal for liquids and creams, ensuring compliance with TSA liquid rules for air travel. Place items like toothpaste, small liquid containers, or gels here.
- Mesh Pockets: The zippered mesh panel on the lid and additional internal mesh pockets are suitable for smaller items like cotton swabs, razors, or small accessories.

Figure 2: The main compartment open, showing the internal organization with various toiletries and the removable TPU pouch.
Using the Hanging Strap
For convenience at your destination, the toiletry bag includes a strap that allows it to be hung. This keeps your items off wet surfaces and easily accessible.
- Locate the strap on the top flap of the bag.
- Extend the strap and secure it to a towel rack, hook, or similar fixture.
- When not in use, the strap can be stowed neatly to maintain the bag's compact form.

Figure 3: The toiletry bag shown hanging, demonstrating the utility of the integrated strap for easy access and space-saving.
Care and Maintenance
Proper care will extend the life of your Thule Subterra 2 Toiletry Bag.
- Interior Cleaning: The fully TPU-coated interior is designed for easy cleaning. Simply wipe spills or dirt with a damp cloth and mild soap. Allow to air dry completely before closing or storing.
- Exterior Cleaning: For the exterior fabric, use a soft brush or damp cloth to remove surface dirt. Avoid harsh chemicals or abrasive cleaners.
- Storage: Store the bag in a cool, dry place away from direct sunlight when not in use.
Troubleshooting
This section addresses common questions or minor issues you might encounter.
- Problem: Bag appears misshapen after packing.
- Solution: Ensure items are distributed evenly. Utilize the internal pockets to secure smaller items and prevent shifting.
- Problem: Zipper feels stiff.
- Solution: Clean any debris from the zipper teeth. A small amount of zipper lubricant (e.g., beeswax or silicone spray) can be applied if needed, avoiding contact with the fabric.
Specifications
| Feature | Detail |
|---|---|
| Brand | Thule |
| Model | Subterra 2 Toiletry Bag |
| ASIN | B0D45BD89L |
| Manufacturer | Thule |
| Origin | Imported (Cambodia) |
| Interior | Fully TPU-coated, wipeable |
| Special Features | Dedicated TSA-compliant liquid pouch, stowable hanging strap, bluesign® product |
Warranty and Support
Thule products are known for their quality and durability. For specific warranty information and support, please refer to the official Thule website or contact their customer service directly. Keep your purchase receipt as proof of purchase.
For further assistance, visit the Thule Store on Amazon.


