
Introduction
Thank you for choosing the Lucide ZARO IR Wall Light. This manual provides essential information for the safe installation, operation, and maintenance of your new outdoor lighting fixture. Please read these instructions carefully before installation and retain them for future reference.
The Lucide ZARO IR is a compact, modern wall spot made of high-quality aluminum. Its downward-directed light illuminates your facade, driveway, or garden path, enhancing both security and aesthetics. It features an integrated motion sensor and a deactivatable day/night sensor, making it ideal for reliable and long-lasting outdoor use (IP65 rated).
Safety Instructions
- Always disconnect the power supply before installation, maintenance, or bulb replacement.
- Installation must be performed by a qualified electrician in accordance with local wiring regulations.
- Ensure the mounting surface is suitable to support the weight of the fixture.
- Do not connect the fixture to a dimmer switch, as it is non-dimmable.
- This product is rated IP65 for outdoor use, protecting against dust and low-pressure water jets.
- Use only GU10 LED bulbs as specified.
- Do not modify the product in any way. Unauthorized modifications may void the warranty and pose safety risks.
Package Contents
Verify that all components are present before beginning installation:
- 1x Lucide ZARO IR Wall Light fixture
- Mounting hardware (screws, wall plugs)
- Instruction Manual
Note: GU10 bulb is not included and must be purchased separately.
Setup and Installation
Follow these steps for proper installation of your Lucide ZARO IR wall light:
- Preparation: Turn off the main power supply at the circuit breaker before starting any electrical work.
- Mounting Location: Choose a suitable wall location, ensuring it is structurally sound and allows for optimal sensor performance. Consider the desired illumination area and motion detection range.
- Marking and Drilling: Use the mounting bracket (if separate) or the fixture itself as a template to mark the drilling points on the wall. Drill holes of appropriate size for the provided wall plugs.
- Secure Mounting Bracket: Insert wall plugs into the drilled holes and secure the mounting bracket to the wall using the provided screws.
- Wiring: Connect the electrical wires from your mains supply to the terminal block inside the fixture. Ensure correct polarity (Live, Neutral, Earth) according to local regulations.
WARNING: Incorrect wiring can cause electric shock or fire. If unsure, consult a qualified electrician.
- Install Bulb: Insert a GU10 LED bulb (max 7W, non-dimmable) into the lamp holder.
- Attach Fixture: Carefully attach the main body of the fixture to the mounting bracket, ensuring a secure fit and proper sealing for IP65 protection.
- Restore Power: Once installation is complete and all connections are secure, restore power at the circuit breaker.
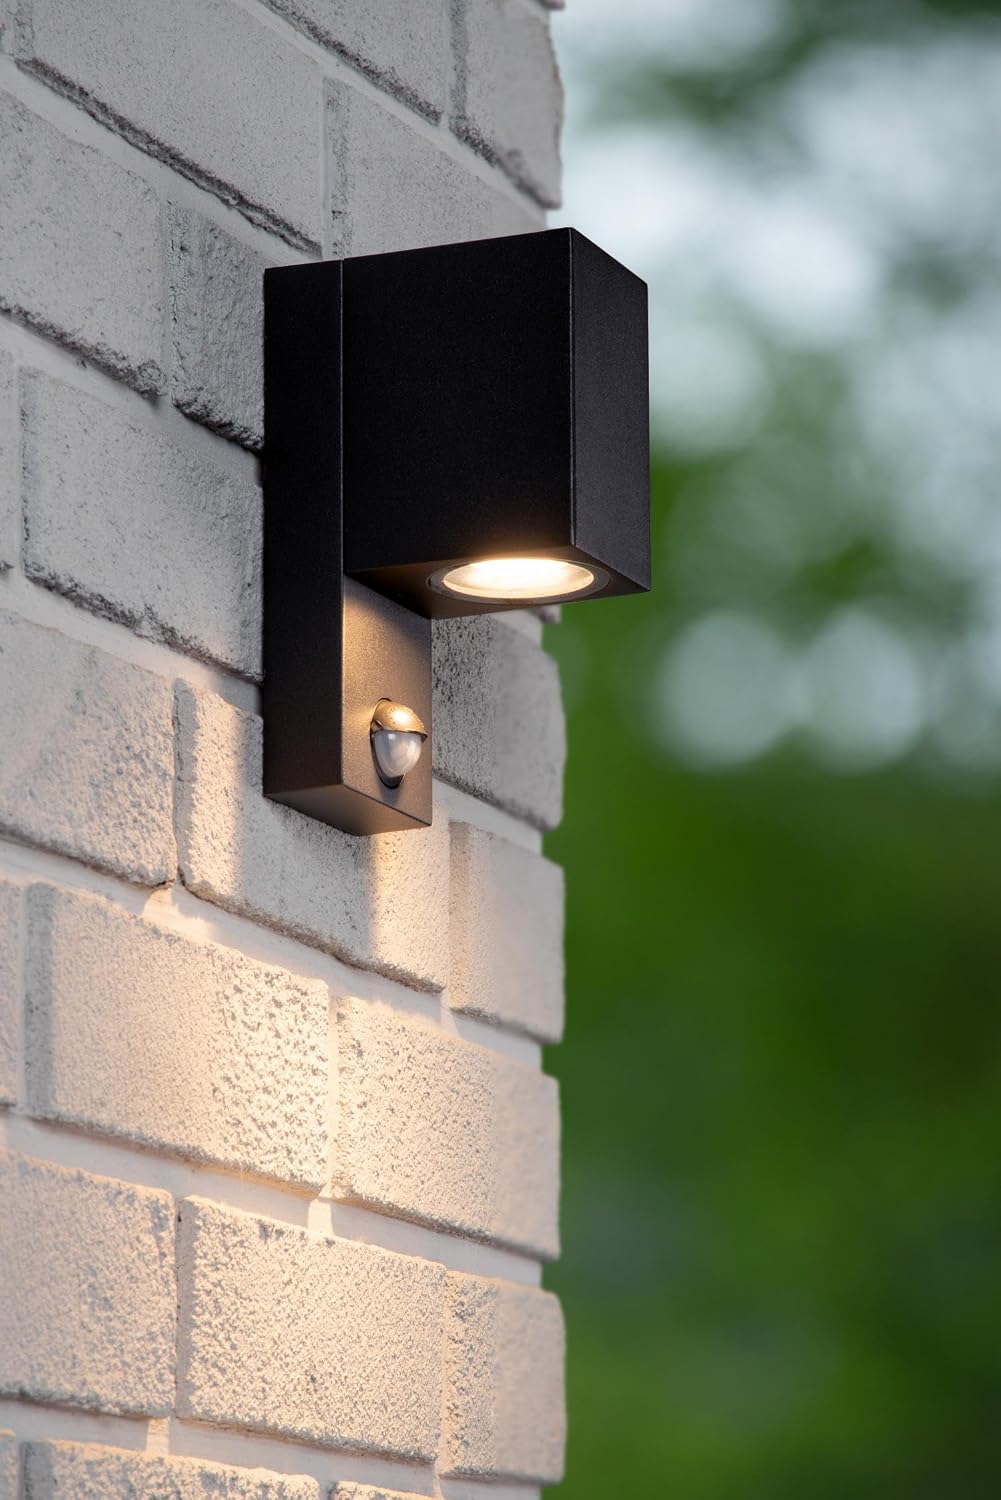
Image: The Lucide ZARO IR wall light mounted on an exterior brick wall, demonstrating its downward illumination.

Image: Technical drawing showing the dimensions and internal components of the Lucide ZARO IR wall light.
Operating Instructions
The Lucide ZARO IR features an integrated motion sensor (PIR) and a day/night sensor. These sensors control when the light turns on.
Motion Sensor (PIR)
The PIR sensor detects movement within its range. When motion is detected, the light will turn on for a set duration. The sensitivity and duration are typically adjustable via small dials or switches on the sensor unit itself. Refer to the specific markings on your sensor for adjustment options.

Image: A detailed view of the spherical motion sensor integrated into the base of the Lucide ZARO IR wall light.
Day/Night Sensor (Photocell)
The day/night sensor (photocell) detects ambient light levels. The light will only activate via the motion sensor when the ambient light falls below a certain threshold (i.e., at dusk or night). This sensor can often be adjusted to determine the desired darkness level for activation, or it can be deactivated entirely if continuous motion detection is preferred regardless of ambient light.
Deactivating the Sensor
The product specifications indicate the sensor is "deactivatable." This typically means there is a setting or switch on the sensor unit that allows it to be bypassed, causing the light to function as a standard wall light controlled by an external switch, or to remain off. Consult the markings on the sensor for specific deactivation methods.
Maintenance
- Cleaning: Clean the fixture regularly with a soft, damp cloth. Do not use abrasive cleaners or solvents, as these can damage the finish.
- Bulb Replacement:
- Turn off the power supply to the fixture at the circuit breaker.
- Allow the old bulb to cool completely before touching it.
- Carefully remove the old GU10 bulb by twisting it counter-clockwise.
- Insert the new GU10 LED bulb (max 7W, non-dimmable) by aligning the pins and twisting clockwise until secure.
- Restore power.
- Inspection: Periodically inspect the fixture for any signs of damage, loose connections, or wear. If any issues are found, disconnect power and consult a qualified electrician.
Troubleshooting
| Problem | Possible Cause | Solution |
|---|---|---|
| Light does not turn on. | No power supply. Faulty bulb. Sensor settings incorrect. Daylight too bright. | Check circuit breaker. Replace bulb. Adjust motion/day-night sensor settings. Wait for ambient light to decrease or adjust day/night sensor sensitivity. |
| Light stays on continuously. | Sensor set to continuous mode (deactivated). Constant motion detected. Sensor faulty. | Check sensor deactivation setting. Adjust sensor sensitivity or position to avoid constant triggers. Contact support. |
| Light flickers or dims. | Loose connection. Incompatible bulb. Fixture connected to dimmer. | Check wiring (power off first). Ensure GU10 LED bulb is used and compatible. Remove from dimmer circuit; this fixture is non-dimmable. |
| Motion sensor not detecting. | Obstruction. Incorrect sensitivity setting. Sensor faulty. | Clear obstructions from sensor's field of view. Increase sensor sensitivity. Contact support. |
Specifications
- Model: 69802-01-30
- Brand: LUCIDE
- Material: Aluminum
- Color: Black
- Dimensions (L x W x H): 7 x 10.4 x 17 cm
- Weight: 380 g
- Voltage: 230 Volts
- Bulb Type: GU10 (LED compatible, max 7W)
- Dimmable: No
- IP Rating: IP65 (Dust tight, protected against low-pressure water jets)
- Special Features: Adjustable Day/Night Sensor, Motion Sensor (PIR), Deactivatable Sensor, UV Resistant Coating
- Installation Type: Wall Mount
- Components Included: Fixture, mounting hardware, manual

Image: The Lucide ZARO IR wall light, showcasing its modern design and downward-facing light source.
Warranty and Support
The Lucide ZARO IR Wall Light comes with a 2-year warranty on the luminaire from the date of purchase. This warranty covers defects in materials and workmanship under normal use.
For warranty claims, technical support, or questions regarding your product, please contact your retailer or visit the official Lucide website for contact information.
Manufacturer: Lucide
Model Number: 69802-01-30
Appropriate Light Source EAN: 5411212490643
Please retain your proof of purchase for warranty purposes.


