1. Introduction
The DIGITUS DS-55328 Wireless HDMI KVM Extender Kit is designed to transmit HDMI video and audio signals wirelessly. This kit supports UHD 4K/30Hz resolution over distances up to 150 meters in an unobstructed environment. It consists of a sending unit (Transmitter) and a receiving unit (Receiver).
Key features include KVM functionality, allowing control of the signal source from the receiver unit using a connected mouse and keyboard. An HDMI Loop-Out port on the sending unit enables a local monitor connection for monitoring the output. The system supports point-to-multipoint connections, allowing one transmitter to connect with up to four receivers (additional receivers, model DS-55329, are sold separately).
- Wireless transmission of HDMI signals up to 150 meters (with free view).
- Point-to-multipoint connection: 1 sender (source) + up to 4 receivers (output devices).
- Supports wireless transmission of AV signals with resolutions up to 4K UHD (2160p/30Hz).
- HDMI 2.0 and HDCP 2.2 compliant.
- KVM functionality for mouse/keyboard control at the receiver.
- HDMI Loop-Out on the transmitter for local monitoring.
- Easy plug & play operation, no drivers or software required.
- Touch Screen Back Control compatible via USB connection on receiver.
- Power via USB-C connection and included power supply.
- 128-bit AES encoding and WPA2 protocol for secure transmission.
2. Package Contents
Please verify that all items listed below are included in your package. If any items are missing or damaged, contact your retailer.
- 1x DIGITUS DS-55328 Transmitter Unit
- 1x DIGITUS DS-55328 Receiver Unit
- 2x Power Adapters (USB-C)
- 2x HDMI Cables
- 2x USB-C Power Cables
- 1x IR Link Cable
- User Manual (this document)
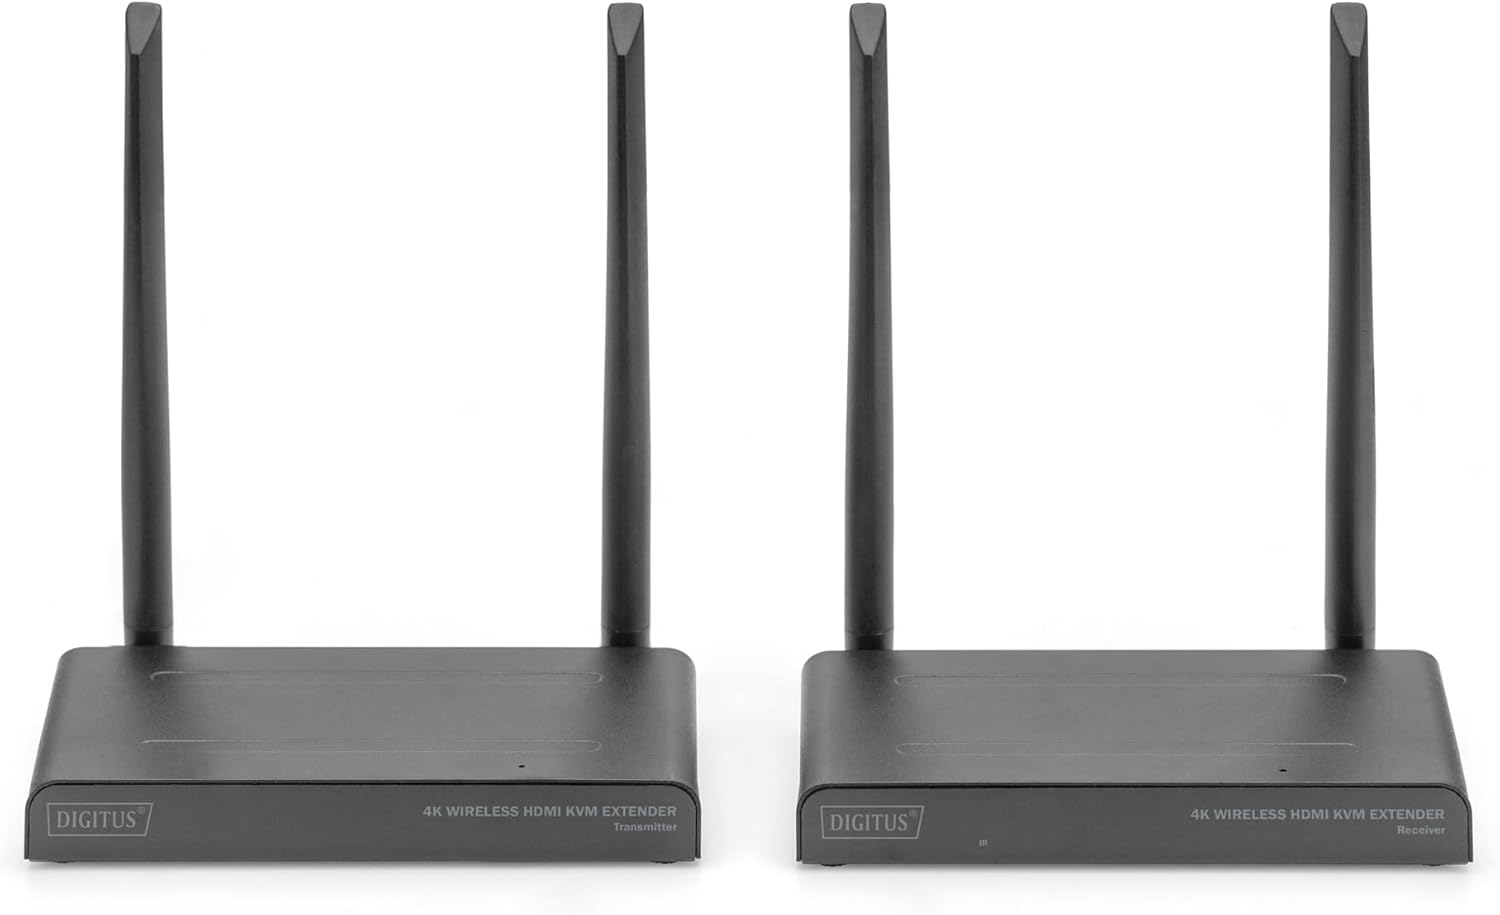
Image 2.1: Contents of the DS-55328 package, including the transmitter, receiver, power adapters, HDMI cables, USB-C cables, and an IR link cable.
3. Product Overview
Familiarize yourself with the ports and indicators on both the Transmitter and Receiver units.
3.1. Transmitter Unit (TX)
- HDMI IN: Connects to your HDMI source device (e.g., PC, laptop, media player).
- HDMI OUT (Loop-Out): Connects to a local monitor for direct display of the source signal.
- USB-C: Power input port.
- IR Link: Connects to the IR blaster cable for controlling the source device.
- Button: For pairing or mode selection.
- Power Switch: To turn the unit on or off.
3.2. Receiver Unit (RX)
- HDMI OUT: Connects to your display device (e.g., TV, monitor, projector).
- USB Ports: Connects to a keyboard, mouse, or touch screen panel for KVM functionality.
- USB-C: Power input port.
- Status Display: Indicates connection status and other operational information.
- Button: For pairing or mode selection.
- Power Switch: To turn the unit on or off.

Image 3.1: Detailed diagram showing the various ports and features on both the Transmitter and Receiver units of the DS-55328.

Image 3.2: Front view of the DS-55328 Transmitter and Receiver units, highlighting their compact design.

Image 3.3: Rear view of the DS-55328 Transmitter and Receiver units, showing all input and output ports.
4. Setup Instructions
Follow these steps to set up your Wireless HDMI KVM Extender Kit.
4.1. Point-to-Point Connection
- Connect Source to Transmitter: Use an HDMI cable to connect your source device (e.g., PC, laptop) to the HDMI IN port on the DS-55328 Transmitter unit.
- Connect Local Monitor (Optional): If you wish to monitor the source locally, connect an HDMI cable from the HDMI OUT (Loop-Out) port on the Transmitter to your local monitor.
- Power the Transmitter: Connect one of the provided USB-C power cables to the USB-C port on the Transmitter, and then plug the power adapter into an electrical outlet.
- Connect Receiver to Display: Use an HDMI cable to connect your display device (e.g., TV, monitor) to the HDMI OUT port on the DS-55328 Receiver unit.
- Connect KVM Peripherals (Optional): For KVM functionality, connect your USB keyboard and mouse to the USB ports on the Receiver unit.
- Power the Receiver: Connect the second USB-C power cable to the USB-C port on the Receiver, and then plug the power adapter into an electrical outlet.
- Power On: Turn on both the Transmitter and Receiver units using their respective power switches. Ensure your source device and display are also powered on.
- Pairing (if necessary): The units should automatically pair. If not, refer to the operating instructions for manual pairing.

Image 4.1: Diagram illustrating a typical point-to-point connection setup for the DS-55328, showing connections from a source to the transmitter and from the receiver to a display with KVM peripherals.
4.2. Point-to-Multipoint Connection
The DS-55328 supports connecting one Transmitter to up to four Receiver units (DS-55329, sold separately).
- Follow steps 1-3 from the Point-to-Point Connection for setting up the Transmitter unit.
- For each additional Receiver unit (DS-55329), follow steps 4-6 from the Point-to-Point Connection.
- Ensure all Transmitter and Receiver units are powered on. The Transmitter will broadcast the signal to all paired Receivers.

Image 4.2: Diagram showing a point-to-multipoint connection setup, where one DS-55328 Transmitter sends signals to multiple DS-55329 Receiver units.
5. Operating Instructions
5.1. Power On/Off
Use the power switch on each unit to turn it on or off. Ensure both Transmitter and Receiver units are powered on for operation.
5.2. KVM Functionality
Once a USB keyboard and mouse are connected to the Receiver's USB ports, you can control the source device connected to the Transmitter. This allows for remote operation of your computer or other KVM-compatible source.
5.3. IR Control
Connect the IR Link cable to the IR port on the Transmitter. Position the IR blaster head near the IR receiver of your source device. This enables you to use the source device's remote control from the location of the Receiver unit.
5.4. Status Indicators
The Status Display on the Receiver unit provides visual feedback on the connection status. Refer to the device's LED indicators for specific states (e.g., power, signal, connection status).
5.5. Pairing
In most cases, the Transmitter and Receiver units will automatically pair upon power-up. If pairing does not occur, press the 'Button' on both the Transmitter and Receiver units simultaneously for a few seconds until the status indicators confirm a successful connection.
6. Maintenance
To ensure optimal performance and longevity of your DIGITUS DS-55328, follow these maintenance guidelines:
- Cleaning: Use a soft, dry cloth to clean the units. Do not use liquid or aerosol cleaners, as they may damage the casing or internal components.
- Environment: Operate the device in a well-ventilated area. Avoid exposing the units to extreme temperatures, high humidity, or direct sunlight.
- Storage: When not in use for extended periods, store the units in a cool, dry place, away from dust and moisture.
- Cables: Ensure all cables are connected securely and are not bent or crimped, which could lead to signal loss or damage.
7. Troubleshooting
If you encounter issues with your DS-55328, refer to the following troubleshooting steps:
| Problem | Possible Cause | Solution |
|---|---|---|
| No image or black screen on display. |
|
|
| Poor image quality or flickering. |
|
|
| KVM (keyboard/mouse) not responding. |
|
|
| IR control not working. |
|
|
| Audio delay/synchronization issues. |
|
|
8. Specifications
| Feature | Detail |
|---|---|
| Model Number | DS-55328 |
| Transmission Distance | Up to 150 meters (unobstructed viewing) |
| Supported Resolution | UHD 4K/30Hz (2160p/30Hz) |
| HDMI Version | HDMI 2.0 |
| HDCP Version | HDCP 2.2 |
| KVM Functionality | Yes (Keyboard/Mouse via USB) |
| Loop-Out | Yes (on Transmitter) |
| IR Control | Yes |
| Point-to-Multipoint | 1 Transmitter to up to 4 Receivers (DS-55329) |
| Security | 128-bit AES encryption, WPA2 protocol |
| Power Supply | USB-C (5V DC) |
| Product Dimensions | 3.11 x 6.06 x 0.87 inches |
| Item Weight | 2.64 pounds |
| Manufacturer | DIGITUS |
9. Warranty and Support
For warranty information, please refer to the documentation provided with your purchase or visit the official DIGITUS website. Technical support may be available through your retailer or the manufacturer's support channels.
Please retain your proof of purchase for warranty claims.