1. Product Overview
The Brother DCP-L2680DW is a versatile multi-function mono laser printer designed for efficient printing, scanning, and copying. This device offers high-speed monochrome printing, automatic duplex printing, and various connectivity options including Ethernet, USB, and Wi-Fi.
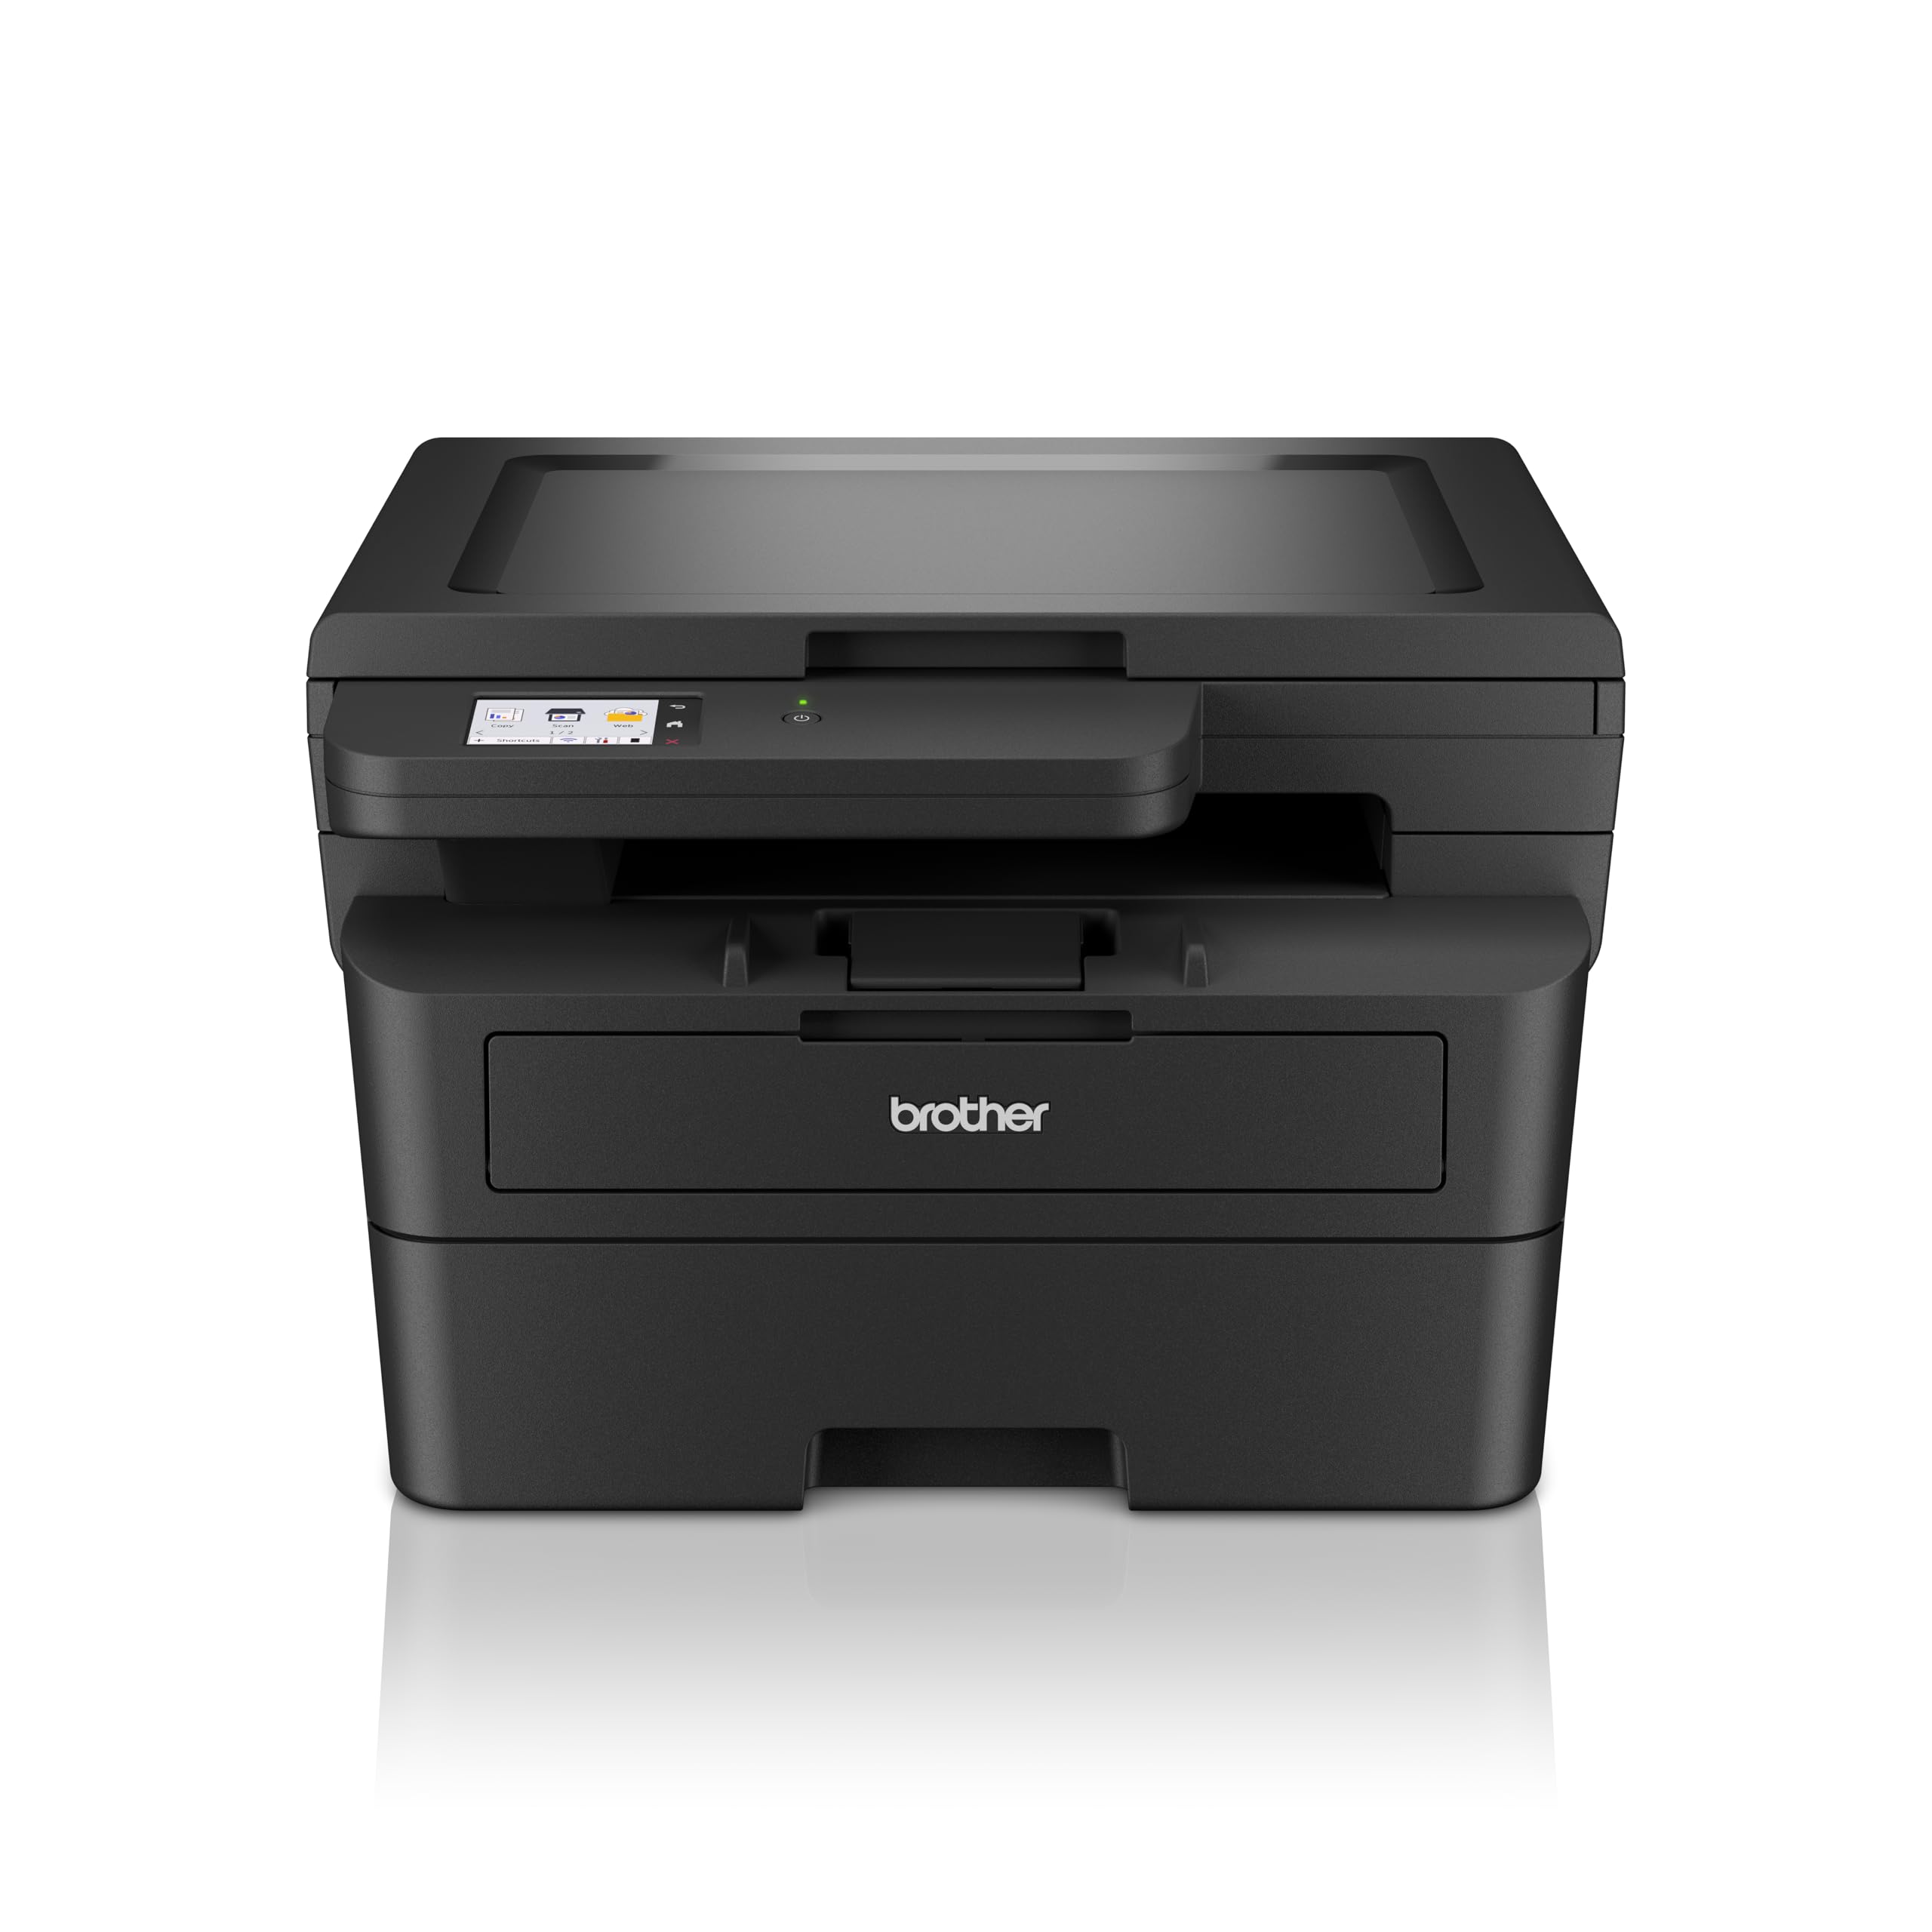
Image 1.1: Front view of the Brother DCP-L2680DW printer.
Key Features:
- Print, Scan, Copy: Integrated functionality for diverse office tasks.
- Up to 36 ppm: Fast monochrome printing speed.
- Automatic 2-sided (Duplex) Print: Saves paper and time.
- Mobile Printing: Print directly from compatible mobile devices.
- Connectivity: Supports Ethernet, USB, and Wi-Fi connections.
- 2.7" Touchscreen Colour LCD Display: Intuitive control panel for easy navigation.
2. Initial Setup
Follow these steps to set up your Brother DCP-L2680DW printer for the first time.
2.1 Unpacking the Printer
- Carefully remove the printer from its packaging.
- Remove all protective tapes and packing materials from the exterior and interior of the printer.
- Place the printer on a stable, flat surface with adequate ventilation.
2.2 Installing the Toner Cartridge and Drum Unit
- Open the front cover of the printer.
- Remove the drum unit and toner cartridge assembly from its protective bag.
- Insert the toner cartridge firmly into the drum unit until it locks into place.
- Slide the drum unit and toner cartridge assembly back into the printer until it clicks.
- Close the front cover.
2.3 Loading Paper
- Pull out the paper tray completely.
- Adjust the paper guides to fit the size of the paper you are loading.
- Load paper into the tray, ensuring it is flat and below the maximum paper mark.
- Gently push the paper tray back into the printer.
2.4 Connecting Power and Initial Power On
- Connect the power cord to the printer and then to a grounded electrical outlet.
- Press the power button to turn on the printer.
- Follow the on-screen instructions on the LCD display to select your language and region.
2.5 Connecting to a Computer/Network
The DCP-L2680DW supports USB, Ethernet, and Wi-Fi connectivity.
- USB Connection: Connect a USB cable from the printer to your computer.
- Ethernet Connection: Connect an Ethernet cable from the printer to your network router or switch.
- Wi-Fi Connection: On the printer's control panel, navigate to Network settings, then WLAN, and follow the instructions to connect to your wireless network.
After connecting, install the printer drivers from the official Brother support website (www.brother.com) or the included installation CD (if applicable).
3. Operating Instructions
This section covers basic operations of your multi-function printer.
3.1 Printing Documents
- Ensure the printer is powered on and connected to your device.
- Open the document you wish to print on your computer or mobile device.
- Select the print option from your application.
- Choose the Brother DCP-L2680DW from the list of available printers.
- Adjust print settings (e.g., number of copies, paper size, duplex printing) as needed.
- Click "Print".
3.2 Scanning Documents
- Place the document face down on the scanner glass.
- On the printer's control panel, select "Scan".
- Choose your desired scan destination (e.g., PC, Email, USB).
- Adjust scan settings such as resolution, color mode, and file format.
- Press "Start" to begin scanning.
3.3 Copying Documents
- Place the document face down on the scanner glass.
- On the printer's control panel, select "Copy".
- Enter the number of copies required using the numeric keypad or arrow buttons.
- Adjust copy settings (e.g., reduce/enlarge, quality) if necessary.
- Press "Start" to begin copying.
4. Maintenance
Regular maintenance ensures optimal performance and longevity of your printer.
4.1 Replacing the Toner Cartridge
When the "Toner Low" or "Replace Toner" message appears on the display:
- Open the front cover.
- Remove the drum unit and toner cartridge assembly.
- Press the green lock lever and pull the toner cartridge out of the drum unit.
- Unpack a new toner cartridge and shake it gently side to side several times.
- Insert the new toner cartridge firmly into the drum unit until it locks.
- Slide the drum unit and new toner cartridge assembly back into the printer.
- Close the front cover.
4.2 Replacing the Drum Unit
The drum unit is a consumable item that needs replacement after a certain number of pages. The printer will indicate when replacement is due.
- Follow steps 1-3 from "Replacing the Toner Cartridge" to remove the old toner and drum unit.
- Unpack a new drum unit.
- Insert the existing toner cartridge into the new drum unit until it locks.
- Slide the new drum unit and toner cartridge assembly back into the printer.
- Close the front cover.
- Reset the drum counter via the printer's menu (refer to the on-screen instructions or full manual for specific steps).
4.3 Cleaning the Printer
- Exterior: Wipe the exterior of the printer with a soft, lint-free cloth. Do not use abrasive cleaners or solvents.
- Scanner Glass: Use a soft, dry cloth or a cloth dampened with glass cleaner (non-ammonia based) to clean the scanner glass.
5. Troubleshooting
This section addresses common issues you might encounter with your printer.
5.1 Paper Jams
If a paper jam occurs, the printer's display will show an error message and indicate the location of the jam.
- Turn off the printer and unplug the power cord.
- Open the indicated cover or tray.
- Carefully pull out the jammed paper in the direction of the paper path. Avoid tearing the paper.
- Ensure all paper fragments are removed.
- Close all covers and plug in the power cord, then turn on the printer.
5.2 Print Quality Issues
- Faded Prints: Check the toner cartridge level. Replace if low.
- Streaks or Spots: Clean the drum unit. Refer to the full user manual for detailed cleaning instructions for the drum unit's corona wire.
- Uneven Density: Ensure the paper type setting matches the paper loaded in the tray.
5.3 Connectivity Problems
- USB: Ensure the USB cable is securely connected to both the printer and the computer. Try a different USB port or cable.
- Ethernet: Verify the Ethernet cable is properly connected to the printer and the network device. Check network settings on the printer.
- Wi-Fi: Confirm the printer is connected to the correct wireless network. Restart your router and the printer. Ensure the printer is within range of the Wi-Fi signal.
6. Specifications
Detailed technical specifications for the Brother DCP-L2680DW printer.

Image 6.1: Dimensions of the Brother DCP-L2680DW printer (H: 272mm, W: 410mm, D: 399mm).
| Feature | Specification |
|---|---|
| Brand | Brother |
| Model Name | DCP-L2680DW |
| Connectivity Technology | Ethernet, USB, Wi-Fi |
| Printing Technology | Laser |
| Printer Output | Monochrome |
| Max Monochrome Printing Speed | 36 ppm |
| Item Weight | 9 Kilograms |
| Product Dimensions (D x W x H) | 41D x 27.2W x 39.9H centimetres |
| Scanner Type | Flatbed |
| Display Type | LCD |
| Resolution | 1200 x 1200 dpi |
| Control Method | Touch |
| Maximum Sheet Capacity | 250 sheets |
| Dual-sided printing | Yes (Automatic Duplex) |
7. Warranty Information
The Brother DCP-L2680DW printer comes with a 3-year onsite warranty. Please retain your proof of purchase for warranty claims. For detailed terms and conditions, refer to the warranty documentation included with your product or visit the official Brother website.
8. Customer Support
For further assistance, technical support, or product-related information, please contact Brother customer service.

Image 8.1: Brother customer support contact details.
Contact Information:
- Toll-Free Numbers:
- 1-800-222-422 (For MTNL and BSNL users)
- 1-800-209-8904 (For Others and all Mobiles)
- Email Support: customercare@brother.in
- WhatsApp Support: 7045 450 450
- Chatbot: Available on www.brother.in
- Website: www.brother.in
Support hours are typically Monday to Friday: 8:30 AM - 6:30 PM, and Saturday: 9:00 AM - 6:00 PM (local time).


