1. Important Safety Instructions
Please read all instructions carefully before installing or operating this appliance. Failure to follow these instructions may result in property damage, personal injury, or death.
- Professional Installation: Gas system modifications and initial installation must only be performed by certified and authorized technicians.
- Ventilation: Ensure adequate ventilation. It is recommended to use an extraction system to guarantee optimal performance and product use.
- Safety Thermocouple: This appliance is equipped with a safety thermocouple element that monitors the flame. If the flame extinguishes, the gas supply to the appliance will be automatically cut off.
- Gas Type: The appliance is supplied for propane gas as standard. Conversion to natural gas must be performed by a qualified technician using the included natural gas jets.
- Clearance: Maintain proper clearances from combustible materials as per local regulations.
2. Product Overview
The GGM Gastro GHTC2 is a high-performance gas cooker designed for professional use, featuring two powerful burners and durable construction.
Key Features
- Equipped with a safety thermocouple for flame monitoring.
- High performance with 11 kW total power.
- Constructed from high-quality AISI 304 stainless steel.
- Features enameled cast iron flame dividers.
- Adjustable stainless steel feet for stability.
- Compact and space-saving design.
- Easy to operate with knob controls.
- Suitable for both propane and natural gas (with conversion).
Technical Specifications
| Specification | Detail |
|---|---|
| Brand | GGM Gastro |
| Model Number | GHTC2 |
| Material | AISI 304 Stainless Steel |
| Color | Stainless steel |
| Number of Burners | 2 |
| Total Power | 11 kW |
| External Dimensions (L x D x H) | 770 mm x 400 mm x 170 mm |
| Controls Type | Knob |
| Gas Type | Propane (standard), Natural Gas (optional) |
| Included Components | City gas and propane jets |
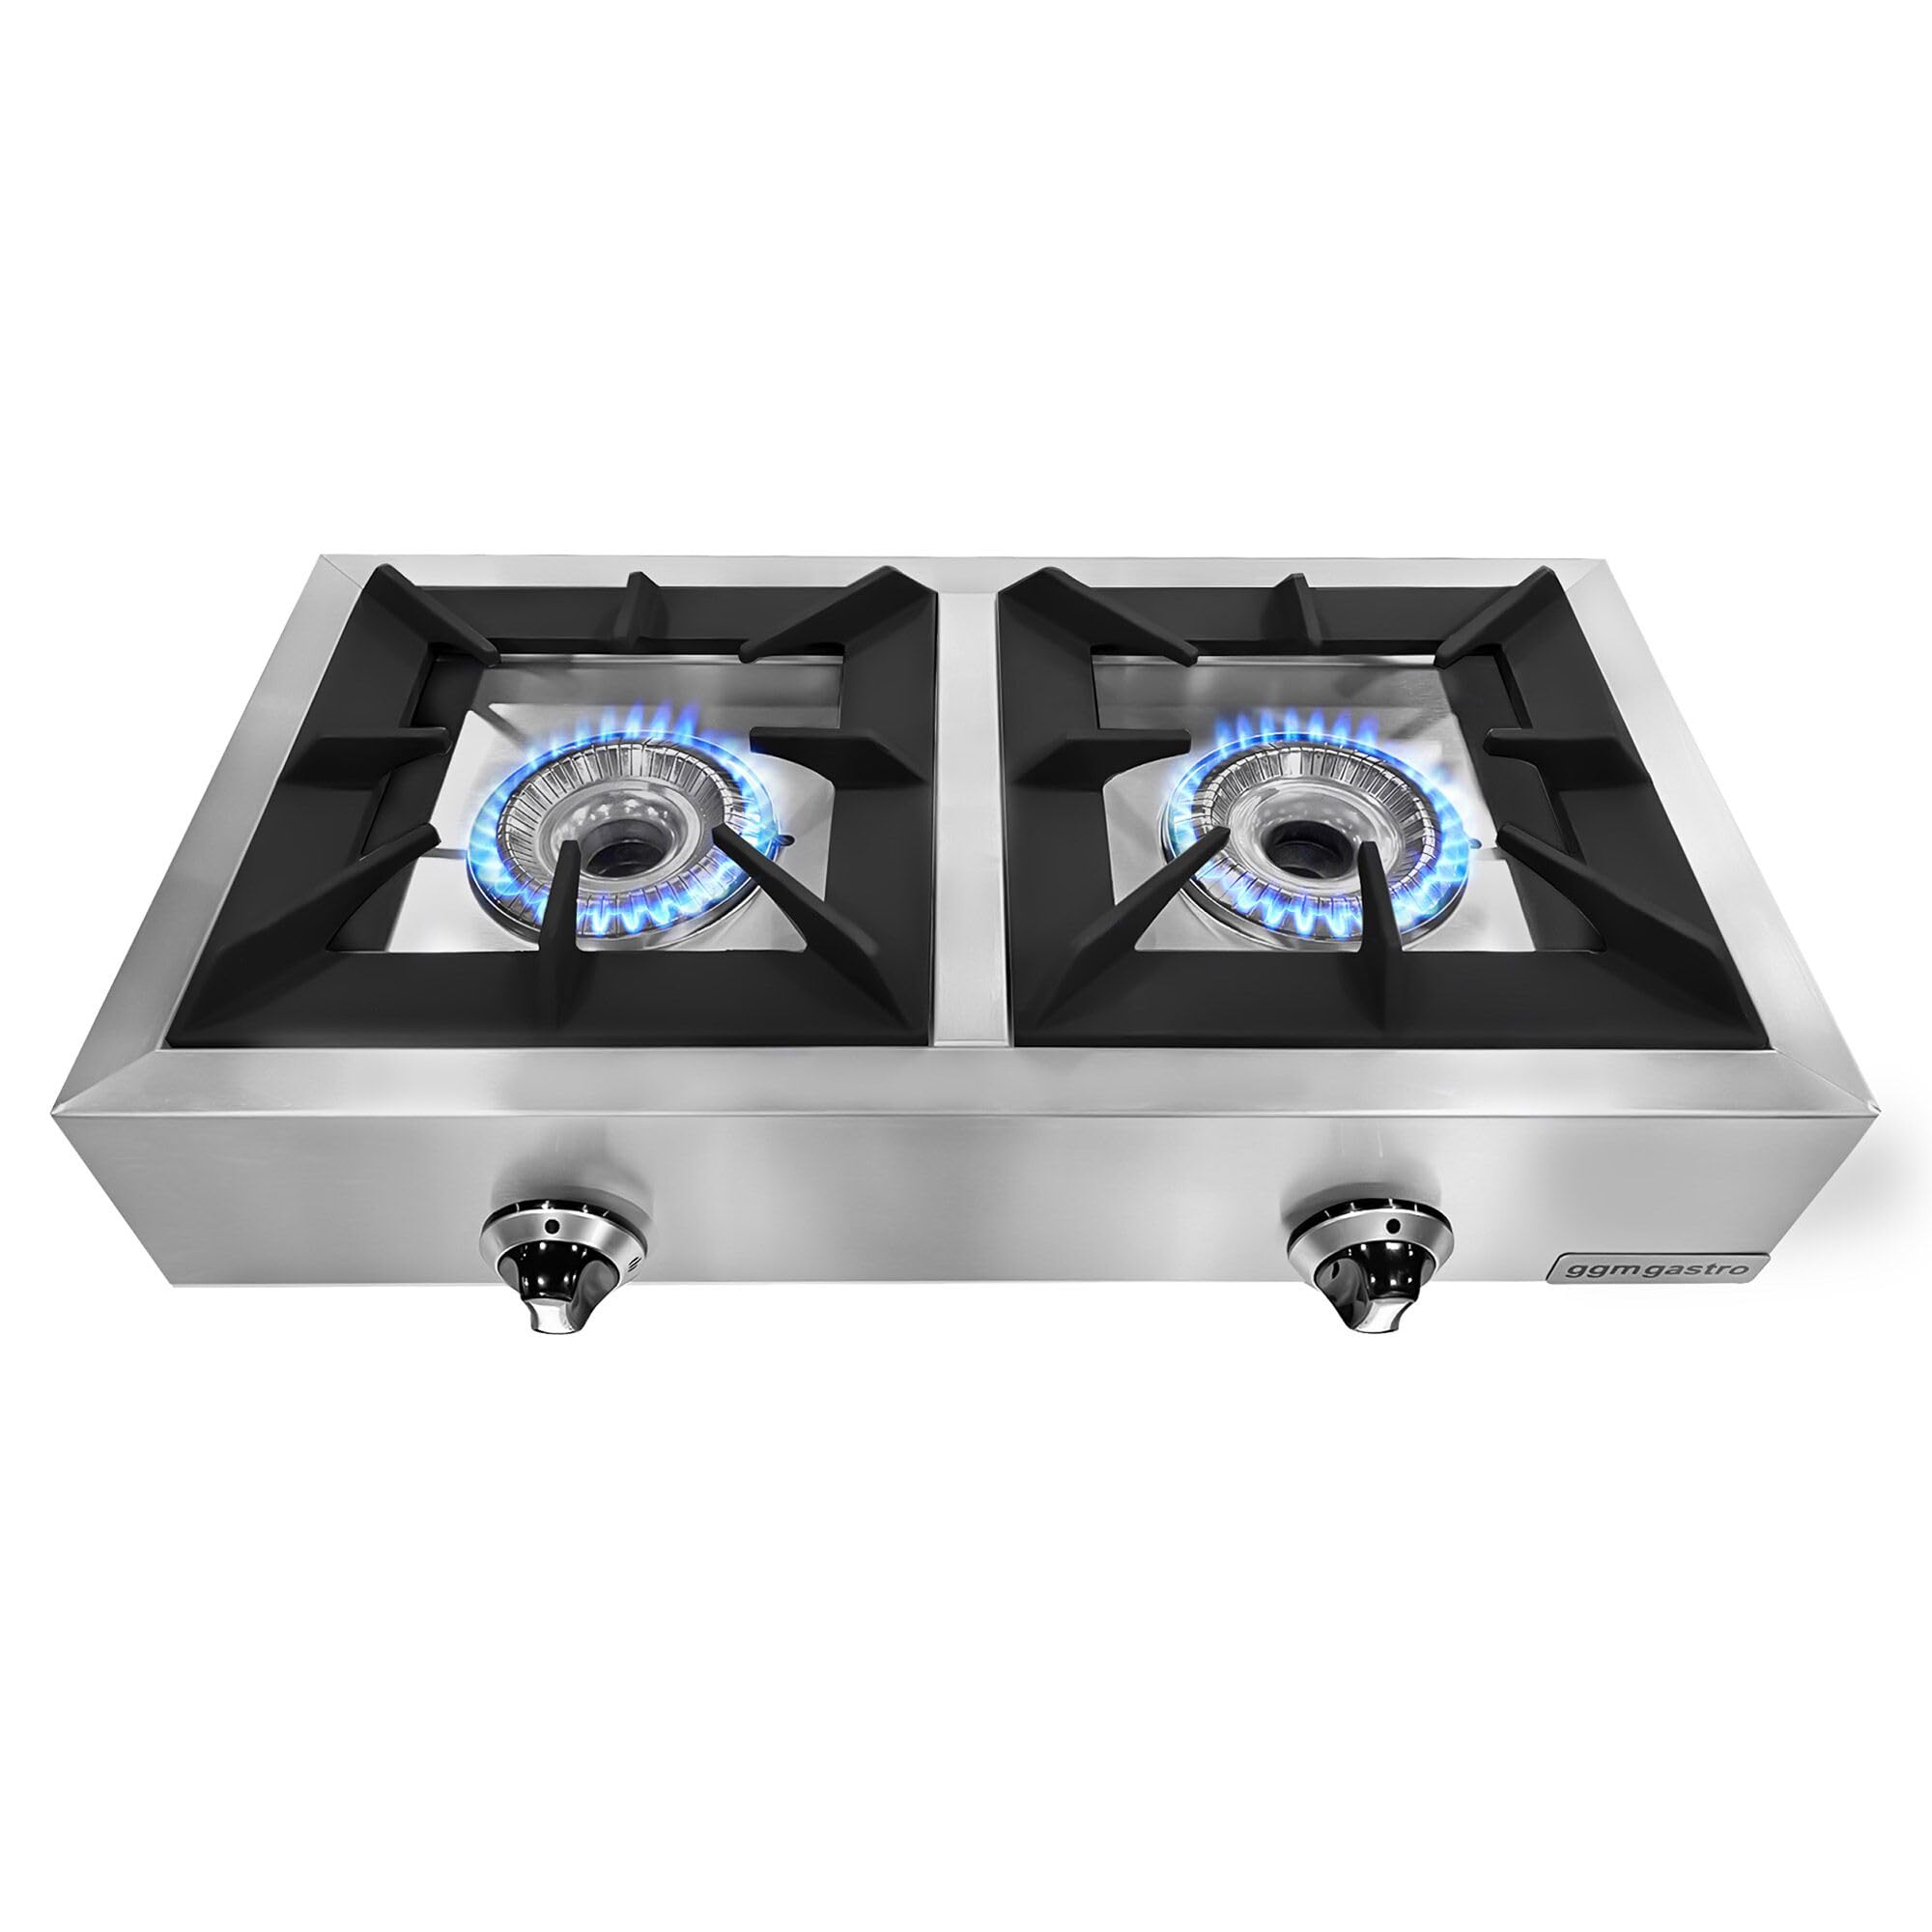
Image: The GGM Gastro GHTC2 Gas Cooker with both burners actively lit, showcasing its operational state.
3. Setup
3.1 Unpacking
Carefully remove the appliance from its packaging. Inspect for any damage that may have occurred during transit. Report any damage to your supplier immediately.
3.2 Installation Requirements
- Ensure the installation area is level and stable.
- Provide adequate clearance around the appliance for ventilation and maintenance.
- The appliance must be installed in accordance with all local and national gas and electrical codes.
- Adjust the stainless steel feet to ensure the cooker is level and stable on the countertop.

Image: Side view of the GGM Gastro GHTC2 gas cooker, highlighting the adjustable feet for leveling.
3.3 Gas Connection
This step must be performed by a certified gas technician.
- Connect the appliance to the appropriate gas supply (propane or natural gas) using approved fittings and hoses.
- If converting from propane to natural gas (or vice-versa), ensure the correct jets (included) are installed by a qualified technician.
- Perform a leak test on all gas connections using a soapy water solution. Do not use an open flame.
4. Operating Instructions
4.1 Igniting a Burner
- Ensure the gas supply valve to the appliance is open.
- Push in and turn the desired burner control knob counter-clockwise to the 'High' flame setting.
- The burner should ignite automatically. If it does not, release the knob and repeat the process. If ignition still fails, check the gas supply.
- Hold the knob in for a few seconds after ignition to allow the thermocouple to heat up and engage the safety valve.

Image: Front view of the GGM Gastro GHTC2 gas cooker, showing the control knobs for each burner.
4.2 Adjusting Flame
Once the burner is lit, you can adjust the flame intensity by turning the control knob between the 'High' and 'Low' settings. Turn the knob clockwise to decrease the flame and counter-clockwise to increase it.
4.3 Safety Thermocouple Function
The integrated thermocouple system is a safety feature. If the flame on a burner accidentally goes out (e.g., due to a draft or boil-over), the thermocouple will cool down and automatically shut off the gas flow to that specific burner, preventing gas leakage.
5. Maintenance
Regular cleaning and maintenance will ensure the longevity and efficient operation of your gas cooker.
5.1 Cleaning
- Before Cleaning: Always ensure the appliance is turned off, the gas supply is closed, and the cooker has cooled down completely.
- Stainless Steel Surfaces: Clean stainless steel surfaces with a soft cloth and a mild, non-abrasive cleaner specifically designed for stainless steel. Wipe in the direction of the grain to avoid scratches.
- Burner Grates and Flame Dividers: The enameled cast iron grates and flame dividers can be removed for cleaning. Wash them with warm soapy water and a non-abrasive brush. Ensure they are completely dry before placing them back on the cooker.
- Spills: Clean up spills immediately to prevent staining and carbon buildup.

Image: Close-up of a burner, showing the removable grate and flame divider for cleaning.
5.2 Burner Care
- Keep the burner ports clean and free from food debris to ensure an even flame.
- Do not use harsh chemicals or abrasive pads on burner components as this can damage them.
6. Troubleshooting
Refer to the table below for common issues and their potential solutions.
| Problem | Possible Cause | Solution |
|---|---|---|
| Burner does not ignite. | No gas supply; clogged burner ports; ignition failure. | Check gas supply valve. Clean burner ports. If ignition still fails, contact a qualified technician. |
| Flame is uneven or weak. | Clogged burner ports; incorrect gas pressure. | Clean burner ports. Contact a qualified technician to check gas pressure. |
| Flame goes out after ignition. | Thermocouple not heated sufficiently; faulty thermocouple. | Hold the control knob in for a few more seconds after ignition. If problem persists, contact a qualified technician. |
| Gas odor detected. | Gas leak. | Immediately turn off the gas supply. Open windows for ventilation. Do not operate any electrical switches. Contact a qualified gas technician immediately. |
7. Warranty and Support
Specific warranty information for the GGM Gastro GHTC2 gas cooker is not provided within this product data. For warranty details, technical support, or spare parts availability, please contact your retailer or the manufacturer directly.
It is important to note that modifications to the gas system should only be carried out by authorized technicians to maintain safety and warranty validity.


