1. Introduction
This manual provides comprehensive instructions for the NearStream CCD10 1080P60 USB 3.0 HDMI Capture Card. It covers setup, operation, maintenance, and troubleshooting to ensure optimal performance for your streaming and recording needs.

Figure 1: NearStream CCD10 HDMI Capture Card. This compact device allows for high-quality video capture and passthrough.
Video 1: An overview of the NearStream CCD10 Capture Card, showcasing its features and compact design.
2. Package Contents
Verify that all items are present in your package:
- NearStream CCD10 Capture Card (x1)
- HDMI Cable (x1)
- USB 3.0 Cable (x1)
- User Manual (x1)
- Quick Start Guide (x1)
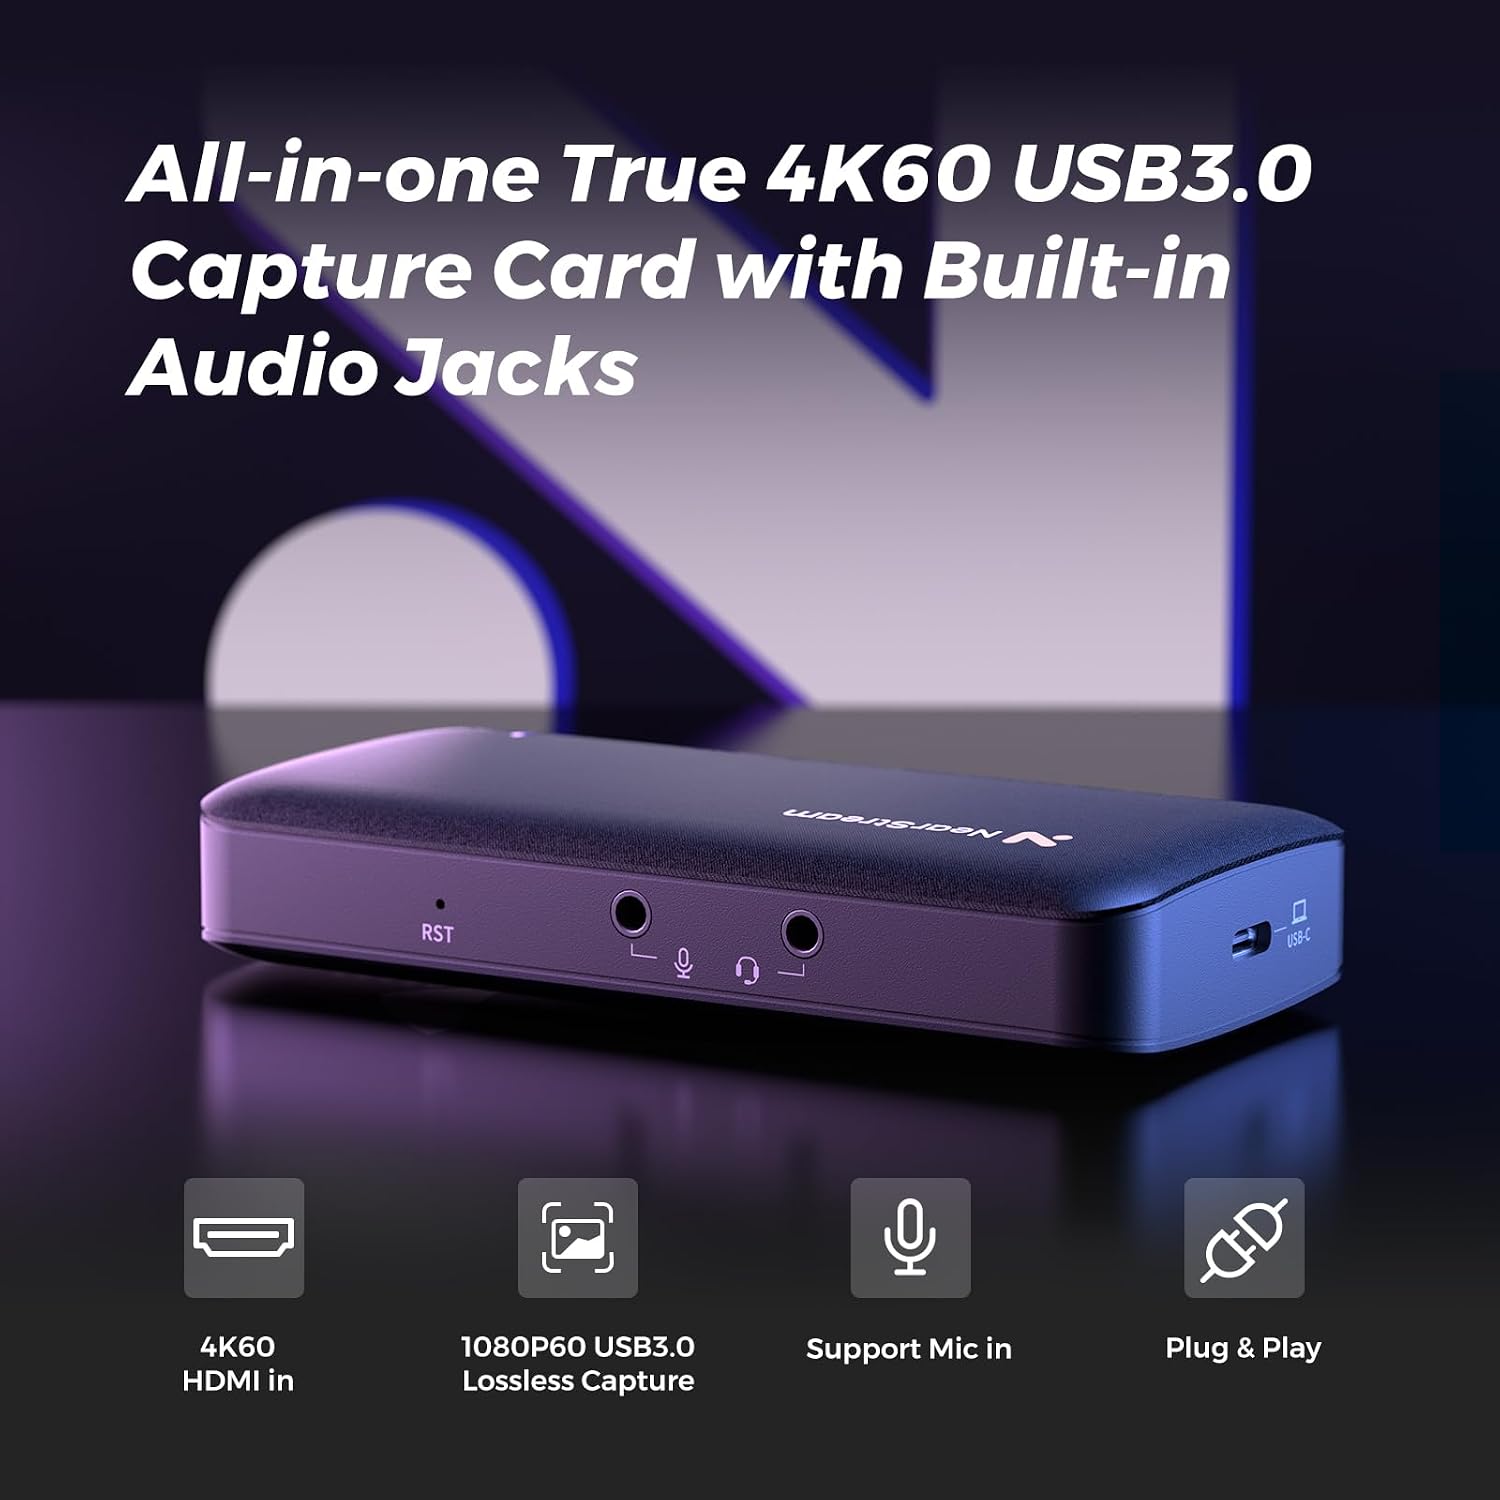
Figure 2: The NearStream CCD10 capture card, highlighting its built-in audio jacks for microphone and headphone connections.
3. Specifications
| Brand | NearStream |
| Model | CCD10 |
| Video Capture Resolution | 1080p @ 60fps |
| HDMI Input/Output Resolution | Up to 4K @ 60fps (Passthrough) |
| Hardware Interface | USB 3.0 Type C, HDMI, 3.5mm Audio |
| Operating System Compatibility | Windows, Mac, Linux |
| Dimensions (LxWxH) | 4.57 x 2.2 x 0.87 inches |
| Weight | 2.68 ounces |
| Recommended Uses | Livestreaming, Video Recording |

Figure 3: Computer System Requirements for optimal performance with the NearStream CCD10.
4. Setup Guide
Follow these steps to connect your NearStream CCD10 capture card to your device and set it up for streaming or recording.
4.1. Physical Connection
- Connect HDMI Input: Use an HDMI cable to connect the HDMI OUT port of your source device (e.g., PS5, Xbox, Switch, Camera, PC) to the HDMI IN port on the CCD10 capture card.
- Connect HDMI Output (Passthrough - Optional): If you wish to view your content on a separate monitor without latency, connect an HDMI cable from the HDMI OUT port on the CCD10 capture card to the HDMI IN port of your monitor or TV.
- Connect to Computer: Use the provided USB 3.0 cable to connect the USB-C port on the CCD10 capture card to a USB 3.0 port on your PC or Mac. Ensure you use a USB 3.0 port for stable data transfer and optimal performance.
- Connect Audio (Optional): For voice commentary or monitoring, connect a microphone to the microphone input and/or headphones to the headphone output on the CCD10.
Connection Diagrams:

Figure 4: Connecting the CCD10 to a PlayStation 5. Disable HDCP in PS5 settings and configure audio output to HDMI with "Linear PCM."

Figure 5: Connecting the CCD10 to an Xbox. Enable HDMI audio in Xbox settings and set resolution to 1080p.

Figure 6: Connecting the CCD10 to a Nintendo Switch. Ensure the dock is powered for HDMI signal and use 1080p resolution for optimal capture.

Figure 7: Connecting the CCD10 to a PC. Route HDMI OUT to capture card HDMI IN, set capture card as input audio device, and use USB 3.0 for stable data transfer.

Figure 8: Connecting the CCD10 to a DSLR Camera. Enable clean HDMI output in camera settings, use a dummy battery for continuous power, and disable auto shut-off.
4.2. Software Setup (OBS Studio Example)
The NearStream CCD10 is plug-and-play, requiring no specific drivers. For capturing and streaming, software like OBS Studio is recommended.
- Install OBS Studio: Download and install OBS Studio from its official website (obsproject.com).
- Add Video Source: In OBS, click the "+" icon under the "Sources" panel. Select "Video Capture Device".
- Select Device: In the properties window, choose "NearStream CCD10" from the device dropdown.
- Configure Settings: Adjust resolution (e.g., 1920x1080) and other video/audio settings as needed. Click "OK".
- Verify Connection: If the video appears in OBS, the blue indicator light on the CCD10 will flash quickly, confirming a successful connection.
- Start Streaming/Recording: To stream, go to "Settings" > "Stream", select your service (e.g., YouTube, Twitch), enter your stream key, and click "Start Streaming". To record, click "Start Recording".
Video 2: Official NearStream guide on connecting the capture card to your device and setting it up in OBS. This video demonstrates the steps for Xbox and OBS configuration.
5. Operating Instructions
Once set up, operating the NearStream CCD10 is straightforward:
- Live Preview: The passthrough feature (HDMI OUT to monitor) provides a real-time, ultra-low latency display of your source content, allowing you to play games directly on a monitor while capturing on your computer.
- Audio Monitoring: Use the headphone jack to monitor audio from your source and microphone in real-time.
- Microphone Input: The dedicated microphone input allows for direct voice commentary during live streams or recordings.
- Recording: In your chosen software (e.g., OBS Studio), initiate recording to save your captured video and audio to your computer.
- Streaming: Configure your streaming software with your platform's stream key and start streaming to share your content live.

Figure 9: Demonstration of the ultra-low latency passthrough feature, showing minimal delay between original and captured footage.

Figure 10: Illustrates the benefit of USB 3.0 for fast and lossless data transmission compared to USB 2.0.
6. Maintenance
To ensure the longevity and optimal performance of your NearStream CCD10 capture card:
- Cleaning: Use a soft, dry cloth to clean the exterior of the device. Avoid liquid cleaners or abrasive materials.
- Storage: Store the device in a cool, dry place away from direct sunlight and extreme temperatures when not in use.
- Cable Care: Handle HDMI and USB cables carefully. Avoid bending or crimping them sharply to prevent damage.
- Firmware Updates: Periodically check the NearStream official website for any available firmware updates for your CCD10 model. Updates can improve performance and compatibility.
7. Troubleshooting
Here are solutions to common issues you might encounter:
| Problem | Solution |
|---|---|
| Black screen on console/monitor (Passthrough) | This is likely caused by HDCP encryption. To fix it:
HDCP can block video signals on some capture cards, but turning it off usually resolves the issue. If the problem persists, check cable connections or update the card's firmware. |
| No signal in OBS/recording software |
|
| Audio issues (no sound, distorted audio) |
|
| Lag or dropped frames during capture/streaming |
|

Figure 11: FAQ addressing the common issue of a black screen on the console due to HDCP encryption.
8. Warranty and Support
For warranty information and technical support, please refer to the official NearStream website or contact their customer service directly. The product includes a user manual and quick start guide for initial assistance.
Online Resources: Visit the NearStream Official Store for additional product information and support.
