
Reebok RVFR-10700
Reebok FR30 Sprint Bike User Manual
Model: RVFR-10700
1. Important Safety Information
Before operating the Reebok FR30 Sprint Bike, please read and understand all instructions in this manual. Keep this manual for future reference.
- Consult with a physician before beginning any exercise program.
- Ensure all bolts, nuts, and other connections are securely tightened before each use.
- Place the bike on a level surface with at least 0.6 meters (2 feet) of clear space around it.
- Keep children and pets away from the equipment during use.
- Do not exceed the maximum user weight capacity of 297.62 pounds (135 kg).
- Wear appropriate exercise clothing and footwear. Avoid loose clothing that could get caught in moving parts.
- If you experience dizziness, nausea, chest pain, or any other abnormal symptoms, stop your workout immediately and consult a physician.
- The bike is designed for indoor use only.
2. Product Overview
The Reebok FR30 Sprint Bike is designed to provide an effective indoor cycling experience. Familiarize yourself with its main components.

Figure 2.1: Front view of the Reebok FR30 Sprint Bike.

Figure 2.2: Side view of the Reebok FR30 Sprint Bike, showing the flywheel and frame.
Key Components:
- Console: LED display for performance feedback, with integrated tablet/phone holder.
- Handlebars: Adjustable for various riding positions.
- Saddle: Dual-adjustable padded racing saddle for comfort and optimal positioning.
- Pedals: Gripped pedals with integrated cages and adjustable straps.
- Flywheel: 18 kg (40 lb) flywheel for smooth and consistent resistance.
- Resistance Knob: Controls 32 electronic resistance levels.
- Water Bottle Holder: Conveniently located for hydration during workouts.
- Transport Wheels: For easy movement of the bike.
- Floor Level Adjusters: For stability on uneven surfaces.
3. Setup and Assembly
The Reebok FR30 Sprint Bike requires some assembly. Follow these general steps. Refer to the separate assembly guide included with your product for detailed, step-by-step instructions and diagrams.
- Unpacking: Carefully remove all components from the packaging. Verify all parts are present against the parts list in the assembly guide.
- Stabilizer Installation: Attach the front and rear stabilizers to the main frame using the provided hardware. Ensure they are securely fastened.
- Pedal Attachment: Identify the left (L) and right (R) pedals. Thread them into the crank arms. Note that the left pedal threads counter-clockwise. Tighten securely.
- Saddle Installation: Insert the saddle post into the frame and secure it at the desired height. Attach the saddle to the saddle post.
- Handlebar Installation: Insert the handlebar post into the frame and secure it. Attach the handlebars to the post.
- Console Connection: Connect the console cables to the main frame wiring. Mount the console onto the handlebar assembly.
- Power Connection: Plug the power adapter into the bike and then into a suitable wall outlet.
- Leveling: Adjust the floor level adjusters on the stabilizers to ensure the bike is stable and does not rock.
Note: Always ensure all connections are tight before first use and periodically check them for security.
4. Operating Instructions
4.1 Adjusting the Bike
Proper adjustment of the saddle and handlebars is crucial for comfort and effective training.
- Saddle Height: Loosen the adjustment knob on the saddle post. Raise or lower the saddle until your leg has a slight bend at the knee when the pedal is at its lowest point. Tighten the knob securely.
- Saddle Fore/Aft: Loosen the adjustment knob under the saddle. Slide the saddle forward or backward to align your knee directly over the pedal spindle when the pedals are horizontal. Tighten the knob securely.
- Handlebar Height: Loosen the adjustment knob on the handlebar post. Raise or lower the handlebars to a comfortable position that allows for a slight bend in your elbows. Tighten the knob securely.

Figure 4.1: Proper riding posture on the Reebok FR30 Sprint Bike.
4.2 Using the Console
The LED console provides real-time feedback and allows you to control your workout.
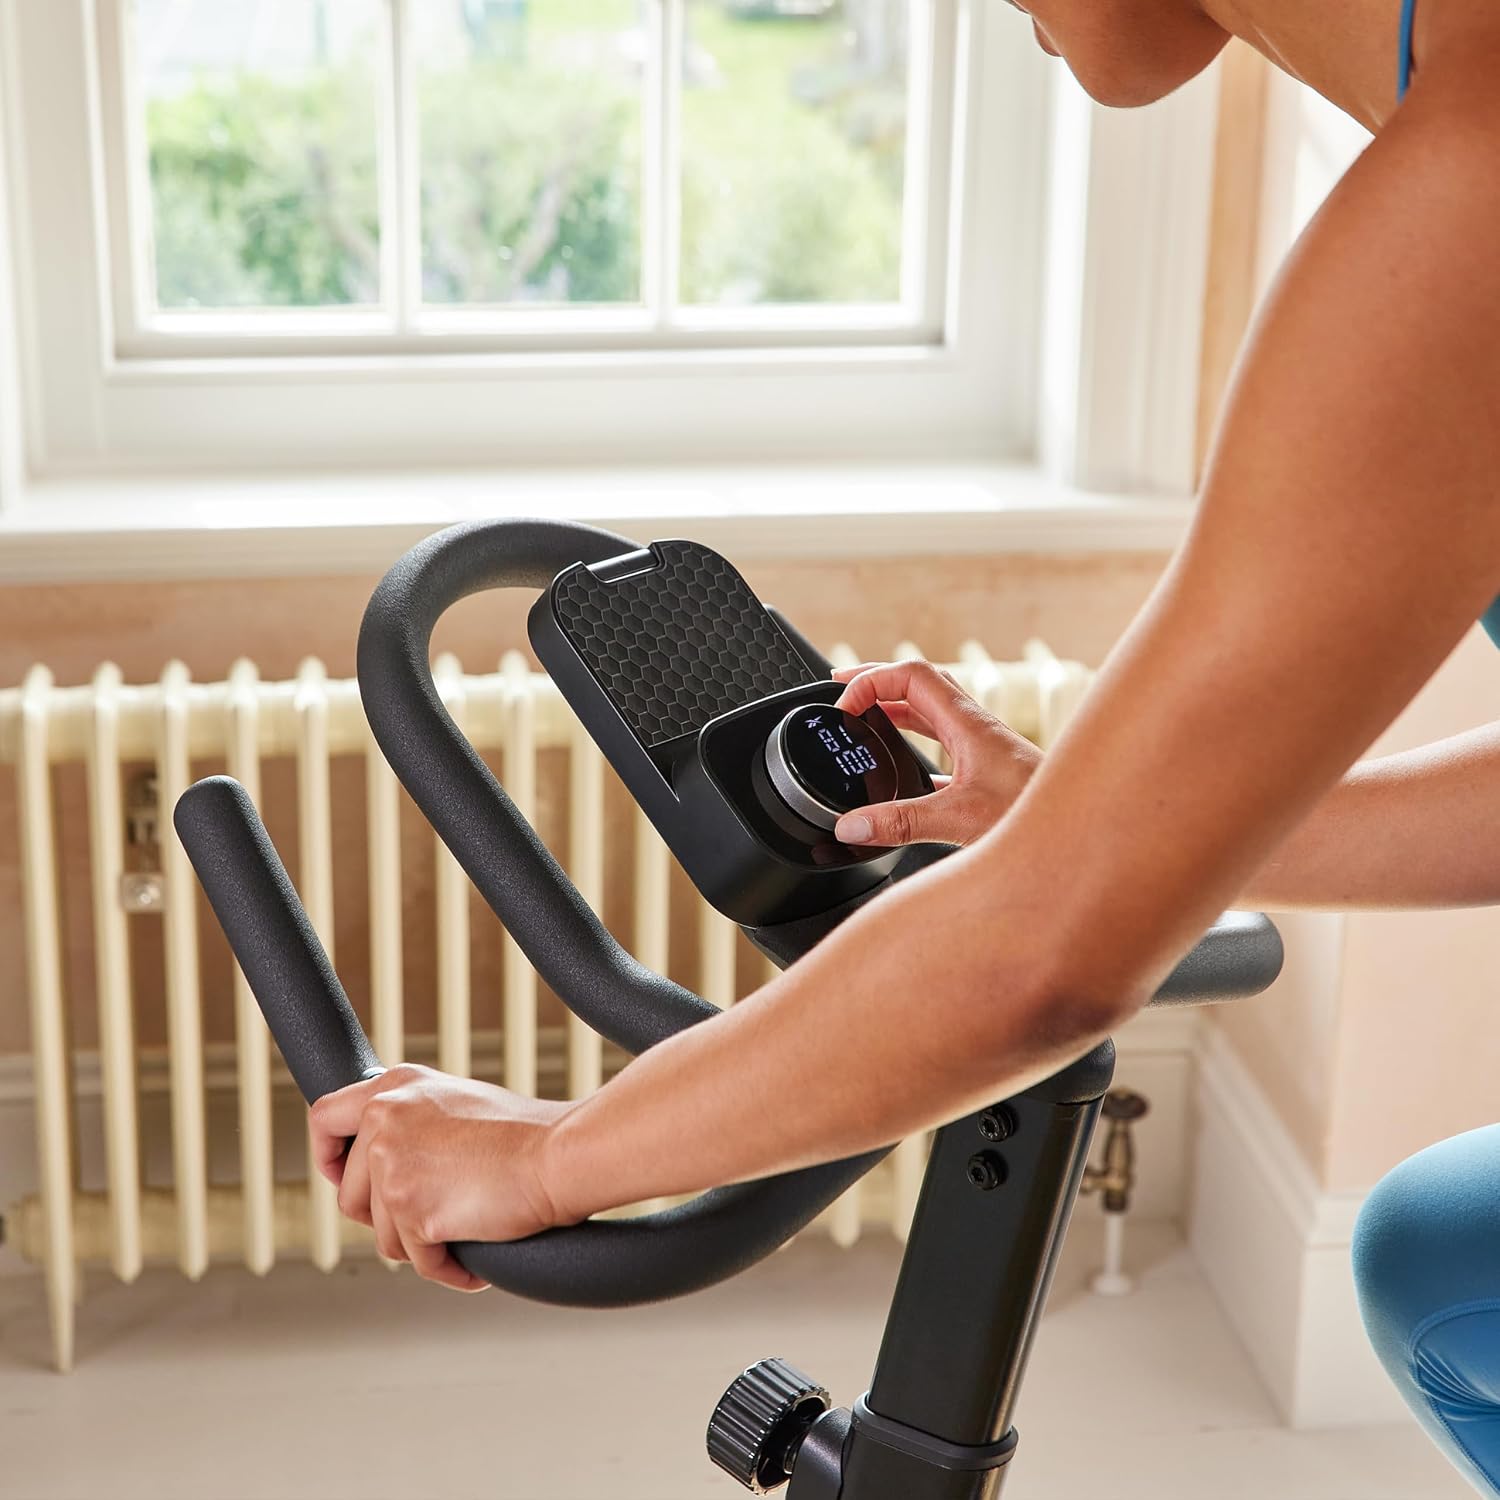
Figure 4.2: Close-up of the console, showing the display and adjustment knob.
- Power On/Off: The console powers on automatically when you begin pedaling or press any button. It will power off after a period of inactivity.
- Resistance Adjustment: Use the resistance knob on the console to increase or decrease the electronic resistance. There are 32 levels available.
- Display Metrics: The LED display shows various metrics including Speed, Time, Distance, Calories, Watts, RPM, and Heart Rate (via hand pulse sensors).
- Pre-set Programs: The console includes 12 pre-set programs. Refer to the console manual for details on selecting and using these programs.
- Tablet/Phone Holder: Place your device in the integrated holder for entertainment or app connectivity.
4.3 App Connectivity (Zwift, Kinomap, Peloton)
The Reebok FR30 Sprint Bike is compatible with various fitness applications to enhance your training experience.
- Download the Console App: First, download the dedicated Console App for your device (iOS/Android).
- Pairing: Follow the instructions within the Console App to pair your device with the Sprint Bike via Bluetooth.
- Third-Party App Integration: Once connected to the Console App, you can then link to compatible third-party apps like Zwift, Kinomap, or Peloton. Refer to the specific app's instructions for pairing and usage.
- Features: These apps allow for interactive workouts, virtual routes, structured training, and social features.

Figure 4.3: Using a tablet with the Reebok FR30 Sprint Bike for interactive training.
5. Maintenance
Regular maintenance ensures the longevity and optimal performance of your Reebok FR30 Sprint Bike.
- Cleaning: Wipe down the bike with a damp cloth after each use to remove sweat and dust. Avoid abrasive cleaners or solvents.
- Inspecting Connections: Periodically check all bolts, nuts, and screws to ensure they are tight. Re-tighten as necessary.
- Lubrication: The internal components are largely maintenance-free. Do not attempt to lubricate the flywheel or belt drive system.
- Storage: Store the bike in a cool, dry place away from direct sunlight and extreme temperatures.
- Pedal Straps: Inspect pedal straps for wear and tear. Replace if damaged.
6. Troubleshooting
This section addresses common issues you might encounter with your Reebok FR30 Sprint Bike.
| Problem | Possible Cause | Solution |
|---|---|---|
| Bike is unstable/wobbles | Uneven floor; loose stabilizers | Adjust floor levelers on stabilizers. Ensure all stabilizer bolts are tight. |
| Console not displaying data | Loose cable connection; no power; console battery low (if applicable) | Check all console cable connections. Ensure power adapter is securely plugged in. If battery operated, replace batteries. |
| Resistance not changing | Electronic connection issue; resistance mechanism fault | Ensure console cables are properly connected. If issue persists, contact customer support. |
| Squeaking or grinding noise | Loose parts; foreign object; worn component | Inspect all visible parts for looseness and tighten. Check for any obstructions. If noise continues, contact customer support. |
If you encounter a problem not listed here, or if the suggested solutions do not resolve the issue, please contact Reebok customer support.
7. Specifications

Figure 7.1: Dimensions of the Reebok FR30 Sprint Bike.
| Feature | Detail |
|---|---|
| Model Number | RVFR-10700 |
| Product Dimensions (L x W x H) | 112.5 x 57.99 x 118.01 cm (44.3 x 22.8 x 46.5 inches) |
| Item Weight | 49.13 kg (108.3 lbs) |
| Maximum User Weight | 135 kg (297.62 lbs) |
| Flywheel Weight | 18 kg (40 lbs) |
| Resistance Type | Magnetic |
| Resistance Levels | 32 Electronic |
| Drive System | Belt |
| Power Source | Corded Electric |
| Material | Metal, Plastic |
| Special Features | Adjustable Resistance Level, App Connectivity, Calories Monitor, Distance Traveled Monitor, Speed Monitor |
8. Warranty and Support
For warranty information and customer support, please refer to the warranty card included with your product or visit the official Reebok fitness equipment website. Keep your proof of purchase for warranty claims.
Manufacturer: Reebok
Place of Business: RFE Sporting Goods Inc., 445 Plasamour Drive NE, Suite 1, Atlanta, GA, 30324, USA
Telephone: +1-800-215-6216
Ask a question about this manual
Ask about setup, troubleshooting, compatibility, parts, safety, or missing instructions. Manuals+ will review the question and use this page’s manual context to help answer it.