Important Safety Information
Please read all instructions carefully before installation and use. Retain this manual for future reference.
- Always disconnect power from the main supply before cleaning or servicing.
- Installation must be performed by a qualified electrician if hardwiring.
- Handle the mirror with care to prevent damage.
- Ensure the mounting surface can support the weight of the mirror.
- This mirror is designed for household/residential use only.
1. Unpacking and Package Contents
Carefully open the packaging and inspect the mirror for any damage. It is recommended to open the box with the bottom up for easier removal of contents. All corners and edges are protected during transport.
The package includes the mirror, an accessories box, a user manual, a power cord, and protective gloves.
Video: Unpacking and initial inspection of the mirror and its components. This video demonstrates the careful unpacking process and shows the included accessories such as the user manual, power cord, and mounting hardware.
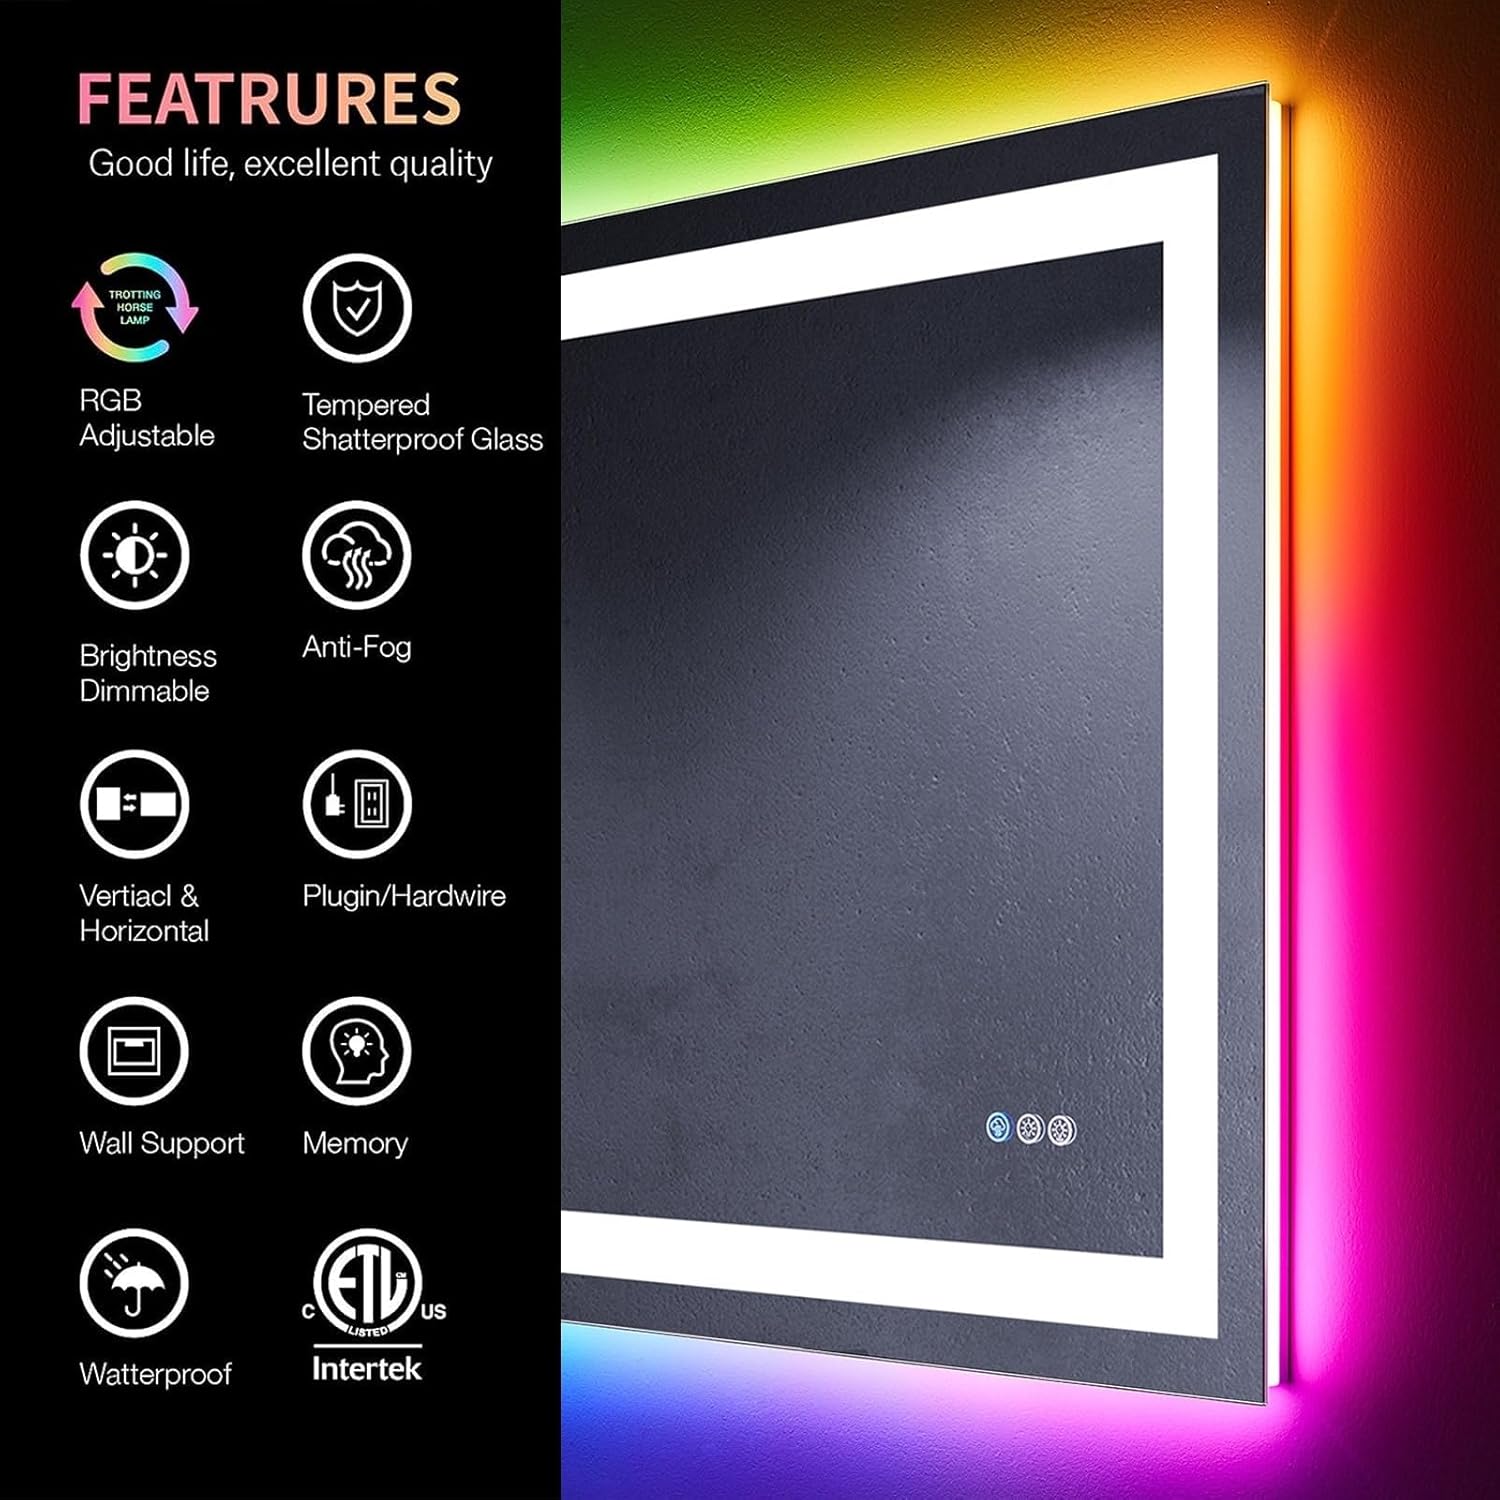
Image: Overview of key features including RGB Adjustable lighting, Tempered Shatterproof Glass, Brightness Dimmable, Anti-Fog function, Vertical & Horizontal mounting, Wall Support, Memory function, and Waterproof design with ETL certification.
2. Setup and Installation
The mirror can be installed either horizontally or vertically. Ensure the chosen location is suitable and the wall can support the mirror's weight.

Image: Demonstrates the two ways of power connection (plug/hardwired) and wall-mounted methods, allowing for both horizontal and vertical installation.
2.1 Mounting the Mirror
- Measure the mirror and mark the desired position on the wall using a level to ensure accuracy.
- Install the provided mounting brackets securely onto the wall at the marked positions.
- Connect the power: The mirror supports both plug-in and hardwired connections. If hardwiring, ensure a qualified technician performs the connection to the electrical junction box.
- Carefully hang the mirror onto the installed brackets. The frame on the back of the mirror is designed to securely fit onto the brackets.
- Once mounted, gently peel off the clear protective film from the mirror surface.

Image: Visual guide illustrating the steps for installing the mirror, including measuring, mounting brackets, and connecting power.
3. Operating Instructions
The mirror features intuitive touch controls integrated into the mirror surface.
3.1 Touch Controls
- Anti-Fog Function: Touch the wave icon to activate the anti-fog feature. It automatically turns off after one hour.
- Front Light Control: Touch the sun icon to cycle through three color temperatures (Cold Light 6000K, White Light 4000K, Warm Light 3000K). Long press to adjust brightness.
- RGB Backlight Control: Touch the gear icon to cycle through eight RGB backlight modes (Colorful, Cold Light, White Light, Warm Light, Pink, Red, Green, Blue). Long press to adjust brightness.
- Memory Function: The mirror remembers your last light settings (color and brightness) when turned off and on.

Image: Details the touch controls for 3-color front light adjustment (short touch for color, long touch for brightness) and RGB backlight adjustment (short touch for mode, long touch for brightness), along with the memory function.

Image: Illustrates the 8 light modes available for the RGB backlight and the 3 light modes for the front light (Cold, White, Warm).
Image: Shows various lighting combinations possible, including only backlight, only front light, front light + backlight, RGB backlight, and front light + RGB backlight.
4. Maintenance
To maintain the quality and appearance of your mirror, follow these simple guidelines:
- Cleaning: Use a soft, damp cloth with a mild glass cleaner. Avoid abrasive cleaners or harsh chemicals that may damage the mirror surface or frame.
- Dusting: Regularly dust the mirror and frame with a dry, soft cloth.
- Electrical Components: Do not attempt to service any electrical components yourself. Refer to qualified personnel for any repairs.
5. Troubleshooting
If you encounter any issues with your mirror, please refer to the following common solutions:
- Lights not working:
- Check if the mirror is properly plugged into a working outlet or if the hardwired connection is secure.
- Ensure the wall switch (if applicable) is in the ON position.
- Try resetting the power by unplugging/turning off the circuit breaker for a few minutes, then restoring power.
- Anti-fog function not working:
- Ensure the anti-fog function is activated via the touch control.
- Allow a few minutes for the defogger to heat up and clear the mirror surface.
- Touch controls unresponsive:
- Ensure the mirror surface is clean and dry. Moisture or dirt can interfere with touch sensitivity.
- Try resetting the power to the mirror.
If problems persist, please contact customer support.
6. Specifications
| Brand | Apmir |
| Model | Frameless LED Bathroom Vanity Mirror |
| Dimensions | 36"L x 36"W |
| Material | Glass |
| Mounting Type | Wall Mount (Horizontal or Vertical) |
| Special Features | Dimmable LED Frontlit, RGB Backlit, Anti-Fog, Frameless, Memory Function |
| Power Input | 120V (Plug-in or Hardwired) |
| Front Light Color Temperatures | 6000K (Cold), 4000K (White), 3000K (Warm) |
| RGB Backlight Modes | 8 modes (Colorful, Cold Light, White Light, Warm Light, Pink, Red, Green, Blue) |
Video: Illustrates the frame size and overall depth of the mirror, providing visual context for the product dimensions.
7. Warranty and Support
This Apmir mirror comes with a 3-Year Warranty from the date of purchase, covering manufacturing defects and malfunctions under normal use.
For warranty claims, technical support, or any questions, please contact Apmir customer service:
- Email: support@apmir.com
- Phone: 1-800-XXX-XXXX (Monday - Friday, 9 AM - 5 PM EST)
- Website: www.apmir.com/support
Please have your purchase receipt and model number ready when contacting support.
Image: Highlights the 3-year warranty information for the product.


