
1. Product Overview
The BAOFENG UV-17R is a versatile dual-band two-way radio designed for reliable communication across various frequency ranges. It supports both UHF (420-450MHz) and VHF (144-148MHz) transmission, along with extended reception capabilities (136-174MHz and 400-519.995MHz), including NOAA and FM broadcast reception. Key features include 999 programmable channels, DTMF customization, VOX functionality, and compatibility with Chirp programming software. This manual provides essential information for proper setup, operation, and maintenance of your UV-17R radio.

Figure 1.1: BAOFENG UV-17R Two Way Radios and Included Accessories.
2. Package Contents
Verify that all items are present in your package:
- BAOFENG UV-17R Two Way Radio (Quantity as purchased)
- 1800mAh Li-ion Battery
- Antenna
- Desktop Charger with AC Adapter
- Belt Clip
- Hand Strap
- Earpiece (Quantity as purchased)
- User Manual (This document)
3. Radio Components
Familiarize yourself with the various parts of your UV-17R radio:

Figure 3.1: UV-17R Radio Components.
- SMA-F Antenna Connector: For attaching the antenna.
- Flashlight/Alert Button: Activates the LED flashlight or alert function.
- PTT (Push-To-Talk) Button: Press and hold to transmit, release to receive.
- FM Broadcast Button: Toggles FM radio reception.
- MENU Button: Accesses the radio's menu system.
- Power/Volume Knob: Turns the radio on/off and adjusts volume.
- Speaker/Mic Jacks: For connecting external audio accessories.
- Exit Button: Exits menu or current function.
- LED Flashlight: Provides illumination.
- LED Status Indicator: Shows radio status (e.g., transmitting, receiving, charging).
4. Setup
4.1 Battery Installation and Charging
The UV-17R uses an 1800mAh Li-ion battery. Ensure the battery is fully charged before first use.
- Install Battery: Align the battery with the grooves on the back of the radio and slide it upwards until it clicks into place.
- Charge Battery: Place the radio (with battery installed) into the desktop charger. Connect the AC adapter to the charger and a power outlet. The LED indicator on the charger will typically show red during charging and green when fully charged.

Figure 4.1: Charging Base Tips. Ensure the radio is securely placed in the charger.
4.2 Antenna Attachment
Screw the antenna clockwise into the SMA-F connector on top of the radio until it is finger-tight. Do not overtighten.

Figure 4.2: Attaching the Antenna to the UV-17R.
5. Operating Instructions
5.1 Power On/Off and Volume
- Power On: Rotate the Power/Volume knob clockwise until you hear a click.
- Power Off: Rotate the Power/Volume knob counter-clockwise until you hear a click.
- Volume Adjustment: Rotate the Power/Volume knob to increase or decrease the audio level.
5.2 Transmitting and Receiving
- Receiving: Ensure the radio is powered on and tuned to the desired frequency or channel. The radio will automatically receive signals.
- Transmitting: Press and hold the PTT button on the side of the radio. Speak clearly into the microphone. Release the PTT button to stop transmitting and return to receive mode.
5.3 Menu Navigation
Press the MENU button to enter the main menu. Use the Up/Down arrow keys to navigate through menu options. Press MENU again to select an option, and EXIT to return to the previous screen or exit the menu.
5.4 Dual Band Operation
The UV-17R operates on both UHF and VHF bands. The display shows two frequency lines. Use the A/B button (if present, or a menu option) to switch between the upper and lower display lines to select the active frequency for transmission.
5.5 DTMF Customization
The UV-17R allows direct editing of DTMF settings. Press the # key to access DTMF customization options. Refer to the detailed menu guide for specific DTMF code programming.

Figure 5.1: DTMF Manual Dialing on the UV-17R.
5.6 Wireless Frequency Copy
This feature enables cloning frequency configurations from one UV-17R radio to another nearby. Activate the wireless frequency copy function via the menu on both radios to initiate the transfer.
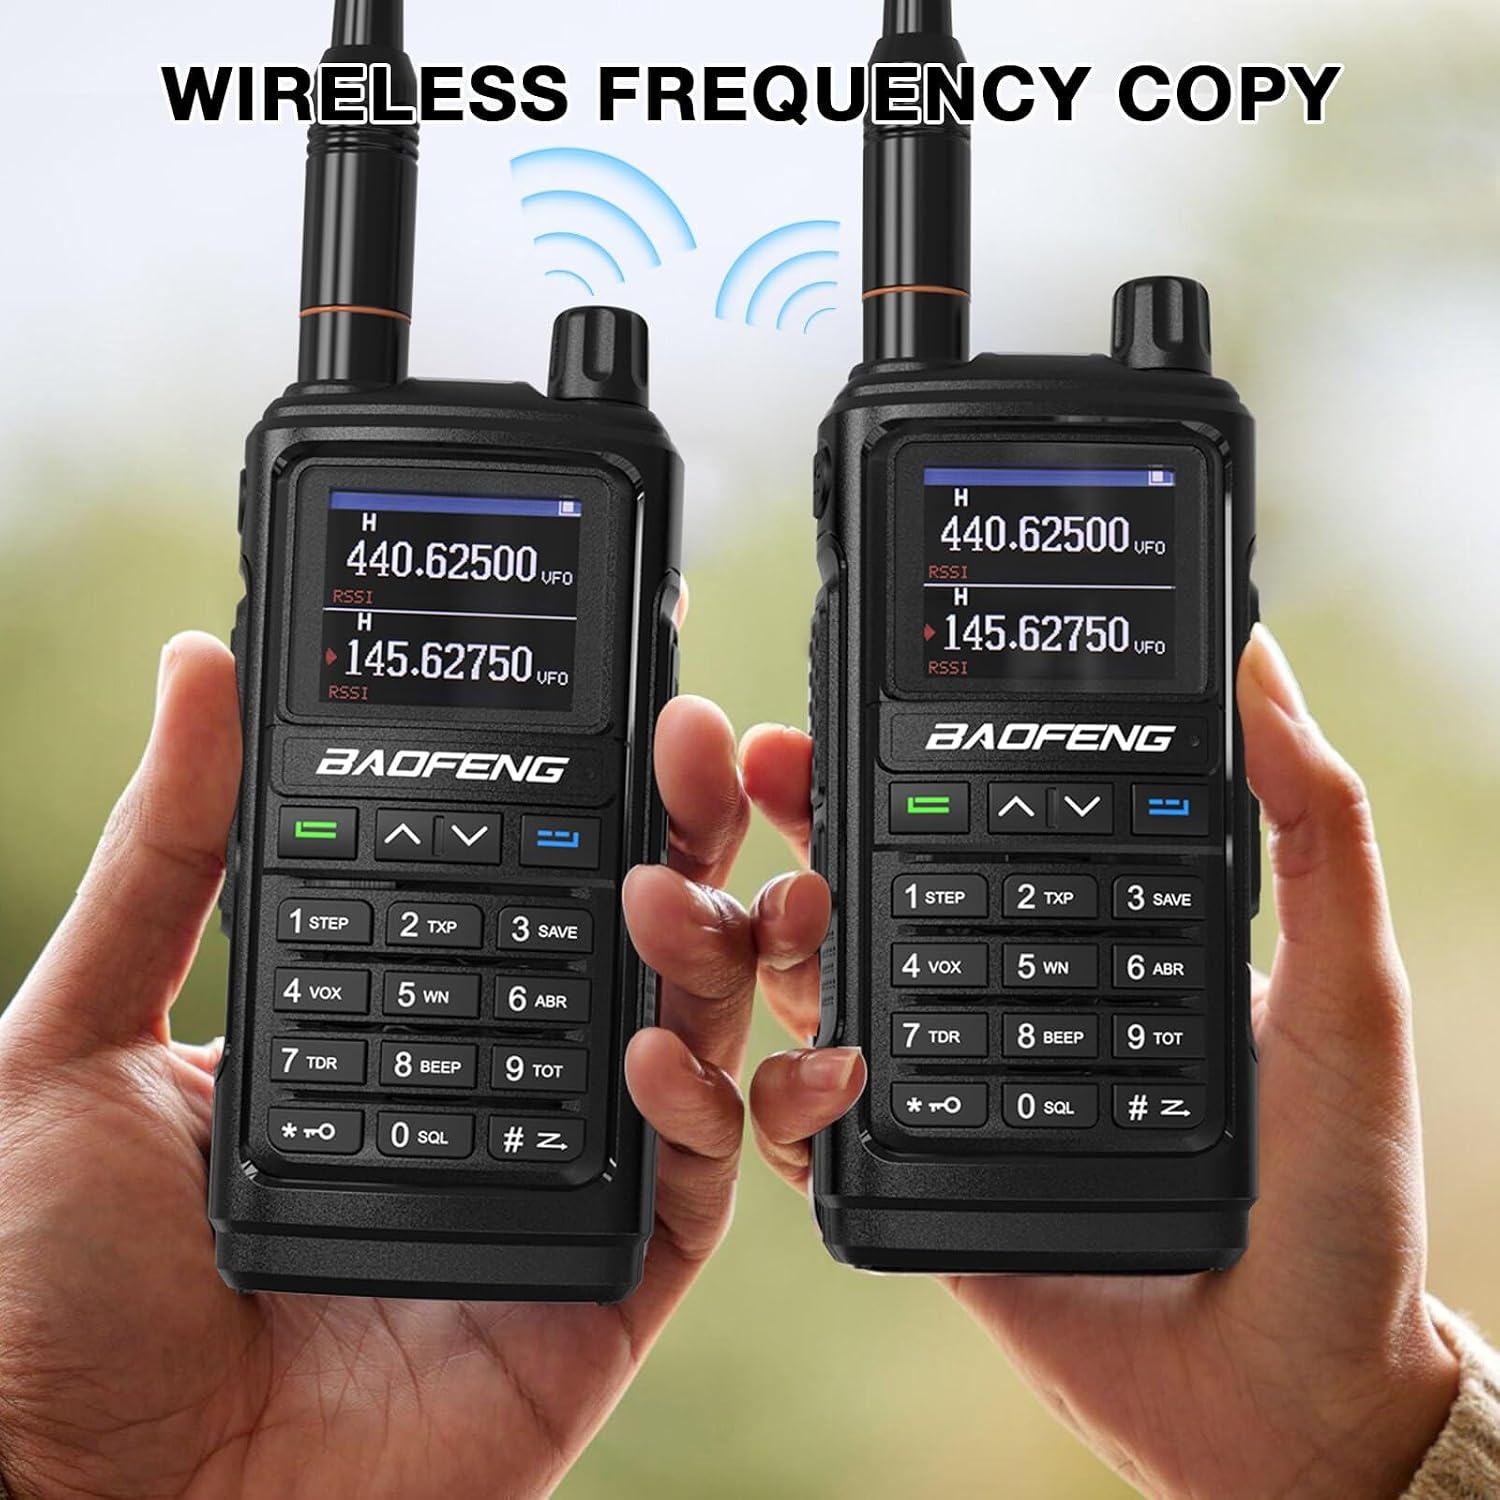
Figure 5.2: Wireless Frequency Copy in action.
5.7 VOX Function
VOX (Voice Operated Transmit) allows hands-free transmission. When VOX is enabled, the radio will transmit automatically when it detects your voice. Adjust the VOX sensitivity level (1-9) in the menu to suit your environment.
5.8 Squelch Level
Squelch suppresses background noise when no signal is present. Adjust the squelch level (0-5) in the menu. A higher level requires a stronger signal to open the squelch.
5.9 Adjustable Screen-on Time
Customize how long the display backlight remains active after a button press. This setting can be adjusted in the radio's menu to conserve battery life.

Figure 5.3: Setting the Adjustable Screen-on Time.
5.10 Programming with CHIRP
The BAOFENG UV-17R supports programming via CHIRP software. A compatible programming cable (sold separately) is required to connect the radio to a computer. CHIRP allows for advanced channel management, frequency programming, and customization of various radio settings.
6. Maintenance
6.1 Cleaning
Wipe the radio's surface with a soft, damp cloth. Do not use harsh chemicals or abrasive cleaners. Ensure the radio is dry before use.
6.2 Battery Care
- Avoid fully discharging the Li-ion battery frequently.
- Store the battery in a cool, dry place when not in use.
- Do not expose the battery to extreme temperatures.
6.3 Water Resistance
The BAOFENG UV-17R is not water resistant. Avoid exposing the radio to rain, splashes, or immersion in water to prevent damage.
7. Troubleshooting
- Radio does not power on:
- Ensure the battery is properly installed and charged.
- Check if the Power/Volume knob is rotated clockwise. - Cannot transmit or receive:
- Verify the antenna is securely attached.
- Check if the battery is sufficiently charged.
- Ensure you are on the correct frequency/channel.
- Adjust squelch level if receiving no signals.
- Confirm that the PTT button is functioning correctly. - Poor audio quality:
- Check volume level.
- Ensure the antenna is properly connected.
- Move to an area with better signal reception. - Programming issues with CHIRP:
- Ensure the correct programming cable is used and drivers are installed.
- Verify the radio is powered on and connected properly.
- Consult CHIRP documentation for specific software troubleshooting.
8. Specifications
| Feature | Specification |
|---|---|
| Brand | BAOFENG |
| Model Number | UV-17R |
| Frequency Range (TX) | 144-148MHz (VHF), 420-450MHz (UHF) |
| Frequency Range (RX) | 136-174MHz (VHF), 400-519.995MHz (UHF), NOAA, FM Broadcast |
| Number of Channels | 999 |
| Battery | 1800mAh Li-ion (7.4V DC) |
| Special Feature | Digital Display, DTMF, VOX, Wireless Frequency Copy |
| Bandwidth Options | 12.5KHz (Narrow), 25KHz (Wide) |
| Squelch Levels | 0-5 |
| VOX Levels | 1-9 |
| Water Resistance Level | Not Water Resistant |
| Item Weight | Approximately 2.46 pounds (with packaging) |
| FCC ID | 2AJGM-UV17 |
9. Warranty and Support
The BAOFENG UV-17R radio comes with an 18-month manufacturer's warranty. For warranty claims or technical support, please contact your retailer or the official BAOFENG support channels. Refer to the product packaging or official website for the most current contact information.