
PARKVISION BK-436
PARKVISION Bicycle Rear View Camera User Manual
Brand: PARKVISION | Model: BK-436
1. Introduction
The PARKVISION BK-436 Bicycle Rear View Camera system is designed to enhance cycling safety by providing a clear, real-time view of what's behind you. Featuring a 4.3-inch HD 1080P monitor with an innovative sunshade and an 8000mAh rechargeable battery, this system offers reliable performance and easy installation for various bicycle types.
This manual provides detailed instructions for setting up, operating, maintaining, and troubleshooting your PARKVISION Bicycle Rear View Camera system.
2. What's Included
Please check the package contents to ensure all items are present:
- PARKVISION 4.3'' HD 1080P Monitor with Sunshade
- Bicycle Rear View Camera
- Monitor Mounting Bracket
- Camera Mounting Bracket
- Power Cable (for charging)
- User Manual
- Installation Tool
3. Setup Guide
The PARKVISION BK-436 is designed for quick and easy installation, typically within 3 minutes, requiring no special tools. Follow these steps to set up your system:
3.1. Charging the Battery
Before first use, fully charge the 8000mAh battery. Connect the provided power cable to the monitor and a suitable USB power source. The battery indicator on the monitor will show charging status.
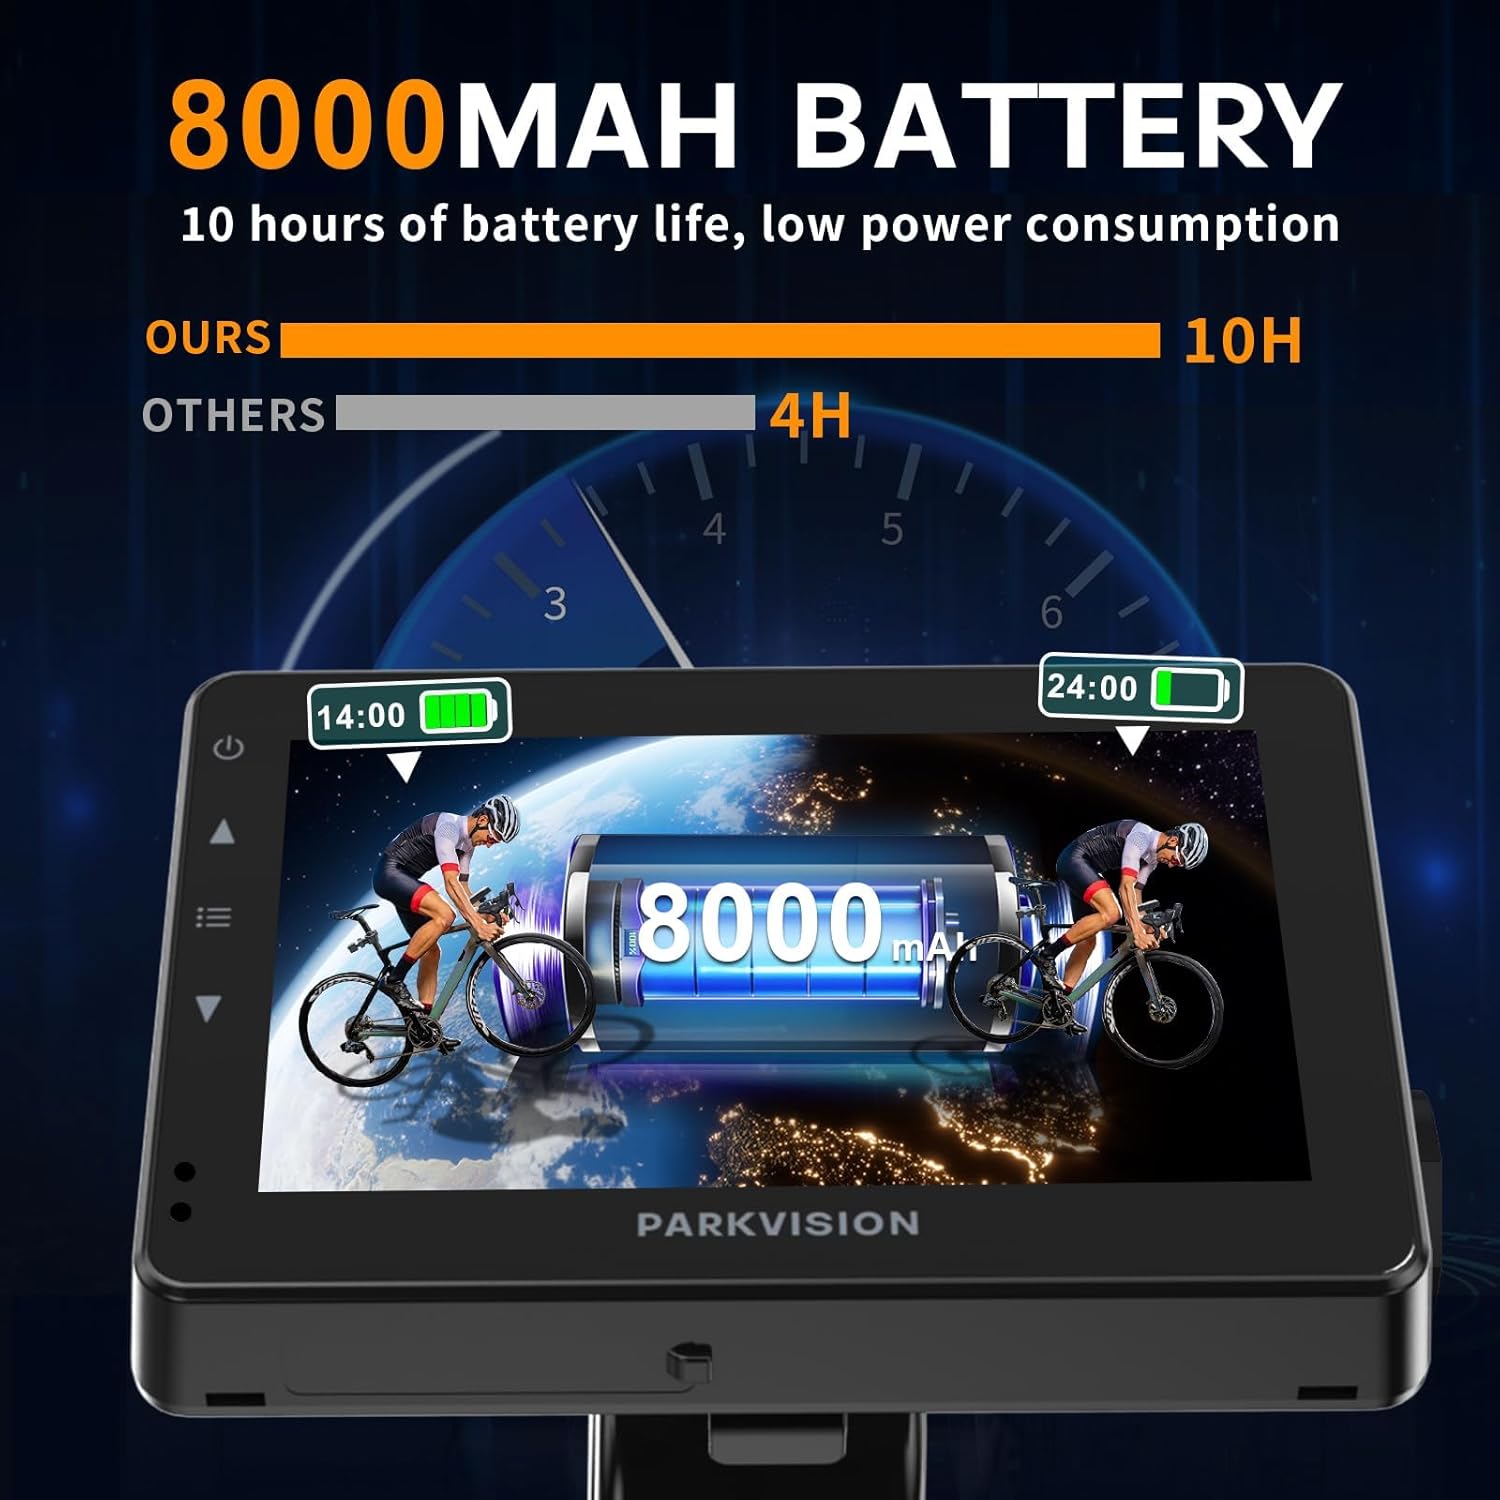
Image: The 8000mAh battery provides up to 10 hours of continuous use, ensuring long-lasting operation for extended rides.
3.2. Mounting the Camera
- Attach the camera to the camera mounting bracket.
- Secure the camera mounting bracket to your bicycle's seatpost. The camera is compatible with seatposts ranging from 17mm to 38mm in diameter.
- Adjust the camera angle using the 360-degree rotatable joint ball to ensure a clear view of the rear.

Image: The upgraded premium bracket design allows for 360-degree rotation, enabling precise adjustment of the camera's viewing angle for optimal rear visibility.

Image: The camera's broad vision and adjustable base help you better observe traffic behind you, contributing to safer riding.
3.3. Mounting the Monitor
- Attach the monitor to the monitor mounting bracket.
- Secure the monitor mounting bracket to your bicycle's handlebars. The screen bracket is compatible with handlebars ranging from 18mm to 42mm in diameter.
- Connect the camera cable to the monitor.
- The monitor features a detachable stand, allowing you to easily remove the screen for anti-theft purposes without disconnecting wires.
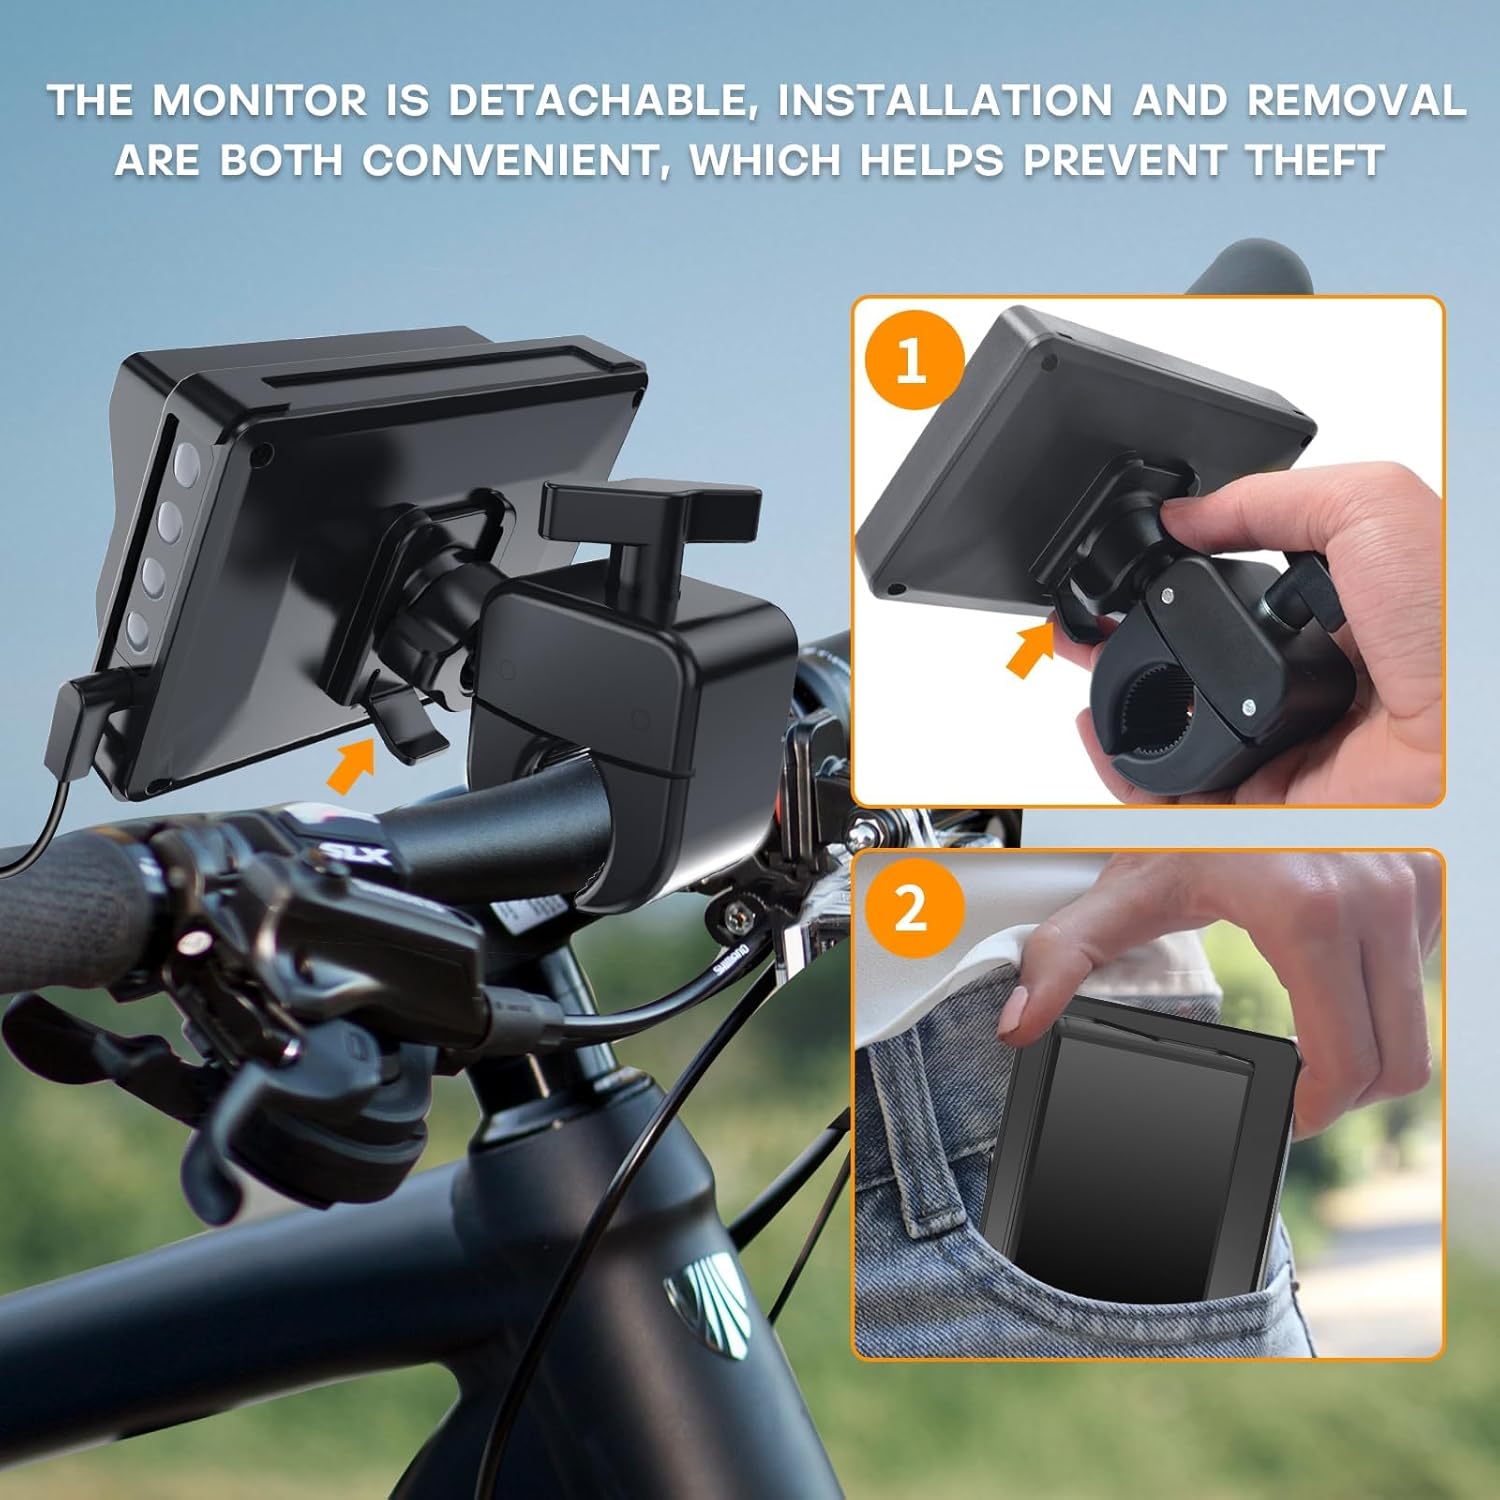
Image: The monitor's detachable clamp allows for convenient removal, helping to prevent theft when your bike is unattended.

Image: The monitor is easily detachable from its mount, allowing you to carry it with you for security.
4. Operating Instructions
4.1. Powering On/Off
Press and hold the power button on the monitor to turn the system on or off. The monitor will display the PARKVISION logo before showing the live camera feed.
4.2. Display Features
The 4.3-inch HD 1080P monitor provides a clear, high-definition view with a 110-degree viewing angle, effectively eliminating blind spots. The patented sunshade reduces glare, ensuring visibility even in bright sunlight.

Image: Comparison highlighting PARKVISION's anti-glare screen, visible buttons, and auto-brightness sensor compared to other systems.

Image: Components of the system, including the removable sunshade, the main host unit, and the bracket.
4.3. Automatic Brightness Adjustment
The monitor features an upgraded automatic brightness adjustment function. It adapts to changes in external light, providing optimal visibility without manual intervention. This ensures safer and more reliable usage in varying light conditions.

Image: The display automatically adjusts its brightness based on external light, ensuring clear visibility in both bright and dark environments.
4.4. Night Vision
The camera incorporates 0.01 Lux starlight night vision technology, providing exceptional clarity in low-light conditions. The display automatically adjusts from darkness to brightness, allowing you to observe the road situation in real-time even when riding at night.

Image: The system's night vision capability ensures clear rear visibility even during nighttime rides.
4.5. Manual Brightness Adjustment (Optional)
If desired, you can manually adjust the screen brightness. Refer to the following steps:
- Enter the system settings from the menu interface.
- Turn off the automatic brightness option.
- Go back to the menu screen and enter the image settings.
- Adjust the brightness and contrast in the image settings according to the actual situation.
- Finish setting.

Image: Step-by-step visual guide for manually adjusting the screen brightness and contrast.
5. Maintenance
To ensure the longevity and optimal performance of your PARKVISION Bicycle Rear View Camera system, follow these maintenance guidelines:
- Cleaning: Regularly wipe the camera lens and monitor screen with a soft, lint-free cloth. For stubborn smudges, use a screen cleaner designed for electronics. Avoid abrasive materials or harsh chemicals.
- Battery Care: To maximize battery life, avoid fully discharging the battery frequently. Charge the device regularly, especially if it will be stored for an extended period. Store in a cool, dry place.
- Storage: When not in use, especially during off-season, store the monitor and camera in a dry environment away from extreme temperatures and direct sunlight. Detach the monitor to prevent theft and protect it from elements.
- Cable Management: Ensure all cables are securely fastened and not pinched or stretched, which could lead to damage.
- Bracket Check: Periodically check that all mounting brackets are securely tightened to prevent movement or detachment during rides.
6. Troubleshooting
If you encounter issues with your PARKVISION Bicycle Rear View Camera system, refer to the following common problems and solutions:
| Problem | Possible Cause | Solution |
|---|---|---|
| Monitor does not power on. | Low battery; Power button not pressed correctly; Damaged cable. | Charge the monitor fully. Press and hold the power button for a few seconds. Check power cable for damage and ensure it's securely connected. |
| No image on screen. | Camera not connected; Camera or monitor malfunction. | Ensure the camera cable is securely plugged into the monitor. Restart both devices. |
| Image is blurry or unclear. | Camera lens dirty; Protective film on lens/screen; Poor lighting conditions. | Clean the camera lens and monitor screen. Remove any protective films. Ensure adequate lighting for optimal image quality. |
| Screen glare in sunlight. | Direct sunlight hitting the screen. | Ensure the sunshade is properly positioned. The automatic brightness adjustment should help, but manual adjustment may be needed in extreme conditions. |
| Short battery life. | Battery not fully charged; Old battery; Extreme temperatures. | Ensure full charge before use. Battery performance may degrade over time. Avoid using in extremely cold or hot conditions. |
7. Specifications
Key technical specifications for the PARKVISION BK-436 Bicycle Rear View Camera system:
| Feature | Specification |
|---|---|
| Brand | PARKVISION |
| Model Number | BK-436 |
| Monitor Screen Size | 4.3 Inches (11 cm diagonal) |
| Video Capture Resolution | 1080p (AHD) |
| Viewing Angle | 110 Degrees |
| Battery Capacity | 8000mAh Lithium Ion (included) |
| Battery Life | Up to 10 hours |
| Special Features | Night Vision, Parking Monitor, Auto Dimming, Removable Sunshade |
| Camera Compatibility (Seatpost) | 17mm to 38mm |
| Screen Bracket Compatibility (Handlebar) | 18mm to 42mm |
| Connectivity Technology | USB |
| Item Weight | 1.48 pounds |
| Product Dimensions | 3.7 x 2.2 x 0.8 inches |
8. Warranty and Support
For warranty information, technical support, or service inquiries, please refer to the official PARKVISION website or the contact information provided in the product packaging. Keep your purchase receipt as proof of purchase for warranty claims.
You can also visit the PARKVISION Store on Amazon for additional product information and support resources.
Related documentsBK-436

Ask a question about this manual
Ask about setup, troubleshooting, compatibility, parts, safety, or missing instructions. Manuals+ will review the question and use this page’s manual context to help answer it.