1. Introduction
This manual provides detailed instructions for the installation, operation, and maintenance of your Codnida 2K Security Light Bulb Camera (Model LC323). Please read this manual thoroughly before using the product to ensure proper function and safety.
The Codnida LC323 is a versatile security camera designed for both outdoor and indoor use, featuring 2K resolution, PTZ capabilities, 24/7 recording, sound and light alarms, human motion detection, and color night vision. It is designed to fit into standard E27 light bulb sockets for easy installation.
2. Package Contents
Verify that all components are present in the package:
- Codnida 2K Security Light Bulb Camera (LC323)
- User Manual
- Mounting Accessories (if applicable, e.g., E27 adapter if not integrated)
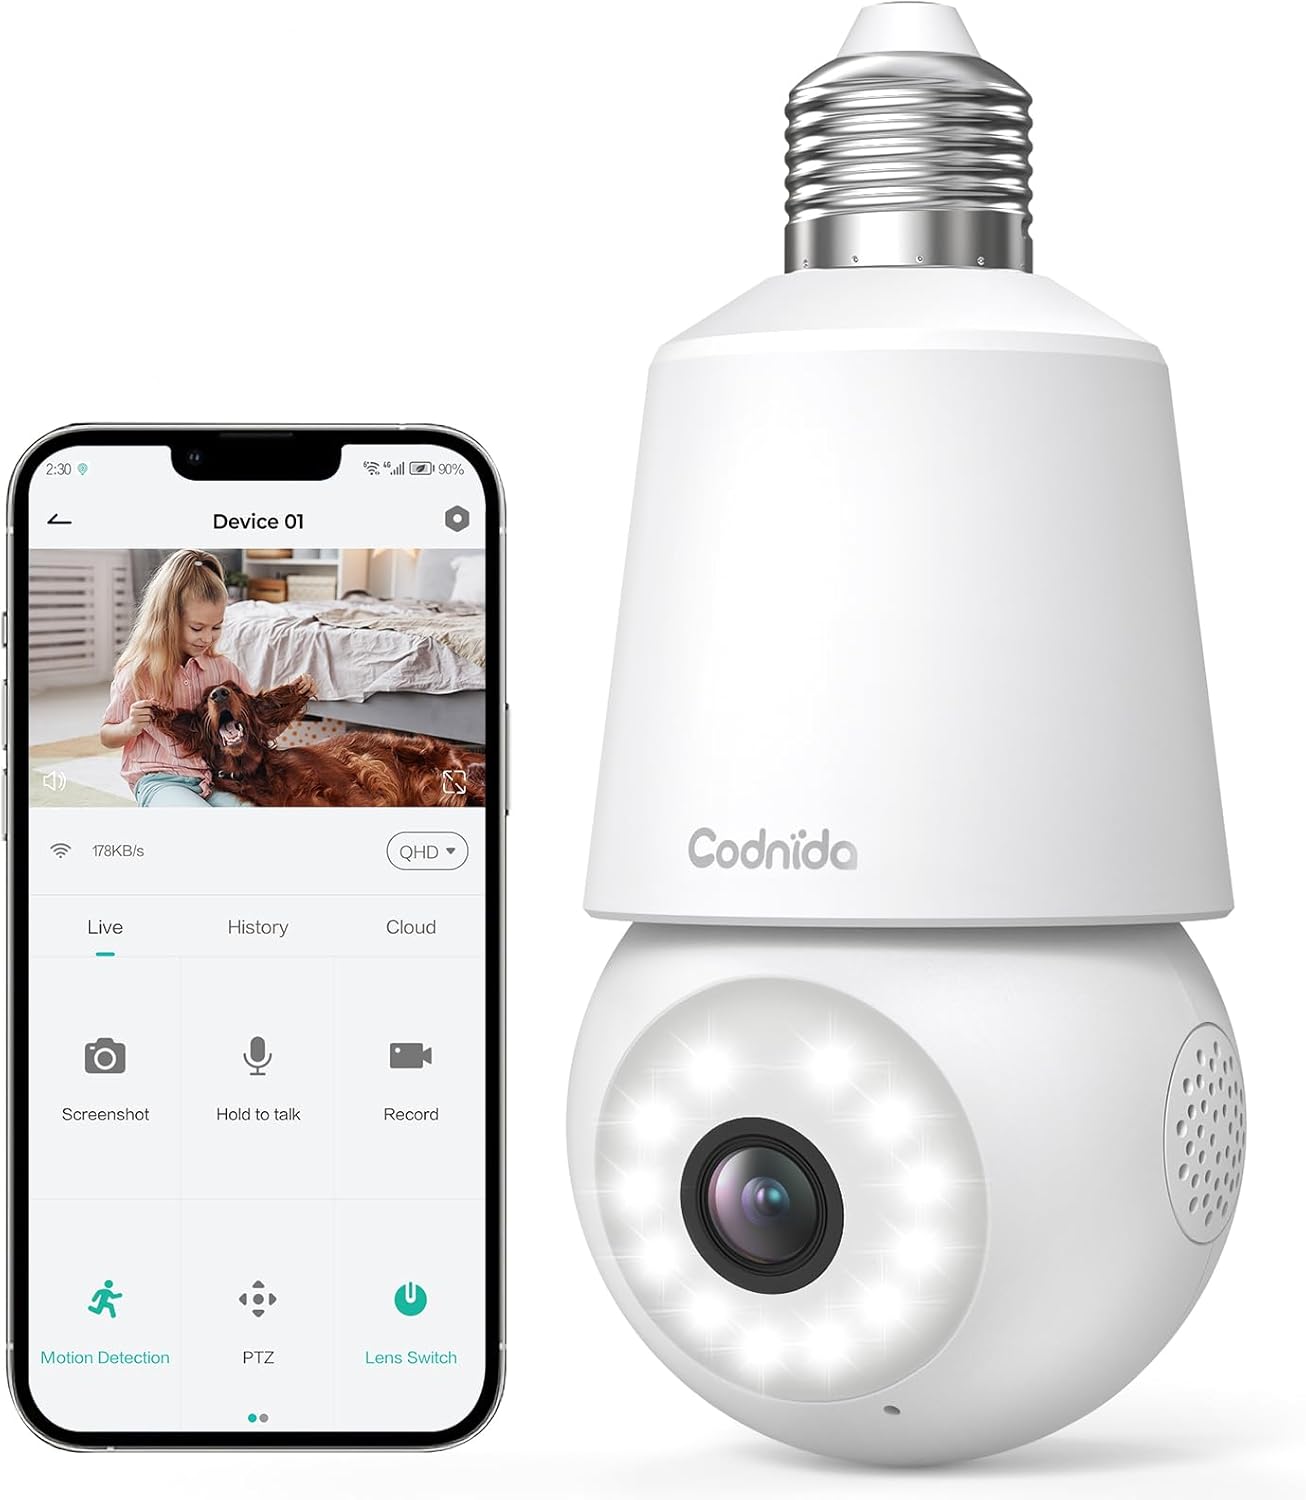
Image: The Codnida LC323 light bulb camera shown alongside a smartphone displaying its live view and control interface.
3. Specifications
| Feature | Detail |
|---|---|
| Model Number | LC323 |
| Resolution | 2K (3MP) |
| Connectivity | Wi-Fi (2.4GHz only) |
| Power Source | Corded Electric (E27 Socket) |
| Night Vision Range | 10 Meters |
| PTZ Rotation | Pan 355°, Tilt 50° |
| Storage Options | Micro SD Card (16-128GB, not included), Cloud Storage |
| Two-Way Audio | Supported |
| Motion Detection | Human Motion Detection, Auto Tracking |
| Alarm Features | Sound and Light Alarm |
| Indoor/Outdoor Use | Outdoor, Indoor (IP66 waterproof and dustproof) |
| App Compatibility | CloudEdge App (Tablet, Smartphone) |
Note: The camera requires a 2.4GHz Wi-Fi connection. 5GHz Wi-Fi is not supported.
4. Safety Information
- Ensure the power is off before installing or removing the camera.
- Install the camera in a standard E27 light bulb socket.
- Do not expose the camera to extreme temperatures or humidity beyond its operating range.
- Avoid direct exposure to water jets or prolonged submersion, despite its IP66 rating.
- Keep out of reach of children.
- Only use the camera with compatible power sources (240 Volts, 5 watts).
5. Setup Guide
5.1 App Installation
- Download the "CloudEdge" app from your smartphone's app store (Google Play Store for Android or Apple App Store for iOS).
- Register for a new account or log in if you already have one.
5.2 Camera Installation
The camera is designed for easy installation into a standard E27 light bulb socket.
- Ensure the power to the E27 socket is turned off at the main switch.
- Carefully screw the Codnida LC323 camera into the E27 socket until it is securely fastened.
- Turn on the power to the E27 socket. The camera will power on and initiate its startup sequence.

Image: A hand demonstrates screwing the Codnida light bulb camera into an outdoor E27 light fixture, illustrating the simple installation process.
5.3 Connecting to Wi-Fi
Follow the in-app instructions to connect your camera to your home Wi-Fi network. Remember, only 2.4GHz Wi-Fi is supported.
- Open the CloudEdge app and tap "Add Device" or the "+" icon.
- Select the appropriate device type (e.g., "Smart Camera" or "Light Bulb Camera").
- Follow the prompts to enter your 2.4GHz Wi-Fi network name (SSID) and password.
- The app will generate a QR code. Position your phone screen in front of the camera lens (approx. 15-20 cm away) until you hear a confirmation sound from the camera.
- Once connected, the camera's status indicator light will change, and you can name your device in the app.
6. Operating Instructions
6.1 Live View and PTZ Control
Access the live video feed and control the camera's pan and tilt functions directly from the CloudEdge app.
- Open the CloudEdge app and select your camera from the device list.
- The live view will appear. Use the on-screen joystick or directional arrows to pan (355°) and tilt (50°) the camera lens.

Image: A smartphone screen displays the live view from the Codnida camera with on-screen controls for pan and tilt (PTZ) functionality.
6.2 Two-Way Audio
The camera supports two-way audio communication, allowing you to speak and listen through the camera.
- In the live view, tap the microphone icon to speak. Hold the button while speaking.
- Ensure your phone's volume is up to hear audio from the camera.
Image: An illustration showing the two-way audio feature, with a person outside the house hearing "OK!" from the camera and a person inside speaking "Please put it at the door." through the app.
6.3 Motion Detection and Auto Tracking
The camera can detect human motion and automatically track the subject within its field of view.
- Navigate to the camera settings in the CloudEdge app.
- Enable "Motion Detection" and "Human Detection" for optimized alerts.
- Activate "Auto Tracking" to have the camera follow detected movement.
- You can define specific detection zones to focus monitoring on critical areas.
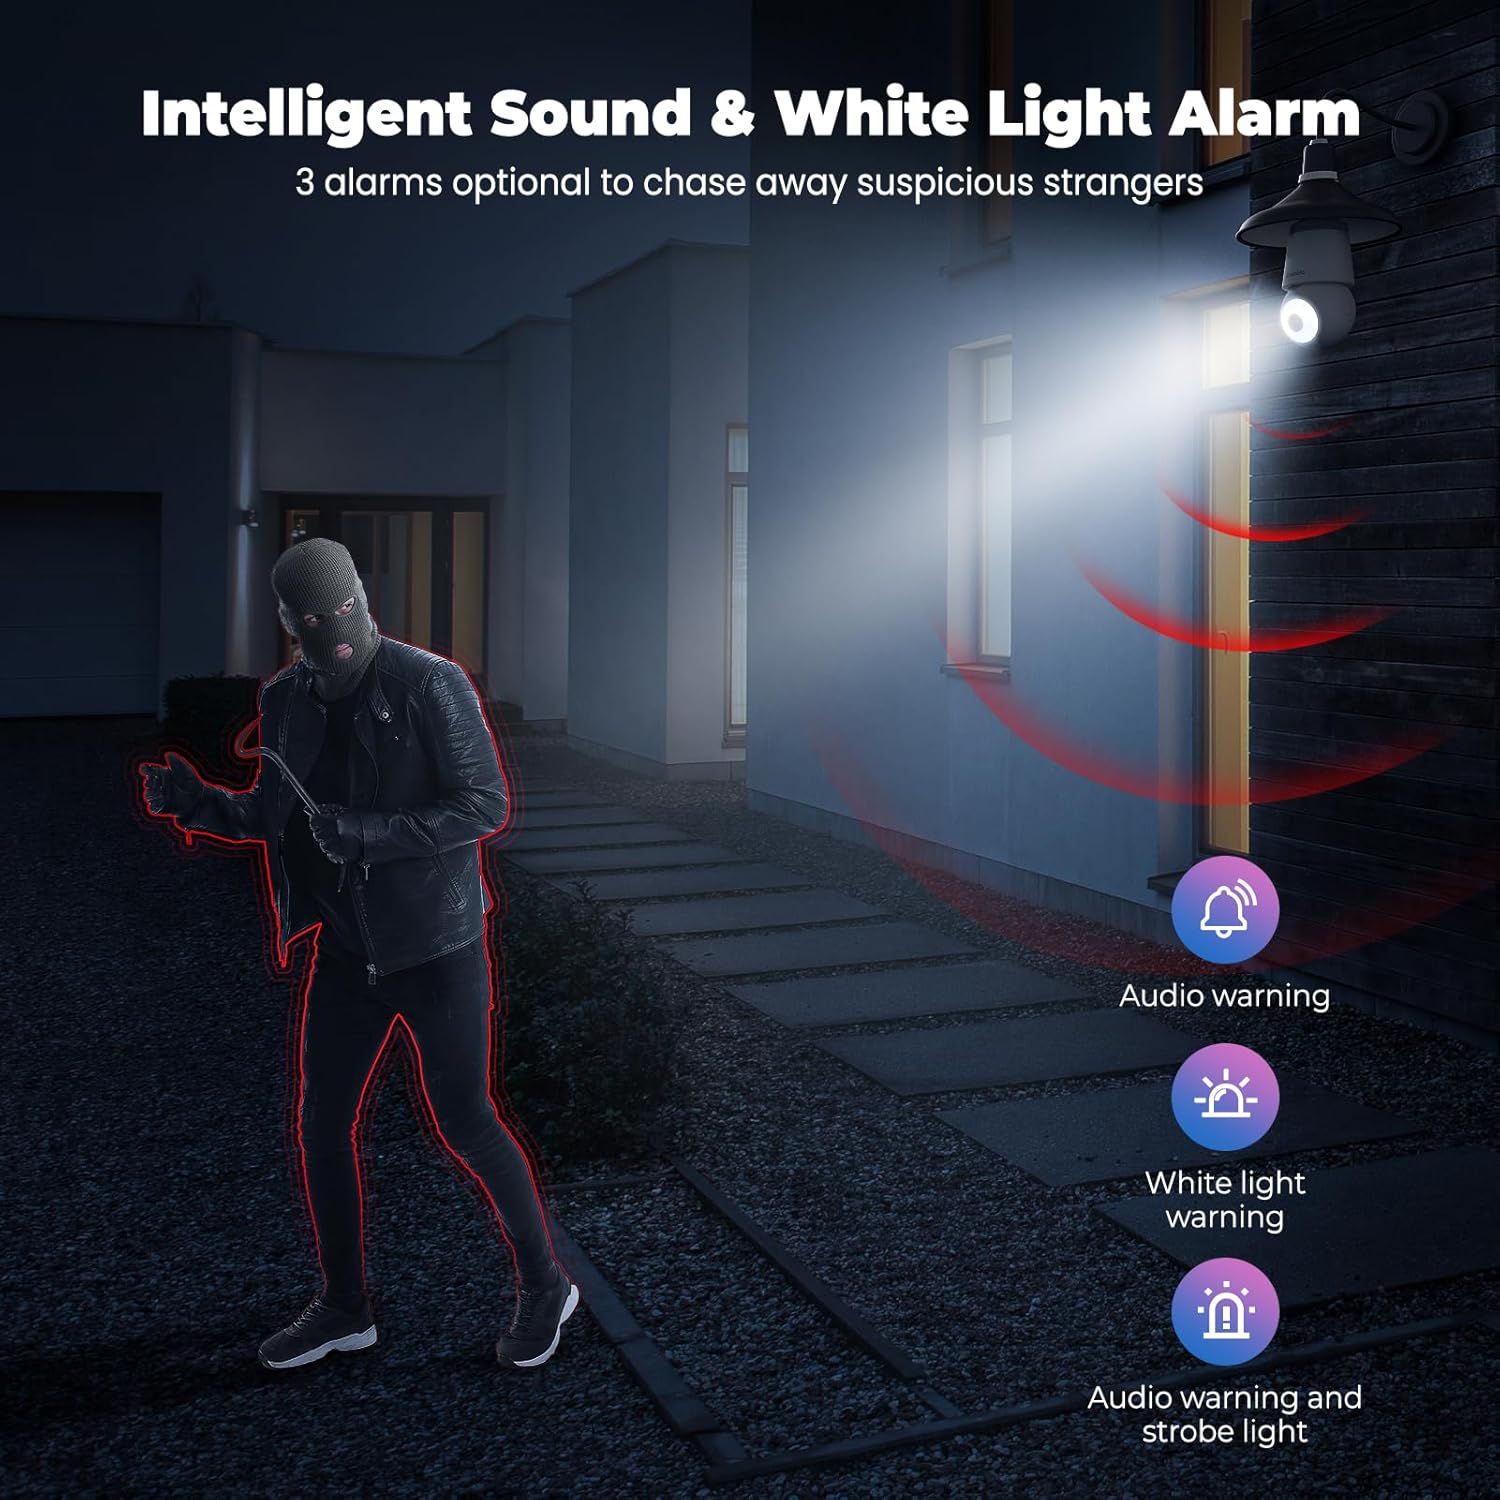
Image: An indoor scene demonstrating motion detection and auto-tracking, with dashed lines indicating the camera's pan and tilt range and boxes highlighting moving cats being tracked.

Image: An outdoor scene illustrating Human AI Intelligent Analytics, showing the camera's ability to detect and differentiate between a person, animal, car, and package.
6.4 Night Vision
The camera provides clear surveillance even in low-light conditions with its color night vision capability.
- The camera automatically switches to night vision mode when ambient light is insufficient.
- Color night vision provides more detail than traditional black and white infrared night vision.

Image: A side-by-side comparison showing the superior detail and color provided by the camera's color night vision feature compared to standard black and white night vision in a low-light outdoor setting.
6.5 Sound and Light Alarm
Configure the camera to trigger an audible alarm and/or flashing white light upon detection of suspicious activity.
- In the app settings, enable the sound and light alarm features.
- Choose from audio warning, white light warning, or a combination of both.
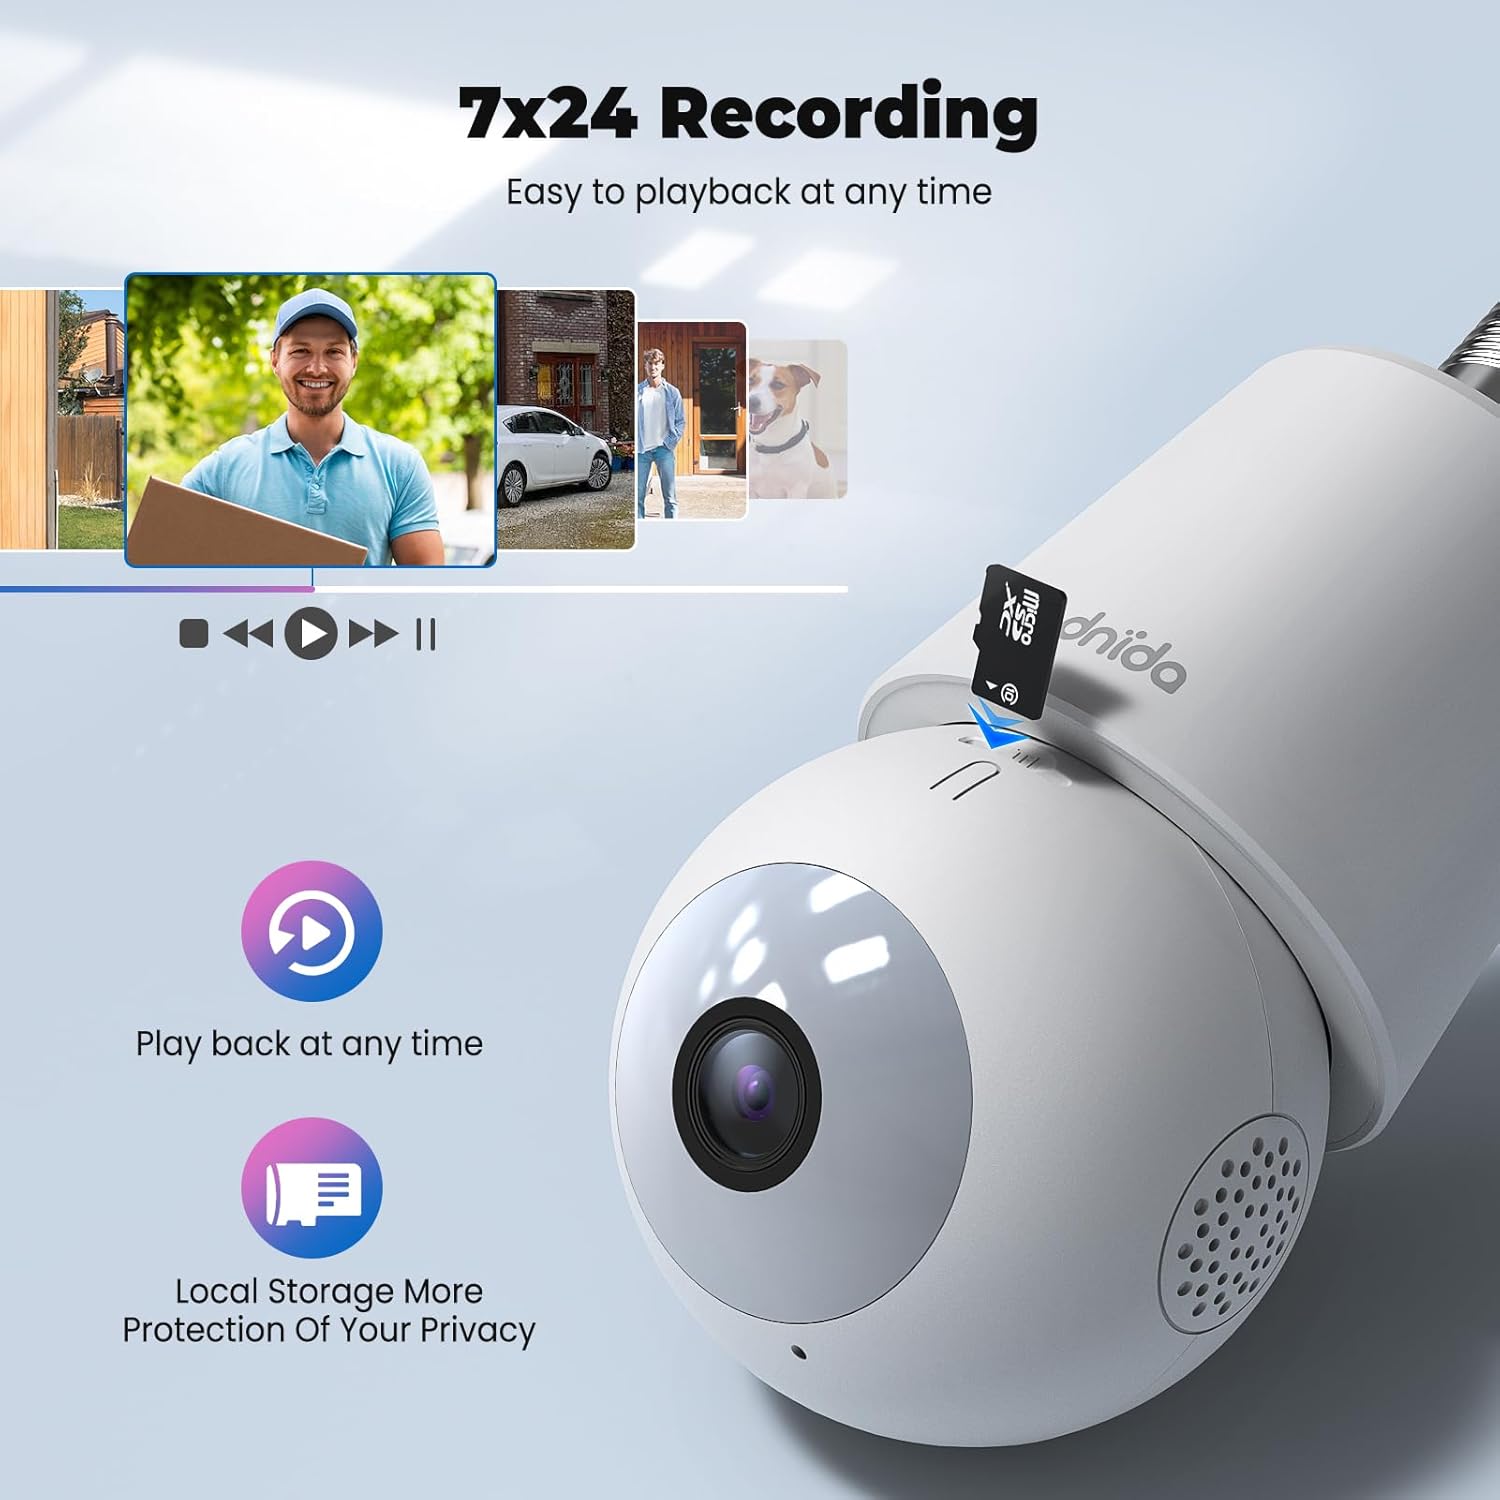
Image: An illustration depicting the intelligent sound and white light alarm feature, showing a bright light and red sound waves emanating from the camera towards a masked figure, with options for audio warning, white light warning, and audio warning with strobe light.
6.6 Recording and Storage
The camera supports 24/7 recording and offers both local and cloud storage options.
- Micro SD Card: Insert a Micro SD card (16GB to 128GB, not included) into the designated slot for local storage. Ensure the card is formatted correctly via the app.
- Cloud Storage: Cloud storage options may be available through the CloudEdge app (subscription may be required).
- Access recorded footage via the "History" or "Playback" section in the app.

Image: A close-up view of the Codnida camera showing the Micro SD card slot, with icons indicating playback functionality and local storage benefits.

Image: A detailed diagram highlighting the key components of the Codnida camera, including the E27 base, TF card slot, reset button, loudspeaker, working indicator light, lens, and microphone.
6.7 Device Sharing
Share access to your camera with family members or trusted individuals through the CloudEdge app.
- In the app, navigate to the device settings and find the "Share Device" option.
- You can share by scanning a QR code or by entering the recipient's registered CloudEdge account.

Image: An illustration demonstrating the device sharing feature within the CloudEdge app, showing options to share via QR code or by entering another user's registered account.
7. Maintenance
- Cleaning: Gently wipe the camera lens and body with a soft, dry cloth. Do not use harsh chemicals or abrasive cleaners.
- Firmware Updates: Regularly check the CloudEdge app for firmware updates to ensure optimal performance and security.
- SD Card Management: Periodically review and manage recorded footage on your Micro SD card to prevent it from becoming full.
8. Troubleshooting
| Problem | Possible Solution |
|---|---|
| Camera fails to connect to Wi-Fi. |
|
| Poor video quality. |
|
| Motion detection not working or too many false alarms. |
|
| Cannot hear audio or two-way audio not functioning. |
|
9. Warranty and Support
For warranty information and technical support, please refer to the official Codnida website or contact their customer service directly. Keep your purchase receipt as proof of purchase for warranty claims.
Manufacturer: Codnida
Contact: Refer to Codnida's official support channels for assistance.
Online Resources: Visit the Codnida Store on Amazon for product updates and additional information.


