Introduction
Thank you for purchasing the LITFAD Shoe Storage Cabinet. This manual provides essential information for the safe assembly, proper operation, and effective maintenance of your new cabinet. Please read all instructions carefully before beginning assembly and retain this manual for future reference.
Safety Information
- Always assemble the cabinet on a soft, clean surface to prevent scratches.
- Ensure all parts are present and undamaged before assembly. Do not proceed with assembly if any parts are missing or damaged.
- Keep small parts and packaging materials away from children and pets to prevent choking hazards.
- Use appropriate tools as specified in the assembly instructions. Do not overtighten screws.
- For stability, it is recommended to secure the cabinet to a wall using the provided anti-tip hardware (if included).
- Do not climb on or allow children to play on the cabinet.
- Distribute weight evenly on shelves to prevent tipping.
Package Contents
Before assembly, verify that all components are present. If any parts are missing or damaged, please contact customer support.
| Item | Description | Quantity |
|---|---|---|
| Cabinet Panels | Side panels, back panel, top, and base | 1 Set |
| Glass Doors | Front doors with metal frames | As per model configuration |
| Adjustable Shelves | Interior shelves for shoe storage | 9 |
| Hardware Pack | Screws, dowels, hinges, shelf pins, anti-tip kit | 1 Set |
| Assembly Tools | Hex key, screwdriver (if included) | 1 Set |
| Instruction Manual | This document | 1 |
Assembly Instructions
Follow these steps carefully to assemble your LITFAD Shoe Storage Cabinet. It is recommended to have two people for assembly.
- Prepare the Area: Clear a spacious, clean, and soft area for assembly to prevent damage to the cabinet parts.
- Identify Parts: Unpack all components and identify them using the parts list. Separate hardware into labeled bags if provided.
- Assemble the Base and Side Panels: Attach the base panel to the side panels using the provided screws and dowels. Ensure all connections are secure.
- Install Back Panel: Slide or fasten the back panel into the grooves or attach it to the frame using small nails or screws.
- Attach Top Panel: Secure the top panel to the assembled frame.
- Install Shelf Pins: Insert the shelf pins into the desired holes on the side panels for your adjustable shelves.
- Place Shelves: Carefully place the adjustable shelves onto the installed shelf pins.
- Attach Door Hinges: Mount the hinges to the cabinet doors and then attach the doors to the cabinet frame. Adjust hinges as needed for proper door alignment. The cabinet features a push-to-open mechanism.
- Secure Anti-Tip Hardware: For safety, attach the anti-tip hardware to the top rear of the cabinet and secure it to a wall stud.
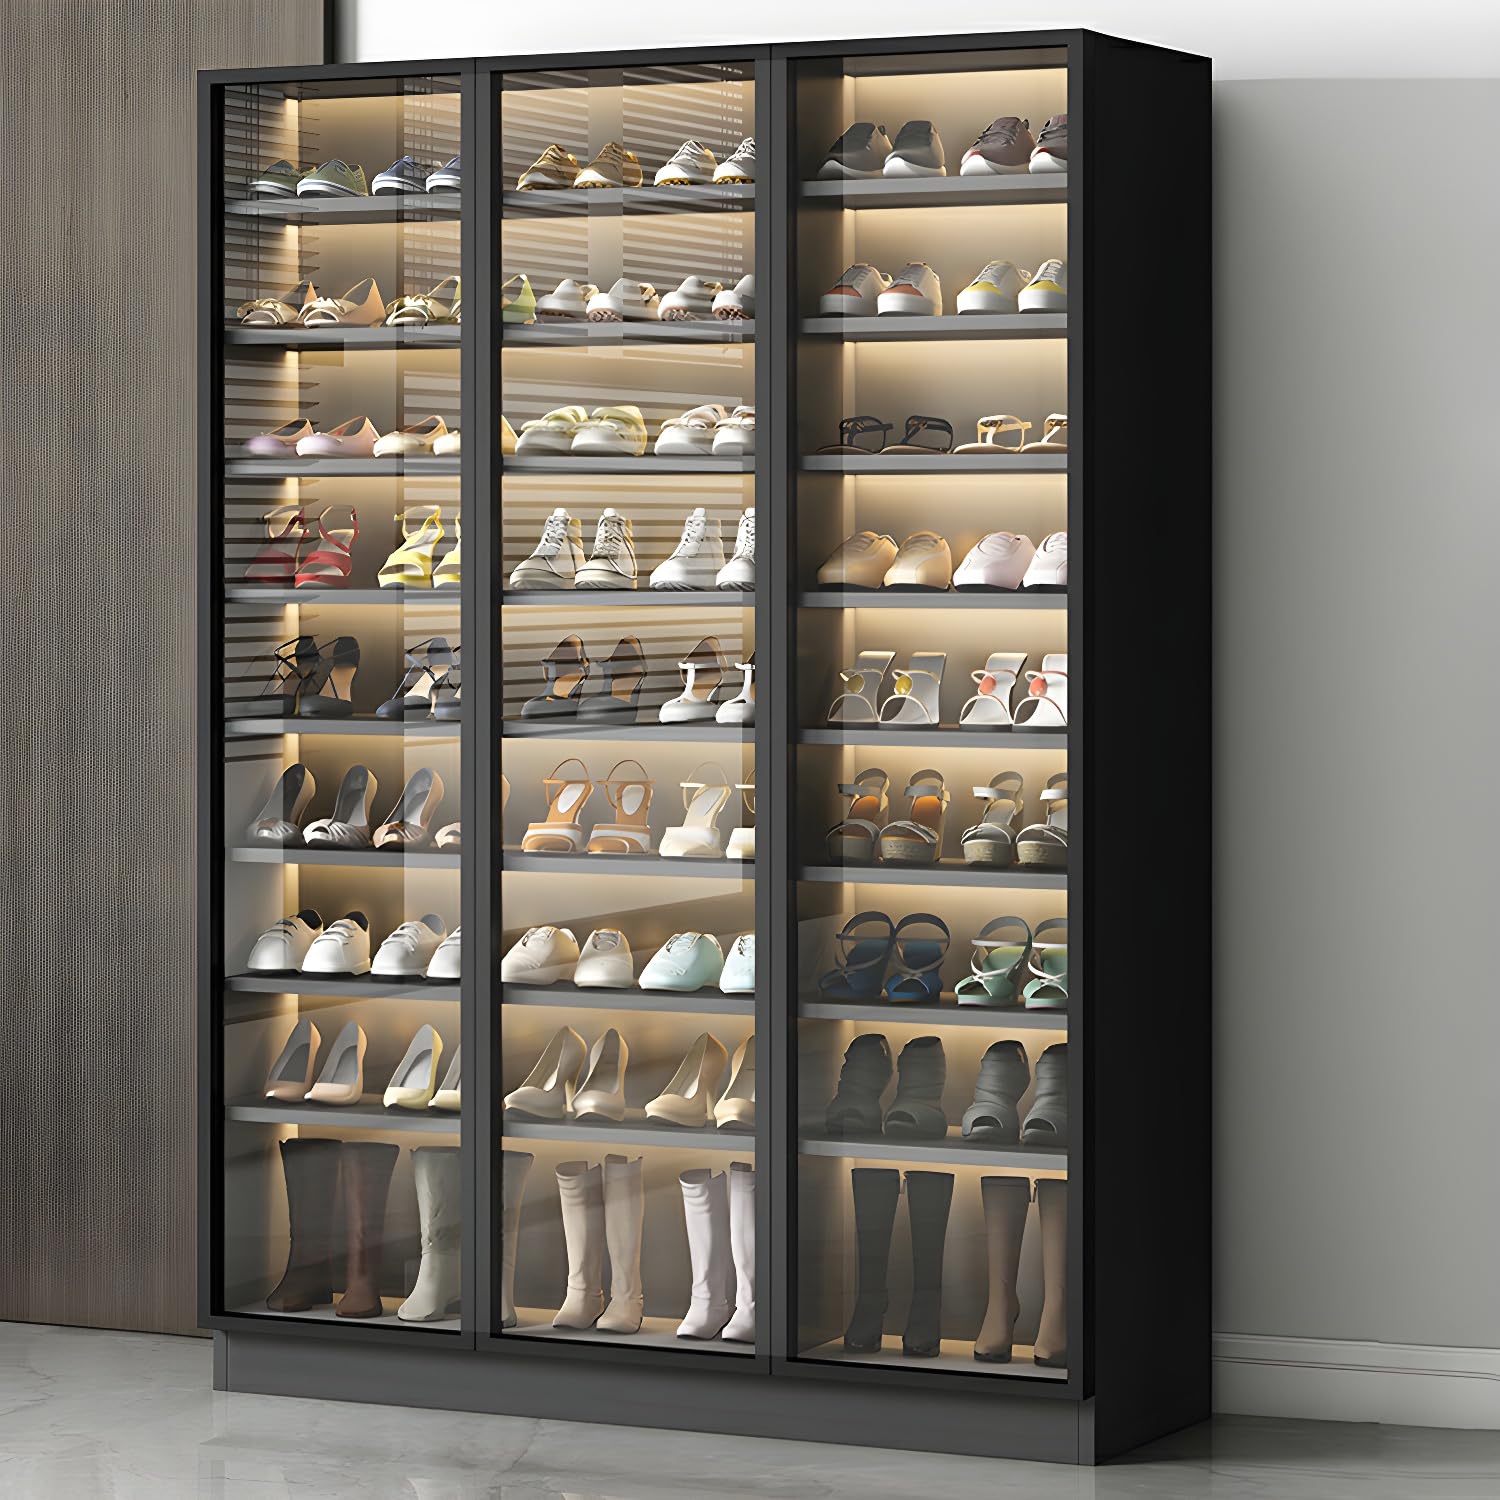
Image 1: Overall dimensions of the LITFAD Shoe Storage Cabinet. The cabinet measures approximately 35.4 inches in length, 13.8 inches in depth, and 70.9 inches in height.
Operating Instructions
- Opening and Closing Doors: The cabinet features a push-to-open mechanism. Gently press the door to release the latch and open. To close, push the door until it latches securely.
- Adjusting Shelves: To adjust the height of the shelves, carefully remove the items from the shelf. Lift the shelf to remove it from the pins. Relocate the shelf pins to the desired height and then place the shelf back onto the pins, ensuring it is level and secure.
- Loading Shoes: Place shoes neatly on the shelves. The cabinet is designed to accommodate various shoe sizes, including men's and women's shoes up to size 15. Boots can be stored by removing shelves to create taller compartments.

Image 2: Close-up view of the interior of the LITFAD Shoe Storage Cabinet, showing multiple pairs of shoes neatly organized on the adjustable shelves behind a glass door.
Maintenance
- Cleaning: Wipe the cabinet surfaces with a soft, damp cloth. Avoid harsh chemicals or abrasive cleaners, which can damage the finish or glass. For glass doors, use a standard glass cleaner.
- Dusting: Regularly dust the cabinet and shelves to prevent buildup.
- Hardware Check: Periodically check all screws and fasteners to ensure they remain tight. Retighten if necessary.
- Glass Care: The glass doors are made of upgraded explosion-proof glass for safety. Handle with care and avoid strong impacts.
Troubleshooting
| Problem | Possible Cause | Solution |
|---|---|---|
| Cabinet is wobbly or unstable. | Loose fasteners; uneven floor; anti-tip kit not installed. | Ensure all screws are tightened. Move to a level surface or use shims. Install anti-tip hardware securely to a wall stud. |
| Doors do not close properly or are misaligned. | Hinges are loose or improperly adjusted. | Adjust the screws on the hinges to align the doors. Ensure the push-to-open mechanism is functioning correctly. |
| Shelves are not level. | Shelf pins are not inserted correctly or are uneven. | Remove the shelf and reinsert the shelf pins into corresponding holes on both sides, ensuring they are fully seated and at the same height. |
Specifications
| Feature | Detail |
|---|---|
| Brand | LITFAD |
| Model Number | LT1236982G |
| Dimensions (L x D x H) | 35.4" x 13.8" x 70.9" (90cm x 35cm x 180cm) |
| Color | Grey |
| Material | Engineered Wood, Metal, Glass |
| Number of Shelves | 9 (Adjustable) |
| Door Style | Glass Door with Push-to-Open Mechanism |
| Mounting Type | Freestanding (Wall anchor recommended) |
| Assembly Required | Yes |
Warranty Information
Specific warranty details for your LITFAD Shoe Storage Cabinet are typically provided with your purchase documentation or can be obtained from the retailer where the product was purchased. Please refer to those documents for information regarding warranty coverage, terms, and conditions.
Customer Support
If you have any questions, require assistance with assembly, or need to report missing/damaged parts, please contact the retailer from whom you purchased this product. For general inquiries about LITFAD products, please visit the official LITFAD store page on Amazon or their official website.
Note: Please have your model number (LT1236982G) and purchase date available when contacting support.