1. Introduction
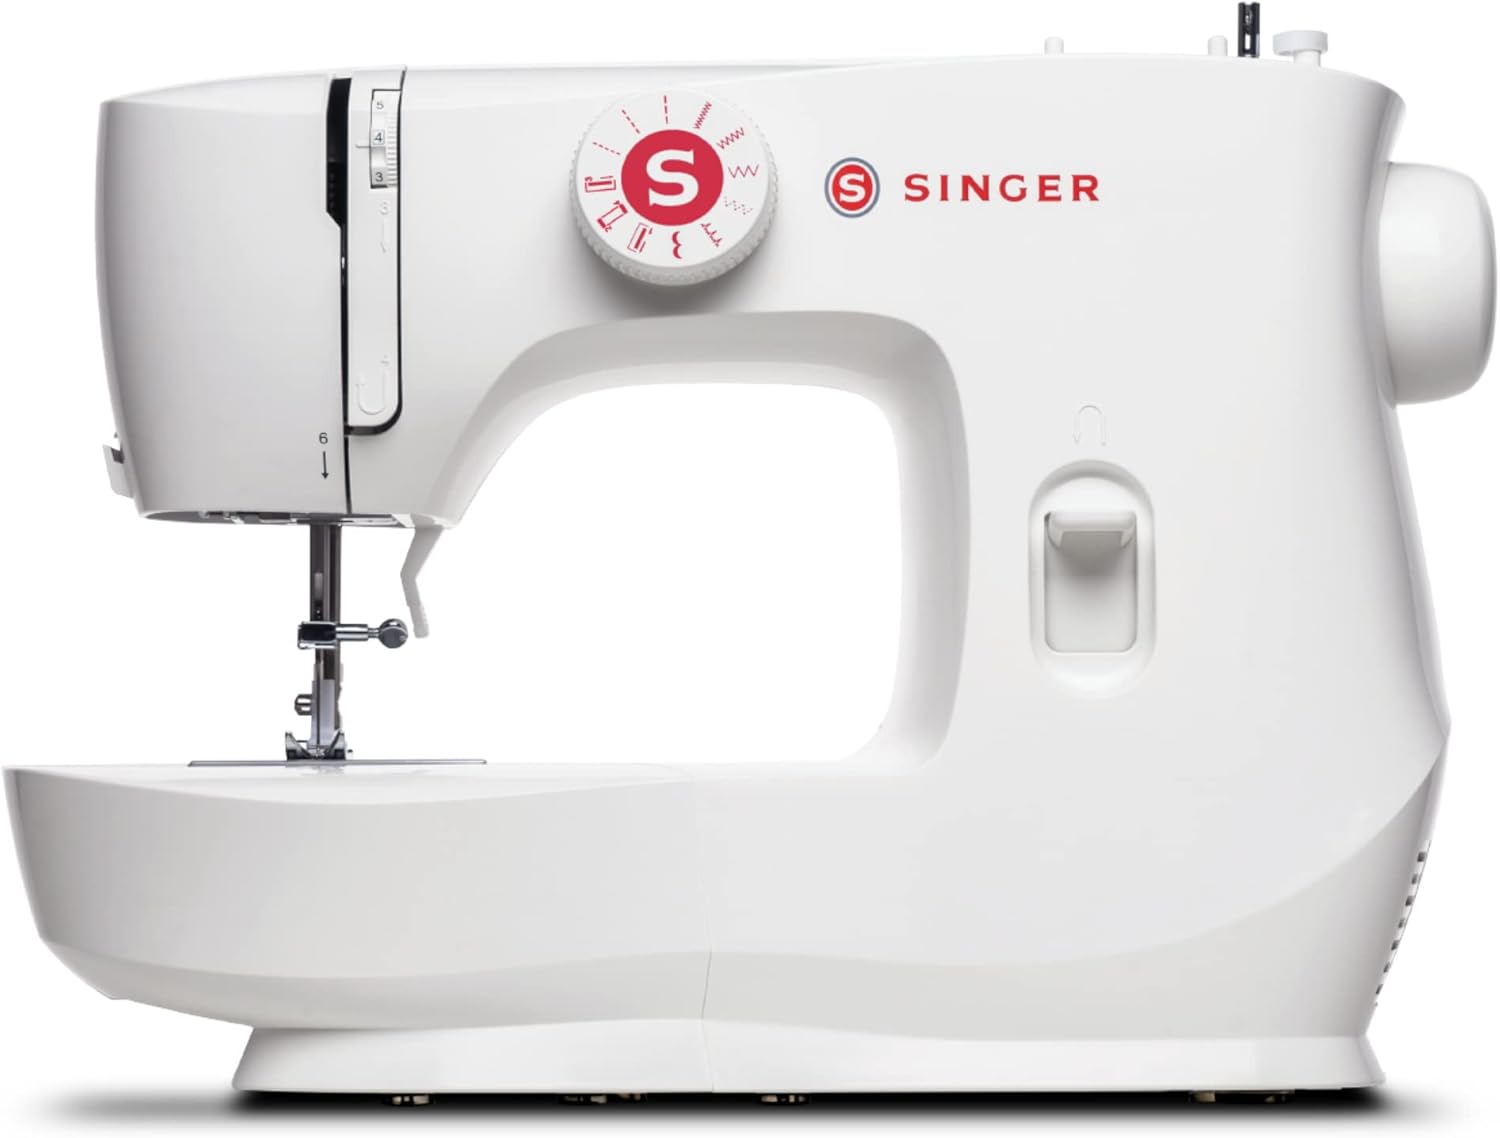
This manual provides essential instructions for the safe and effective use of your SINGER MX60 Sewing Machine and its accompanying accessory kit. The SINGER MX60 is a lightweight and portable sewing machine designed for ease of use, making it suitable for beginners and experienced sewers alike. It features preset stitch length and width for simple stitch selection and offers 57 stitch applications for various sewing techniques.
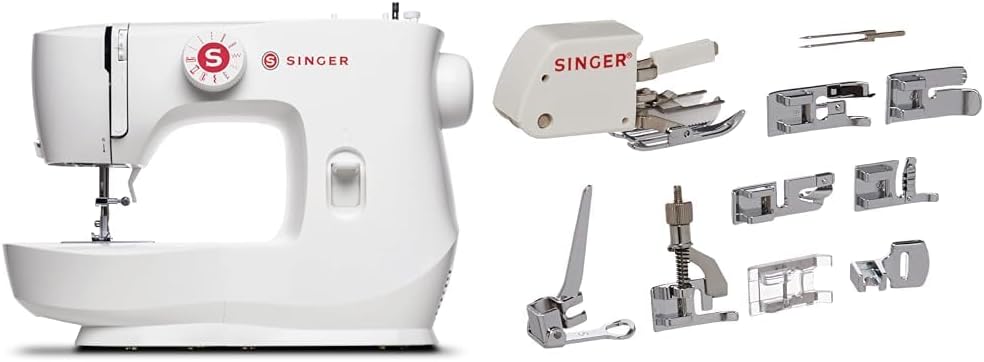
The included accessory kit expands your sewing capabilities with 9 presser feet, a twin needle, and a custom-fit plastic case. These accessories enable a wider range of projects, from basic mending to intricate quilting and embroidery.
2. Product Features and Components
The SINGER MX60 Sewing Machine is equipped with several features to enhance your sewing experience:
- 57 Stitch Applications: For key sewing techniques, offering versatility for various projects.
- Easy Stitch Selection: Simplified stitch selection with preset length and width.
- Buttonholes: A 4-step buttonhole function for easy creation.
- Lightweight and Portable: Ideal for transport to classes or for use in smaller spaces.
- Front-Loading Bobbin: Convenient access for bobbin changes.
- Easy-to-Follow Threading Guides: Clearly marked paths for effortless threading.
- White LED Lighting: Illuminates the sewing area for improved visibility.
2.1 Included Accessory Kit
The SINGER Accessory Kit includes:
- 9 Presser Feet: Blind Hem, Cording, Darning/Freehand Embroidery, Even Feed/Walking, Gathering, Narrow Rolled Hem, Overcasting, Satin Stitch, Straight Stitch.
- Twin Needle.
- Custom-fit SINGER plastic container with a padded removable insert for organized storage.


3. Setup
3.1 Power Connection and Basic Controls
Before starting, ensure the machine is placed on a stable surface. Connect the power cord and foot pedal to the designated ports on the machine. Use the power switch to turn the machine on/off. The handwheel, located on the right side, manually moves the needle up and down; always turn it towards you.
3.2 Threading the Machine
Follow the numbered threading guides printed on the machine for correct upper thread path. Ensure the thread is properly seated in the tension discs and take-up lever for optimal stitch quality.
3.3 Winding the Bobbin
Place the empty bobbin onto the bobbin winding spindle. Follow the bobbin winding path indicated on the machine. Engage the bobbin winder and press the foot pedal to wind thread onto the bobbin. Disengage once full.
4. Operating the Machine
4.1 Stitch Selection and Adjustment
Use the stitch selector dial to choose your desired stitch pattern. The stitch length can be adjusted using the stitch length lever, and the reverse lever allows for backstitching to secure seams.
4.2 Using the Rolled Hem Foot
The Rolled Hem Foot (also known as a Narrow Hem Foot) is designed for creating very narrow, professional-looking hems on light to medium-weight fabrics, such as those used for scarves and blouses. It features a small scroll at the front that guides the fabric edge, rolling it over and enclosing the raw edge as you sew a straight stitch.
To use: Trim the fabric edge to a 1/2 inch hem allowance. Fold and press the fabric over 1/8 inch, then again another 1/8 inch. Position the folded fabric under the foot, lower the needle, and feed the fabric edge into the scroll. Sew slowly, guiding the fabric into the scroll as you go. For starting at a corner, use a small piece of tear-away stabilizer under the hem.
4.3 Using the Gathering Foot
The Gathering Foot is used to create gathers in fabric. It works best with softer, lightweight fabrics. The foot has a slot in the front, open on the left and closed on the right, and the bottom of the foot locks in fullness as you stitch.
To attach: Remove the machine's presser foot holder and attach the gathering foot using a screwdriver, ensuring the shank is properly seated. To gather a single fabric: Set the machine for a straight stitch, move the needle to the left position for the widest seam allowance. Place the fabric under the foot and sew at a moderate speed. Longer stitches and increased thread tension will provide fuller gathers. To gather and attach to a second flat fabric: Place the fabric to be gathered under the foot, lower the presser foot. Then insert the second (flat) fabric into the slot at the left side of the foot. Lower the needle and start sewing.
5. Maintenance
Regular maintenance ensures the longevity and optimal performance of your sewing machine.
- Cleaning: Regularly clean lint and dust from the bobbin area and feed dogs using the brush provided in your accessory kit.
- Needle Replacement: Replace needles frequently, especially when working with new projects or if the needle becomes dull or bent.
- Lubrication: Refer to the full product manual for specific lubrication instructions, if applicable.
- Storage: Store the machine in a dry, dust-free environment. Use the included accessory case to keep presser feet and other small items organized.
6. Troubleshooting
If you encounter issues with your SINGER MX60, consider the following common solutions:
- Skipped Stitches: Ensure the needle is inserted correctly and is not bent. Check that the machine is properly threaded.
- Thread Breakage: Verify correct threading, proper tension settings, and that the needle is suitable for your fabric and thread type.
- Fabric Jamming: Ensure the presser foot is lowered before sewing. Check for tangled threads in the bobbin area.
- Uneven Stitches: Adjust thread tension. Ensure the bobbin is wound evenly.
For more detailed troubleshooting, please consult the complete SINGER MX60 user manual available on the SINGER website.
7. Specifications
| Feature | Detail |
|---|---|
| Brand | SINGER |
| Model Number | MX60 |
| Stitch Applications | 57 |
| Sewing Space (Needle to Tower) | 5.6 inches |
| Height | 3.9 inches |
| Product Dimensions | 1"D x 8"W x 4.5"H |
| Bobbin Type | Front-Loading |
8. Warranty and Support
For warranty information, product registration, and access to the full user manual, please visit the official SINGER website. SINGER provides comprehensive support resources, including FAQs, video tutorials, and customer service contact options.
Online resources can be found at: www.singer.com


