
Introduction
This manual provides comprehensive instructions for the installation, operation, and maintenance of your 52HZ G10 Pro Fingerprint Door Lock. Please read this manual thoroughly before installation and use to ensure proper function and to maximize the security features of your new lock. Keep this manual for future reference.
Product Overview
The 52HZ G10 Pro is a keyless entry smart deadbolt designed for enhanced security and convenience. It offers multiple unlocking methods and advanced features.
Key Features:
- 3-in-1 Keyless Entry: Supports up to 50 fingerprints, 250 passwords, and includes 2 mechanical keys. One-time passwords can also be set.
- Automatic Locking: Configurable auto-lock time from 5 to 59 seconds after the door closes.
- One-Touch Locking: Press and hold the "lock/unlock" button for 3 seconds to immediately lock the door.
- Anti-Peeping Password: Enter random numbers before or after your correct password to prevent unauthorized viewing.
- Privacy Mode (Anti-Lock): Activate privacy mode from the inside to prevent external unlocking.
- Durability: Operates in temperatures from -22℉ to 176℉ (-30℃ to 80℃), IP56 waterproof rating.
- Low Battery Alert: Provides a warning when battery power is low.
- Emergency Power: USB port for emergency power supply if batteries are depleted.
- Easy Installation: Compatible with most standard US left and right-handed doors, no drilling required for typical installations.

Image: Overview of 52HZ G10 Pro features including fingerprint recognition, auto-lock, privacy mode, and IP56 waterproof rating.
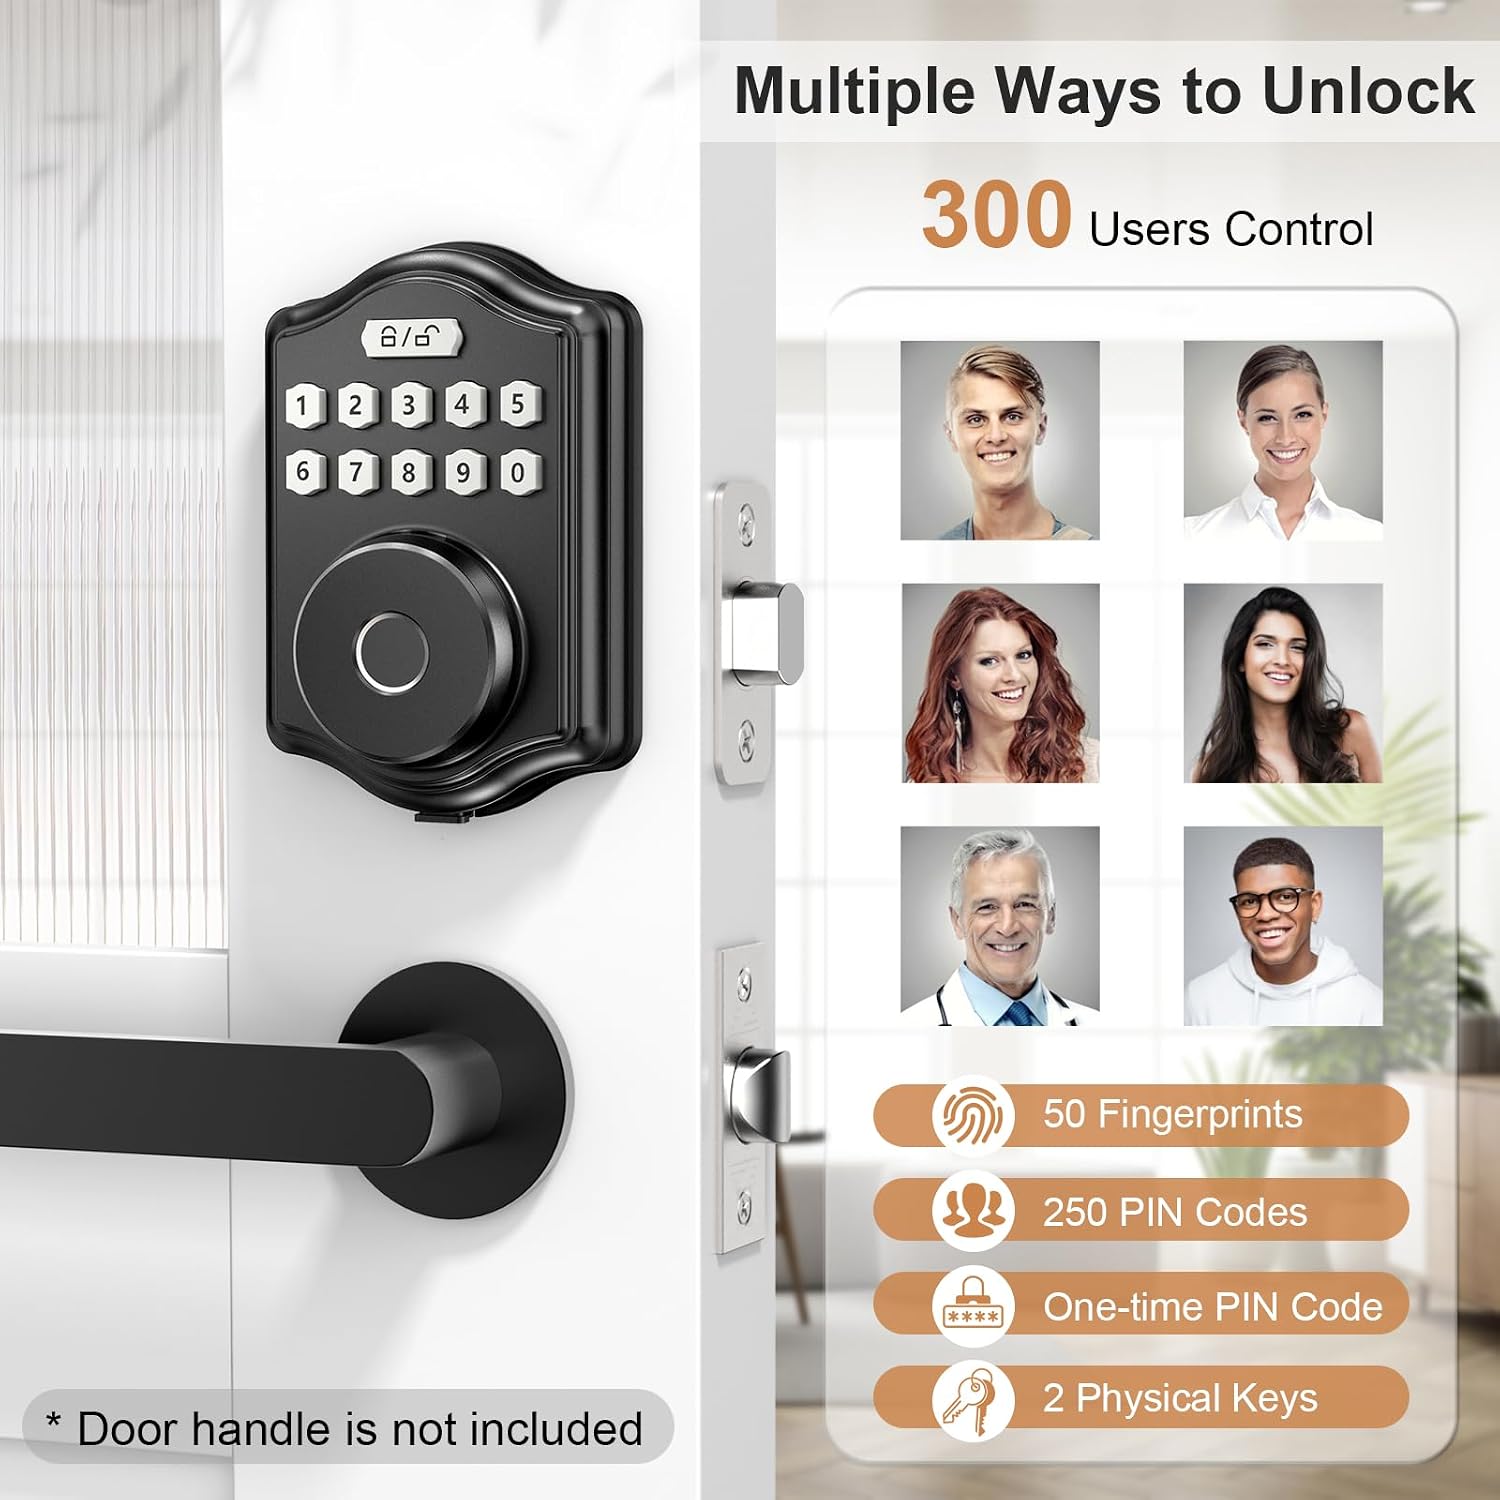
Image: Illustration of multiple unlocking methods: fingerprint, PIN code, one-time PIN code, and physical keys.
Setup
1. Pre-Installation Check
Before beginning installation, ensure your door meets the following specifications:
- Door thickness: 1-3/8" to 2" (30-50mm)
- Latch length: 2-3/8" or 2-3/4" (60mm or 70mm)
- Backset: 2-3/8" or 2-3/4" (60mm or 70mm)
- Cross bore diameter: 2-1/8" (54mm)
- Edge bore diameter: 1" (25mm)
The lock is designed for single cylinder deadbolts and is compatible with both left-handed and right-handed doors. It is not compatible with integrated, mortise, or rim cylinder lock types.

Image: Diagram showing door dimensions and lock compatibility requirements for installation.
2. Installation
The 52HZ G10 Pro is designed for easy installation without the need for drilling on most standard doors. Follow the steps provided in the included installation kit and user manual. For a visual guide, refer to the installation video below.
Video: Detailed instructions on how to install the 52HZ G10 Pro Smart Door Lock.
3. Initial Programming
After physical installation, the lock requires initial programming to set up user fingerprints, passwords, and other settings. Refer to the programming video below for a step-by-step guide.
Video: Guide on how to program the 52HZ G10 Pro Smart Door Lock, including adding users and setting codes.
Operating Instructions
Unlocking Methods
- Fingerprint: Place a registered finger on the fingerprint sensor. The lock will unlock within 1 second if the fingerprint is recognized.
- Passcode: Enter your registered passcode on the keypad, followed by the '#' key.
- Mechanical Key: In case of emergency or depleted batteries, use one of the provided mechanical keys to unlock the door. The keyhole is discreetly located.
- One-Time Passcode: For temporary access, generate a one-time passcode. This code will automatically delete after a single use.

Image: A hand demonstrating fingerprint unlocking on the 52HZ G10 Pro lock, highlighting its quick recognition.

Image: Close-up view of the 52HZ G10 Pro lock showing the hidden physical keyhole for mechanical key access.

Image: Scenario depicting the use of a one-time code for temporary access, such as for a delivery person.
Locking Methods
- Auto-Lock: The lock can be configured to automatically lock after a set period (5-59 seconds) once the door is closed. This feature can be enabled or disabled during programming.
- One-Touch Lock: From the outside, press and hold the "lock/unlock" button on the keypad for 3 seconds to immediately lock the door.

Image: Visual representation of the auto-lock feature, showing the lock engaging after a set time, and the one-touch lock function.
Advanced Security Features
- Anti-Peeping Password: When entering your passcode, you can input any random digits before or after your actual code. For example, if your code is 123456, you can enter 987123456000 to unlock the door. This prevents others from discerning your actual passcode.
- Privacy Mode (Anti-Lock): To prevent external unlocking, activate the privacy mode from the inside of the door. This is typically done by pressing a specific button or lever on the interior handle.

Image: Explanation of the anti-peeping password feature with an example, and an illustration of the privacy mode button on the interior lock.
Maintenance
Battery Replacement
The 52HZ G10 Pro lock is powered by 4 AA batteries (not included). When the battery level is low, the lock will provide an audible and/or visual alert. Replace all four batteries simultaneously with new, high-quality alkaline AA batteries. Do not mix old and new batteries or different battery types.

Image: Illustration showing the low battery alarm indicator and the USB port for emergency power supply.
Cleaning
Clean the lock's exterior with a soft, damp cloth. Avoid using abrasive cleaners, solvents, or chemical sprays, as these can damage the finish and electronic components.
Troubleshooting
| Problem | Possible Cause | Solution |
|---|---|---|
| Lock does not respond. | Dead batteries. | Replace batteries. Use the emergency USB power supply or mechanical key to open. |
| Fingerprint not recognized. | Finger is dirty, wet, or not properly placed. Fingerprint not registered. | Ensure finger is clean and dry. Place finger flat on the sensor. Re-register fingerprint if necessary. |
| Passcode not working. | Incorrect passcode entered. Passcode not registered. | Verify the passcode. Ensure the passcode is correctly registered. Try using the anti-peeping feature. |
| Auto-lock not engaging. | Auto-lock feature is disabled or set to a long delay. | Check programming settings to ensure auto-lock is enabled and the delay time is set as desired. |
| Lock is difficult to install. | Door dimensions do not match specifications. | Review the "Pre-Installation Check" section and ensure your door meets all requirements. Contact support if issues persist. |
Specifications
| Feature | Detail |
|---|---|
| Brand | 52HZ |
| Model Number | G10 Pro |
| Lock Type | Keypad Deadbolt |
| Material | Aluminum |
| Unlocking Methods | Fingerprint, Passcode, Mechanical Key, One-Time Passcode |
| Fingerprint Capacity | Up to 50 |
| Passcode Capacity | Up to 250 |
| Auto-Lock Time | Adjustable 5-59 seconds |
| Operating Temperature | -22℉ to 176℉ (-30℃ to 80℃) |
| Waterproof Rating | IP56 |
| Power Supply | 4 x AA Batteries (not included) |
| Emergency Power | USB Port |
| Included Components | 1 x Fingerprint Door Lock, 2 x Mechanical Keys, 1 x Installation Kit, 1 x User Manual |

Image: The 52HZ G10 Pro lock shown installed on both left and right-handed doors, demonstrating its versatility.

Image: Visual representation of the lock's operating temperature range, from cold -22°F to hot 176°F.
Warranty and Support
For warranty information or technical support, please refer to the warranty card included with your product or contact 52HZ customer service directly. Contact details can typically be found on the manufacturer's official website or in the product packaging.