Tiptiper Nightstand Set 2 Instruction Manual
Model: DJ502512
Brand: Tiptiper
Introduction
Thank you for choosing the Tiptiper Nightstand Set 2. This manual provides essential information for the safe assembly, operation, and maintenance of your new nightstands. Please read these instructions carefully before beginning assembly and retain them for future reference.
- Always unplug the charging station when not in use to prevent electrical hazards.
- Keep the charging station dry. Avoid exposure to liquids to prevent damage and electrical shock.
- Do not insert any object other than the charging cable into the charging station ports.
- Always follow the assembly instructions carefully to avoid injury during setup and ensure structural integrity.
Setup and Assembly
Your Tiptiper Nightstand Set 2 requires assembly. Please ensure all components are present before beginning. The item will arrive in two packages.
All necessary accessories and detailed assembly instructions are included with your purchase. Please refer to the separate assembly guide for step-by-step instructions. Carefully follow each step to ensure proper and secure construction of your nightstands.
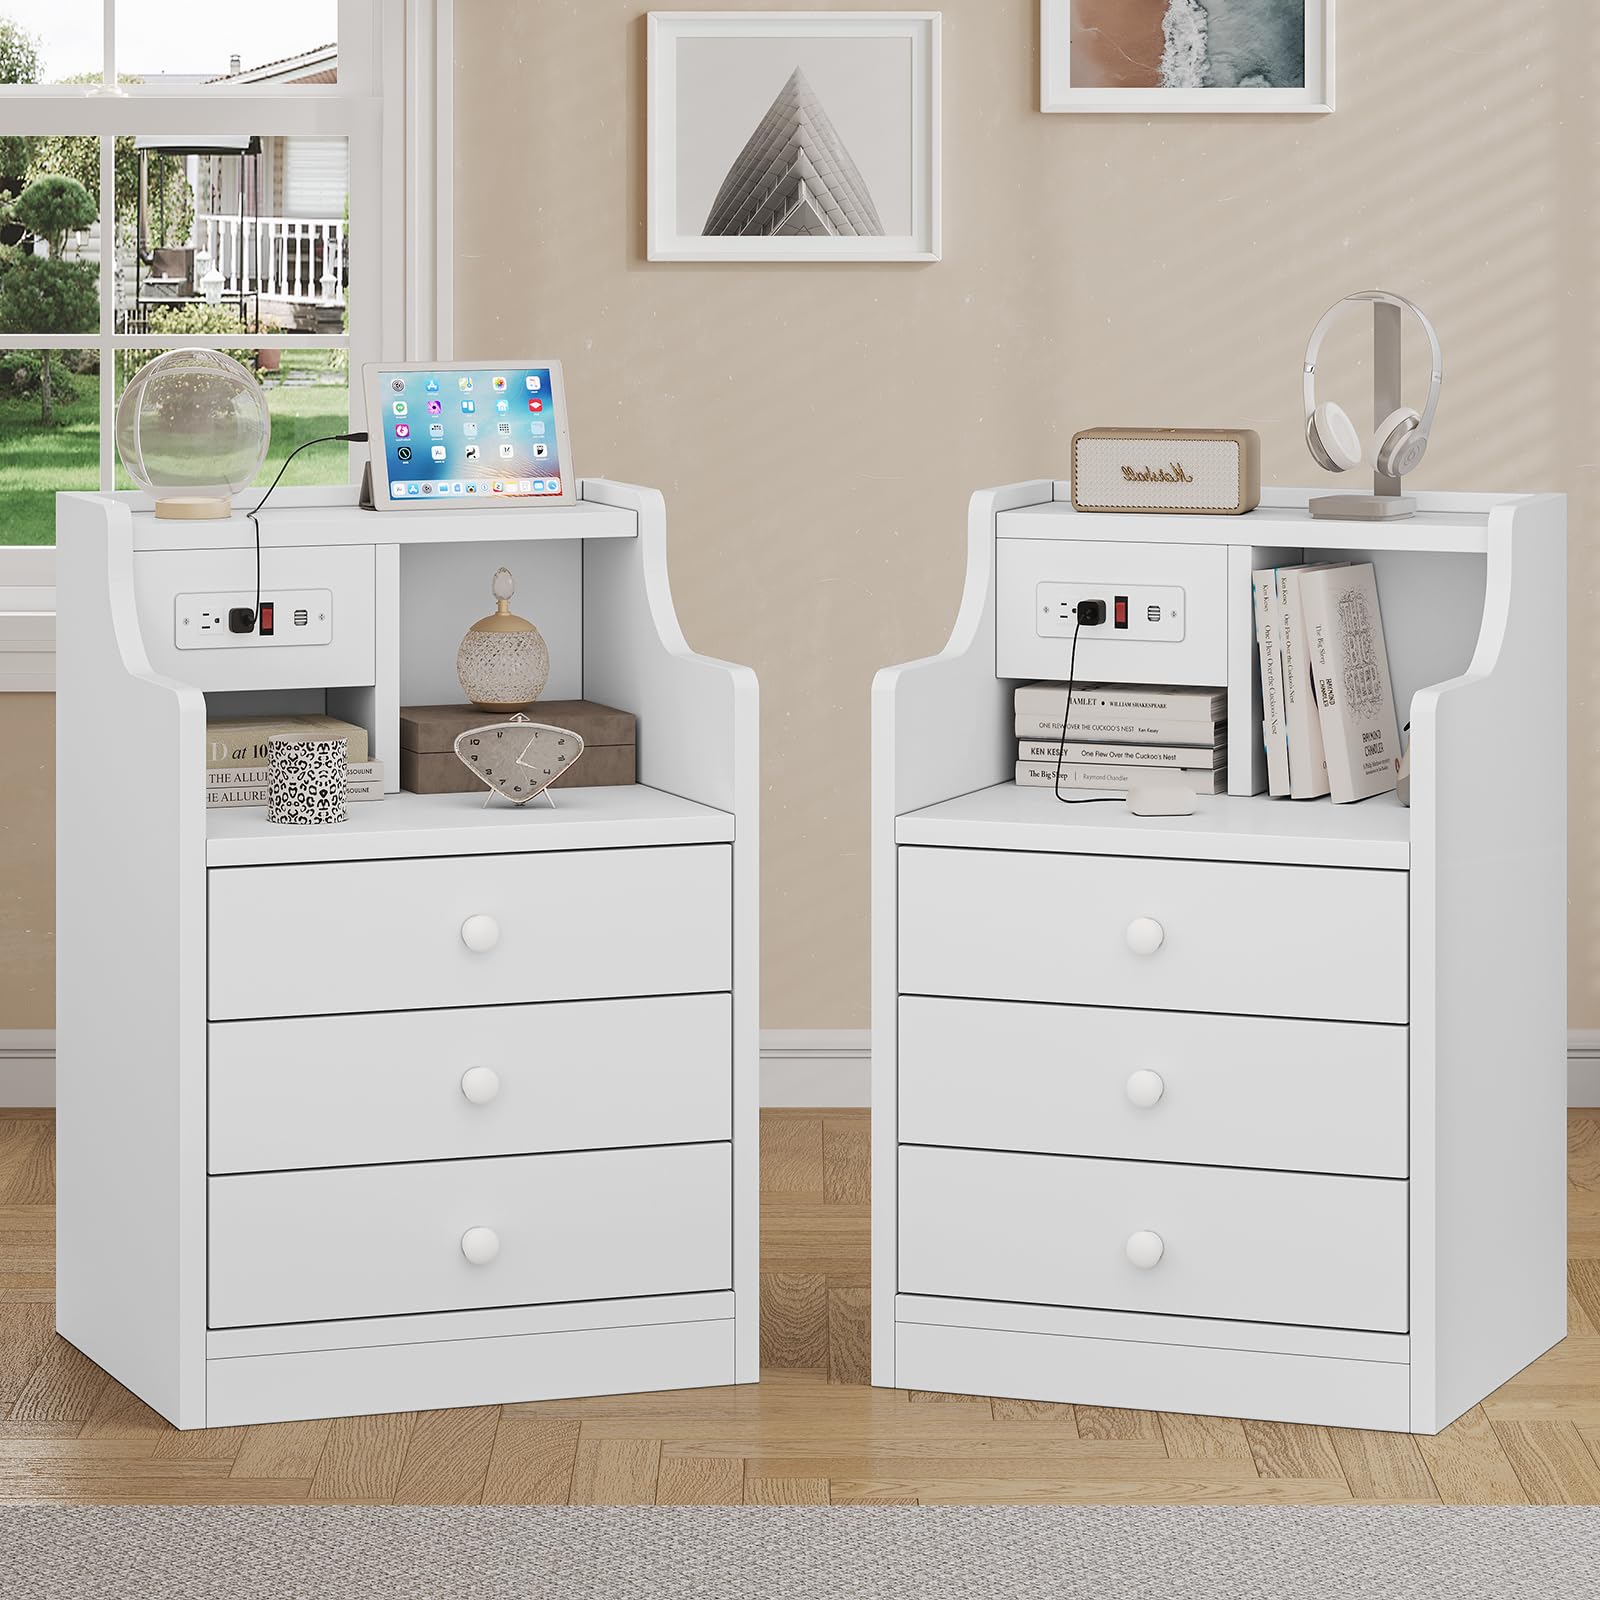
Image: The Tiptiper Nightstand, showing its overall dimensions of 17.7 inches width, 26.8 inches height, and 13.8 inches depth. This image provides a visual reference for the assembled product size.

Image: A Tiptiper Nightstand placed next to a bed in a bedroom, illustrating its typical use and scale within a room.
Operating Instructions
Charging Station
Each nightstand is equipped with a built-in charging station for your convenience. This station includes:
- Two (2) Standard Plug Outlets (125V/12A)
- Two (2) USB Ports (5V/2.1A)
- One (1) On/Off Switch for power control
To use, simply plug the nightstand's power cord (5.9 feet long) into a wall outlet. Use the On/Off switch to activate or deactivate power to the outlets and USB ports. Connect your electronic devices to the appropriate ports for charging.

Image: A close-up view of the nightstand's charging station, showing two AC outlets, two USB ports, and an on/off switch. A tablet is shown charging via a USB port.
Video: This video demonstrates the features of the Tiptiper Nightstand with Hutch, including the built-in charging station and storage drawers. It shows how to plug in devices and utilize the storage compartments.
Storage Drawers
Each nightstand features three (3) sliding drawers, providing ample space for organizing personal items. The drawers are designed for smooth operation.

Image: The nightstand with its three drawers partially open, revealing the interior storage space suitable for various items.
Hutch and Open Storage
The top section of the nightstand includes a hutch design with open shelving. This area is ideal for placing decorative items, books, or frequently accessed personal belongings.

Image: The nightstand displaying items on its top surface and within the hutch, such as a clock, plant, and framed picture, demonstrating its functional use.
Maintenance
- Cleaning: Wipe surfaces with a soft, damp cloth. Avoid harsh chemicals or abrasive cleaners that may damage the engineered wood finish.
- Charging Station Care: Ensure the charging station remains dry. If any liquid spills on it, immediately unplug the unit and allow it to dry completely before re-using.
- Drawer Slides: Periodically check drawer slides for smooth operation. If a drawer becomes stiff, ensure no debris is obstructing the slides.
- General Care: Avoid placing excessively hot or cold items directly on the surface without protection. Keep the nightstand away from direct sunlight and extreme temperature changes to prevent warping or discoloration.
Troubleshooting
- Charging Station Not Working:
- Ensure the nightstand's main power cord is securely plugged into a functional wall outlet.
- Verify that the On/Off switch on the charging station is in the "On" position.
- Check if the device you are trying to charge is properly connected to the USB port or AC outlet.
- Test the wall outlet with another appliance to confirm it is receiving power.
- Drawers Sticking or Not Sliding Smoothly:
- Check for any objects obstructing the drawer slides or caught inside the drawer.
- Ensure the nightstand is placed on a level surface. Uneven surfaces can cause drawers to misalign.
- During assembly, ensure all screws for the drawer slides were tightened correctly. If issues persist, re-check the assembly instructions for drawer slide installation.
Specifications
| Brand | Tiptiper |
| Model Number | DJ502512 |
| Product Dimensions (D x W x H) | 13.8"D x 17.7"W x 26.8"H |
| Frame Material | Engineered Wood |
| Color | White |
| Number of Drawers | 3 |
| Number of Items | 2 (Set of 2 Nightstands) |
| Charging Station | 2 AC Outlets (125V/12A), 2 USB Ports (5V/2.1A), On/Off Switch |
| Power Cord Length | 5.9 Feet |
| Assembly Required | Yes |
| Recommended Tools for Assembly | Hammer, Screwdriver |
Warranty and Support
Specific warranty details for the Tiptiper Nightstand Set 2 are typically provided with your purchase documentation or can be obtained directly from the manufacturer. Please refer to the warranty card included in your packaging or visit the official Tiptiper website for the most current information.
Customer Support
If you have any questions regarding the assembly, operation, or maintenance of your Tiptiper Nightstand Set 2, please contact Tiptiper customer service. Contact information can usually be found on the product packaging, the manufacturer's website, or through your retailer.
For online support, you may visit the Tiptiper Store on Amazon.
