1. Introduction
This manual provides detailed instructions for the operation and maintenance of your Feihe 13.8" Portable DVD Player with a 12" HD Screen and built-in Digital TV Tuner. Please read this manual thoroughly before using the device to ensure proper function and to maximize your viewing and listening experience. Keep this manual for future reference.
2. Package Contents
Verify that all items listed below are included in your package:
- Feihe 13.8" Portable DVD Player with 12" HD Screen
- Amplified Digital TV Antenna
- AC Charger Adapter
- Car Charger Adapter
- Remote Control
- 3-in-1 AV Cable (male)
3. Product Overview
The Feihe Portable DVD Player is a versatile entertainment device featuring a 12-inch HD screen, a built-in digital TV tuner, and multiple connectivity options. It supports various media formats and offers flexible power solutions for both home and on-the-go use.

Image: Front view of the Feihe Portable DVD Player, showcasing its 12-inch HD screen and control panel.
4. Setup Instructions
4.1 Powering the Device
Your portable DVD player offers three power options:
- AC Power Adapter: Connect the AC adapter to the DC IN port on the device and plug it into a standard wall outlet.
- Car Charger Adapter: For in-car use, connect the car charger adapter to the DC IN port and plug it into your vehicle's 12V power socket.
- Built-in Battery: The device has a 3000 mAh rechargeable battery, providing approximately 3 hours of video playback on a full charge. The battery charges automatically when connected to AC or car power.

Image: Illustration of the three power supply methods: AC adapter, car charger, and the internal 3000mAh battery.
4.2 Connecting the Digital TV Antenna
To receive local HD channels, connect the included amplified digital TV antenna to the ANT IN port on the device. Extend the antenna fully and position it for optimal signal reception. The number of available channels may vary based on your geographical location and signal strength.

Image: The portable DVD player connected to an external antenna, showing a broadcast TV program on screen.
4.3 Initial Power On and Channel Scan
- Ensure the device is powered on using one of the methods above.
- If prompted, select your language and region.
- Navigate to the TV mode.
- Perform an automatic channel scan to find available digital TV channels. This may take several minutes.
5. Operating Instructions
5.1 Basic DVD Playback
- Open the disc tray.
- Insert a compatible DVD or CD with the label side facing up.
- Close the disc tray. The device will automatically detect and begin playing the disc.
- Use the remote control or on-device buttons for playback controls (Play, Pause, Stop, Skip, Volume).
The player supports various disc formats including DVD, DVD+R, DVD-R, DVD+RW, DVD-RW, CD, CD+R, CD-R, CD+RW, CD-RW, and VCD to SVCD. Blu-ray discs are not supported.
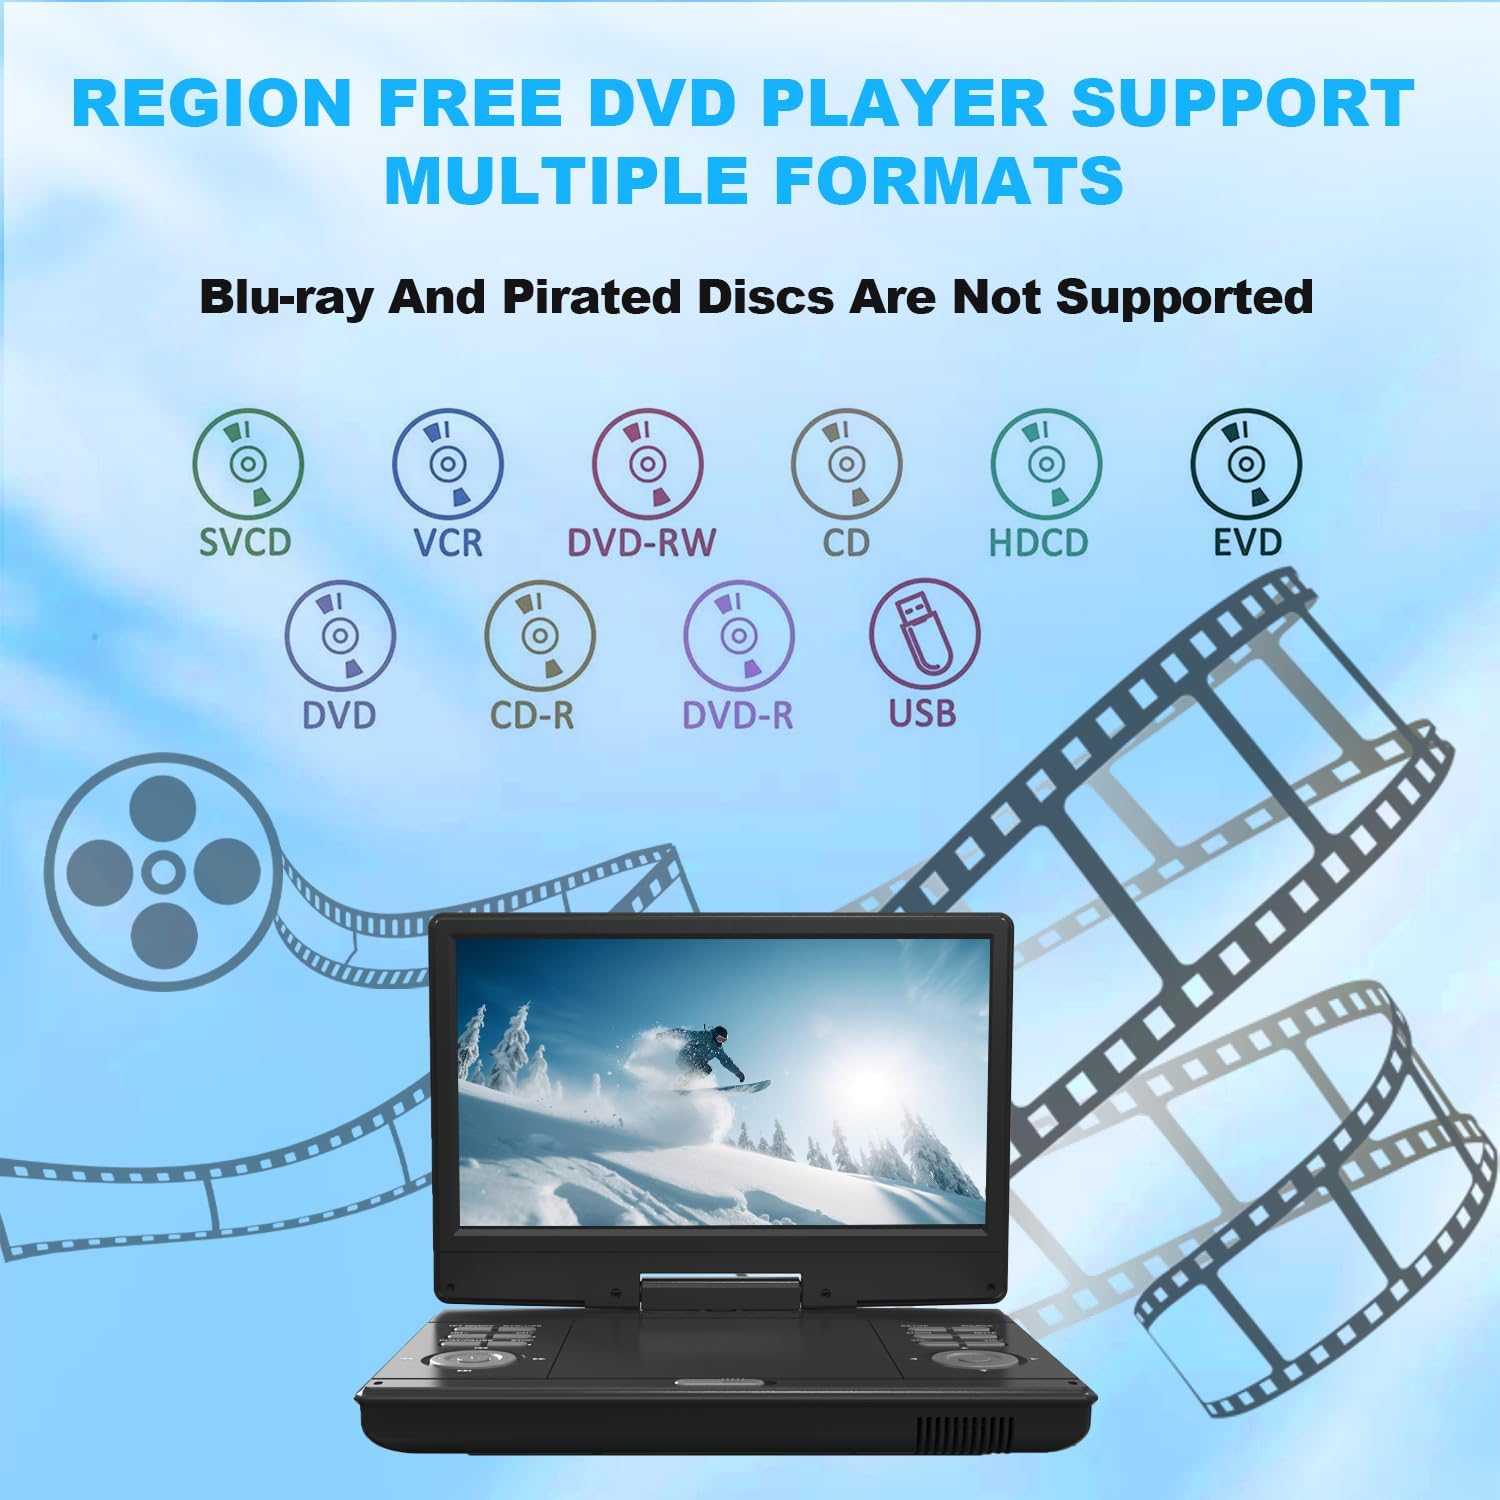
Image: Visual representation of the multiple disc and media formats supported by the DVD player.
5.2 Digital TV Tuner Operation
- Switch to TV mode using the 'Source' button on the device or remote.
- Use the channel up/down buttons to browse channels.
- Access the TV menu for settings such as channel management, picture, and sound adjustments.
5.3 HDMI Input
The HDMI input allows you to connect external devices such as streaming sticks (e.g., Firestick) or game consoles. This enables you to expand your entertainment options.
- Connect your HDMI device to the HDMI IN port on the portable DVD player.
- Use the 'Source' button to select the HDMI input.
- The portable DVD player's USB jack can provide power to compatible HDMI streaming sticks.

Image: The portable DVD player with a streaming stick plugged into its HDMI port, displaying a streaming service interface.
5.4 USB Playback
Insert a USB flash drive (up to 32GB) into the USB port to play supported media files. The device supports video formats such as MOV, AVI, MP4, VOB, FLV, MKV, TRP, TS, MPG, MPEG, DAT, ASF, WMV. Photo formats include JPG/BMP, music formats include MP3/MP4/WMA, and text formats include TEXT/WORD. Video resolution must be within 720 x 576 (H.264 is not supported).

Image: Icons illustrating the various file formats supported for USB playback, including photos, music, movies, and text documents.
5.5 Screen Rotation and Flip
The 12-inch HD screen features 270° rotation and 180° flip functionality, allowing for optimal viewing angles in various situations.

Image: Demonstrates the screen's ability to swivel 270 degrees and flip 180 degrees for flexible viewing.
5.6 Audio Output
The device includes built-in dual high-power speakers for clear audio. A headphone jack is also available for private listening.

Image: Close-up of the portable DVD player highlighting its dual stereo speakers for enhanced sound.
5.7 Sync Screen to TV
You can connect the portable DVD player to a larger TV screen using the included 3-in-1 AV cable to share your content.

Image: A family watching content from the portable DVD player displayed on a larger television screen.
6. Maintenance
- Cleaning: Use a soft, dry cloth to clean the screen and exterior of the device. Do not use liquid cleaners or abrasive materials.
- Storage: When not in use, store the device in a cool, dry place away from direct sunlight and extreme temperatures.
- Battery Care: To prolong battery life, avoid fully discharging the battery frequently. Charge the device regularly, even if not in use for extended periods.
- Disc Care: Handle discs by their edges. Keep discs clean and free of scratches to ensure smooth playback.
7. Troubleshooting
- No Power: Ensure the power adapter is securely connected and the outlet is functional. If using battery power, ensure the battery is charged.
- No Picture/Sound: Check all cable connections (AV, HDMI). Ensure the correct input source is selected. Adjust volume levels.
- Disc Not Playing: Ensure the disc is clean, free of scratches, and inserted correctly (label side up). Verify the disc format is supported (Blu-ray discs are not supported).
- Poor TV Reception: Adjust the position of the antenna. Perform a channel rescan. Signal strength can vary by location.
- USB Playback Issues: Ensure the USB drive is formatted correctly and is 32GB or less. Verify that the file formats are supported and video resolution is within 720x576.
- Remote Control Not Working: Check battery orientation and replace batteries if necessary. Ensure there are no obstructions between the remote and the device's IR sensor.
8. Specifications
| Feature | Specification |
|---|---|
| Model Number | 12 INCH |
| Screen Size | 12 Inches |
| Display Type | TN |
| Screen Resolution | 1080p (HD) |
| Screen Rotation | 270° Rotation, 180° Flip |
| Product Dimensions | 7.8 x 11.4 x 1.8 inches |
| Item Weight | 4.82 pounds |
| Battery Capacity | 3000 mAh (approx. 3 hours playback) |
| Supported Disc Media | DVD, DVD+R, DVD-R, DVD+RW, DVD-RW, CD, CD+R, CD-R, CD+RW, CD-RW, VCD to SVCD (Blu-ray not supported) |
| Supported USB Storage | Up to 32GB |
| Supported USB Video Formats | MOV, AVI, MP4, VOB, FLV, MKV, TRP, TS, MPG, MPEG, DAT, ASF, WMV (Max 720x576, H.264 not supported) |
| Supported USB Photo Formats | JPG/BMP |
| Supported USB Music Formats | MP3/MP4/WMA |
| Supported USB Text Formats | TEXT/WORD |
| Connectivity | HDMI Input, USB Port, AV Output, Headphone Jack, Digital TV Tuner Cable Input |
9. Warranty and Support
For warranty information and customer support, please refer to the documentation included with your purchase or contact Feihe customer service directly. Protection plans may be available for extended coverage.