
1. Important Safety Instructions
Please read all instructions carefully before using the DSP KC3049 Bread Maker. Keep this manual for future reference.
- Always ensure the appliance is unplugged from the power outlet before assembly, disassembly, or cleaning.
- Do not immerse the appliance, cord, or plug in water or any other liquid.
- This appliance is not intended for use by persons (including children) with reduced physical, sensory, or mental capabilities, or lack of experience and knowledge, unless they have been given supervision or instruction concerning use of the appliance by a person responsible for their safety.
- Close supervision is necessary when any appliance is used by or near children.
- Avoid contact with moving parts.
- Do not touch hot surfaces. Use oven mitts when handling hot parts or removing the bread pan.
- Do not operate any appliance with a damaged cord or plug, or after the appliance malfunctions or has been damaged in any manner.
- For household use only. Do not use outdoors.
- Ensure the appliance is placed on a stable, heat-resistant surface, away from walls or other appliances to allow for proper ventilation.
2. Product Overview
The DSP KC3049 Bread Maker is designed to simplify your bread-making process with its automatic functions and multiple programs.

Image: The DSP KC3049 Bread Maker showcasing its design and key features like the LCD display, viewing window, and various program options.
Key Components:
- Control Panel with LCD Display: For program selection, time setting, and status indication.
- Viewing Window: Allows monitoring of the baking process without opening the lid.
- Bread Pan: Removable non-stick pan for baking.
- Kneading Paddle: Detachable paddle for mixing ingredients.
- Measuring Cup and Spoon: For accurate ingredient measurement.
Features:
- 19 Automatic Programs for various bread types and doughs.
- 600 Watts of power for efficient baking.
- 1 kg capacity for family-sized loaves.
- 15-hour delay timer for fresh bread anytime.
- 60-minute automatic keep-warm function.
- Adjustable crust control (light, medium, dark).
3. Setup and First Use
Before using your bread maker for the first time, follow these steps:

Image: A clear view of the DSP KC3049 Bread Maker, ready for initial setup on a kitchen surface.
- Unpack: Carefully remove the bread maker and all accessories from the packaging.
- Clean: Wash the bread pan and kneading paddle with warm, soapy water. Rinse thoroughly and dry completely. Wipe the exterior of the appliance with a damp cloth. Do not use abrasive cleaners.
- Placement: Place the bread maker on a dry, stable, heat-resistant surface, ensuring adequate ventilation around the unit.
- Initial Burn-in (Optional but Recommended): Plug in the bread maker. Select the 'Bake' program (usually program 12 or 13). Let it run for about 10 minutes without any ingredients. This helps burn off any manufacturing oils and odors. Unplug and let it cool completely.
- Assemble: Insert the kneading paddle onto the shaft inside the bread pan. Place the bread pan into the bread maker, pressing down firmly until it clicks into place.
4. Operating Instructions
Follow these steps for baking bread with your DSP KC3049 Bread Maker:
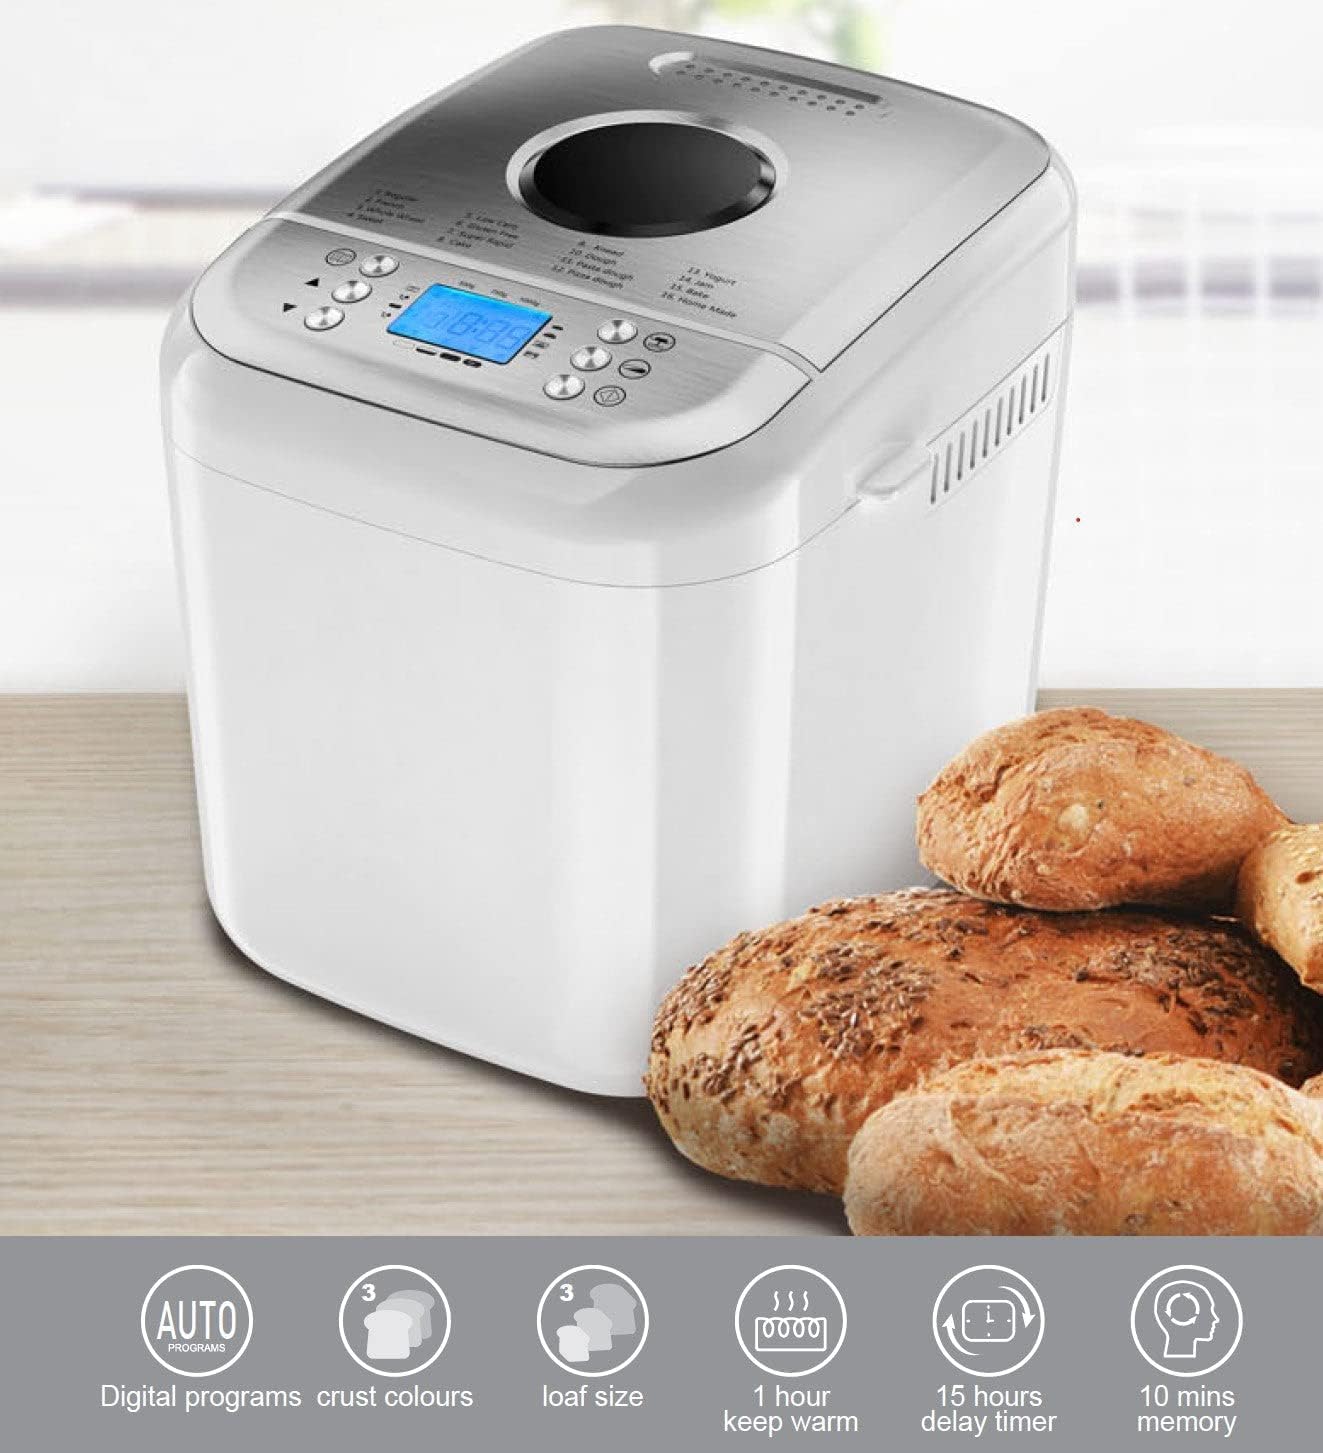
Image: The DSP KC3049 Bread Maker with a loaf of golden-brown bread, illustrating successful operation.
- Add Ingredients: Add liquid ingredients first, followed by dry ingredients. Make a small indentation in the dry ingredients for the yeast, ensuring it does not come into direct contact with liquids or salt initially.
- Close Lid: Close the lid securely.
- Plug In: Plug the power cord into a grounded electrical outlet. The bread maker will beep, and the default program will display on the LCD.
- Select Program: Press the 'MENU' button repeatedly to cycle through the 19 available programs until your desired program is selected.
- Select Loaf Size: Press the 'WEIGHT' button to choose your desired loaf size (e.g., 500g, 750g, 1000g).
- Select Crust Color: Press the 'COLOR' button to select your preferred crust color (Light, Medium, Dark).
- Set Delay Timer (Optional): If you want to delay the start of the baking process, use the '+' and '-' buttons to set the desired delay time. The total time displayed includes the baking time.
- Start Baking: Press the 'START/STOP' button once to begin the program. The indicator light will illuminate.
- During Baking: The bread maker will automatically perform kneading, rising, and baking cycles. You may hear a beep during the kneading cycle, indicating it's time to add additional ingredients (e.g., fruits, nuts) if your recipe calls for them.
- End of Program: Once the program is complete, the bread maker will beep and automatically switch to the 60-minute 'Keep Warm' function.
- Remove Bread: Press and hold the 'START/STOP' button for a few seconds to stop the 'Keep Warm' function. Unplug the appliance. Using oven mitts, carefully remove the bread pan by twisting it counter-clockwise and lifting it out. Invert the pan onto a wire rack to release the bread. If the kneading paddle remains in the bread, carefully remove it with a non-metallic utensil.
- Cool: Allow the bread to cool on a wire rack for at least 20-30 minutes before slicing.
5. Maintenance and Cleaning
Proper cleaning and maintenance will extend the life of your bread maker.
- Always Unplug: Ensure the bread maker is unplugged and completely cooled before cleaning.
- Bread Pan and Kneading Paddle: These parts are dishwasher safe. Alternatively, wash them with warm, soapy water using a soft sponge. Avoid abrasive materials that could damage the non-stick coating.
- Exterior: Wipe the exterior of the bread maker with a soft, damp cloth. Do not use harsh chemicals or abrasive cleaners.
- Interior: Wipe the interior of the baking chamber with a damp cloth. Remove any crumbs or residue.
- Lid: Clean the lid, especially the viewing window, with a damp cloth.
- Storage: Store the bread maker in a dry, clean place once it is completely dry and cool.
6. Troubleshooting
If you encounter issues with your bread maker, refer to the following common problems and solutions:
| Problem | Possible Cause | Solution |
|---|---|---|
| Bread does not rise | Expired yeast, incorrect water temperature, too much salt/sugar, wrong program. | Check yeast expiry, use lukewarm water, adjust ingredient amounts, select appropriate program. |
| Bread is too dense | Too much flour, not enough liquid, yeast inactive. | Measure ingredients precisely, ensure yeast is active. |
| Crust is too dark/light | Incorrect crust setting. | Adjust the 'COLOR' setting for your next bake. |
| Machine does not start | Not plugged in, lid not closed, 'START/STOP' not pressed. | Check power connection, ensure lid is closed, press 'START/STOP' firmly. |
| Kneading paddle stuck in bread | Common occurrence. | Carefully remove with a non-metallic utensil after bread has cooled slightly. |
7. Specifications
Technical details for the DSP KC3049 Bread Maker:

Image: The DSP KC3049 Bread Maker with its dimensions clearly marked for reference.
| Feature | Detail |
|---|---|
| Model | KC3049 |
| Brand | DSP |
| Power | 600 Watts |
| Capacity | 1 kg |
| Number of Programs | 19 |
| Product Dimensions (D x W x H) | 33 cm x 27 cm x 29 cm |
| Item Weight | 200 grams |
| Materials | Stainless Steel, Plastic, Aluminum |
| Color | Stainless Steel |
| Care Instructions | Dishwasher safe (bread pan and kneading paddle) |
8. Warranty and Support
For warranty information or product support, please refer to the documentation provided with your purchase or contact your retailer. Keep your proof of purchase for any warranty claims.
If you require further assistance, please contact DSP customer service through their official website or the contact details provided in your product packaging.