Product Overview
The Biliyer Q02S is an innovative all-in-one selfie stick and tripod designed to enhance your mobile photography and videography experience. It features an extendable pole, a stable tripod base, and an integrated fill light, all controlled by a convenient wireless remote. This versatile tool is perfect for capturing high-quality selfies, group photos, and stable videos, whether for personal use or content creation.

Figure 1: The Biliyer Q02S Selfie Stick Tripod shown as a handheld selfie stick, a folded compact unit, and an extended tripod with a phone mounted.
Package Contents
- Biliyer Q02S Selfie Stick Tripod with integrated fill light
- Wireless Bluetooth Remote Control
- USB Charging Cable (for fill light)
- User Manual (this document)
Setup Guide
1. Charging the Fill Light
Before first use, ensure the integrated fill light is fully charged. Connect the provided USB charging cable to the charging port on the light and to a standard USB power source (e.g., computer, wall adapter). The charging indicator will show the charging status.
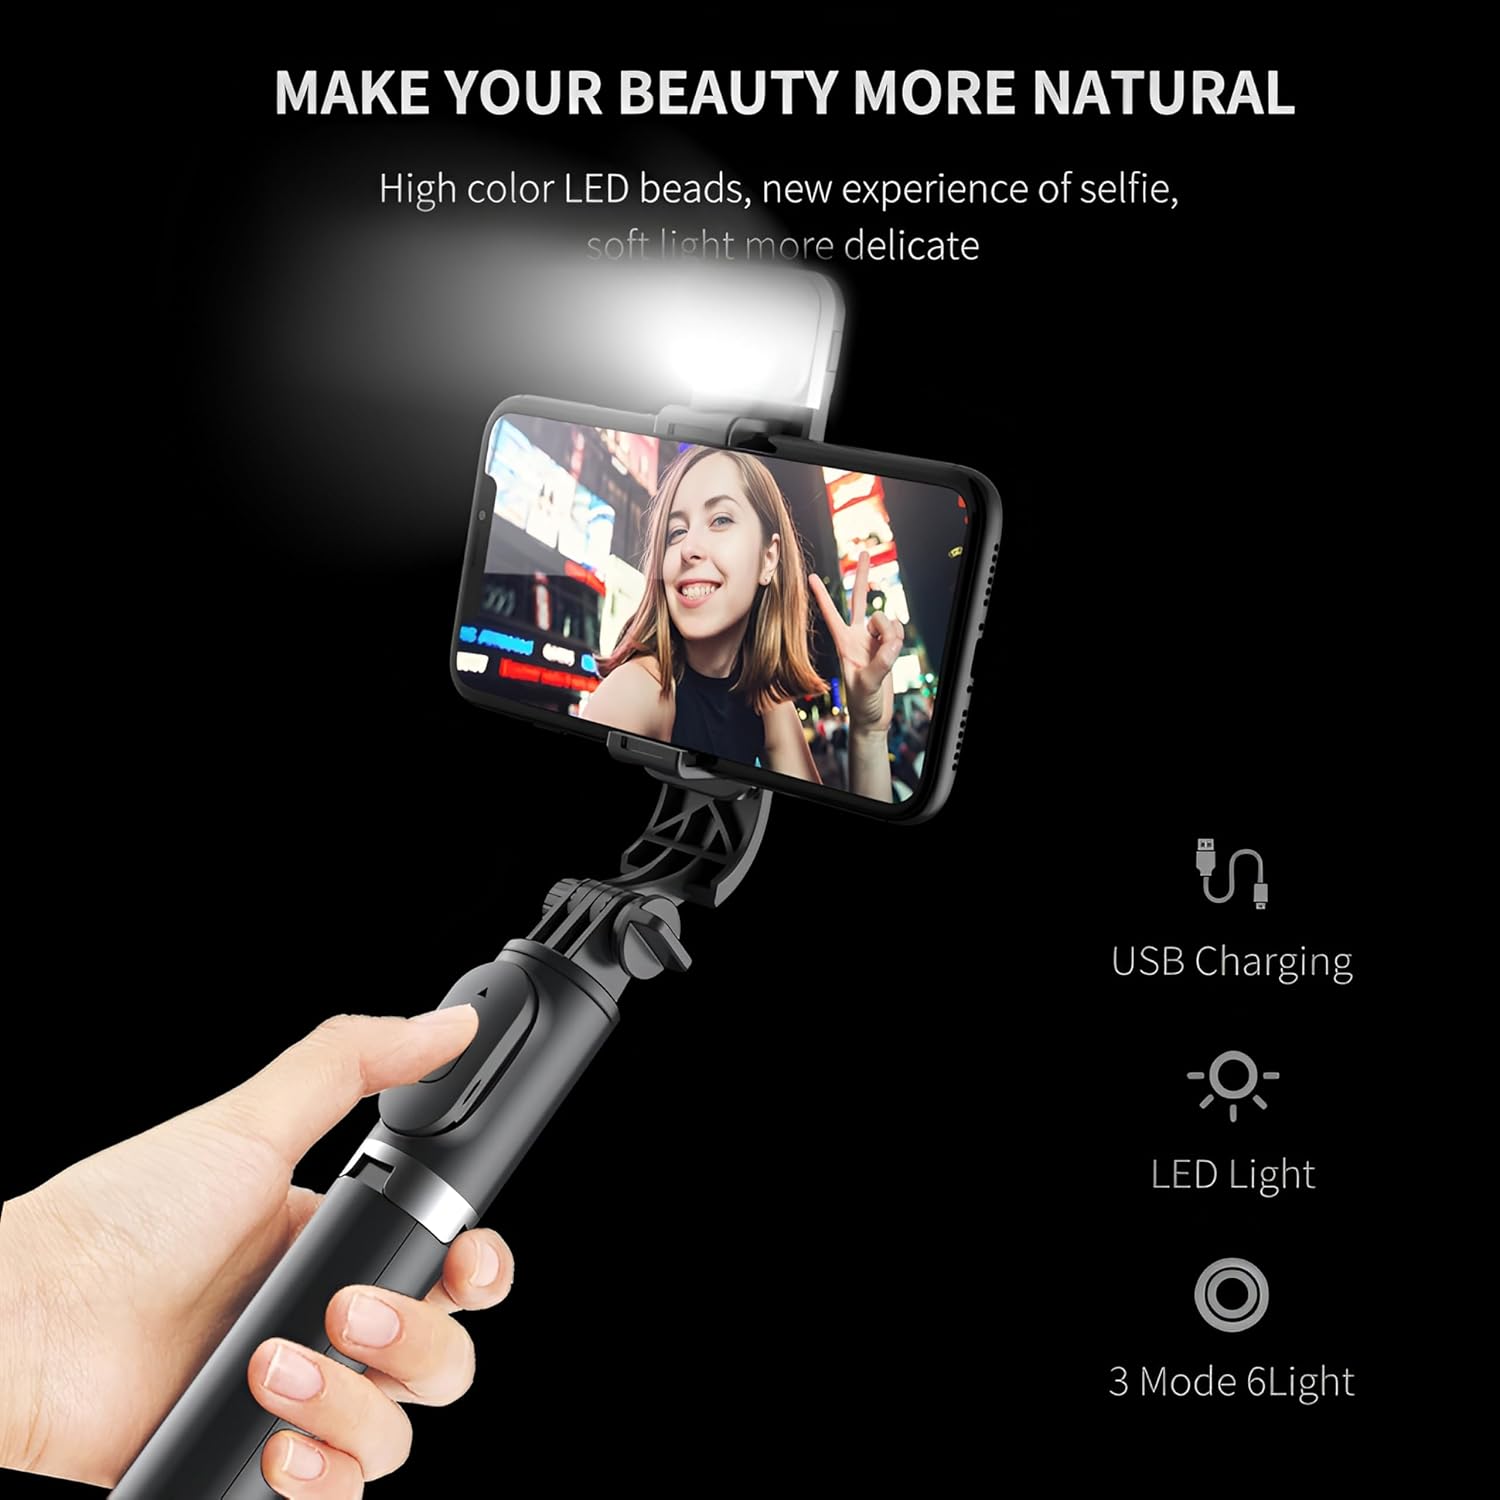
Figure 2: The integrated fill light with its USB charging port, providing enhanced illumination for photos and videos.
2. Pairing the Wireless Remote Control
- Turn on the remote control by pressing and holding the button until the indicator light flashes.
- On your smartphone, go to Bluetooth settings and enable Bluetooth.
- Search for available devices and select "Biliyer Q02S" or a similar name.
- Once paired, the indicator light on the remote will stop flashing and remain solid.
- The remote control supports a range of up to 10 meters (33 feet).

Figure 3: The wireless remote control allows for hands-free operation from up to 10 meters away, ideal for group photos or stable shots.
3. Attaching Your Smartphone
Gently pull open the phone holder clamp and securely place your smartphone inside. Ensure the phone is centered and stable. The holder is designed to accommodate most smartphone models.
Operating Instructions
1. Extending the Selfie Stick
Hold the base of the selfie stick and gently pull the top section upwards to extend the pole. The Q02S features a 7-section extendable pole that can reach up to 1045mm (approximately 41 inches).

Figure 4: The telescopic rod fully extended to 1045mm, providing a wide range for capturing photos and videos.
2. Using as a Tripod
To use the device as a tripod, unfold the three legs at the base of the stick. Ensure the legs are fully extended and stable on a flat surface before mounting your phone. This provides a stable platform for hands-free shooting.
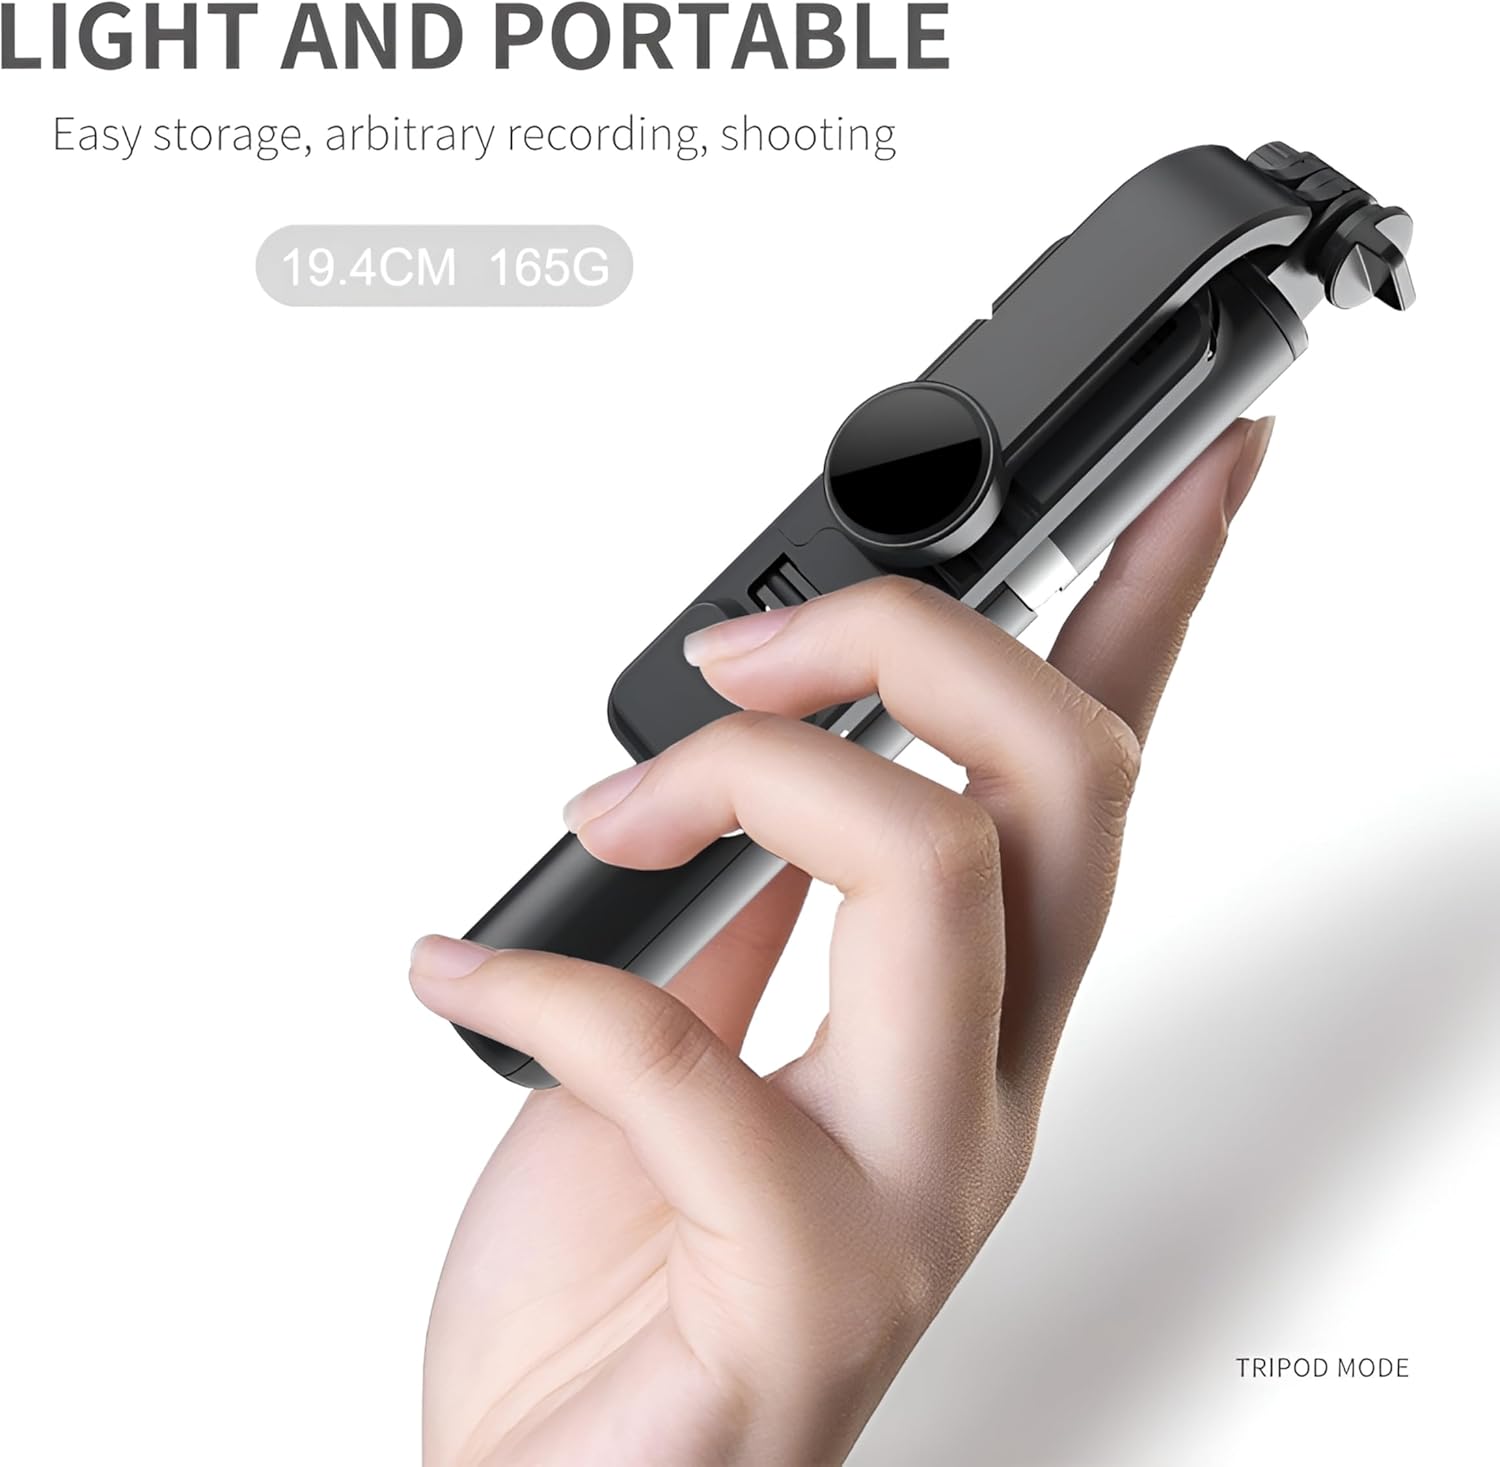
Figure 5: The Biliyer Q02S in its compact, folded state and demonstrating its tripod mode for stable placement.
3. Adjusting the Fill Light
The integrated LED fill light offers multiple modes and color temperatures. Press the power button on the light to cycle through the 3 modes and 9 color temperatures to achieve your desired lighting effect. The light is USB rechargeable.
4. Taking Photos/Videos with Remote
Once your phone is mounted and the remote is paired, open your phone's camera app. Press the button on the wireless remote control to trigger the shutter and capture photos or start/stop video recording. This allows for stable, shake-free shots.

Figure 6: The remote control enables one-click photo capture, featuring a 120mAh battery and Bluetooth V4.0 connectivity.

Figure 7: The Biliyer Q02S facilitates easy group photos, making it convenient to record life's moments.
Maintenance
- Cleaning: Wipe the device with a soft, dry cloth. Do not use abrasive cleaners or solvents.
- Storage: When not in use, fold the selfie stick to its compact size and store it in a cool, dry place away from direct sunlight.
- Battery Care: Recharge the fill light regularly, even if not in frequent use, to maintain battery health.
Troubleshooting
| Problem | Possible Cause | Solution |
|---|---|---|
| Remote control not pairing. | Remote battery low; Bluetooth not enabled on phone; remote not in pairing mode. | Charge remote (if applicable); ensure phone Bluetooth is on; press and hold remote button to enter pairing mode. |
| Fill light not turning on. | Light battery low; light not charged. | Connect the fill light to a USB power source and charge it fully. |
| Selfie stick feels unstable. | Sections not fully extended/locked; tripod legs not fully spread. | Ensure all extendable sections are pulled out completely and locked. When using as a tripod, ensure legs are fully splayed on a flat, stable surface. |
Specifications
| Feature | Detail |
|---|---|
| Model Number | Q02S |
| Brand | Biliyer |
| Material | Stainless Steel, Acrylonitrile Butadiene Styrene (ABS) |
| Folded Length | 19.4 cm |
| Extended Length | Up to 1045 mm (7 sections) |
| Product Weight | 200 Grams |
| Fill Light | Integrated LED, USB rechargeable, 3 modes, 9 color temperatures |
| Remote Control | Bluetooth, 10m range, 120mAh battery |
| Compatible Devices | Smartphones (Android and iOS) |
| Special Features | Lightweight, Remote Control, Foldable, Tripod Function |
Warranty Information
Biliyer products are covered by a standard manufacturer's warranty. For specific warranty terms and conditions, please refer to the warranty card included with your purchase or visit the official Biliyer website. Please retain your proof of purchase for warranty claims.
Support
For technical support, troubleshooting assistance, or general inquiries, please contact Biliyer customer service through the following channels:
- Online Support: Visit the Biliyer Store on Amazon for FAQs and product information.
- Email: Refer to your product packaging or warranty card for direct email support.
When contacting support, please have your product model (Q02S) and purchase details ready.