1. Introduction
This manual provides essential information for the safe operation, maintenance, and troubleshooting of your Powerhorse High-Wheeled Walk-Behind String Trimmer. Please read this manual thoroughly before operating the machine to ensure proper use and to prevent injury or damage.

Figure 1: Powerhorse High-Wheeled Walk-Behind String Trimmer. This image shows the complete assembly of the string trimmer, highlighting its high wheels, engine, and cutting head with orange trimmer lines.
2. Important Safety Information
Always follow basic safety precautions to reduce the risk of fire, electric shock, and personal injury. Keep this manual for future reference.
- Read the Manual: Understand all instructions and warnings before operation.
- Personal Protective Equipment (PPE): Always wear eye protection, hearing protection, long pants, and sturdy footwear.
- Fuel Safety: Handle gasoline with extreme care. Store fuel in an approved container in a well-ventilated area away from ignition sources. Never refuel a hot engine.
- Clear Work Area: Ensure the area is clear of debris, rocks, and other objects that could be thrown by the trimmer line. Keep bystanders, children, and pets at a safe distance.
- Engine Heat: The engine and muffler become very hot during operation and can cause burns. Allow the engine to cool before touching or performing maintenance.
- Inspect Before Use: Check the fuel line for tears or damage before each use, as noted in customer feedback. Ensure all fasteners are tight and guards are in place.
- Proper Operation: Operate the trimmer only in well-ventilated areas. Do not operate in wet conditions.
3. Product Features and Components
The Powerhorse High-Wheeled Walk-Behind String Trimmer is designed for efficient clearing of weeds, grass, and brush.
Key Features:
- Dependable Powerhorse 173cc vertical gas engine with recoil start delivers 3000 max. RPM.
- Offset head design delivers a 22-inch wide cutting swath.
- Rear wheels offer easy maneuverability and walk-behind control.
- Lightweight design is easy to operate, reducing fatigue.
Main Components:
- Engine: 173cc 4-cycle gas engine.
- Cutting Head: Equipped with a 22-inch cutting swath for efficient clearing.
- High Wheels: Large rear wheels for improved maneuverability over rough terrain.
- Handlebar: Ergonomic design for comfortable operation.

Figure 2: Powerful Performance. This image illustrates the trimmer in action, highlighting its 173cc 4-cycle gas engine and 3,000 max. RPM capability, with a user operating it in tall grass.
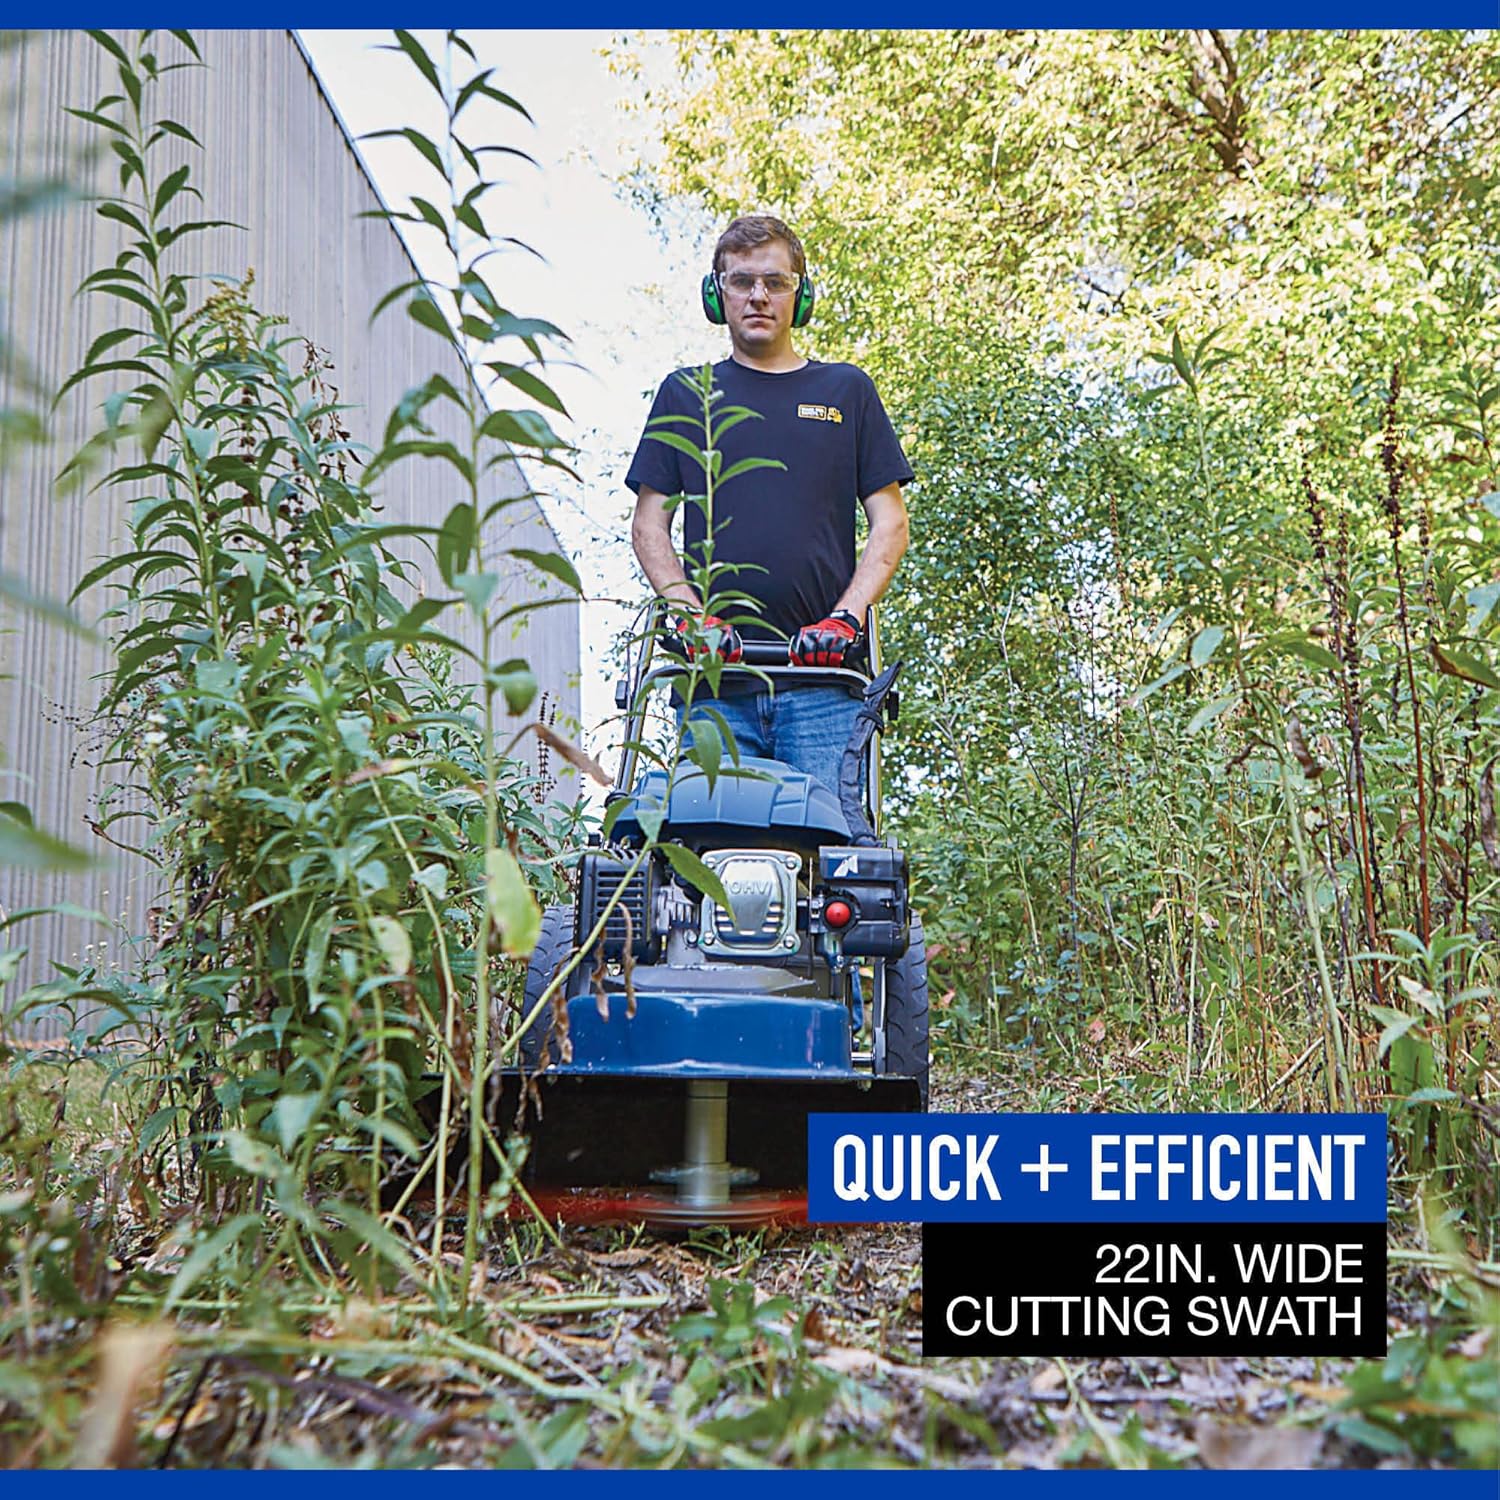
Figure 3: Quick and Efficient Cutting. This image shows the trimmer's 22-inch wide cutting swath, demonstrating its ability to clear large areas quickly.

Figure 4: Effortless Walk-Behind Design. This image focuses on the 14-inch rear tires, emphasizing the trimmer's smooth rolling and easy maneuverability.

Figure 5: Lightweight Construction. This image shows the trimmer being operated from the side, illustrating its lightweight design that makes it easy to operate and maneuver, reducing user fatigue.
4. Setup and Assembly
Your Powerhorse String Trimmer requires some assembly and preparation before first use.
4.1 Unpacking and Initial Inspection:
- Carefully remove all components from the packaging.
- Inspect for any shipping damage. If damaged, contact customer support immediately.
- Verify all parts are present according to the packing list. The unit typically includes a 16.9-oz. bottle of oil, spark plug wrench, oil funnel, and a 10-pack of trimmer lines.

Figure 6: Fully Equipped. This image displays the trimmer along with its included accessories: a bottle of oil, a spark plug wrench, an oil funnel, and a pack of trimmer lines.

Figure 7: Included Accessories. A closer view of the 16.9 fl. oz. (500 ml) bottle of Powerhorse Premium 4-Cycle Small Engine Lubricant, a spark plug wrench, an oil funnel, and a bundle of orange trimmer lines.
4.2 Handlebar Assembly:
Attach the handlebar to the main unit using the provided hardware. Ensure all bolts are securely tightened.
4.3 Adding Engine Oil:
- Place the trimmer on a level surface.
- Remove the oil fill cap/dipstick.
- Using the provided funnel, slowly add the recommended 4-cycle engine oil (e.g., 10W-40) up to the "FULL" mark on the dipstick. Do not overfill.
- Replace the oil fill cap securely.
4.4 Adding Fuel:
- Ensure the engine is cool.
- Use fresh, clean unleaded gasoline with an octane rating of 87 or higher.
- Carefully remove the fuel cap.
- Fill the fuel tank, leaving a small space for expansion. Do not overfill.
- Securely replace the fuel cap. Wipe up any spilled fuel immediately.
- Important: Before filling the gas tank, inspect the fuel line from the gas tank to the engine for any tears or damage. Replace if necessary.
5. Operation
5.1 Starting the Engine:
- Ensure the trimmer is on a level surface and the area is clear.
- Set the engine switch to the "ON" position.
- Move the choke lever to the "CHOKE" position (for cold starts).
- Pull the recoil starter handle firmly and smoothly until the engine starts. You may need to pull several times.
- Once the engine starts, gradually move the choke lever to the "RUN" position.
- Allow the engine to warm up for a few moments before beginning operation.
5.2 Operating the Trimmer:
- Push the trimmer forward slowly, allowing the trimmer line to cut through vegetation.
- Maintain a steady pace. Do not force the trimmer through dense growth.
- Use a sweeping motion for best results.
- Be aware of the 22-inch cutting swath and plan your passes accordingly.
5.3 Stopping the Engine:
- Release the control lever.
- Move the engine switch to the "OFF" position.
- Allow the engine to cool before storage or maintenance.
6. Maintenance
Regular maintenance ensures optimal performance and extends the life of your trimmer.
6.1 After Each Use:
- Clean the exterior of the trimmer with a damp cloth. Remove any grass clippings or debris from the cutting head and engine cooling fins.
- Check the trimmer line for wear and replace if necessary.

Figure 8: Trimmer Cutting Head. This image provides an underside view of the trimmer's cutting head, showing the trimmer lines and the protective guard, useful for maintenance and line replacement.
6.2 Engine Maintenance:
- Oil Change: Change engine oil after the first 5 hours of operation, then every 25 hours or annually, whichever comes first.
- Spark Plug: Inspect and clean the spark plug annually or every 50 hours. Replace if electrodes are worn or fouled.
- Air Filter: Clean the air filter regularly, especially in dusty conditions. Replace if damaged.
6.3 Storage:
- For long-term storage, drain the fuel tank or add a fuel stabilizer.
- Clean the trimmer thoroughly.
- Store in a clean, dry, well-ventilated area, away from direct sunlight and extreme temperatures.
7. Troubleshooting
Refer to this section for common issues and their potential solutions.
| Problem | Possible Cause | Solution |
|---|---|---|
| Engine will not start or is difficult to start. | No fuel, stale fuel, incorrect choke setting, fouled spark plug, fuel line issue. | Check fuel level and quality. Adjust choke. Inspect and clean/replace spark plug. Inspect fuel line for tears or blockages. |
| Engine runs poorly or lacks power. | Dirty air filter, incorrect fuel mixture, old fuel, spark plug issue. | Clean/replace air filter. Use fresh fuel. Check spark plug. |
| Trimmer line not cutting effectively. | Worn or incorrect trimmer line, debris in cutting head. | Replace trimmer line with recommended type (4mm x 4mm square). Clear debris from cutting head. |
| Excessive vibration. | Loose components, damaged cutting head. | Check all fasteners for tightness. Inspect cutting head for damage. |
8. Technical Specifications
| Specification | Detail |
|---|---|
| Brand | Powerhorse |
| Model Number | DMT56-DV173 |
| Engine Type | 173cc 4-Cycle Gas Engine |
| Max. RPM | 3000 |
| Cutting Width | 22 Inches |
| Operation Mode | Manual, Walk-Behind |
| Item Weight | 77.5 Pounds |
| Product Dimensions | 30.31 x 19.3 x 5 inches |
| Material | Metal |
| UPC | 840321751157 |
9. Warranty and Customer Support
Powerhorse products are manufactured to high-quality standards. For specific warranty details, please refer to the warranty card included with your product or visit the official Powerhorse website.
For technical assistance, parts, or service, please contact Powerhorse customer support. Contact information can typically be found on the product packaging or the manufacturer's website.
Note: This item is subject to hazardous materials regulation for transportation and may have specific return policies. Please consult your retailer for details.


