Introduction
This manual provides detailed instructions for the setup, operation, maintenance, and troubleshooting of your Diseleri Fingerprint Time Clock, Model A6. Please read this manual thoroughly before using the device to ensure proper functionality and to maximize its lifespan.
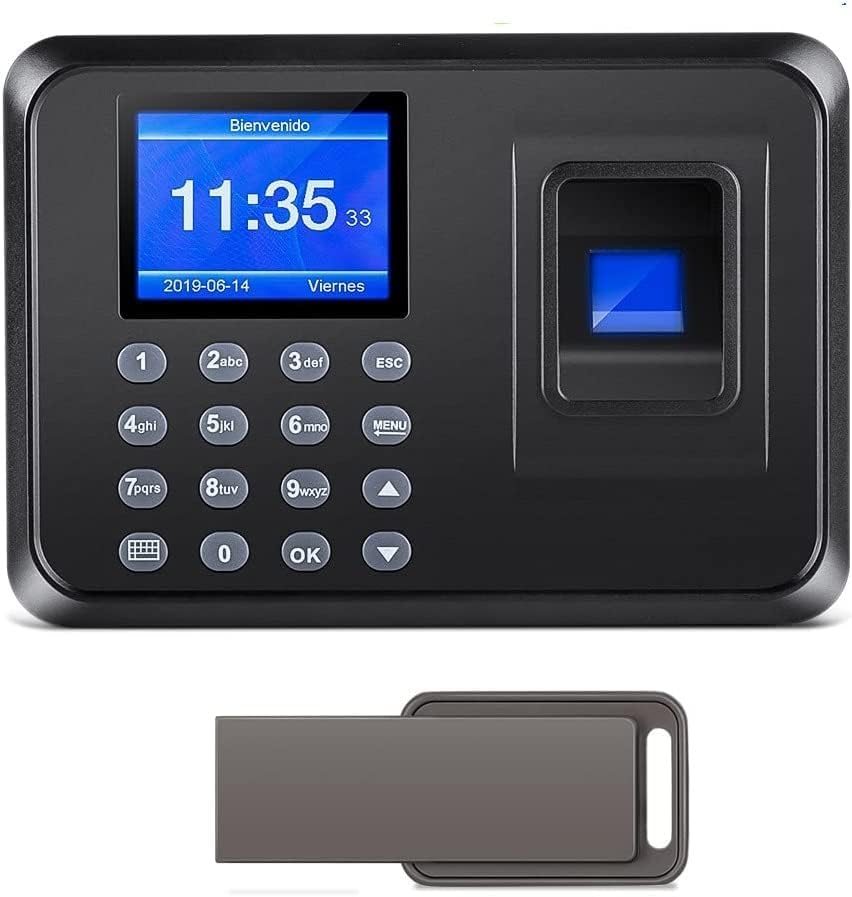
Figure 1: Diseleri Fingerprint Time Clock Model A6, shown with its accompanying USB flash drive for data transfer.
Package Contents
Verify that all items listed below are present in your package:
- Diseleri Fingerprint Time Clock (Model A6)
- Power Adapter
- USB Flash Drive (8GB)
- Mounting Screws and Wall Plugs
- User Manual

Figure 2: All components included in the Diseleri Fingerprint Time Clock package.
Setup
1. Physical Installation
The time clock can be mounted on a wall for convenient access. Ensure the chosen location is stable and has access to a power outlet.
- Mark the desired mounting points on the wall using the back of the device as a template.
- Drill holes at the marked points.
- Insert the wall plugs into the drilled holes.
- Secure the time clock to the wall using the provided screws.
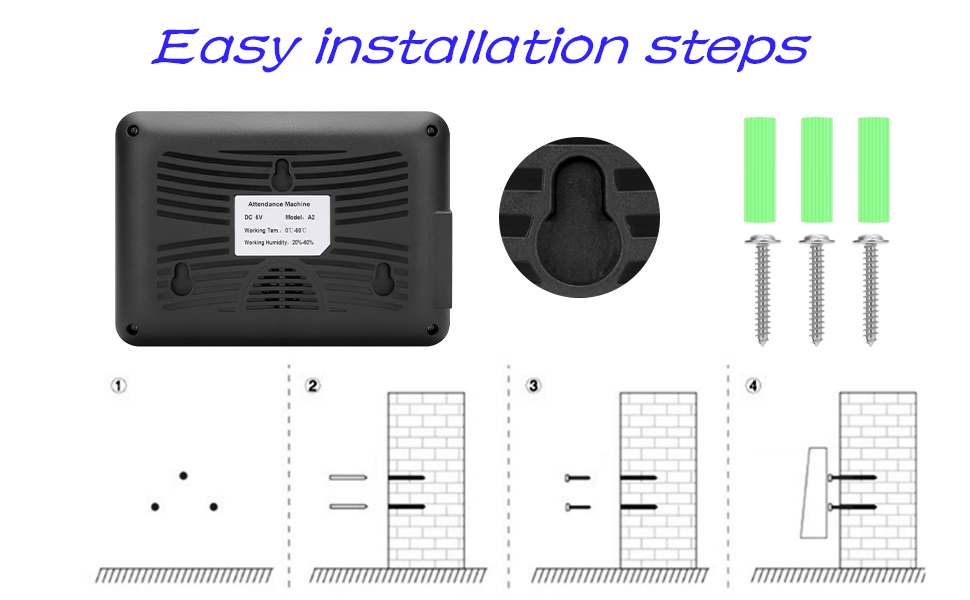
Figure 3: Step-by-step guide for wall mounting the Diseleri Time Clock.
2. Power Connection
Connect the provided power adapter to the DC IN port on the side of the time clock and then plug it into a standard electrical outlet. The device will power on automatically.
3. Initial Configuration
Upon first power-on, you may need to set the date, time, and register an administrator fingerprint. Refer to the on-screen prompts and the device's menu for these settings. The device supports multiple languages, including English, Spanish, and Portuguese.
Operating Instructions
1. Registering Employee Fingerprints
- Access the device's menu (usually by pressing the 'MENU' button and entering the administrator password/fingerprint).
- Navigate to the 'User Management' or 'Enroll User' section.
- Select 'Enroll Fingerprint' and follow the on-screen instructions to register an employee's fingerprint. Typically, the employee will need to place their finger on the sensor multiple times for accurate registration.
- Assign a unique ID to each employee.
2. Clocking In/Out
To record attendance, employees simply place their registered finger on the fingerprint sensor. The device will provide a voice prompt confirming the successful clock-in or clock-out.
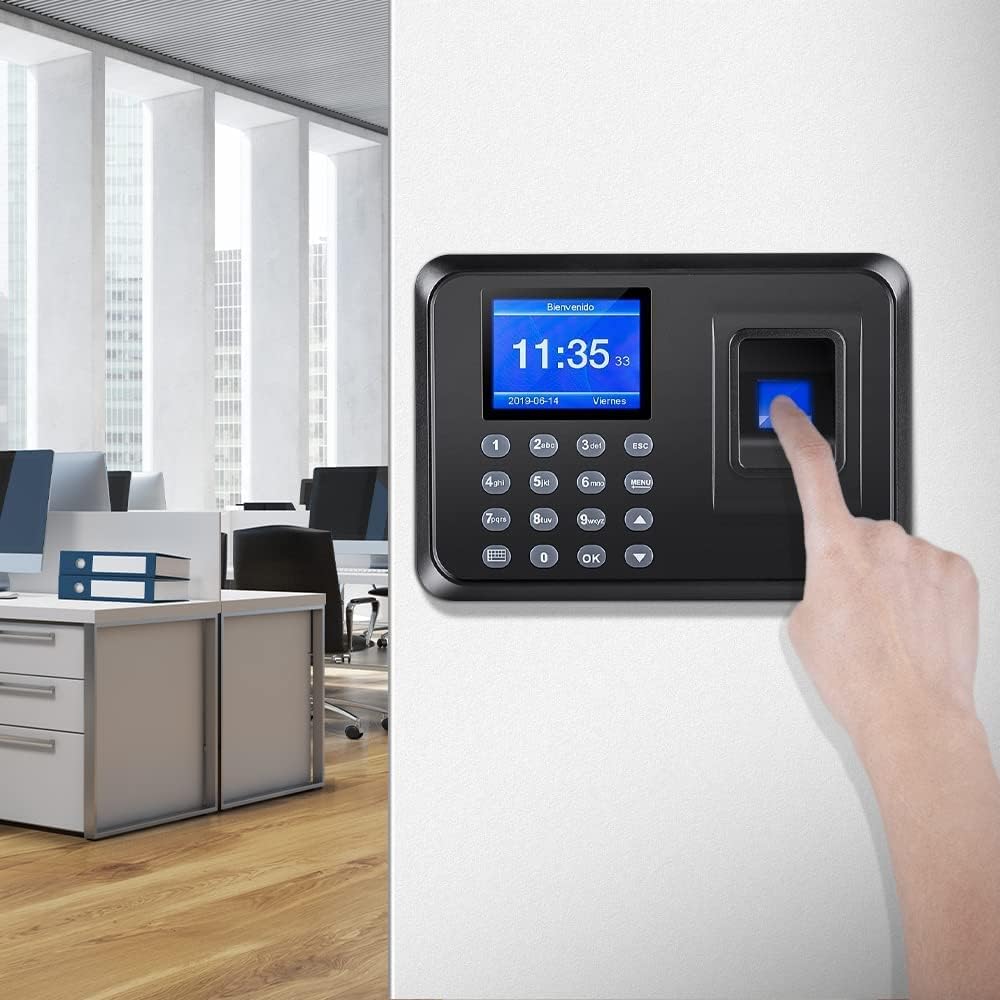
Figure 4: Employee clocking in or out using the fingerprint sensor.
3. Downloading Attendance Data
The device generates attendance reports in Excel format, which can be downloaded via the included USB flash drive. No special software is required on your computer.
- Insert the USB flash drive into the USB port on the side of the time clock.
- Access the device's menu and navigate to the 'Data Management' or 'Download Report' section.
- Select the option to download attendance records. The device will transfer the data to the USB drive.
- Safely remove the USB drive from the time clock.
- Insert the USB drive into a computer to access the Excel attendance report.

Figure 5: Data download from the time clock to a USB drive for viewing on a computer.
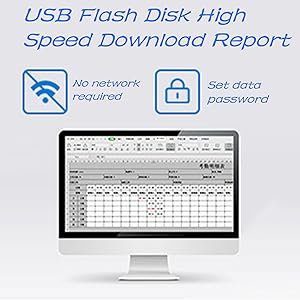
Figure 6: The USB data download feature allows for quick report generation without network connectivity.
Maintenance
1. Cleaning the Fingerprint Sensor
Regularly clean the fingerprint sensor to ensure optimal performance. Use a soft, dry, lint-free cloth. Avoid using abrasive cleaners, solvents, or excessive moisture, as these can damage the sensor.
2. Data Backup
It is recommended to regularly download and back up your attendance data to a computer or external storage device. This ensures that your records are safe in case of unforeseen issues with the time clock.
3. General Care
- Keep the device away from direct sunlight, extreme temperatures, and high humidity.
- Avoid dropping the device or subjecting it to strong impacts.
- Ensure the power adapter cable is not pinched or damaged.
Troubleshooting
| Problem | Possible Cause | Solution |
|---|---|---|
| Fingerprint not recognized | Sensor is dirty; Finger not placed correctly; Fingerprint not registered; Dry or wet finger. | Clean the sensor; Ensure full finger contact; Register fingerprint if not already done; Ensure finger is not excessively dry or wet. |
| Device does not power on | Power adapter not connected; Power outlet malfunction; Damaged power adapter. | Check power adapter connection; Test outlet with another device; Contact support for a replacement adapter if damaged. |
| USB data download fails | USB drive not inserted correctly; USB drive is full or corrupted; Incorrect menu selection. | Ensure USB drive is fully inserted; Try a different USB drive; Verify correct menu option for data download. |
| Incorrect date/time displayed | Date/time not set or reset. | Access the device menu to manually set the correct date and time. |
Specifications
| Feature | Detail |
|---|---|
| Brand | Diseleri |
| Model Number | A6 |
| Display Type | Digital |
| Special Feature | Employee attendance record |
| Product Dimensions | 8"W x 9"H |
| Power Source | Corded Electric |
| Frame Material | Acrylonitrile Butadiene Styrene |
| Batteries Included | No |
| Operation Mode | Electrical |
| Item Weight | 1 pound |
| Fingerprint Capacity | 1000 |
| Record Capacity | 100,000 |
| Recognition Speed | Less than 1 second |
| Processor | Dual-core 32-bit |
| Connectivity | USB (for data download) |

Figure 7: Physical dimensions of the Diseleri Fingerprint Time Clock.
Warranty Information
Specific warranty details for the Diseleri Fingerprint Time Clock Model A6 are typically provided with the product packaging or can be obtained directly from the manufacturer or your point of purchase. Please retain your proof of purchase for warranty claims.
Customer Support
For any questions, technical assistance, or support regarding your Diseleri Fingerprint Time Clock, please contact Diseleri customer service. Support is available 24 hours a day.


