
1. Introduction
Thank you for choosing the AguaStella AS15XSC Bar Sink with Glass Rinser. This manual provides detailed instructions for the proper installation, operation, and maintenance of your new sink. Please read this manual thoroughly before installation and keep it for future reference.
This product is designed to enhance your kitchen or bar area with its functional single bowl design and integrated glass rinser, crafted from durable T304 stainless steel.
2. Safety Information
- Always turn off the water supply before beginning any installation or maintenance.
- Wear appropriate personal protective equipment, such as safety glasses and gloves, during installation.
- Ensure all connections are secure to prevent leaks.
- If you are unsure about any part of the installation process, consult a qualified plumber.
- Do not use abrasive cleaners or harsh chemicals on the sink surface, as this may damage the finish.
3. Package Contents
Verify that all components are present before beginning installation:
- Bar Sink (with integrated Glass Rinser)
- Cutting Board
- Mounting Hardware
- Cutout Template
- Installation Instruction (this manual)
4. Specifications
| Brand | AguaStella |
| Model Number | AS15XSC |
| Material | T304 Stainless Steel |
| Color | Stainless Steel |
| Installation Type | Undermount |
| Outer Dimensions (L x W x D) | 23-1/4" x 14" x 9" |
| Inner Bowl Dimensions (L x W x D) | 13" x 11" x 8-4/5" |
| Drain Opening | Standard 3-1/2" |
| Recommended Cutout Size | 21-1/2" x 12-1/5" |
| Features | R10 round corners, X channel grooves, Concave line for easy drainage |

Image: Detailed dimensions and cutout size for the AguaStella AS15XSC bar sink.
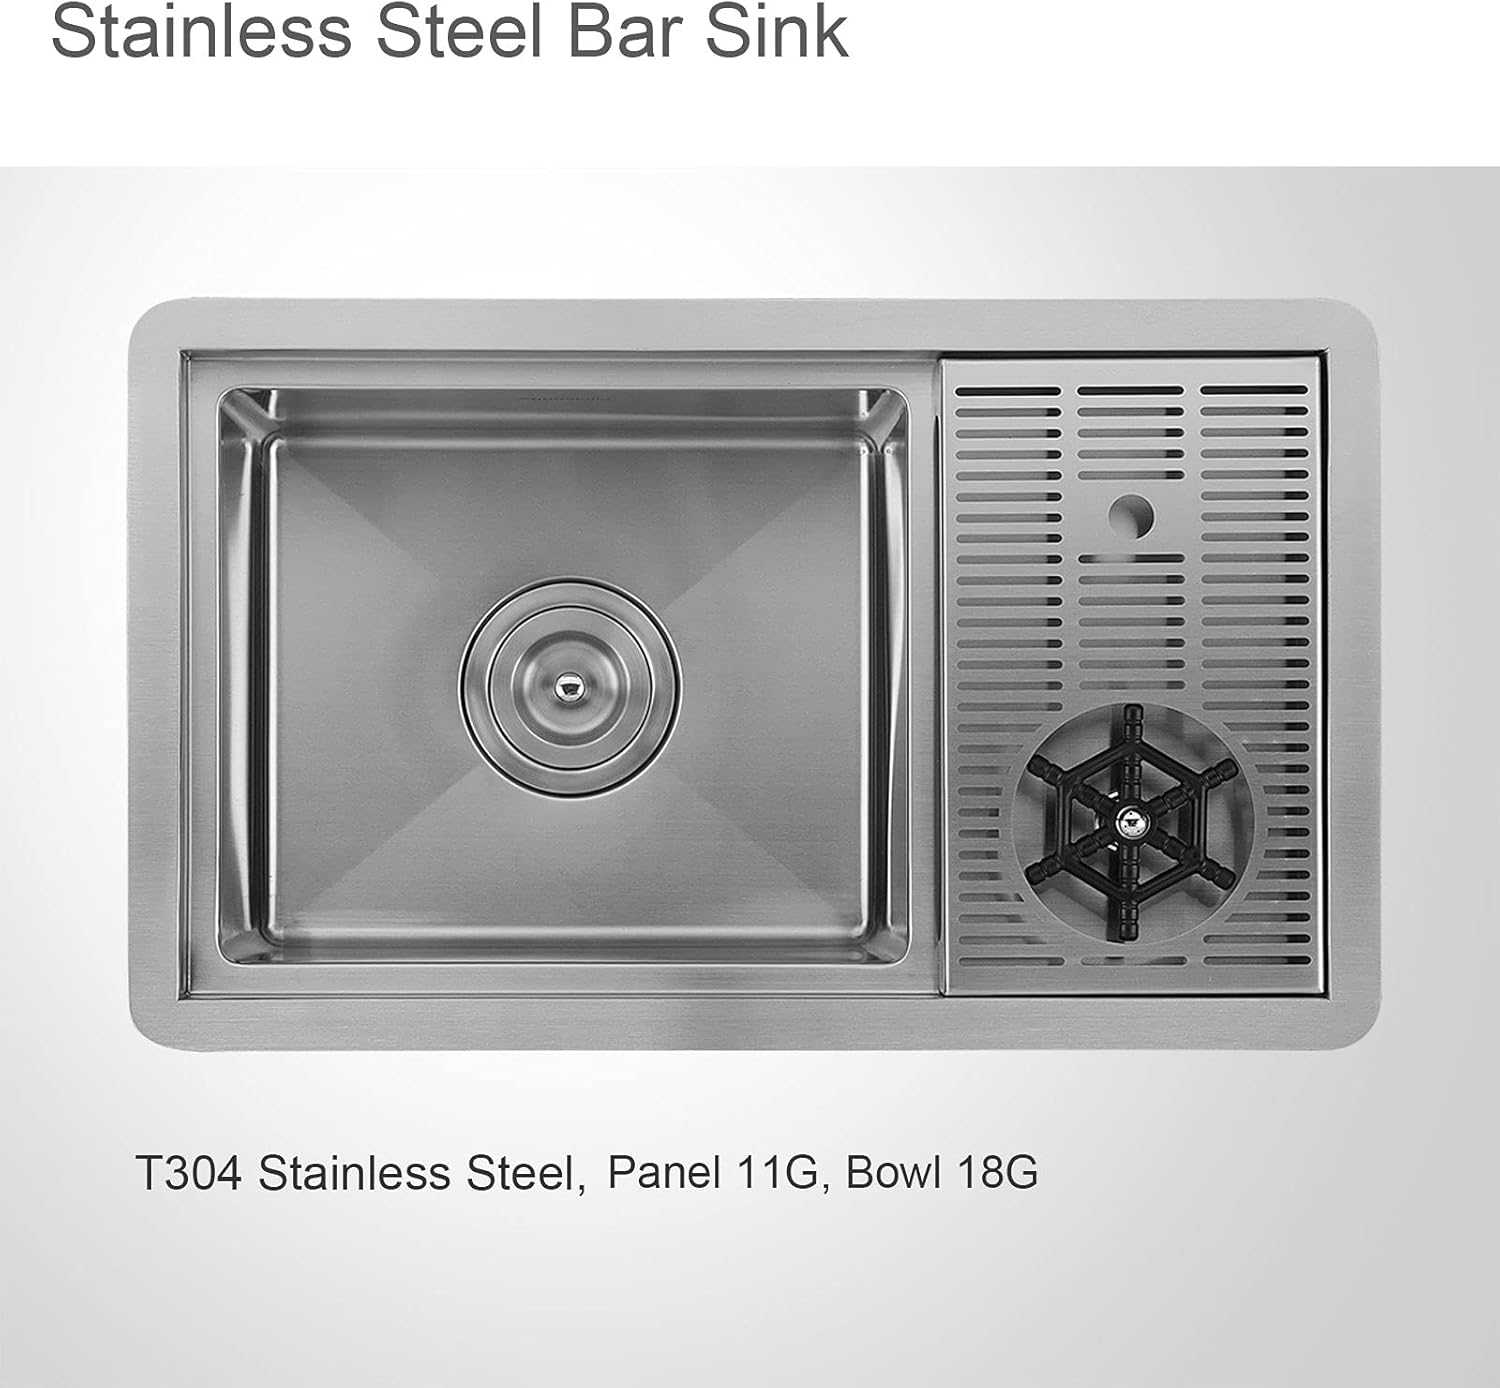
Image: Top view of the stainless steel bar sink, highlighting the T304 stainless steel construction.
5. Setup (Installation)
This section outlines the general steps for undermount installation. Refer to the included cutout template for precise measurements.
- Prepare the Countertop: Use the provided cutout template to mark the opening on your countertop. Carefully cut the opening according to the template. Ensure the edges are smooth.
- Apply Sealant: Apply a continuous bead of silicone sealant around the perimeter of the sink opening on the underside of the countertop.
- Position the Sink: Carefully lift the sink and align it with the cutout opening from underneath the countertop. Press firmly to ensure good contact with the sealant.
- Secure with Mounting Hardware: Attach the mounting clips and brackets (included) to the sink rim and tighten them against the underside of the countertop. Ensure the sink is level and securely fastened.
- Connect Plumbing:
- Install the drain assembly into the sink's drain opening.
- Connect the P-trap and waste pipe to the drain assembly.
- Connect the water supply line to the glass rinser. A supply hose is included.
- If installing a faucet, follow the faucet manufacturer's instructions for installation and water line connections.
- Test for Leaks: Turn on the water supply and check all connections for leaks. Tighten any leaking connections as necessary.
- Cure Sealant: Allow the silicone sealant to cure completely according to the manufacturer's instructions before using the sink.

Image: Rear view of the sink, indicating the supply hose connection point for the glass rinser.
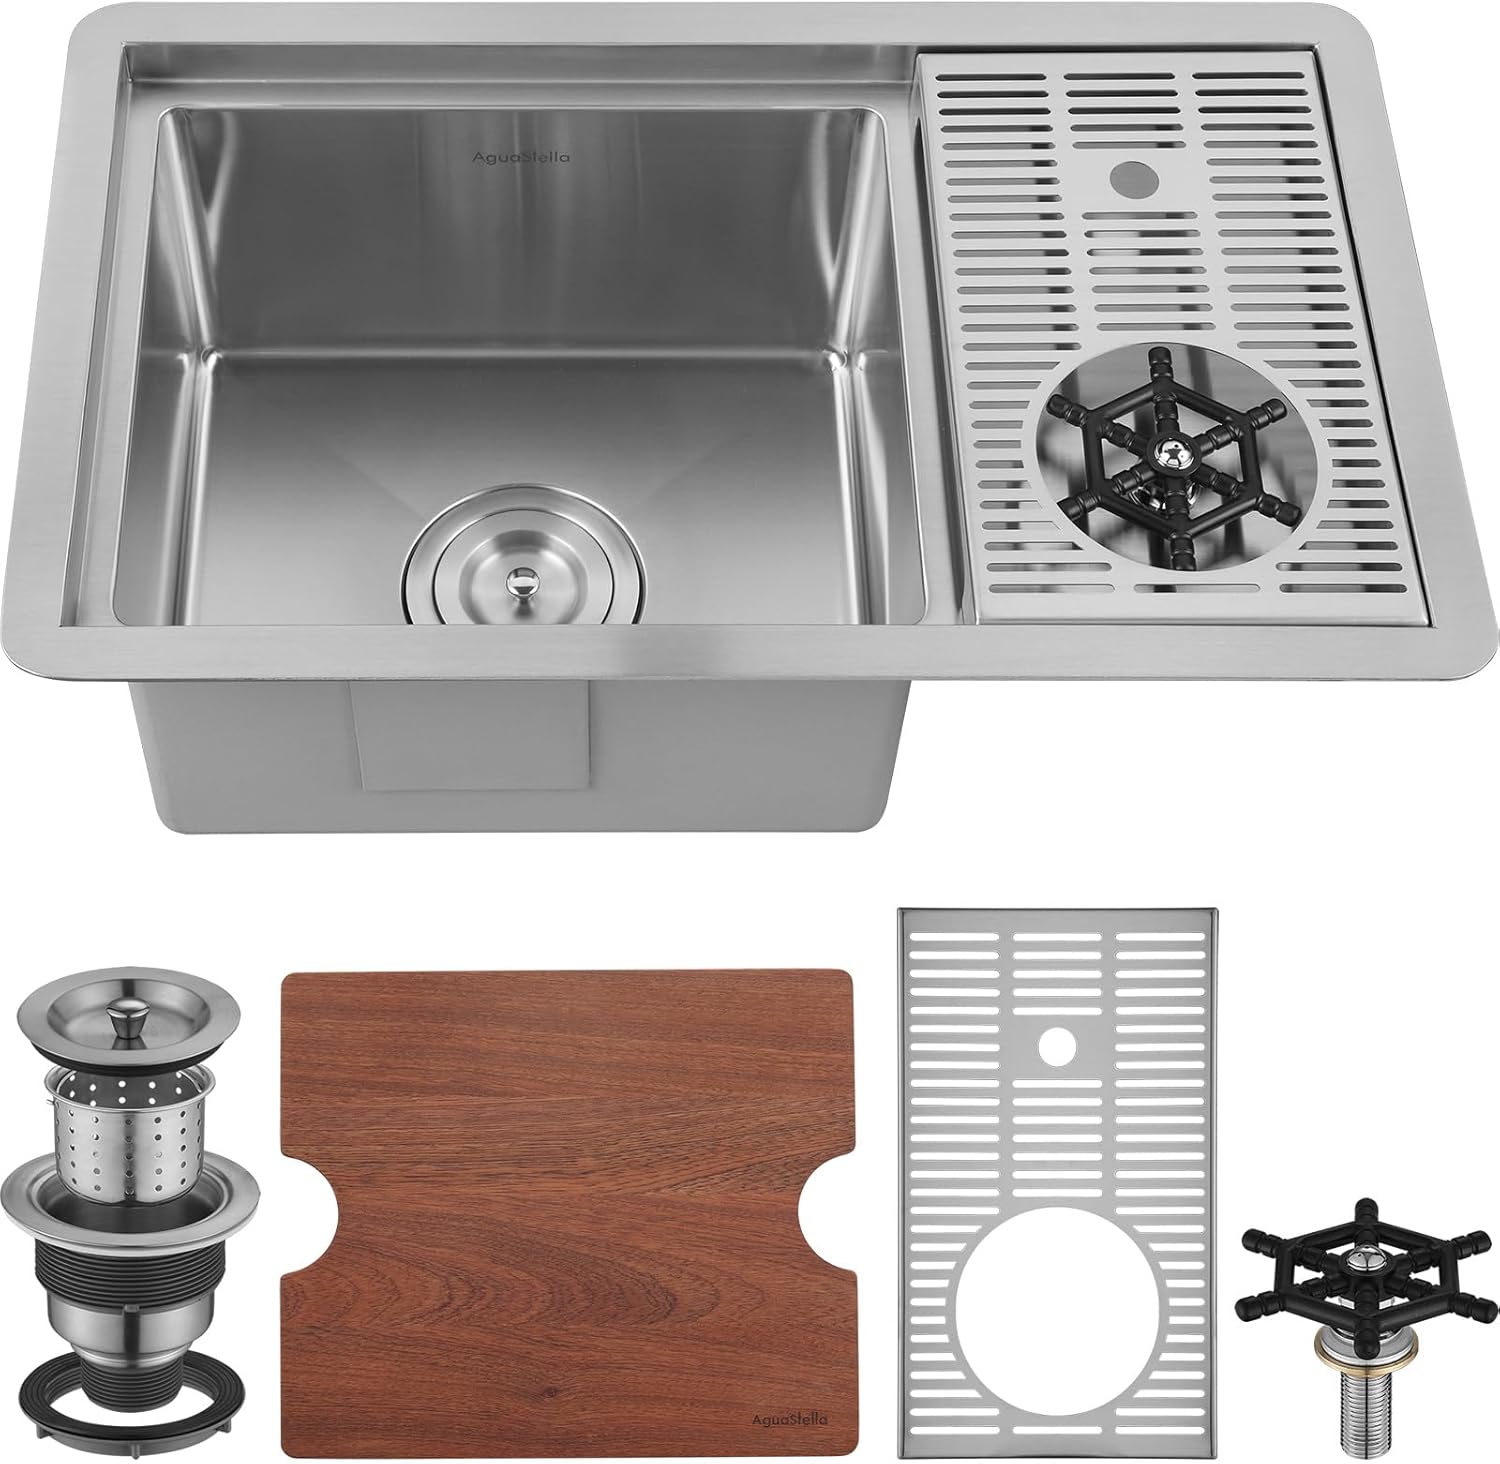
Image: The AguaStella bar sink with glass rinser, shown installed with a cutting board and faucet.
6. Operating Instructions
6.1 Using the Sink
The single bowl design is suitable for various kitchen or bar tasks. The R10 round corners and X channel grooves facilitate water drainage towards the center drain opening.

Image: Cross-section view of the sink bowl, illustrating the concave line design for efficient water drainage.
6.2 Using the Glass Rinser
The integrated glass rinser provides a convenient way to quickly rinse glasses and cups.
- Place the glass or cup upside down over the rinser's star-shaped base.
- Gently press down on the glass. This will activate the water jets, rinsing the inside of the glass.
- Release the pressure to stop the water flow.
- Allow excess water to drain into the sink.

Image: A hand demonstrating how to use the glass rinser by pressing a glass onto the activation mechanism.
7. Maintenance and Care
Proper care will ensure the longevity and appearance of your AguaStella stainless steel sink.
- Daily Cleaning: Wipe the sink surface with a soft, dry cloth after each use to prevent water spots and mineral buildup.
- Regular Cleaning: Use a mild soap or detergent with warm water and a soft cloth or sponge. Rinse thoroughly and dry immediately.
- Avoid Abrasives: Do not use abrasive cleaners, steel wool, or scouring pads, as these can scratch the stainless steel finish.
- Chemicals: Avoid contact with harsh chemicals such as bleach, strong acids, or drain cleaners, which can stain or corrode the stainless steel.
- Glass Rinser: Periodically clean the glass rinser nozzle and surrounding area to prevent mineral buildup. If the rinser flow is weak, check for blockages in the nozzle or supply line.
- Cutting Board: Clean the cutting board with mild soap and water. Dry thoroughly. Periodically oil the wood to maintain its condition.
8. Troubleshooting
| Problem | Possible Cause | Solution |
|---|---|---|
| Water leaks from connections | Loose connections, improper sealant application | Tighten connections. Reapply sealant if necessary. |
| Slow drainage | Drain blockage, improper slope | Clear drain. Ensure plumbing has adequate slope. |
| Glass rinser has weak water flow | Mineral buildup in nozzle, low water pressure, kinked supply line | Clean rinser nozzle. Check household water pressure. Inspect supply hose for kinks. |
| Water spots or stains on sink | Hard water, food residue not wiped away | Wipe sink dry after each use. Use a stainless steel cleaner for stubborn spots. |
9. Warranty Information
AguaStella products are manufactured to high-quality standards and are backed by a manufacturer's warranty. Please refer to the warranty card included with your purchase or visit the official AguaStella website for specific warranty terms and conditions.
10. Customer Support
If you have any questions, require assistance with installation, or need to report a problem, please contact AguaStella customer support. Contact information can typically be found on the AguaStella website or on the product packaging.
For additional resources and product information, visit the AguaStella Store on Amazon.