1. Introduction
This manual provides essential information for the proper installation, operation, and maintenance of your Fabater Running Board Controller. This module is designed to replace original equipment (OE) part number 19 04280 STA and is compatible with A-04 and A-06 running board systems. Please read these instructions thoroughly before proceeding with installation or use.
2. Product Overview
The Fabater Running Board Controller is a replacement module designed to restore or enhance the functionality of electric running boards on compatible vehicles. It ensures responsive and stable operation for convenient vehicle entry and exit.
2.1. Key Features
- Direct Replacement: This controller module is designed as a direct replacement for A-04 and A-06 running board controllers. Verify your existing controller model before installation.
- OE Specification: The original equipment (OE) number for this replacement controller module is 19 04280 STA. It is manufactured to match original specifications.
- Durable Construction: Constructed from durable Acrylonitrile Butadiene Styrene (ABS) material, this module is built for longevity and reliable performance under typical operating conditions.
- Enhanced Functionality: This module ensures responsive and stable operation of your electric running boards, enhancing convenience for vehicle entry and exit.
- Simplified Installation: Designed for direct replacement, this controller module facilitates a straightforward installation process to restore optimal function to your electric running boards.
2.2. Specifications
| Item Type | Replacement Controller Module |
| OE Number | 19 04280 STA |
| Material | Acrylonitrile Butadiene Styrene (ABS) |
| Color | Black |
| Item Weight | 15.8 ounces |
| Package Dimensions | 7.36 x 4.49 x 1.89 inches |
| Model Number | Fabaternp3x2mf4cu |
2.3. Product Visuals

Image 1: Front view of the Fabater Running Board Controller module.
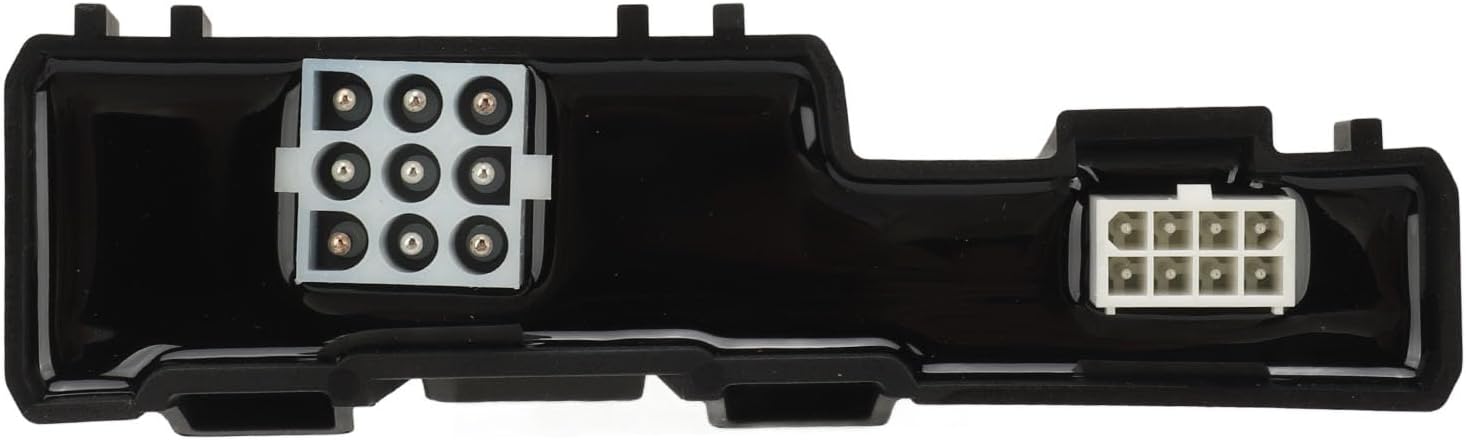
Image 2: Close-up view of the electrical connectors on the controller module.

Image 3: The running board controller shown alongside a truck with an extended running board, illustrating its application.
Video 1: A brief overview showcasing the Fabater Running Board Controller from various angles.
3. Safety Information
- Always disconnect the vehicle's battery before performing any electrical work to prevent electrical shock or damage to components.
- Ensure the vehicle is parked on a level surface with the parking brake engaged.
- Wear appropriate personal protective equipment (PPE), such as safety glasses and gloves.
- If you are unsure about any step of the installation process, consult a qualified automotive technician.
- Do not modify the controller module or its wiring.
4. Installation Instructions
This section outlines the general procedure for replacing a running board controller module. Specific steps may vary slightly depending on your vehicle model and existing running board system.
4.1. Tools Required
- Basic automotive tool kit (sockets, wrenches, screwdrivers)
- Wire cutters/strippers (if wiring modifications are needed, though typically not for direct replacement)
- Electrical tape or heat shrink tubing (for securing connections)
- Multimeter (for testing electrical connections, if necessary)
4.2. Replacement Procedure
- Prepare the Vehicle: Park the vehicle on a flat, stable surface. Engage the parking brake. Turn off the ignition and remove the key. Disconnect the negative terminal of the vehicle's battery to prevent accidental power surges.
- Locate the Existing Controller: The running board controller is typically located under the vehicle, often near the running board motors or within the vehicle's cabin, depending on the vehicle make and model. Refer to your vehicle's service manual for the exact location.
- Disconnect Wiring: Carefully disconnect all electrical connectors from the existing controller module. Note the orientation and position of each connector to ensure correct re-connection. Take photos if necessary for reference.

Image 4: View of the controller module highlighting the various electrical connectors that need to be disconnected.
- Remove Old Module: Unmount the old controller module from its bracket or mounting location. This may involve removing screws, clips, or other fasteners.
- Install New Module: Position the new Fabater Running Board Controller module in the same location as the old one. Secure it using the original fasteners or appropriate replacements.
- Reconnect Wiring: Carefully reconnect all electrical connectors to the new module. Ensure each connector is fully seated and locked into place. Double-check all connections against your reference photos.
- Reconnect Battery: Reconnect the negative terminal of the vehicle's battery.
- Test Functionality: Test the operation of your electric running boards. Open and close the vehicle doors to ensure the boards extend and retract smoothly and correctly.
Notice: Please double check the part number of your item. Matching information is for reference only. Always ensure the replacement part is compatible with your specific vehicle and running board system.
5. Operating Instructions
The Fabater Running Board Controller operates automatically in conjunction with your vehicle's door sensors. When a door is opened, the running boards should extend. When the door is closed, the running boards should retract after a short delay.
- Automatic Operation: The system is designed for automatic deployment and retraction. No manual intervention is typically required for standard operation.
- Door Activation: Opening any vehicle door should trigger the running boards to extend. Closing all doors will initiate retraction.
- Safety Features: The system may include safety features such as obstacle detection, which can prevent the boards from fully extending or retracting if an obstruction is detected. Do not force the boards if they encounter resistance.
6. Maintenance
Regular maintenance helps ensure the longevity and proper function of your running board system and controller.
- Regular Cleaning: Keep the running boards and the area around the motors and linkages clean from dirt, mud, salt, and debris. This prevents buildup that can hinder movement.
- Lubrication: Periodically lubricate the pivot points and moving parts of the running board mechanisms with a suitable silicone spray or grease, as recommended by the running board manufacturer.
- Inspect Wiring: Periodically inspect all wiring and connectors for signs of wear, corrosion, or damage. Ensure connections are secure.
- Check for Obstructions: Regularly check for any obstructions that might impede the movement of the running boards.
7. Troubleshooting
If your electric running boards are not functioning correctly after installing the new controller, consider the following troubleshooting steps:
- No Movement:
- Check all electrical connections to ensure they are secure and properly seated.
- Verify that the vehicle's battery is fully charged and properly connected.
- Inspect the fuse related to the running board system in your vehicle's fuse box. Replace if blown.
- Ensure the running board motors are receiving power. A multimeter can be used for this.
- Boards Stuck (Extended or Retracted):
- Check for any physical obstructions (e.g., debris, ice, mud) that might be preventing the boards from moving freely.
- Inspect the running board linkages and pivot points for damage or excessive wear.
- If only one side is stuck, the issue might be specific to that motor or its wiring.
- Intermittent Operation:
- Loose or corroded electrical connections can cause intermittent issues. Re-seat and clean all connectors.
- Check the door sensors; if a sensor is faulty, the system may not receive the correct signal to operate.
- Incorrect Fitment:
- Double-check that the OE number 19 04280 STA matches your original controller and that your vehicle uses A-04 or A-06 controllers. Incompatible parts can lead to malfunction.
If these steps do not resolve the issue, it may indicate a faulty motor, wiring harness, or a more complex electrical problem. Professional diagnosis by a qualified technician is recommended.
8. Warranty and Support
For warranty information or technical support regarding your Fabater Running Board Controller, please refer to the seller's policies or contact the manufacturer directly. Keep your purchase receipt as proof of purchase.