
Arktronic W320
Contents
Arktronic 32-inch FHD WiFi Digital Picture Frame (Model W320) User Manual
Comprehensive instructions for setup, operation, and maintenance.
1. Introduction
Thank you for choosing the Arktronic 32-inch FHD WiFi Digital Picture Frame, Model W320. This device allows you to display your cherished photos and videos with exceptional clarity on a large 1920x1080 Full HD IPS matte screen. With 64GB of internal storage, remote control functionality, and automatic rotation, it offers a versatile and user-friendly experience for sharing memories with family and friends.
2. Package Contents
Before proceeding with the setup, please ensure all items listed below are present in your package:
- Arktronic 32-inch FHD WiFi Digital Picture Frame (Model W320)
- Remote Control (requires AAA batteries, not included)
- Swivel Wall Mount (VESA Spec 100 x 100mm)
- Screwdriver
- Screws & Wall Anchors
- Power Cord (70.87 inches)
- User Manual / Quick Start Guide

The wall mount allows for both vertical and horizontal orientation, adapting to your display needs.
3. Product Overview
3.1 Front View

The front of the frame features a 32-inch FHD IPS matte screen display, offering a 1920x1080 resolution for high-quality image and video presentation from various viewing angles.
3.2 Rear View and Ports

The rear of the frame includes a speaker, VESA mounting holes, USB 2.0 port, Type-C port, Micro SD card slot, DC-IN power input, and integrated power/volume buttons. These ports allow for expanded storage and connectivity options.
4. Setup Guide
4.1 Initial Power-On
- Unpack: Carefully remove the digital picture frame and all accessories from the packaging.
- Connect Power: Plug the power cord into the DC-IN port on the back of the frame, then connect it to a power outlet. The frame will automatically begin the startup process.
- Select Language: Use the included remote control to navigate the on-screen menu and select your preferred language.
4.2 WiFi Connection
- Access WiFi Settings: From the home screen, navigate to the 'Settings' menu using the remote control. Select 'Wi-Fi'.
- Connect to Network: Choose your desired WiFi network from the list and enter the password using the on-screen keyboard. Ensure the frame is successfully connected to the internet.
4.3 App Installation and Pairing
- Download VPhoto App: Search for "VPhoto" in your mobile device's app store (Apple App Store or Google Play Store) and download the application.
- Create Account: Open the VPhoto app and create a new user account.
- Pair Frame: In the VPhoto app, follow the instructions to connect your frame. You may need to scan a QR code displayed on the frame's screen (found in 'Settings' > 'My Frame' > 'Device Info') or enter a connection code.

Once paired, you can instantly share photos and videos from your smartphone to the digital picture frame.
4.4 Mounting Options
The frame supports both vertical and horizontal wall mounting using the included swivel mount. It also features an auto-rotate function that adjusts the display orientation automatically.

5. Operation
5.1 Adding Photos and Videos
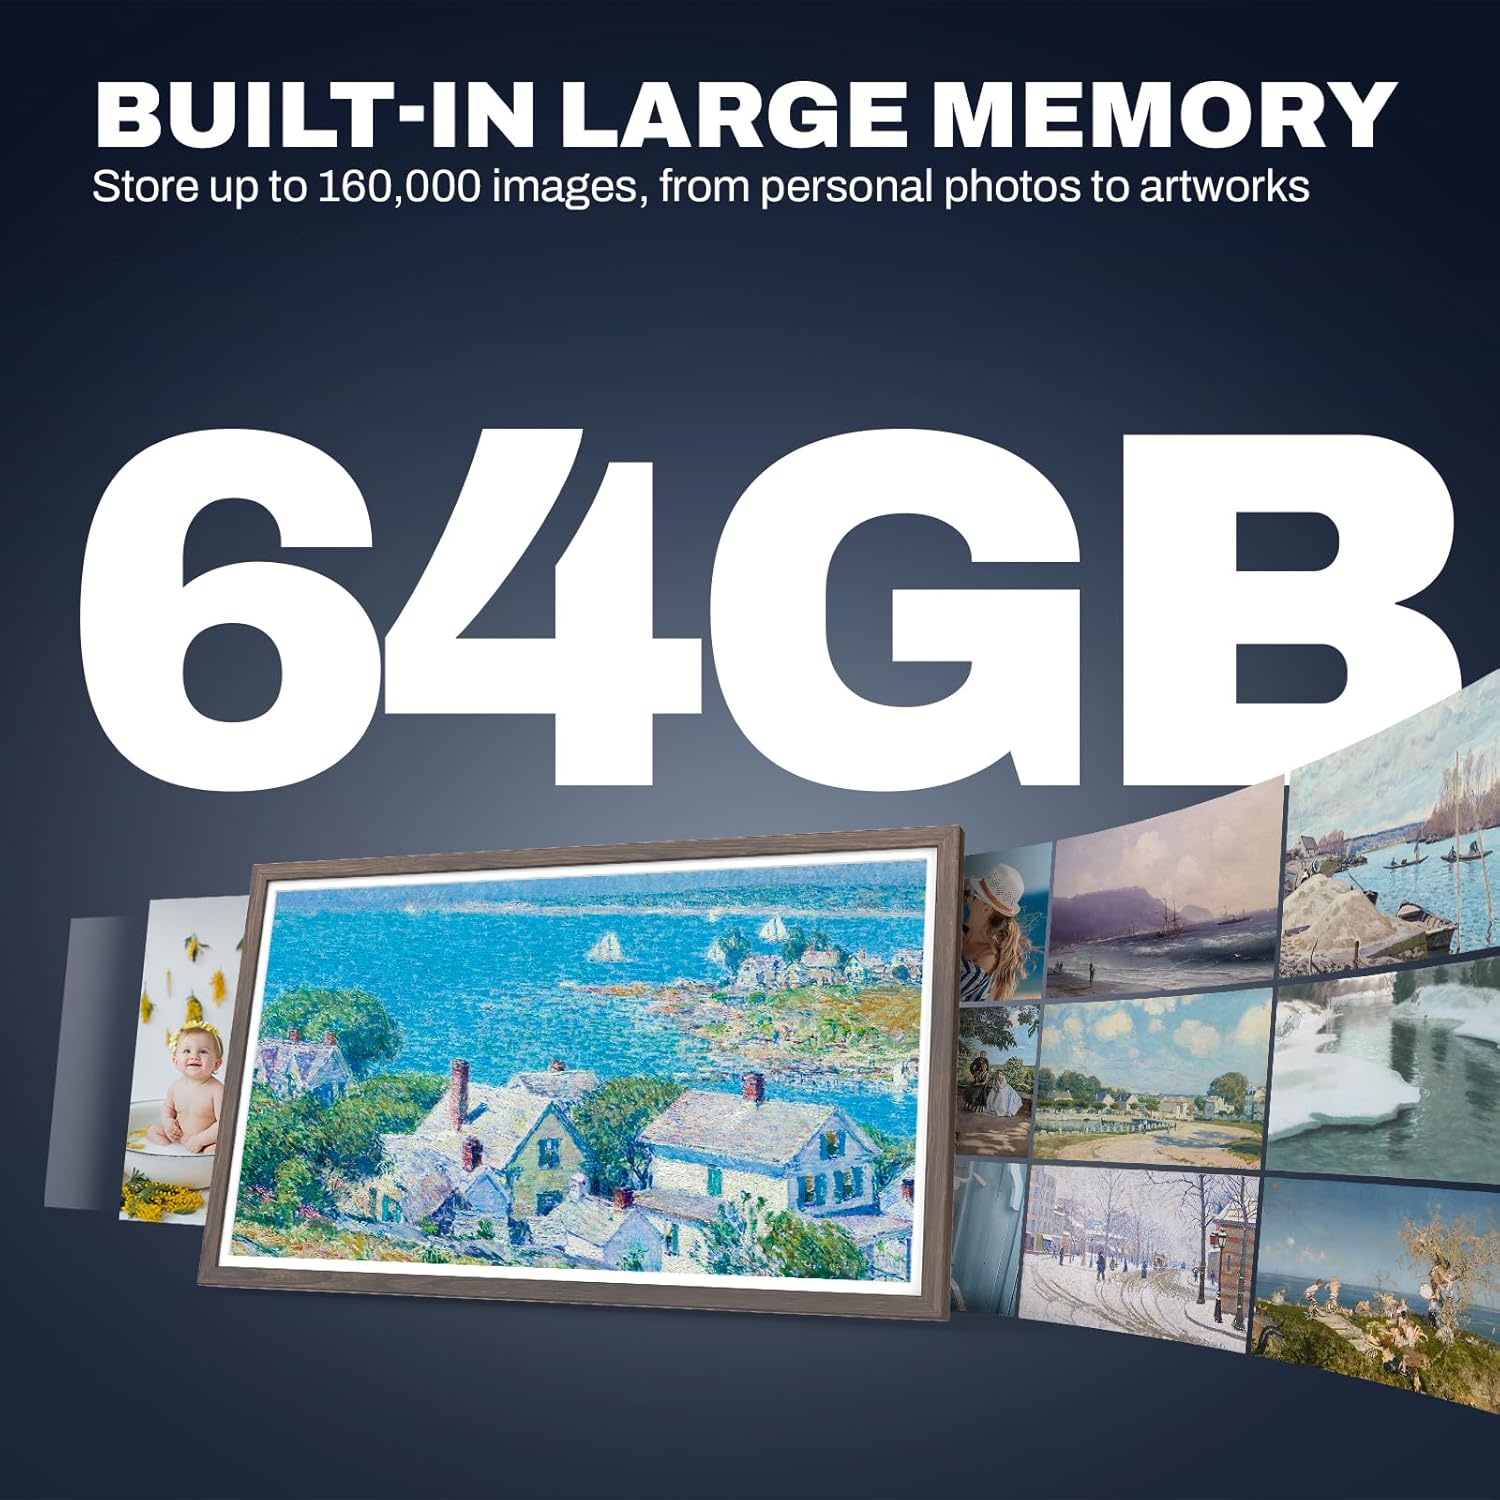
- Via VPhoto App: Open the VPhoto app on your smartphone, select the photos or videos you wish to share, and upload them to your connected frame. The frame has 64GB of internal memory, capable of storing up to 160,000 photos.
- Via Email: You can also send photos and videos directly to your frame's unique email address.
- Via USB/Micro SD: Insert a USB flash drive or Micro SD card (up to 64GB with an external converter) into the respective ports on the frame. You can play media directly from these devices or import/export content to the internal storage.
5.2 Remote Control Functions
The remote control provides convenient access to various frame functions:
- Navigation: Use arrow keys to move through menus and select options.
- Photo/Video Playback: Switch between photos, play videos, and control playback.
- Settings Access: Adjust brightness, volume, slideshow mode, and other display settings.
- Power On/Off: Turn the frame on or off.

5.3 Multi-functionality
Beyond displaying media, the frame offers additional features:
- Weather Display: Shows current weather conditions and forecasts for your location.
- Clock & Alarm: Functions as a clock and allows you to set alarms.
- Background Music: Play background music during photo slideshows.
- Captions: Add descriptive captions to your photos.
- Sleep Mode: Configure the frame to enter sleep mode during specified times.

6. Maintenance
- Cleaning: Use a soft, dry cloth to gently wipe the screen and frame. Avoid abrasive cleaners or solvents.
- Software Updates: Ensure your frame is connected to WiFi to receive automatic software updates for optimal performance and new features.
- Factory Reset: If you encounter persistent issues, a factory data reset option is available in the settings menu. This will erase all user data and settings.
7. Troubleshooting
| Issue | Possible Cause | Solution |
|---|---|---|
| Frame does not power on | Power cord not properly connected; power outlet issue. | Check power cord connection; try a different outlet. |
| Cannot connect to WiFi | Incorrect password; out of range; network issue. | Verify password; move frame closer to router; restart router. |
| Photos/Videos not uploading via app | Frame not paired; app not updated; file size limit exceeded. | Ensure frame is paired; update VPhoto app; check video file size (VPhoto app limits video uploads to 200MB). |
| Auto-rotate not working | Feature disabled in settings; sensor obstruction. | Check 'Auto-Rotate Screen' setting; ensure no physical obstruction. |
8. Specifications
| Brand | Arktronic |
| Model Number | W320 |
| Screen Size | 32 Inches |
| Resolution | 1920x1080 (FHD) |
| Display Type | IPS Matte Screen |
| Internal Storage | 64GB (stores up to 160,000 photos) |
| External Storage | USB Flash Drive, Micro SD Card (up to 64GB via external converter) |
| Connectivity | WiFi (2.4GHz/5GHz), Bluetooth |
| Compatible Devices | IOS, Android |
| Supported Image Formats | JPG, GIF, BMP, PNG |
| Supported Video Formats | MPEG1, MPEG2, MPEG4, Xvid, AVI, M-JPEG, H.264.MOV, VOB, MKV, DIVX4, DIVX5 |
| Product Dimensions | 29.94 x 17.98 x 0.99 inches |
| Item Weight | 7.92 pounds |
9. Warranty and Support
This product is guaranteed against material and workmanship defects from the date of purchase. For warranty claims or technical support, please refer to the contact information provided in your product packaging or visit the official Arktronic website. Misuse, abuse, or unauthorized modifications are not covered under warranty.
Customer Service: For assistance, please contact Arktronic customer support.
Documents and downloads
Ask a question about this manual
Ask about setup, troubleshooting, compatibility, parts, safety, or missing instructions. Manuals+ will review the question and use this page’s manual context to help answer it.