
1. Product Overview
The RMHUNTIC E3C224D4HM-8R is a server motherboard designed for high-performance computing environments. It supports Intel Xeon E3-1200 v3 series and Haswell i3 processors, utilizing the LGA 1150 socket. This motherboard is engineered for reliability and efficiency in server applications, offering robust connectivity and expansion options.

Figure 1: Top view of the RMHUNTIC E3C224D4HM-8R Server Motherboard, showcasing the CPU socket, DIMM slots, and various connectors.
2. Setup and Installation
Before beginning installation, ensure your workspace is clean, well-lit, and static-free. It is recommended to wear an anti-static wrist strap to prevent damage to components.
2.1. Component Preparation
- Processor (CPU) Installation: Carefully align the Intel LGA 1150 processor with the socket. Ensure the gold triangle on the CPU matches the triangle on the socket. Gently lower the CPU into the socket without forcing it. Close the load plate and secure the retention lever.
- Memory (RAM) Installation: This motherboard supports 4 x DIMM DDR3 1600/1333 ECC memory modules, up to a maximum of 32GB. Open the clips at both ends of the DIMM slot. Align the memory module's notch with the key in the slot. Press down firmly on both ends of the module until the clips snap into place.
- Storage Devices: Connect SATA drives to the available SATA3 ports. This motherboard supports RAID 0, 1, 5, 10 configurations via the Intel C224 chipset. For SAS drives, utilize the 2xMini SAS connectors with LSI2308 support.
2.2. Motherboard Mounting
- Install the I/O shield into the server chassis opening.
- Carefully place the motherboard into the chassis, aligning the screw holes with the standoffs.
- Secure the motherboard with appropriate screws. Do not overtighten.
2.3. Power Connections
- Connect the 24-pin ATX main power connector from the power supply to the motherboard.
- Connect the 8-pin (or 4-pin) ATX 12V CPU power connector.
- Ensure all other necessary power cables (e.g., for SATA/SAS drives) are connected.
2.4. Peripheral Connections
- PCIe Cards: Insert any required PCIe 3.0 x16 expansion cards into the designated slot.
- USB Devices: Connect USB 3.0 and USB 2.0 devices to the rear I/O ports or internal headers.
- Network: Connect Ethernet cables to the dual Intel I210 GLAN ports. A dedicated IPMI GLAN port is also available, powered by Realtek RTL8211E.
- Front Panel Connectors: Connect the chassis's front panel cables (power button, reset button, HDD LED, power LED, front USB ports) to the corresponding headers on the motherboard. Refer to the motherboard layout diagram for exact pin assignments.

Figure 2: Rear I/O panel of the motherboard, showing VGA, USB, and dual LAN ports.
3. Operation
3.1. Initial Boot-up and BIOS Configuration
- After all components are installed and connected, power on the system.
- During POST (Power-On Self-Test), press the designated key (usually DEL, F2, or F10) to enter the BIOS/UEFI setup utility.
- Configure essential settings such as date and time, boot order, and storage controller modes (AHCI, RAID).
- Save changes and exit the BIOS. The system will restart.
3.2. Operating System Installation
Insert your operating system installation media (USB drive or DVD) and follow the on-screen prompts to install the OS. Ensure all necessary drivers for the chipset, LAN, and other integrated components are installed after the OS is set up. These drivers are typically provided on a support CD or available for download from the manufacturer's website.
3.3. IPMI Remote Management
The motherboard features an ASPEED 2300 BMC controller with a dedicated IPMI GLAN port. This allows for out-of-band management of the server, including remote power control, system monitoring, and KVM-over-IP functionality. Refer to the IPMI documentation for detailed configuration and usage instructions.
4. Maintenance
Regular maintenance ensures optimal performance and longevity of your server motherboard.
- Dust Removal: Periodically clean dust from the motherboard and cooling components (CPU heatsink, chassis fans) using compressed air. Ensure the system is powered off and unplugged before cleaning.
- BIOS/Firmware Updates: Check the manufacturer's website for updated BIOS or firmware versions. Updates can improve stability, add new features, or fix bugs. Follow the provided instructions carefully when performing updates.
- Driver Updates: Keep all system drivers (chipset, LAN, storage controllers) updated to ensure compatibility and performance.
- Environmental Control: Operate the server in a cool, dry, and well-ventilated environment to prevent overheating and moisture damage.
5. Troubleshooting
This section provides solutions to common issues you might encounter.
| Problem | Possible Cause | Solution |
|---|---|---|
| System does not power on. | Loose power connections, faulty power supply, incorrect front panel wiring. | Check 24-pin and 8-pin CPU power connectors. Verify power supply functionality. Ensure front panel power switch is correctly connected. |
| No display output. | Incorrect monitor connection, faulty GPU (if applicable), RAM issues, CPU not seated correctly. | Ensure monitor cable is securely connected. Reseat RAM modules. Verify CPU installation. Test with a known good GPU if using a discrete card. |
| System reboots unexpectedly or crashes. | Overheating, unstable power, faulty RAM, driver conflicts. | Check CPU and chassis fan operation. Ensure adequate airflow. Test RAM modules individually. Update drivers. |
| Storage drive not detected. | Loose SATA/SAS cable, incorrect BIOS settings, faulty drive. | Verify data and power cable connections to the drive. Check BIOS settings for storage controller mode (AHCI/RAID). Test the drive on another system. |
6. Technical Specifications
The following table details the key technical specifications of the RMHUNTIC E3C224D4HM-8R Server Motherboard.
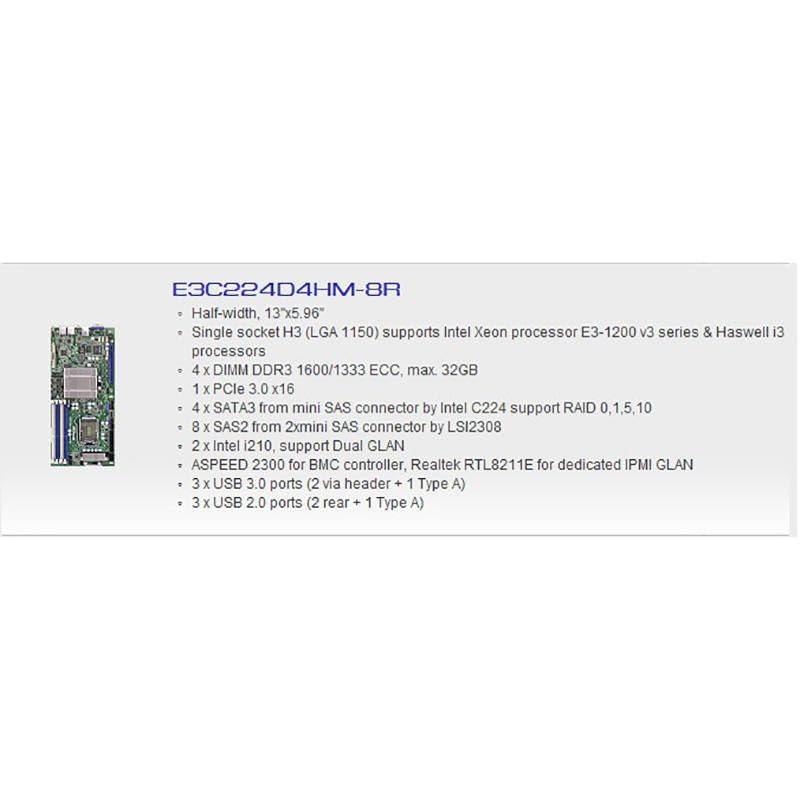
Figure 3: Detailed specifications as provided by the manufacturer.
| Feature | Detail |
|---|---|
| Form Factor | Half-width, 13" x 5.96" (33CM x 15.1CM) |
| CPU Socket | Single Socket H3 (LGA 1150) |
| Supported CPUs | Intel Xeon processor E3-1200 v3 series, Haswell i3 processors |
| Chipset | Intel C224 |
| Memory Slots | 4 x DIMM DDR3 |
| Memory Type | 1600/1333 ECC |
| Max Memory Capacity | 32GB |
| PCIe Slots | 1 x PCIe 3.0 x16 |
| SATA Ports | 4 x SATA3 (from Intel C224, supports RAID 0,1,5,10) |
| SAS Ports | 8 x SAS2 (from 2xMini SAS connector by LSI2308) |
| LAN Ports | 2 x Intel I210 (Dual GLAN) |
| IPMI | ASPEED 2300 for BMC controller, Realtek RTL8211E for dedicated IPMI GLAN |
| USB 3.0 Ports | 3 (2 via header + 1 Type A) |
| USB 2.0 Ports | 3 (2 rear + 1 Type A) |
| Compatible Devices | Personal Computer |
7. Warranty and Support
This product is covered by a standard manufacturer's warranty. Please refer to the specific warranty terms provided at the time of purchase or contact your vendor for details regarding warranty duration and coverage.
For technical support, driver downloads, or further assistance, please visit the official RMHUNTIC website or contact your product reseller. When contacting support, please have your motherboard model (E3C224D4HM-8R) and serial number readily available.