
TUGARD ZASD-DB30-W
Contents
TUGARD Wireless Doorbell User Manual
Model: ZASD-DB30-W
1. Introduction
Thank you for choosing the TUGARD Wireless Doorbell. This manual provides detailed instructions for the installation, operation, and maintenance of your new doorbell system. Please read it thoroughly before use to ensure proper functionality and longevity of the product.
The TUGARD Wireless Doorbell system offers a reliable and convenient solution for your home or office. Key features include:
- Extended Range: Utilizes high-frequency FM signal technology for anti-interference, providing a wireless range of up to 500 feet (in open areas).
- Customizable Chimes & Volume: Choose from 40 distinct doorbell chimes and 5 adjustable volume levels (0-110dB) to suit your preferences.
- Memory Function: The receiver unit retains your last selected melody and volume setting even after a power outage.
- Easy Installation: Designed for quick setup, simply plug the receiver into a standard socket and attach the push button transmitter with the provided adhesive.
- Versatile Application: Suitable for various environments including homes, classrooms, offices, stores, hotels, villas, and apartments.
2. Package Contents
Please verify that all items are present in your package:
- Doorbell Receiver (Plug-in Unit) x 1
- Push Button Transmitter x 1
- Push Button Mounting Adhesive x 1
- User Guide x 1
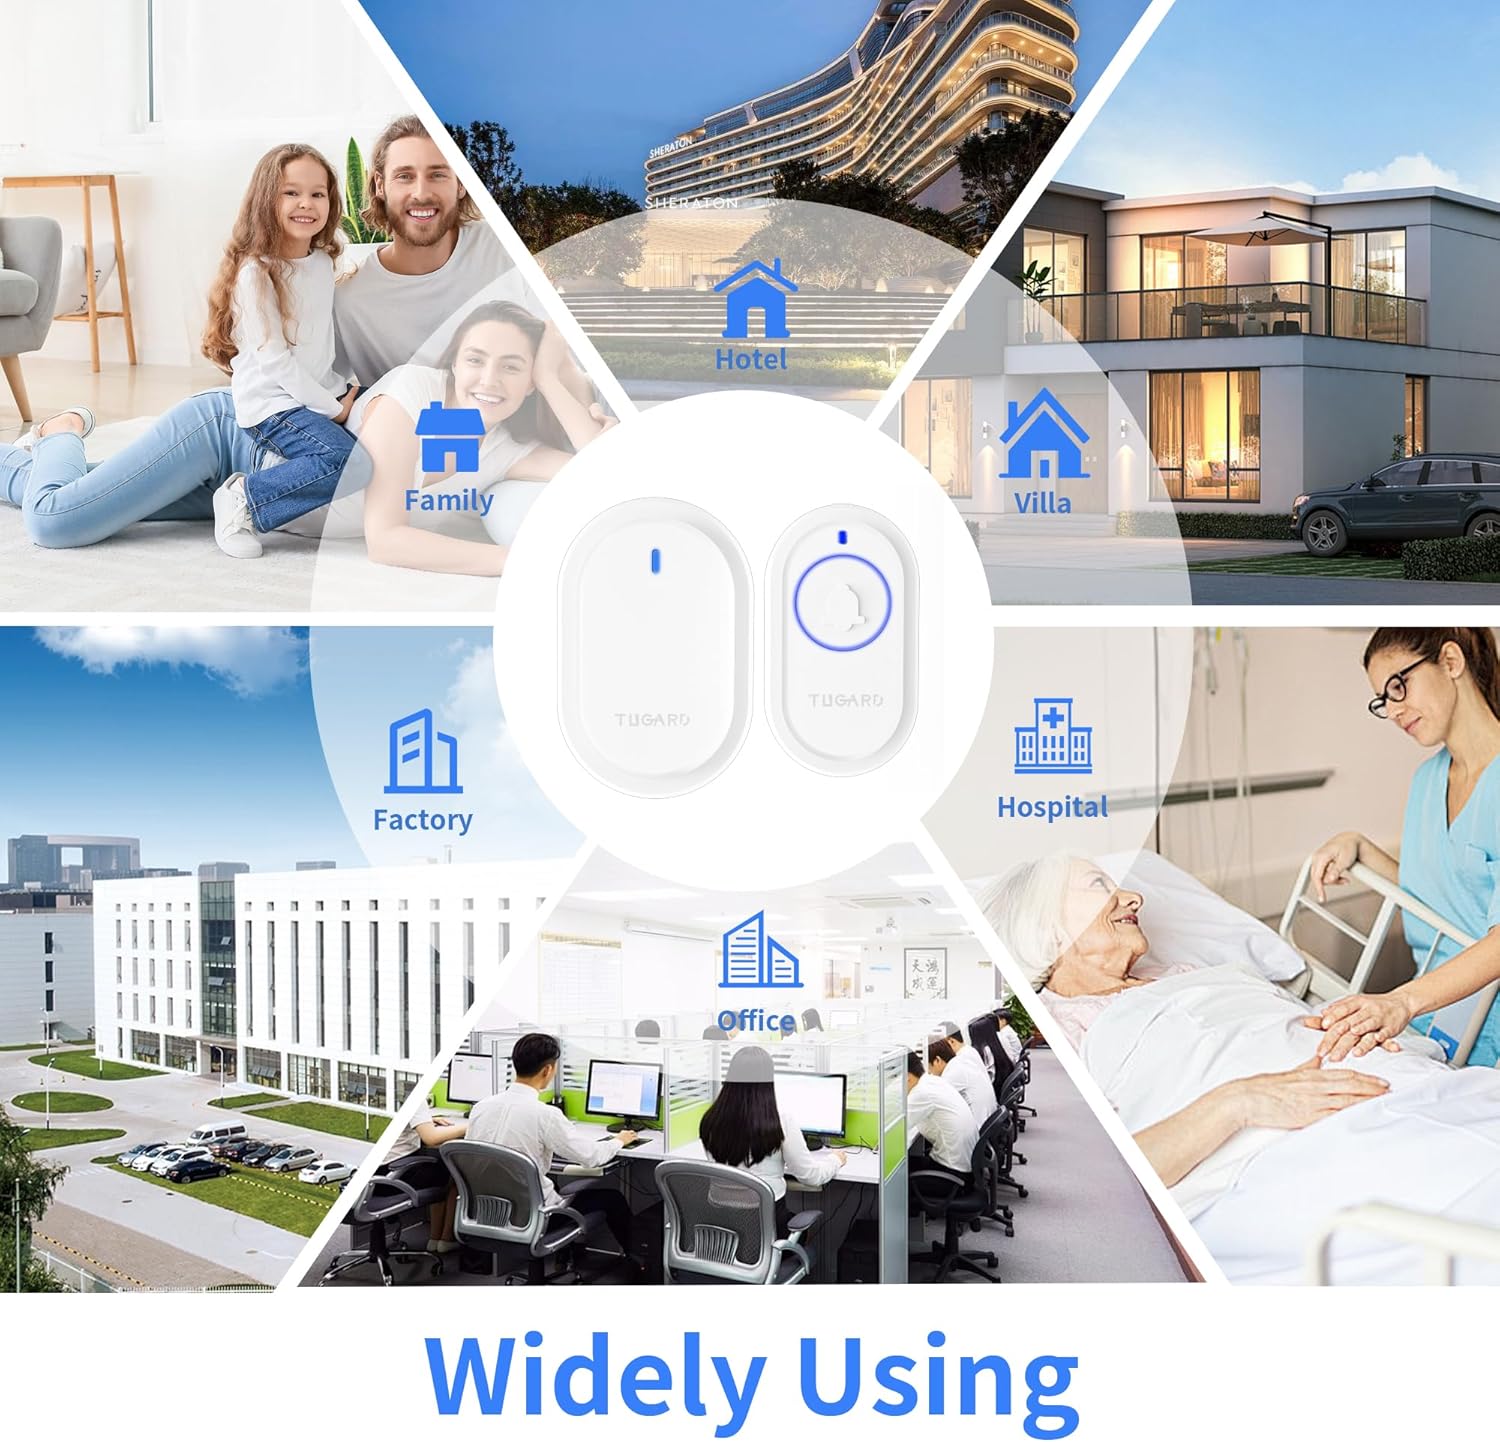
Figure 2.1: Included components of the TUGARD Wireless Doorbell system.
3. Product Overview
Familiarize yourself with the components of your TUGARD Wireless Doorbell.

Figure 3.1: TUGARD Wireless Doorbell Receiver and Push Button Transmitter.

Figure 3.2: Product Description with labeled buttons for the Receiver and Push Button.
3.1. Receiver Unit
- Pairing/Reset Music Button: Used to pair the transmitter with the receiver and to cycle through chime selections.
- Volume Button: Adjusts the volume level of the chime.
- Light Indicator: Illuminates when the doorbell rings.
3.2. Push Button Transmitter
- Push Button: Activates the doorbell chime when pressed.
- Light Indicator: Illuminates when the button is pressed, confirming activation.
4. Setup and Installation
The TUGARD Wireless Doorbell is designed for quick and easy installation.
4.1. Receiver Installation
- Plug the doorbell receiver into any standard electrical outlet within your desired listening area.
- Ensure the outlet is easily accessible and not obstructed.
4.2. Push Button Transmitter Installation
- Choose a suitable location for the push button, such as next to your door. Ensure the surface is clean and dry.
- Peel off one side of the protective film from the double-sided adhesive tape.
- Apply the adhesive tape firmly to the back of the push button transmitter.
- Peel off the other side of the protective film from the adhesive tape.
- Press the push button firmly onto the chosen clean surface for at least 30 seconds.

Figure 4.1: Easy installation steps for the TUGARD Wireless Doorbell.
Note: For optimal performance, avoid mounting the push button on metal surfaces, which can reduce the wireless range.
5. Operating Instructions
5.1. Adjusting Volume
- Locate the Volume Button on the side of the receiver unit.
- Press the Volume Button repeatedly to cycle through the 5 available volume levels (0dB, 45dB, 75dB, 95dB, 110dB).
- Select the desired volume level. The receiver will remember this setting.

Figure 5.1: Adjustable volume levels for various environments.
5.2. Changing Chimes
- Locate the Pairing/Reset Music Button on the side of the receiver unit.
- Press the Pairing/Reset Music Button repeatedly to cycle through the 40 available melodies.
- When you hear the desired chime, stop pressing the button. The receiver will remember this selection.

Figure 5.2: Enjoying pleasant melodies with 40 chimes and 5 volume levels.
5.3. Pairing Additional Transmitters (if applicable)
If you have purchased additional push button transmitters, follow these steps to pair them with your receiver:
- Plug in the receiver.
- Press and hold the Pairing/Reset Music Button on the receiver for approximately 3-5 seconds until you hear a "ding" sound and the LED indicator flashes rapidly. This indicates the receiver is in pairing mode.
- Immediately press the new push button transmitter. The receiver should play the selected chime, confirming successful pairing.
- Repeat for any additional transmitters.
5.4. Mute Mode and LED Flashing
The doorbell receiver features a mute mode (0dB volume level) where only the LED indicator flashes when the push button is pressed. This is useful for quiet environments or when you do not wish to disturb others.

Figure 5.3: LED Flashing and Mute Mode for undisturbed environments.
6. Maintenance
6.1. Battery Replacement (Push Button Transmitter)
The push button transmitter is powered by 1 'A' type alkaline battery (included), which typically has a lifespan of up to 3 years. When the LED indicator on the push button no longer illuminates or the range decreases significantly, it's time to replace the battery.
- Carefully open the back cover of the push button transmitter.
- Remove the old battery.
- Insert a new 12V 23A alkaline battery, ensuring correct polarity (+/-).
- Close the back cover securely.

Figure 6.1: Battery compartment and long lifespan battery for the transmitter.
6.2. Cleaning
To clean the doorbell units, wipe them with a soft, dry cloth. Do not use abrasive cleaners, solvents, or immerse the units in water.
7. Troubleshooting
If you encounter issues with your TUGARD Wireless Doorbell, please refer to the following common problems and solutions:
- Doorbell does not ring:
- Ensure the receiver is plugged into a working power outlet.
- Check if the receiver's volume is set to 0dB (mute mode). Adjust the volume.
- Replace the battery in the push button transmitter.
- Re-pair the push button transmitter with the receiver (refer to Section 5.3).
- Ensure the distance between the transmitter and receiver is within the specified range (500ft in open area) and there are no significant obstructions.
- Reduced wireless range:
- Replace the battery in the push button transmitter.
- Relocate the receiver or transmitter to avoid large metal objects, thick walls, or other electronic devices that may cause interference.
- Chime selection or volume resets:
- The doorbell has a memory function, so settings should persist after a power outage. If not, re-select your desired chime and volume. If the issue persists, contact customer support.
8. Specifications
| Model Number | ZASD-DB30-W |
| Brand | TUGARD |
| Wireless Range | Up to 500 feet (150 meters) in open area |
| Chimes | 40 selectable melodies |
| Volume Levels | 5 levels (0-110dB) |
| Receiver Power | AC Plug-in |
| Transmitter Battery | 1 x 12V 23A Alkaline battery (included) |
| Product Dimensions | 3.34 x 2.24 x 1.81 inches (Receiver), 3.1 x 1.7 x 0.7 inches (Transmitter) |
| Item Weight | 3.2 ounces |
| Color | White |
| Manufacturer | Shenzhen Smartrol Technology Limited |
| Date First Available | January 17, 2024 |
9. Warranty and Support
9.1. Warranty Information
This product comes with a standard manufacturer's warranty. Please refer to the packaging or contact the retailer for specific warranty terms and conditions. Keep your purchase receipt as proof of purchase for any warranty claims.
9.2. Customer Support
For technical assistance, troubleshooting not covered in this manual, or other inquiries, please contact TUGARD customer support through the retailer's platform or the contact information provided on the product packaging.
Ask a question about this manual
Ask about setup, troubleshooting, compatibility, parts, safety, or missing instructions. Manuals+ will review the question and use this page’s manual context to help answer it.