1. Introduction
The ERRECOM DPF Flush is a powerful liquid cleaner designed for the effective and convenient cleaning of Diesel Particulate Filters (DPF) and catalytic converters. Its advanced formulation deeply penetrates the honeycomb structure of the DPF, efficiently dissolving and removing carbon residues and soot that obstruct the normal flow of engine exhaust gases. Regular use of DPF Flush helps restore the DPF to its original condition, ensuring optimal functioning of the entire exhaust system and contributing to reduced fuel consumption. For best results, always follow with ERRECOM DPF Rinse (sold separately).
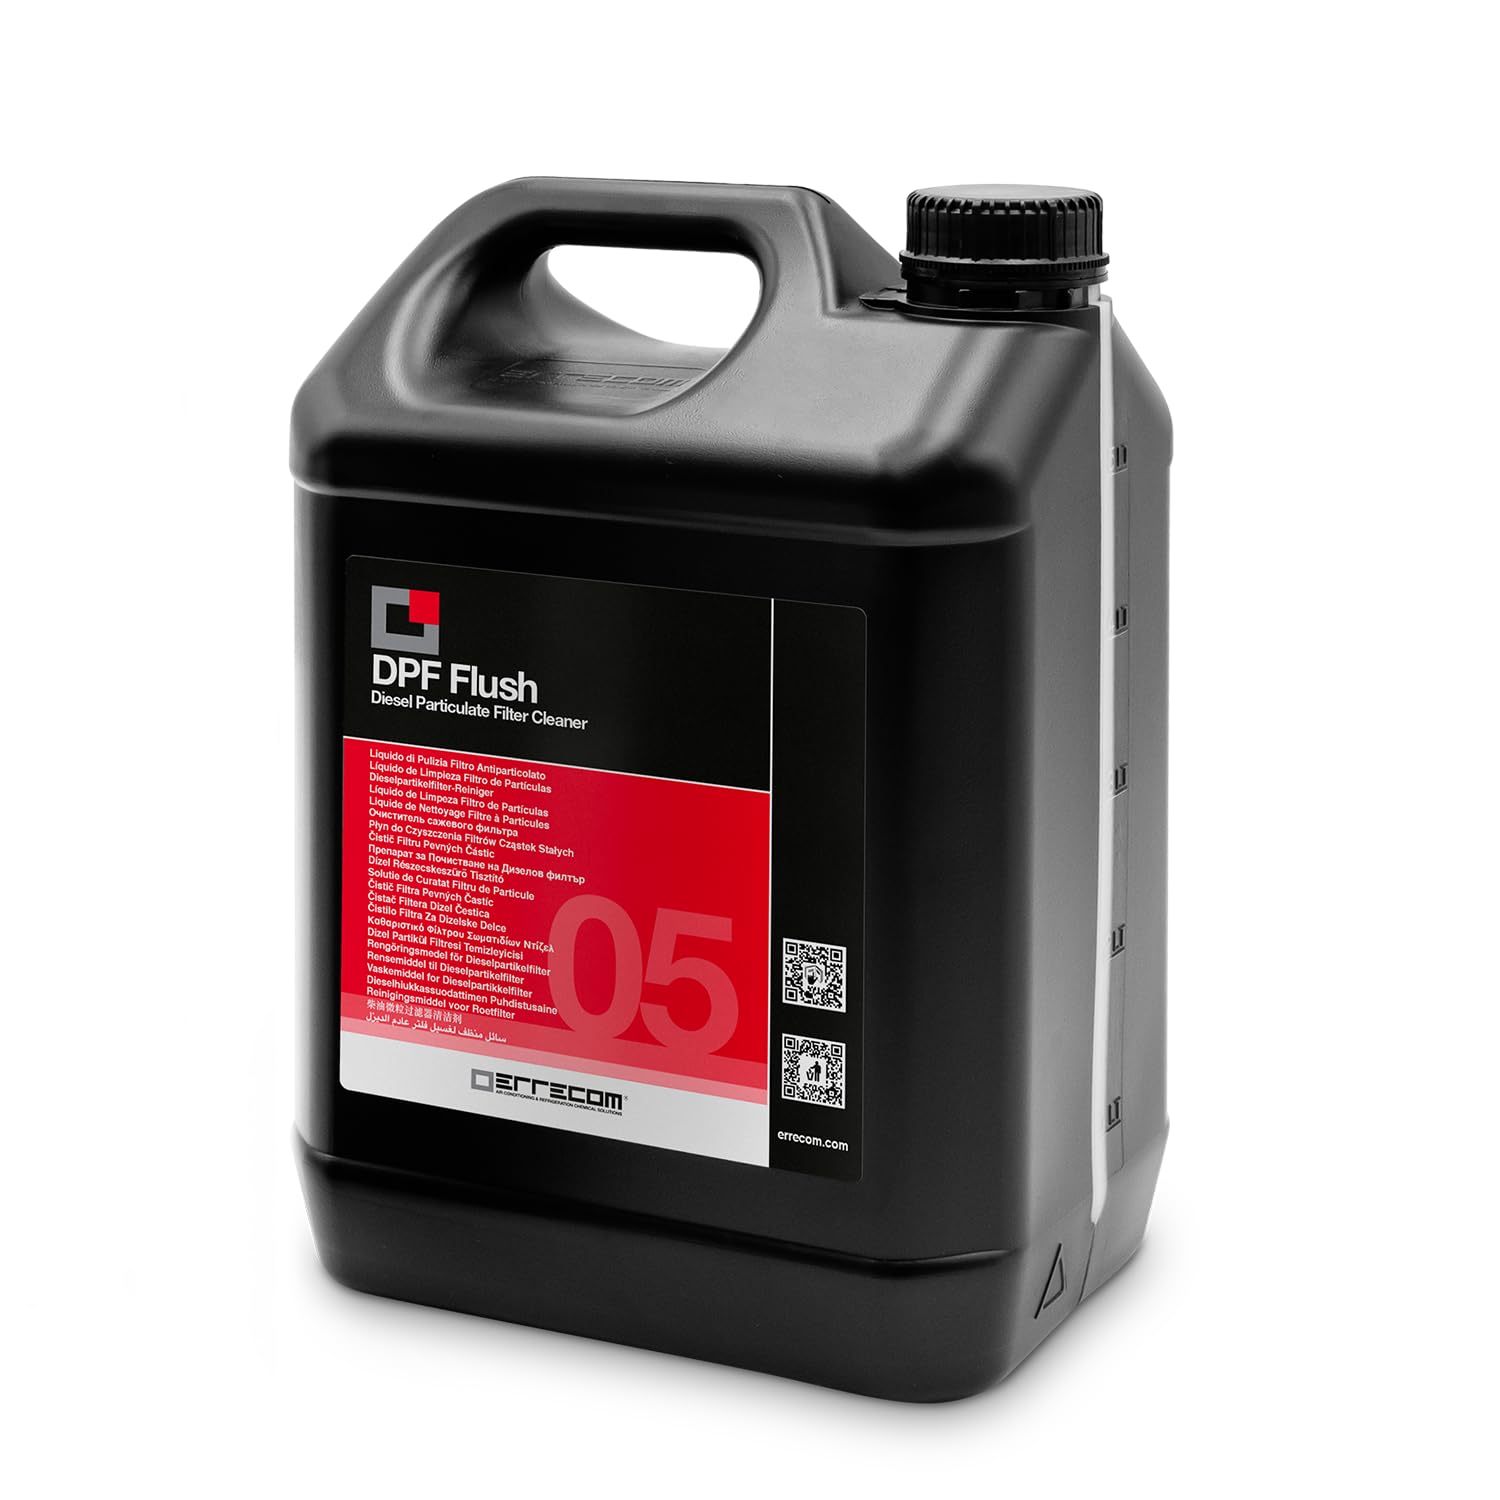
Image 1.1: ERRECOM DPF Flush 5L Tank product.

Image 1.2: Cutaway view of a Diesel Particulate Filter (DPF), showing the internal honeycomb structure where soot and carbon accumulate.
2. Safety Information
Always prioritize safety when handling chemical products. Read and understand all instructions before use. Failure to follow safety precautions may result in injury or damage.
- Personal Protective Equipment: Always wear appropriate personal protective equipment (PPE), including chemical-resistant gloves and eye protection (safety goggles or face shield), to prevent skin and eye contact.
- Ventilation: Use in a well-ventilated area or outdoors to avoid inhaling fumes.
- Storage: Keep the product container tightly closed and store in a cool, dry place, away from direct sunlight and sources of ignition. Keep out of reach of children and pets.
- First Aid: In case of contact with skin, wash immediately with plenty of soap and water. In case of eye contact, rinse cautiously with water for several minutes. Remove contact lenses, if present and easy to do. Continue rinsing. If irritation persists, seek medical attention. If swallowed, do NOT induce vomiting. Call a poison control center or doctor immediately.
- Disposal: Dispose of contents and container in accordance with local, regional, national, and international regulations.
- Flammability: This product may contain flammable components. Keep away from heat, hot surfaces, sparks, open flames, and other ignition sources. No smoking.
- Professional Use: This product is intended for professional use by trained personnel.
3. Setup
Before beginning the DPF cleaning process, ensure you have all necessary tools and the vehicle is properly prepared.
- Vehicle Positioning: Safely lift the vehicle using a hydraulic lift or jack stands to gain clear access to the underside and the exhaust system. Ensure the vehicle is stable and secure.
- Engine Temperature: Ensure the engine is cool or lukewarm. Working on a hot exhaust system can be dangerous and may affect product performance.
- Locate DPF: Identify the Diesel Particulate Filter (DPF) within the exhaust system. It is typically a cylindrical component located after the catalytic converter.
- Identify Access Point: Locate a suitable access point on the DPF for injection. This is usually a sensor port, such as the lambda (oxygen) sensor or the Exhaust Gas Temperature (EGT) sensor. Carefully remove the chosen sensor using appropriate tools. Applying a penetrating oil beforehand can help loosen stubborn sensors.
- Prepare Application Tool: Assemble the DPF Flush Gun (or similar injection tool) according to its instructions. Ensure the probe is securely attached.

Image 3.1: Vehicle raised on a lift, providing access to the exhaust system for DPF cleaning.

Image 3.2: A mechanic inspecting the DPF and catalytic converter area under a vehicle.
4. Operating Instructions
Follow these steps carefully to clean your DPF and catalytic converter using ERRECOM DPF Flush.
Video 4.1: Official ERRECOM DPF cleaning process demonstration. This video illustrates the steps for applying DPF Flush and DPF Rinse to a vehicle's exhaust system.
- Pour DPF Flush: Carefully pour the entire 5L contents of ERRECOM DPF Flush into the reservoir of your DPF Flush Gun or injection tool.
- Inject DPF Flush: Insert the probe of the application tool into the DPF through the sensor port you previously opened. Slowly and steadily inject the entire 5L of DPF Flush into the filter. Ensure even distribution if possible.
- Soaking Period: Once the DPF Flush has been injected, remove the probe and securely reinstall the sensor. Allow the product to soak inside the DPF for a minimum of 12 hours, or ideally 24 hours. This extended soaking time is crucial for the chemical to effectively break down and dissolve stubborn carbon and soot deposits.
- Initial Engine Run: After the soaking period, start the engine. Let it idle for approximately 15 minutes. During this time, observe the exhaust for any black discharge, which indicates the removal of accumulated soot.
- Road Test (Regeneration): Perform a road test of approximately 60 kilometers (about 37 miles). During this drive, maintain engine RPMs between 3500 and 4000. This high-RPM driving helps to raise the exhaust gas temperature, facilitating the DPF's natural regeneration process and expelling the dissolved deposits. It is important to drive within legal speed limits while maintaining the recommended RPM range.
- Prepare DPF Rinse: After the road test, allow the DPF to cool down. Remove the same sensor from the DPF again. Prepare the ERRECOM DPF Rinse (sold separately, essential for completing the cleaning process) by pouring its contents into the DPF Flush Gun.
- Inject DPF Rinse: Insert the probe into the DPF through the sensor port and slowly inject the entire contents of the DPF Rinse. This step is vital to neutralize the cleaning agent and flush out any remaining loosened particles.
- Final Road Test: Reinstall the sensor securely. Perform another road test, similar to the previous one, for approximately 60 kilometers (about 37 miles) at high RPMs (3500-4000 RPM). This ensures thorough rinsing and complete removal of any residual cleaning solution and particles from the DPF.
- Post-Cleaning Check: Upon returning, let the engine idle and perform strong, progressive accelerations periodically until no white foam or vapor is observed from the exhaust. A clean DPF should result in minimal to no visible exhaust emissions.

Image 4.2: Initial dark smoke from the exhaust, indicating soot and carbon being expelled during the cleaning process.
5. Maintenance
Regular maintenance of your DPF is crucial for optimal engine performance and longevity. Consider using ERRECOM DPF Flush and DPF Rinse as part of your vehicle's preventive maintenance schedule, especially if you frequently drive short distances or in urban environments, which can lead to increased soot accumulation.
- Preventive Cleaning: For vehicles prone to DPF clogging, a preventive cleaning with ERRECOM DPF Flush and Rinse every 15,000 to 30,000 kilometers (or annually) can help maintain DPF efficiency and prevent severe blockages.
- Monitor Warning Lights: Pay attention to your vehicle's dashboard warning lights. A DPF warning light indicates a blockage that requires immediate attention.
- Driving Habits: Incorporate regular longer drives at highway speeds to allow for passive DPF regeneration, which helps burn off accumulated soot.
6. Troubleshooting
If you encounter issues after using ERRECOM DPF Flush, refer to the following troubleshooting guide:
| Problem | Possible Cause | Solution |
|---|---|---|
| DPF warning light persists or reappears. |
|
|
| Reduced engine performance or "limp mode". |
|
|
| Excessive smoke from exhaust after cleaning. |
|
|
Important Note: The error code P0299 is a generic code that can indicate various issues beyond just the DPF, including a clogged EGR valve, faulty turbocharger, or other sensor malfunctions. If DPF cleaning does not resolve the issue, a comprehensive diagnostic check by a professional is essential to identify and address the root cause.
7. Specifications
| Feature | Detail |
|---|---|
| Brand | ERRECOM |
| Model Number | TR1136.P.01.EC |
| Product Type | DPF and Catalytic Converter Cleaner (Liquid) |
| Volume | 5 Liters |
| Item Weight | 4.7 Kilograms |
| Package Dimensions | 27.5 x 18.5 x 14 cm |
| Country of Origin | Italy |
8. Warranty and Support
ERRECOM products are manufactured to high-quality standards. For specific warranty information regarding your ERRECOM DPF Flush 5L Tank, please refer to the product packaging or contact ERRECOM directly.
For technical support, product inquiries, or to learn more about ERRECOM's range of automotive maintenance solutions, please visit the official ERRECOM brand store or website:


