
1. Introduction
Thank you for choosing the Rebel Active RBA-2003 Adjustable Incline Weight Bench. This versatile and high-quality strength training bench is designed for effective workouts at home or in a gym setting. It features an adjustable backrest, a leg lock mechanism, and integrated resistance bands to enhance your training experience. This manual provides essential information for safe assembly, operation, maintenance, and troubleshooting to ensure optimal performance and longevity of your equipment.
2. Safety Information
Before using the Rebel Active RBA-2003 weight bench, please read and understand all safety instructions. Failure to follow these instructions may result in injury or damage to the equipment.
- Consult a physician before starting any new exercise program.
- Keep children and pets away from the equipment during use.
- Ensure the bench is placed on a flat, stable surface.
- Inspect the bench for any loose parts, damage, or wear before each use. Do not use if damaged.
- Do not exceed the maximum weight capacity of 170 kg (375 lbs). This includes user weight plus any weights being lifted.
- Ensure all adjustment pins and locking mechanisms are securely engaged before beginning an exercise.
- Wear appropriate athletic footwear and clothing.
- Perform exercises with controlled movements. Avoid sudden or jerky motions.
- If you experience pain, dizziness, or shortness of breath, stop exercising immediately and consult a physician.
3. Package Contents
Upon unpacking, please verify that all components are present and undamaged. If any parts are missing or damaged, contact customer support immediately.
- Rebel Active RBA-2003 Weight Bench Frame
- Adjustable Backrest and Seat Pads
- Leg Lock Mechanism
- Resistance Bands (2x)
- Assembly Hardware (bolts, nuts, washers, pins)
- User Manual
4. Setup and Assembly
Assembly typically requires two people. Ensure you have adequate space and all tools (not included, e.g., wrenches) before starting.
- Unpack Components: Carefully remove all parts from the packaging and lay them out on a clean, flat surface.
- Assemble Main Frame: Connect the main support beams and feet as per the included assembly diagram. Secure with the provided bolts and nuts, tightening them firmly but not excessively.
- Attach Seat and Backrest: Mount the seat and backrest pads to the frame using the designated attachment points and hardware. Ensure they are securely fastened.
- Install Leg Lock Mechanism: Attach the leg lock assembly to the front section of the bench. Ensure the foam rollers are correctly positioned and the adjustment pin operates smoothly.
- Attach Resistance Bands: The bench includes attachment points for resistance bands. Secure the bands to these points as desired for your workout.
- Final Check: Before first use, double-check all bolts, nuts, and pins to ensure they are tight and secure. Test the stability of the bench.

Image 1: Front view of the Rebel Active RBA-2003 Adjustable Incline Weight Bench, showing the backrest, seat, and leg lock mechanism.

Image 2: Side view of the Rebel Active RBA-2003 Adjustable Incline Weight Bench, illustrating its inclined position and overall structure.
5. Operating Instructions
5.1 Adjusting the Backrest
The backrest offers 7 levels of adjustment, allowing you to perform various exercises at different incline angles to target diverse muscle groups.
- Locate the adjustment pin or lever mechanism at the base of the backrest.
- Pull the pin out or disengage the lever to release the backrest.
- Carefully move the backrest to your desired angle.
- Ensure the adjustment pin fully re-engages into one of the 7 locking positions. Wiggle the backrest slightly to confirm it is secure.
5.2 Using the Leg Lock Mechanism
The leg lock mechanism provides stability and support for exercises such as sit-ups or decline presses.
- Position yourself on the bench with your legs under the foam rollers.
- Adjust the height of the leg lock mechanism by pulling the adjustment pin and sliding the bar up or down until your legs are comfortably secured.
- Ensure the pin is fully engaged before starting your exercise.
5.3 Utilizing Resistance Bands
The included resistance bands can be attached to various points on the bench to add resistance to your workouts, helping to strengthen and tone muscles.
- Identify the designated attachment points on the bench frame, typically hooks or loops near the feet.
- Securely clip or loop the resistance bands to these points.
- Perform exercises such as chest presses, rows, or bicep curls, using the bands for added resistance.
- Always ensure the bands are securely attached before applying tension.
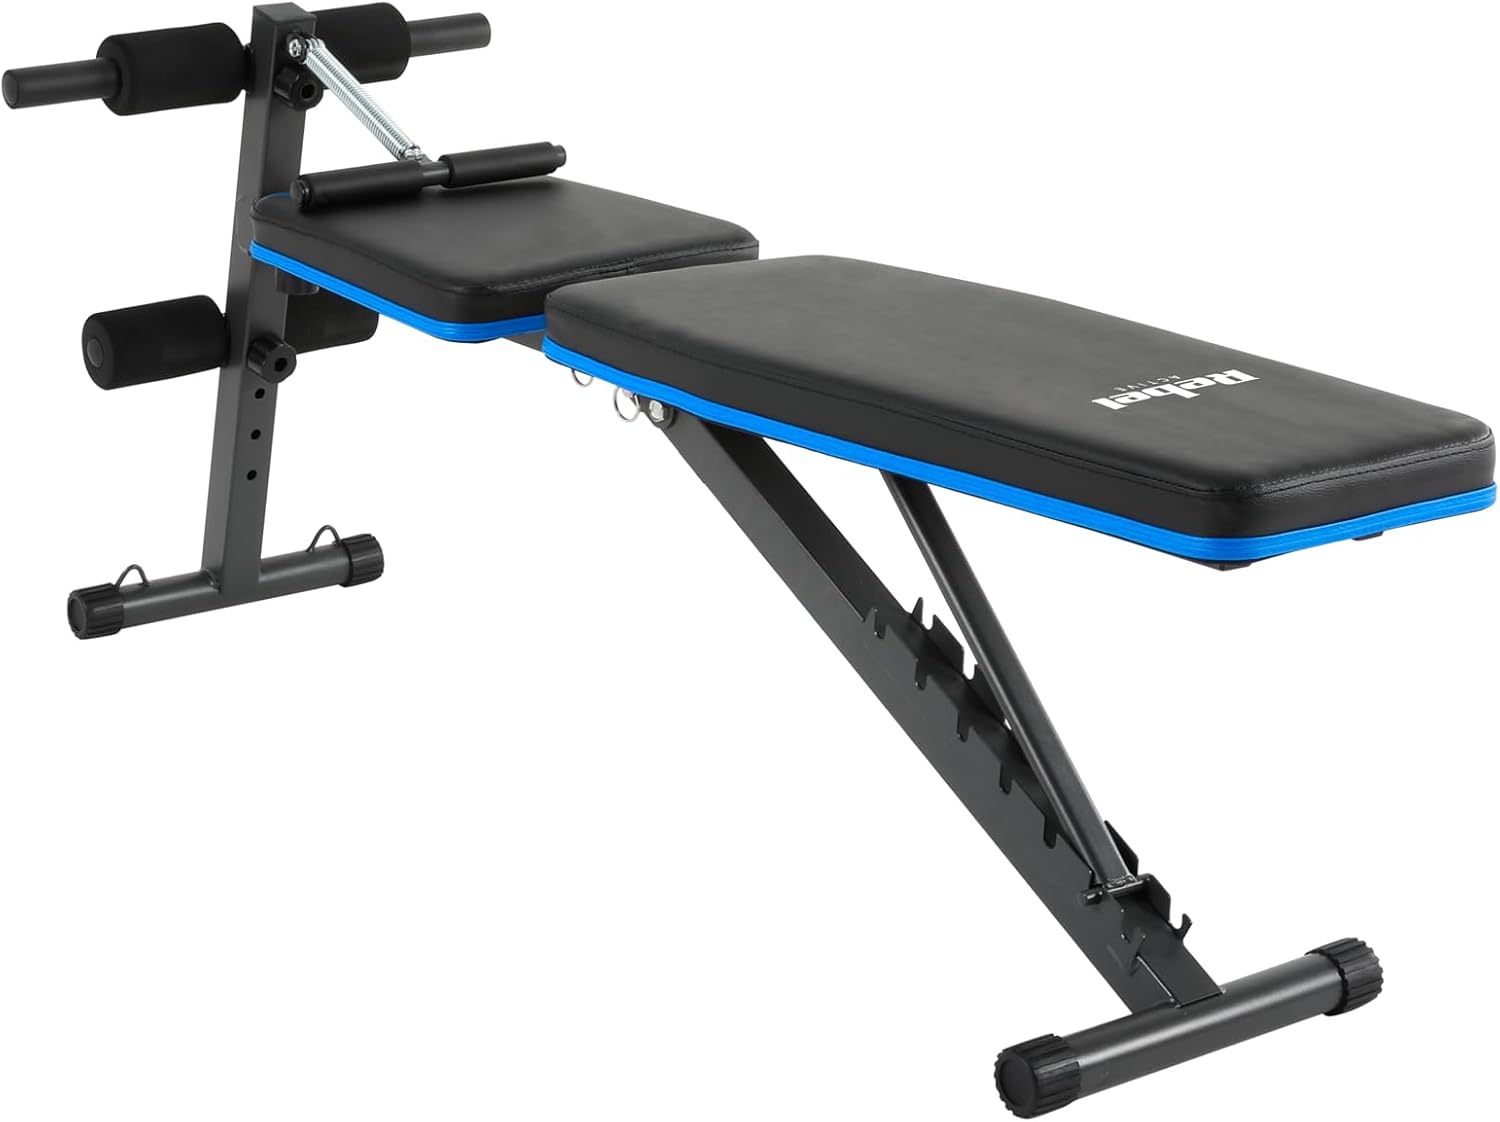
Image 3: The Rebel Active RBA-2003 bench shown in a flat position, highlighting the attachment points for resistance bands.

Image 4: The Rebel Active RBA-2003 bench in an inclined position, demonstrating the versatility of the resistance band attachments for various exercises.
6. Maintenance
Regular maintenance will extend the life of your Rebel Active RBA-2003 weight bench and ensure safe operation.
- Cleaning: Wipe down the bench pads and frame with a damp cloth after each use to remove sweat and dirt. Use a mild soap solution for deeper cleaning, then wipe dry. Avoid abrasive cleaners.
- Inspection: Periodically check all bolts, nuts, and adjustment pins for tightness. Re-tighten any loose fasteners. Inspect the upholstery for tears or excessive wear, and the frame for any signs of damage or corrosion.
- Lubrication: If any moving parts (e.g., adjustment mechanisms) become stiff, apply a small amount of silicone-based lubricant.
- Storage: Store the bench in a dry, cool place away from direct sunlight and extreme temperatures.
7. Troubleshooting
If you encounter any issues with your Rebel Active RBA-2003 weight bench, refer to the following common problems and solutions:
- Bench feels unstable: Ensure all assembly bolts are tightened. Check that the bench is on a flat, level surface.
- Backrest/Seat adjustment is difficult: Check for any obstructions in the adjustment mechanism. Ensure the adjustment pin is fully retracted before attempting to move the backrest/seat. Apply lubricant if necessary.
- Squeaking noises: Identify the source of the noise. Often, it's a loose bolt or a joint that needs lubrication. Tighten fasteners or apply lubricant.
- Resistance bands losing elasticity: Resistance bands have a finite lifespan. If they show signs of wear, cracking, or significantly reduced resistance, they should be replaced.
If the problem persists or you encounter an issue not listed here, please contact customer support.
8. Specifications
Detailed technical specifications for the Rebel Active RBA-2003 Adjustable Incline Weight Bench.
| Feature | Specification |
|---|---|
| Model Number | RBA-2003 |
| Brand | REBEL |
| Color | Black |
| Frame Material | Carbon Steel |
| Main Material | Synthetic Leather, Alloy Steel |
| Max Weight Capacity | 170 Kilograms (375 lbs) |
| Product Dimensions (L x W x H) | 100 x 48 x 139.5 cm (39.4 x 18.9 x 54.9 inches) |
| Item Weight | 9.8 Kilograms (21.6 lbs) |
| Backrest Adjustment Levels | 7 levels |
| Seat Dimensions | 30 x 34 x 5 cm |
| Backrest Dimensions | 68.5 x 30 x 5 cm |
| Profile Thickness | 1.2 mm |
| Seat Height from Ground | 39.5 cm |

Image 5: Diagram illustrating the key dimensions of the Rebel Active RBA-2003 weight bench, including height, length, and width.
9. Warranty and Support
9.1 Warranty Information
Rebel Active products are manufactured to high-quality standards and are warranted against defects in materials and workmanship for a specified period from the date of purchase. Please retain your proof of purchase for warranty claims. The warranty does not cover normal wear and tear, misuse, or damage caused by improper assembly or maintenance.
9.2 Customer Support
For technical assistance, warranty inquiries, or to order replacement parts, please contact Rebel Active customer support. You can typically find contact information on the product packaging or the official Rebel Active website. When contacting support, please have your model number (RBA-2003) and proof of purchase readily available.


