
Product Overview
The Godox X3-N is a state-of-the-art TTL wireless flash trigger designed for Nikon cameras, offering unparalleled control and efficiency for your photography workflow. It features a high-definition OLED touchscreen for intuitive operation and a built-in rechargeable lithium battery for extended use.
Key features include:
- Intuitive OLED Touchscreen Interface for effortless navigation.
- Support for TTL, Multi-flash, High-Speed Sync (HSS), Front Curtain Sync, and Rear Curtain Sync modes.
- Two-way TCM (TTL Convert Manual) for quick mode switching.
- Durable, easy-mounting hotshoe for secure camera attachment.
- Built-in rechargeable lithium battery with fast USB-C charging.
- Advanced 2.4GHz Godox Wireless X system for seamless and reliable connection.

Figure 1: The Godox X3-N Flash Trigger, showing its compact design, OLED screen, and included accessories: USB-C charging cable and storage bag.
Setup Guide
- Charging the Device:
The X3-N comes with a built-in rechargeable lithium battery. Before first use, fully charge the device using the provided USB-C cable. Connect the USB-C end to the trigger's port and the other end to a compatible USB power adapter (not included) or a computer's USB port. A full charge takes approximately 2 hours.

Figure 2: USB-C charging port on the Godox X3-N, indicating the quick charge capability.
- Mounting on Camera:
Gently slide the X3-N's hotshoe onto your Nikon camera's hotshoe mount until it clicks into place. Ensure it is securely seated to establish proper electrical contact. The durable hotshoe design ensures stable mounting and protects your camera's hotshoe.

Figure 3: The Godox X3-N securely mounted on a camera's hotshoe.
- Powering On/Off:
Press and hold the power button (usually located on the side or front) for a few seconds to turn the device on or off. The OLED screen will illuminate upon power-on.
Operating Instructions
- Navigating the OLED Touchscreen:
The X3-N features an intuitive OLED touchscreen. Swipe left or right to adjust screen brightness. Tap on icons or values to select or modify settings. The interface is designed for ease of use, allowing quick adjustments.

Figure 4: Demonstrating the 'Swipe and Tap' functionality of the X3-N's touchscreen interface.

Figure 5: The high-definition OLED screen of the X3-N, showing options for adjusting screen brightness.
- Selecting Flash Modes (TTL/Manual/Multi):
The X3-N supports various flash modes. Tap on the mode indicator on the screen to cycle through TTL (Through-The-Lens), Manual (M), and Multi-flash modes. The two-way TCM function allows for instant conversion between TTL and Manual modes, providing flexibility for different shooting scenarios.

Figure 6: The X3-N's screen displaying the option to switch between TTL and Manual flash modes.
- Wireless Connection and Channel Scanning:
Utilize the built-in Godox 2.4GHz Wireless X system for seamless communication with compatible flashes. To prevent interference, use the spare channel scanning function to find an available channel. This ensures a reliable connection for your lighting setup.

Figure 7: The X3-N's screen displaying channel and ID settings for establishing a seamless wireless connection.
- Adjusting Flash Parameters:
Adjust flash power, exposure compensation, and other parameters directly on the touchscreen by tapping and dragging or using the physical buttons on the side of the unit. The screen locking function can be activated to prevent accidental touches during operation.
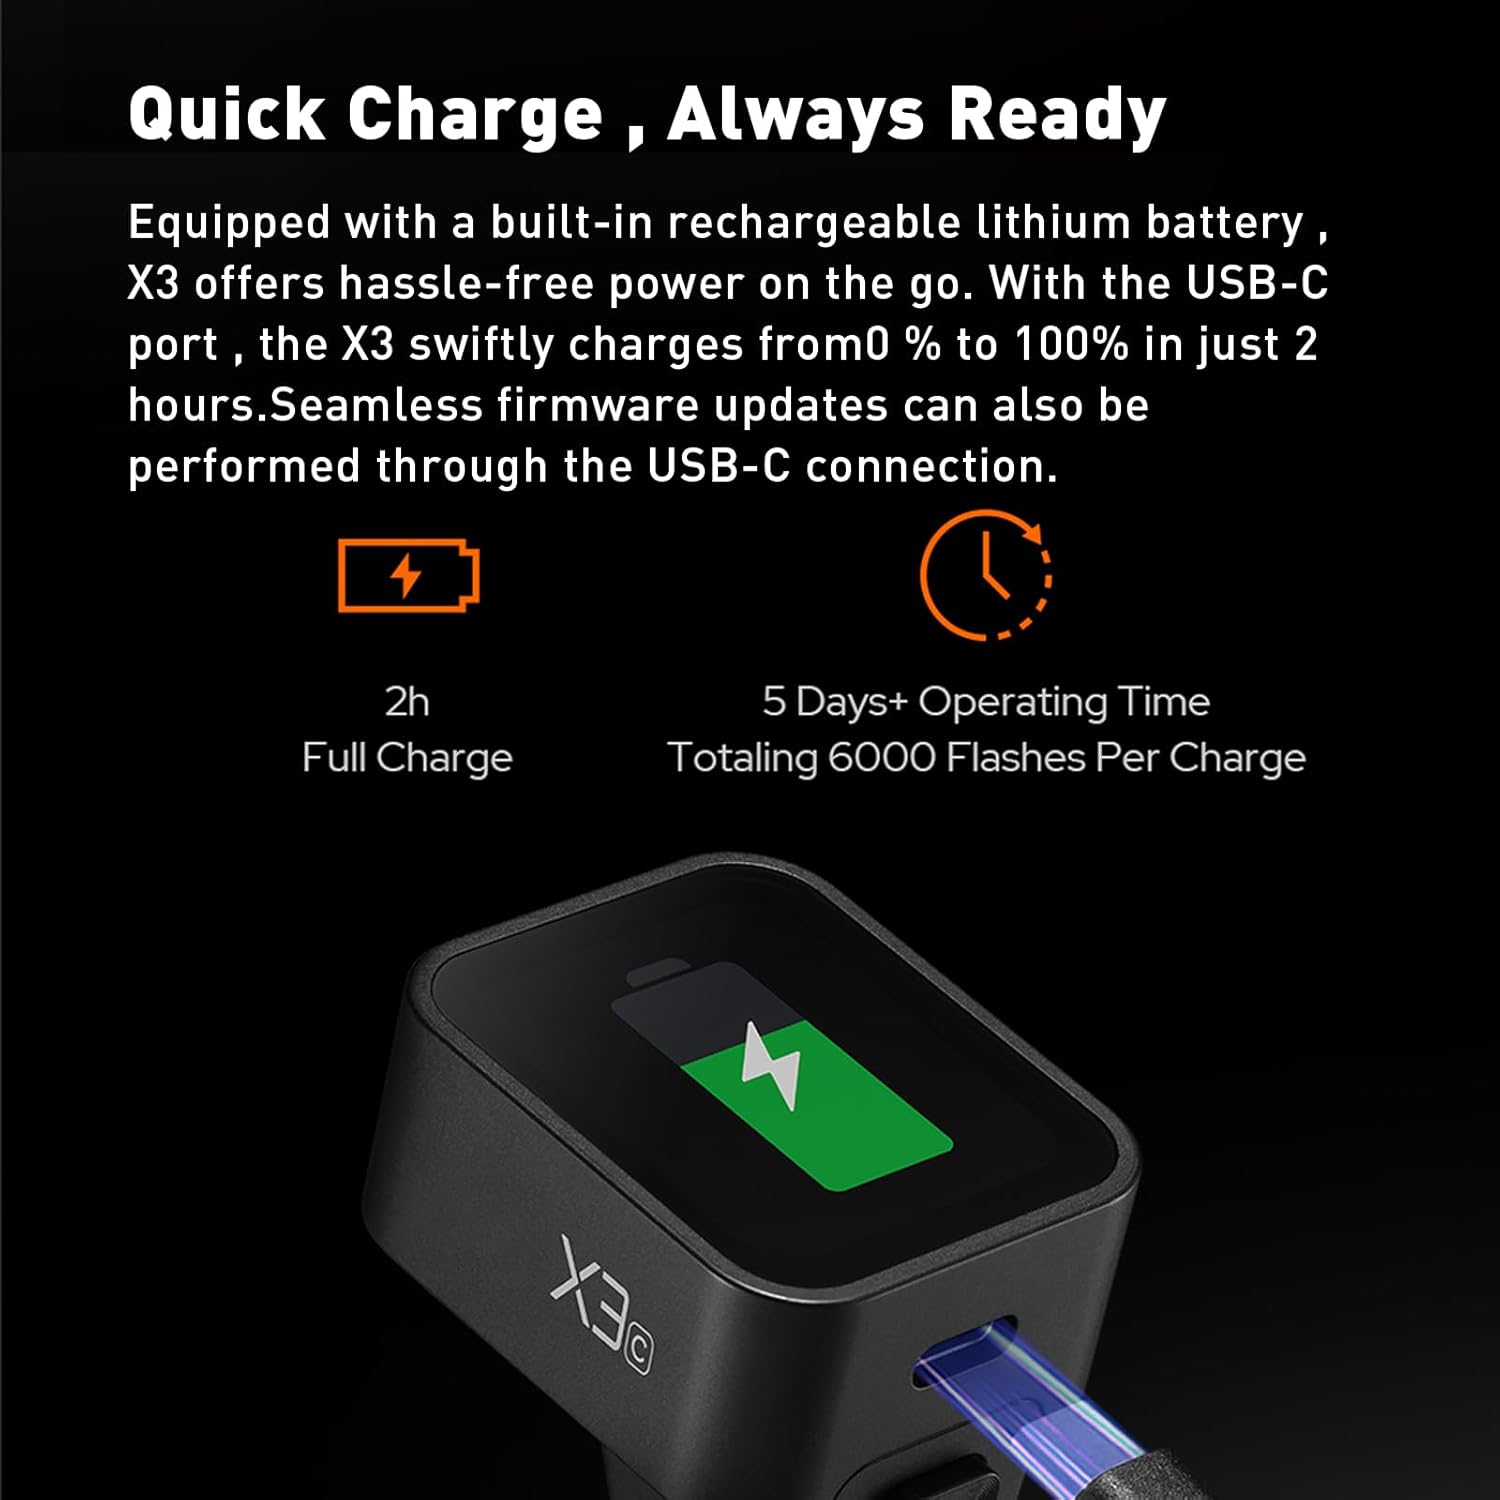
Figure 8: The X3-N's screen showing individual flash power adjustments for different groups (D, E, F).
Maintenance
- Cleaning:
Use a soft, dry cloth to clean the exterior of the flash trigger. For the OLED screen, use a microfiber cloth specifically designed for electronics. Avoid using harsh chemicals or abrasive materials.
- Storage:
When not in use, store the X3-N in its provided storage bag in a cool, dry place, away from direct sunlight and extreme temperatures. Ensure the battery is not fully depleted for long-term storage.
- Firmware Updates:
Godox periodically releases firmware updates to improve performance and add new features. Firmware updates can be performed through the USB-C connection. Visit the official Godox website for the latest firmware and instructions.
Troubleshooting
| Problem | Possible Cause | Solution |
|---|---|---|
| Device does not power on. | Battery is depleted. | Charge the device fully using the USB-C cable. |
| Flash not firing. | Incorrect channel/ID settings; Flash unit not powered on or out of range; Hotshoe not properly mounted. | Verify channel and ID settings on both trigger and flash; Ensure flash is on and within range; Re-mount the trigger securely on the camera hotshoe. |
| Touchscreen unresponsive. | Screen locking function is active; Temporary software glitch. | Deactivate screen locking; Restart the device. |
| Inconsistent flash output. | Interference from other wireless devices; Low battery on trigger or flash. | Perform channel scanning to find a clear channel; Ensure both trigger and flash batteries are adequately charged. |
Specifications
| Feature | Detail |
|---|---|
| Model | X3-N |
| Compatibility | Nikon Cameras (TTL) |
| Wireless System | Godox 2.4GHz Wireless X System |
| Display | OLED Touchscreen |
| Battery | Built-in Lithium Ion (1 required, included) |
| Charging Port | USB-C |
| Charging Time | Approx. 2 hours (0% to 100%) |
| Item Weight | 8.8 ounces |
| Package Dimensions | 5.16 x 4.25 x 2.64 inches |
| Manufacturer | GODOX |
| Date First Available | January 16, 2024 |
What's in the Box
- Godox X3-N Flash Trigger
- USB-C Charging Cable
- Storage Bag
Warranty and Support
For detailed warranty information and technical support, please refer to the official Godox website or contact their customer service directly. Information regarding product registration, warranty claims, and service centers can typically be found on the manufacturer's support pages.
You can visit the official Godox store for more information and product updates: Godox Official Store