1. Important Safety Information
Always prioritize safety when operating power tools. Failure to follow these instructions may result in serious injury.
- Personal Protective Equipment: Use safety gloves and goggles to protect hands and eyes from flying debris or cutting hazards.
- Work Area: Ensure the work area is clear of obstacles, children, and pets.
- Weather Conditions: Do not operate the trimmer in wet conditions or rain.
- Inspection: Before each use, inspect the trimmer for any damaged parts, loose connections, or worn blades. Do not use if damaged.
- Battery Safety: Use only the provided charger and batteries. Do not expose batteries to extreme temperatures or moisture.
2. Package Contents
Verify that all items listed below are included in your package. If any parts are missing or damaged, contact customer support.
- 1 x Electric String Trimmer / Lawn Mower Unit
- 2 x 12V Batteries (2000mAh)
- 1 x Battery Charger
- 5 x Plastic Blades
- 2 x Straight Metal Blades
- 1 x Round Metal Blade (100mm diameter)
- 1 Pair of Gloves
- 1 Pair of Goggles
- 1 x User Manual (this document)
- 1 x Installation Tool (wrench)
- 1 x Anti-Collision Steel Wire Guard

Figure 2.1: Complete package contents including the trimmer, batteries, charger, various blades, safety gear, and tools.
3. Product Overview and Features
The Cuteam Cordless Electric String Trimmer is designed for efficient lawn and garden maintenance. Key features include:
- Lightweight and Cordless Design: Facilitates easy handling and maneuverability, reducing user fatigue.
- Powerful Motor: Equipped with a 450W motor for high-speed operation and effective cutting.
- Telescopic Rod: Adjustable length (90-125cm) to suit various user heights and tasks, promoting ergonomic use.
- Ergonomic Handle: Designed for comfortable grip and improved operational efficiency.
- Durable Construction: Made from premium ABS and metal materials for wear resistance and longevity.
- Dual Battery System: Includes two 12V, 2000mAh batteries for extended operation without frequent recharging.
- Adjustable Head Angle: Allows for precise trimming in various areas, such as under trees, wall corners, and flower bed edges.
- Three Blade Types:
- Plastic Blades: Ideal for trimming newly grown, soft grass.
- Straight Metal Blades: Suitable for cutting tougher lawns, twigs, and vines.
- Round Metal Blade: Designed for cutting thicker branches and shrubs.
- Grass Baffle: Prevents debris splash during operation, enhancing user safety.
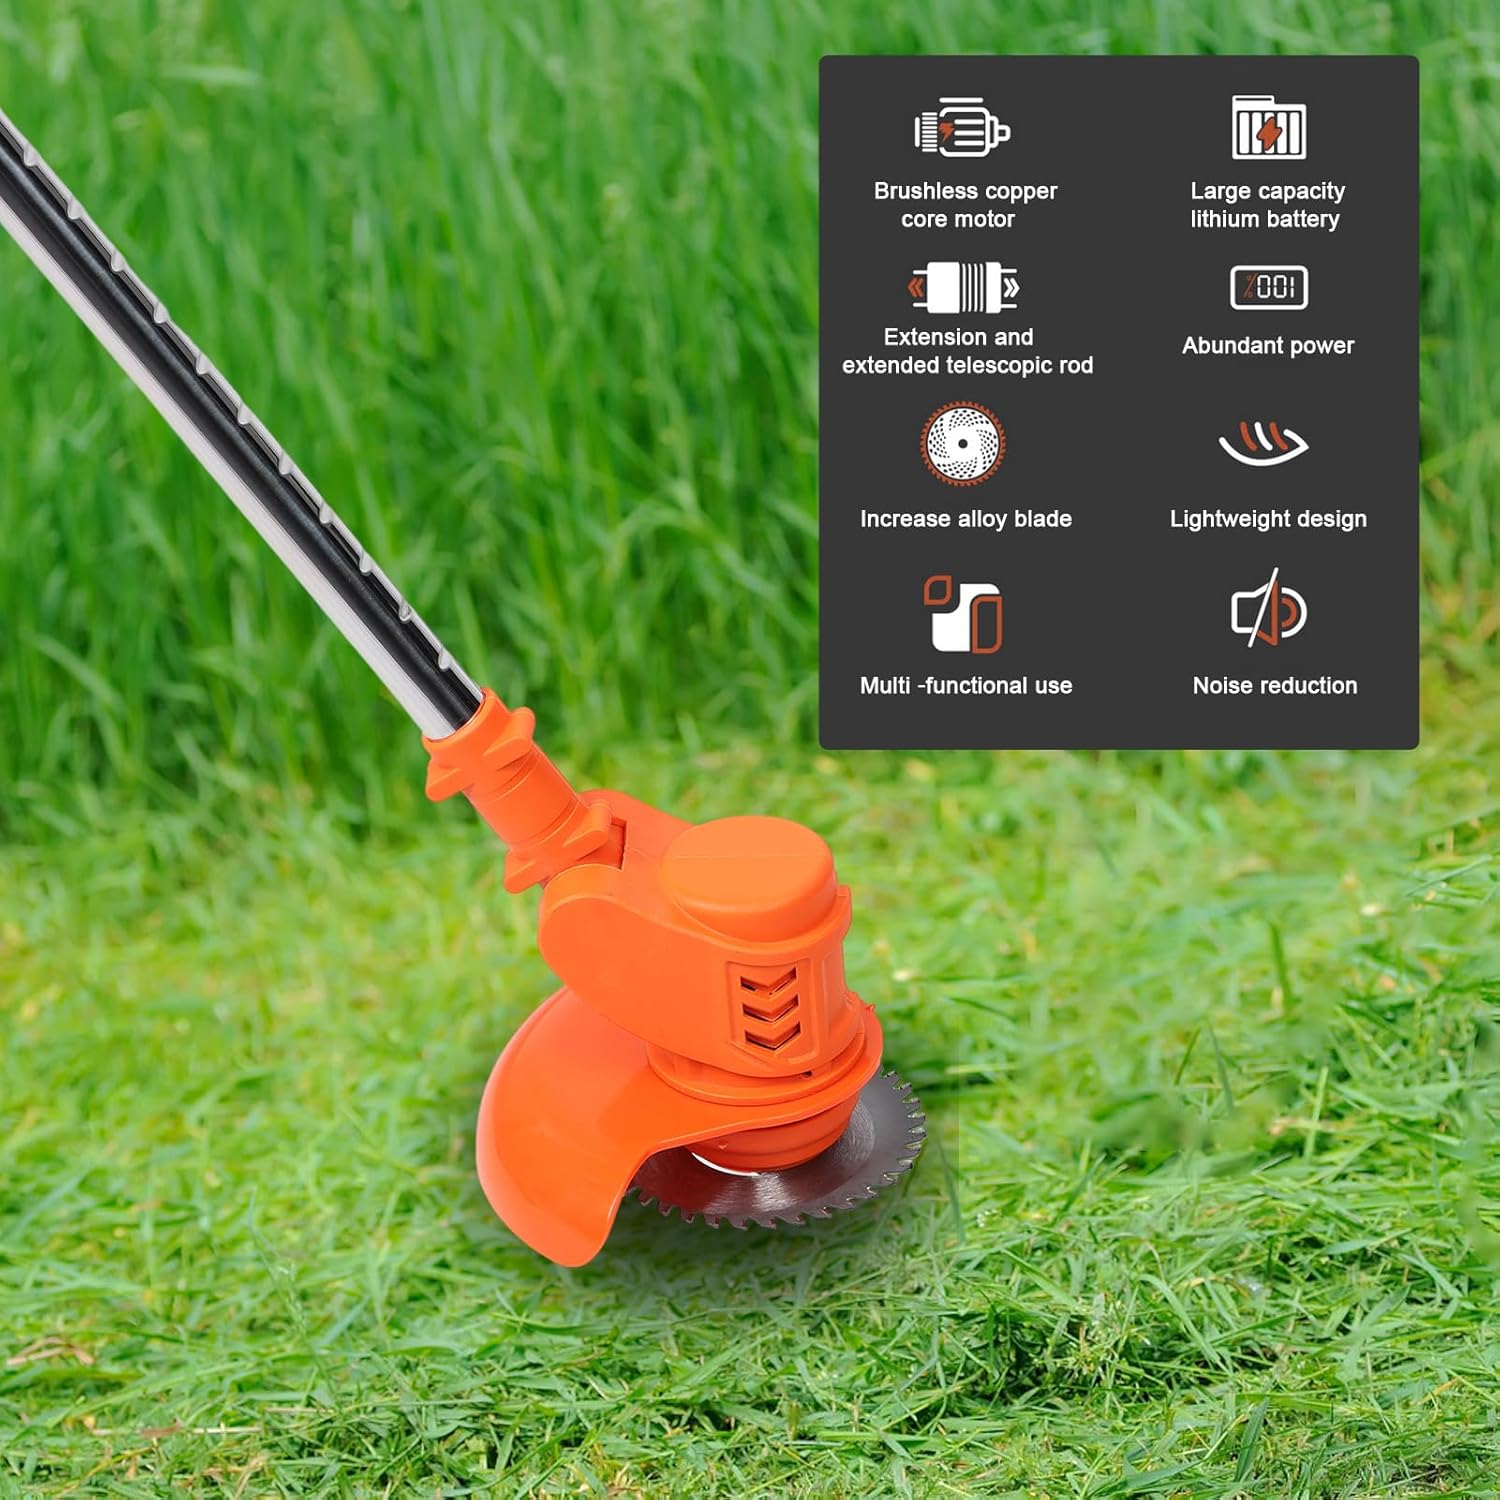
Figure 3.1: Overview of product features and components.
4. Setup and Assembly
Follow these steps to assemble your electric string trimmer before first use.
- Attach the Safety Guard: Secure the anti-collision steel wire guard to the trimmer head using the provided installation tool (wrench). Ensure it is firmly attached to prevent debris from flying towards the user.
- Install the Blade: Select the appropriate blade for your task (plastic, straight metal, or round metal). Align the blade with the spindle on the trimmer head and secure it using the provided fasteners and wrench. Ensure the blade is centered and tightened securely.

Figure 4.1: Round metal blade installation area.
- Attach the Auxiliary Handle: Slide the auxiliary handle onto the main shaft and adjust its position for comfortable grip. Tighten the locking mechanism to secure it.
- Adjust Telescopic Rod Length: Loosen the locking collar on the telescopic rod. Extend or retract the rod to your desired length (between 90cm and 125cm) for comfortable operation. Tighten the locking collar firmly.

Figure 4.2: Adjustable telescopic rod for customized length.
- Insert Battery: Ensure the battery is fully charged. Slide a charged battery into the battery compartment until it clicks into place.
5. Operating Instructions
5.1. Battery Charging
Before first use, fully charge both batteries. Connect the charger to a standard power outlet and then connect the battery to the charger. The indicator light on the charger will show the charging status. Disconnect once fully charged.
5.2. Starting and Stopping the Trimmer
- Ensure a charged battery is securely inserted.
- Hold the trimmer firmly with both hands, one on the main handle and one on the auxiliary handle.
- To start, press and hold the safety lock button, then squeeze the trigger switch. The trimmer will begin operating.

Figure 5.1: Dual control switch for safe operation.
- To stop, release the trigger switch. The safety lock button will automatically reset.
5.3. Trimming Techniques
- Maintain Control: Always hold the trimmer firmly with both hands.
- Sweeping Motion: Use a gentle sweeping motion from side to side to cut grass evenly.
- Avoid Overloading: Do not force the trimmer through thick vegetation. Take smaller passes.
- Edge Trimming: For precise edging, tilt the trimmer head slightly.
- Adjusting Head Angle: Use the one-button adjustment feature to change the cutting head angle for reaching difficult areas like under bushes or along walls.

Figure 5.2: Head angle adjustment for flexible trimming.

Figure 5.3: Proper operating posture for the string trimmer.
6. Maintenance
Regular maintenance ensures optimal performance and extends the lifespan of your trimmer.
- Cleaning: After each use, disconnect the battery and clean the trimmer head, blades, and housing with a dry cloth or soft brush. Remove any accumulated grass or debris. Do not use water or solvents.
- Blade Replacement: Inspect blades regularly for wear or damage. Replace plastic blades when they become dull. Metal blades can be sharpened or replaced if severely damaged. Always disconnect the battery before changing blades. Refer to Section 4.2 for blade installation.
- Battery Care: Store batteries in a cool, dry place away from direct sunlight. Do not store fully discharged batteries for extended periods. Charge them periodically if not in use.
- Storage: Store the trimmer in a dry, secure location out of reach of children.
7. Troubleshooting
If you encounter issues with your trimmer, refer to the following common problems and solutions:
| Problem | Possible Cause | Solution |
|---|---|---|
| Trimmer does not start. | Battery not charged or improperly inserted. Safety lock not engaged. | Ensure battery is fully charged and correctly inserted. Press safety lock button before squeezing trigger. |
| Poor cutting performance. | Dull or damaged blade. Trimmer head clogged with debris. | Replace or sharpen blade. Clean trimmer head and remove debris. |
| Excessive vibration. | Blade improperly installed or damaged. | Check blade installation for proper centering and tightness. Replace damaged blade. |
| Short operating time. | Battery not fully charged. Battery nearing end of lifespan. | Ensure battery is fully charged before use. Consider replacing old batteries. |
If the problem persists after attempting these solutions, please contact customer support.
8. Product Specifications
| Specification | Detail |
|---|---|
| Brand | Cuteam |
| Model Number | 3990595 |
| Power Source | Battery Powered |
| Rated Power | 450W |
| Speed | 0-18000 RPM |
| Battery Type | 12V, 2000mAh Lithium-ion (x2 included) |
| Round Blade Diameter | 100mm (approx. 3.9 inches) |
| Straight Blade Diameter | 145mm (approx. 5.7 inches) |
| Adjustable Length | 90-125cm (approx. 35.4-49.2 inches) |
| Product Dimensions (Max) | 120cm L x 15cm W (approx. 47.2" L x 5.9" W) |
| Item Weight | 4.85 pounds (approx. 2.2 kg) |
| Assembly Required | Yes |
9. Warranty and Customer Support
For warranty information, please refer to the documentation provided at the time of purchase. If you have any questions, require technical assistance, or need to report a missing/damaged part, please contact Cuteam customer support through your retailer or the contact information provided with your product.
Please retain your proof of purchase for warranty claims.