1. Introduction
This manual provides comprehensive instructions for the Delta DVP series Programmable Logic Controller (PLC) modules, specifically focusing on the DVP06XA-S2 model. The DVP series modules are designed for industrial automation applications, offering reliable and efficient control solutions. This guide will assist you with proper installation, operation, and maintenance to ensure optimal performance and safety.
Note: While this manual primarily addresses the DVP06XA-S2, some illustrative images may feature the DVP06AD-S module, which shares similar physical characteristics and installation procedures within the DVP series.
2. Product Overview
The Delta DVP06XA-S2 is a versatile analog input/output module designed to expand the capabilities of Delta DVP series PLCs. It facilitates the conversion of analog signals from sensors into digital data for PLC processing, and converts digital data from the PLC into analog signals for actuators. This module is crucial for applications requiring precise control and monitoring of analog parameters.

Figure 2.1: Top view of a Delta DVP06AD-S module in its original packaging. This image illustrates the general appearance of DVP series modules.

Figure 2.2: A Delta DVP06AD-S module shown with an accompanying connection cable, typical for DVP series accessories.
3. Safety Information
Always adhere to the following safety precautions to prevent injury to personnel and damage to the equipment:
- Ensure power is disconnected before installation, wiring, or maintenance.
- Only qualified personnel should perform installation and wiring.
- Verify correct voltage and current ratings before connecting power.
- Avoid exposing the module to excessive dust, moisture, or corrosive gases.
- Do not disassemble or modify the module.

Figure 3.1: Front view of a DVP06AD-S module displaying a caution sticker. The sticker advises to firmly push the cover to protect pins from foreign objects.
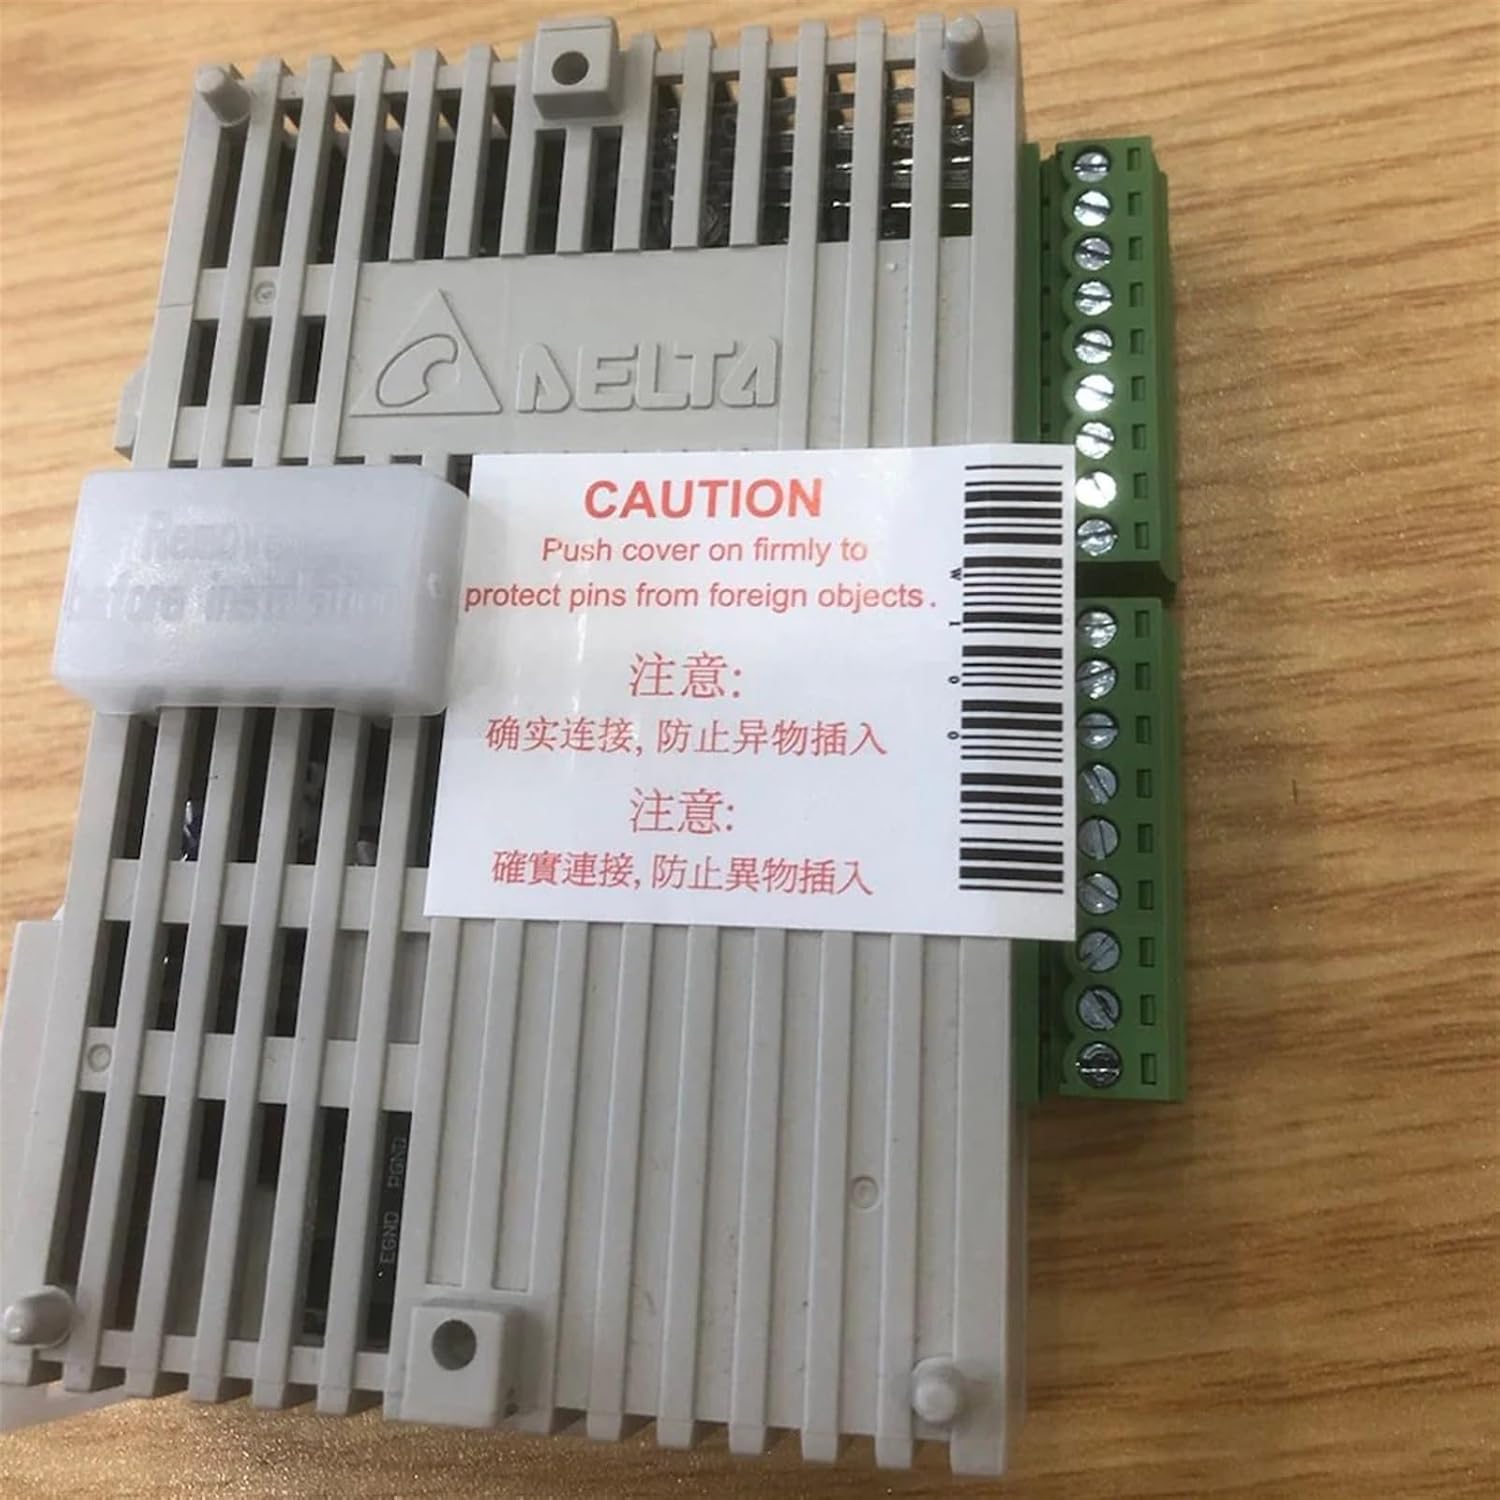
Figure 3.2: Top-down view of a DVP06AD-S module, highlighting the caution sticker and the module's compact design.
4. Setup and Installation
Follow these steps for proper installation of your DVP series module:
- Mounting: The module is designed for DIN rail mounting. Securely attach it to a standard 35mm DIN rail in a control cabinet. Ensure adequate ventilation space around the module.
- Wiring: Connect the power supply and I/O signals to the designated terminals. Refer to the terminal block labels on the module for correct connections. Ensure all connections are firm and secure to prevent loose wiring and potential short circuits.
- Module Connection: Connect the DVP06XA-S2 module to the main DVP PLC unit or another expansion module using the extension port.
- Terminal Protection: As indicated by the caution label, ensure the terminal covers are firmly pushed into place after wiring to protect the pins from foreign objects and accidental contact.

Figure 4.1: Side view of a DVP06AD-S module, illustrating the RS-485 communication port and the power input terminals.

Figure 4.2: Top view of a DVP06AD-S module, showing the green terminal blocks for I/O connections and module identification labels.
5. Operating Instructions
Once installed and wired, the DVP06XA-S2 module operates under the control of the main DVP PLC program. Key operational aspects include:
- Power-Up: After applying power, observe the LED indicators. The 'POWER' indicator should illuminate, signifying proper power supply.
- Status Indicators: The module typically features 'POWER', 'ERROR', and 'RUN' indicators. Refer to your PLC programming software and the main PLC manual for detailed interpretation of these indicators.
- Analog Signal Processing: The module converts incoming analog signals (e.g., voltage or current from sensors) into digital values accessible by the PLC program. Conversely, it converts digital values from the PLC into analog outputs to control devices.
- Programming: Configuration and control of the DVP06XA-S2 module are performed through the PLC programming software (e.g., Delta ISPSoft or WPLSoft). This involves setting up I/O ranges, scaling, and other parameters specific to your application.
6. Maintenance
Regular maintenance ensures the longevity and reliable operation of your module:
- Cleaning: Periodically clean the module's exterior with a soft, dry cloth. Do not use abrasive cleaners or solvents. Ensure no dust or debris accumulates in the ventilation slots.
- Inspection: Regularly inspect wiring connections for looseness or damage. Check for any signs of overheating or unusual odors.
- Environment: Maintain the operating environment within specified temperature and humidity ranges to prevent component degradation.
- Storage: If storing the module, keep it in its original packaging in a dry, cool, and dust-free environment.
7. Troubleshooting
If you encounter issues with your DVP06XA-S2 module, consider the following:
- No Power Indicator: Check the 24Vdc power supply connection and ensure it is within the specified voltage range. Verify the power source is active.
- Error Indicator On: This typically indicates a module fault or communication error. Check the connection to the main PLC and review the PLC's error codes or diagnostic messages.
- Incorrect I/O Readings: Verify wiring for analog inputs/outputs. Ensure sensors/actuators are correctly calibrated and functioning. Check the module's configuration in the PLC program (e.g., input range, scaling).
- Communication Issues: Ensure the module is properly seated in its expansion slot. Check communication settings in the PLC program if applicable.
For complex issues, consult the detailed programming manual for your Delta DVP PLC or contact technical support.
8. Specifications
| Parameter | Value |
|---|---|
| Model | DVP06XA-S2 (DVP Series) |
| Power Input (DVP06AD-S example) | 24Vdc, 2W |
| I/O Range (DVP06AD-S example) | -10V ~ +10V or -20mA ~ +20mA |
| Package Dimensions | 1.18 x 0.79 x 0.39 inches |
| Item Weight | 50 Grams |
| Manufacturer | Delta Electronics (Module) / JOCCOS (Seller) |
| Date First Available | January 13, 2024 |
9. Warranty and Support
For warranty information and technical support, please contact the seller, JOCCOS, or refer to the official Delta Electronics support channels. You can find more information regarding Delta's repair services via their official website:
Delta Industrial Automation Repair Service
Please have your module's serial number and purchase details ready when contacting support.


