1. Introduction
This manual provides detailed instructions for the assembly, installation, and maintenance of your MECHANIC MASTER C34Pro Compact Desktop PC Case. Designed for enthusiasts, the C34Pro offers modular flexibility and superior compatibility within a compact form factor. Please read these instructions carefully before beginning installation to ensure optimal performance and longevity of your system.
2. Key Features
- Modular Flexibility: Supports ATX/E-ATX motherboards, MATX expansion via PCIe slot adjustments.
- Superior Compatibility: Fits 360mm radiators, 165mm tower coolers, 420mm GPUs, and 220mm ATX PSUs for flagship components.
- Efficient Thermal Design: Multi-zone fan mounts (top/bottom/front) with dust filters and optimized airflow ensure stable cooling under heavy loads.
- Robust Build & Details: 2mm aluminum shell + 1mm steel frame, 18mm cable management space, and magnetic screwdriver kit for easy assembly.
3. Technical Specifications
| Feature | Specification |
|---|---|
| Brand | MECHANIC MASTER |
| Model Name | C34pro |
| Item Weight | 13.86 pounds (6.3 Kilograms) |
| Product Dimensions (LxWxH) | 16.9 x 8 x 15.8 inches |
| Motherboard Compatibility | ATX, E-ATX (27cm Width), Micro ATX |
| GPU Compatibility | Up to 420mm length |
| CPU Cooler Height | Up to 165mm (Air), 360mm (AIO) |
| Power Supply Type | ATX (up to 220mm) |
| Material | Alloy Steel, Aluminum, Tempered Glass |
| USB 3.0 Ports | 2 |
4. Installation Guide
The C34Pro case features a modular design for flexible component installation. Take your time during assembly and refer to these steps for guidance.
4.1 Case Disassembly and Modular Design
The C34Pro features a multi-faceted detachable design, allowing for extensive customization and easy access to internal components. Panels can be removed to facilitate installation.
Exploded view of the C34Pro case, illustrating its modular components for easy assembly and customization.
4.2 Motherboard Installation
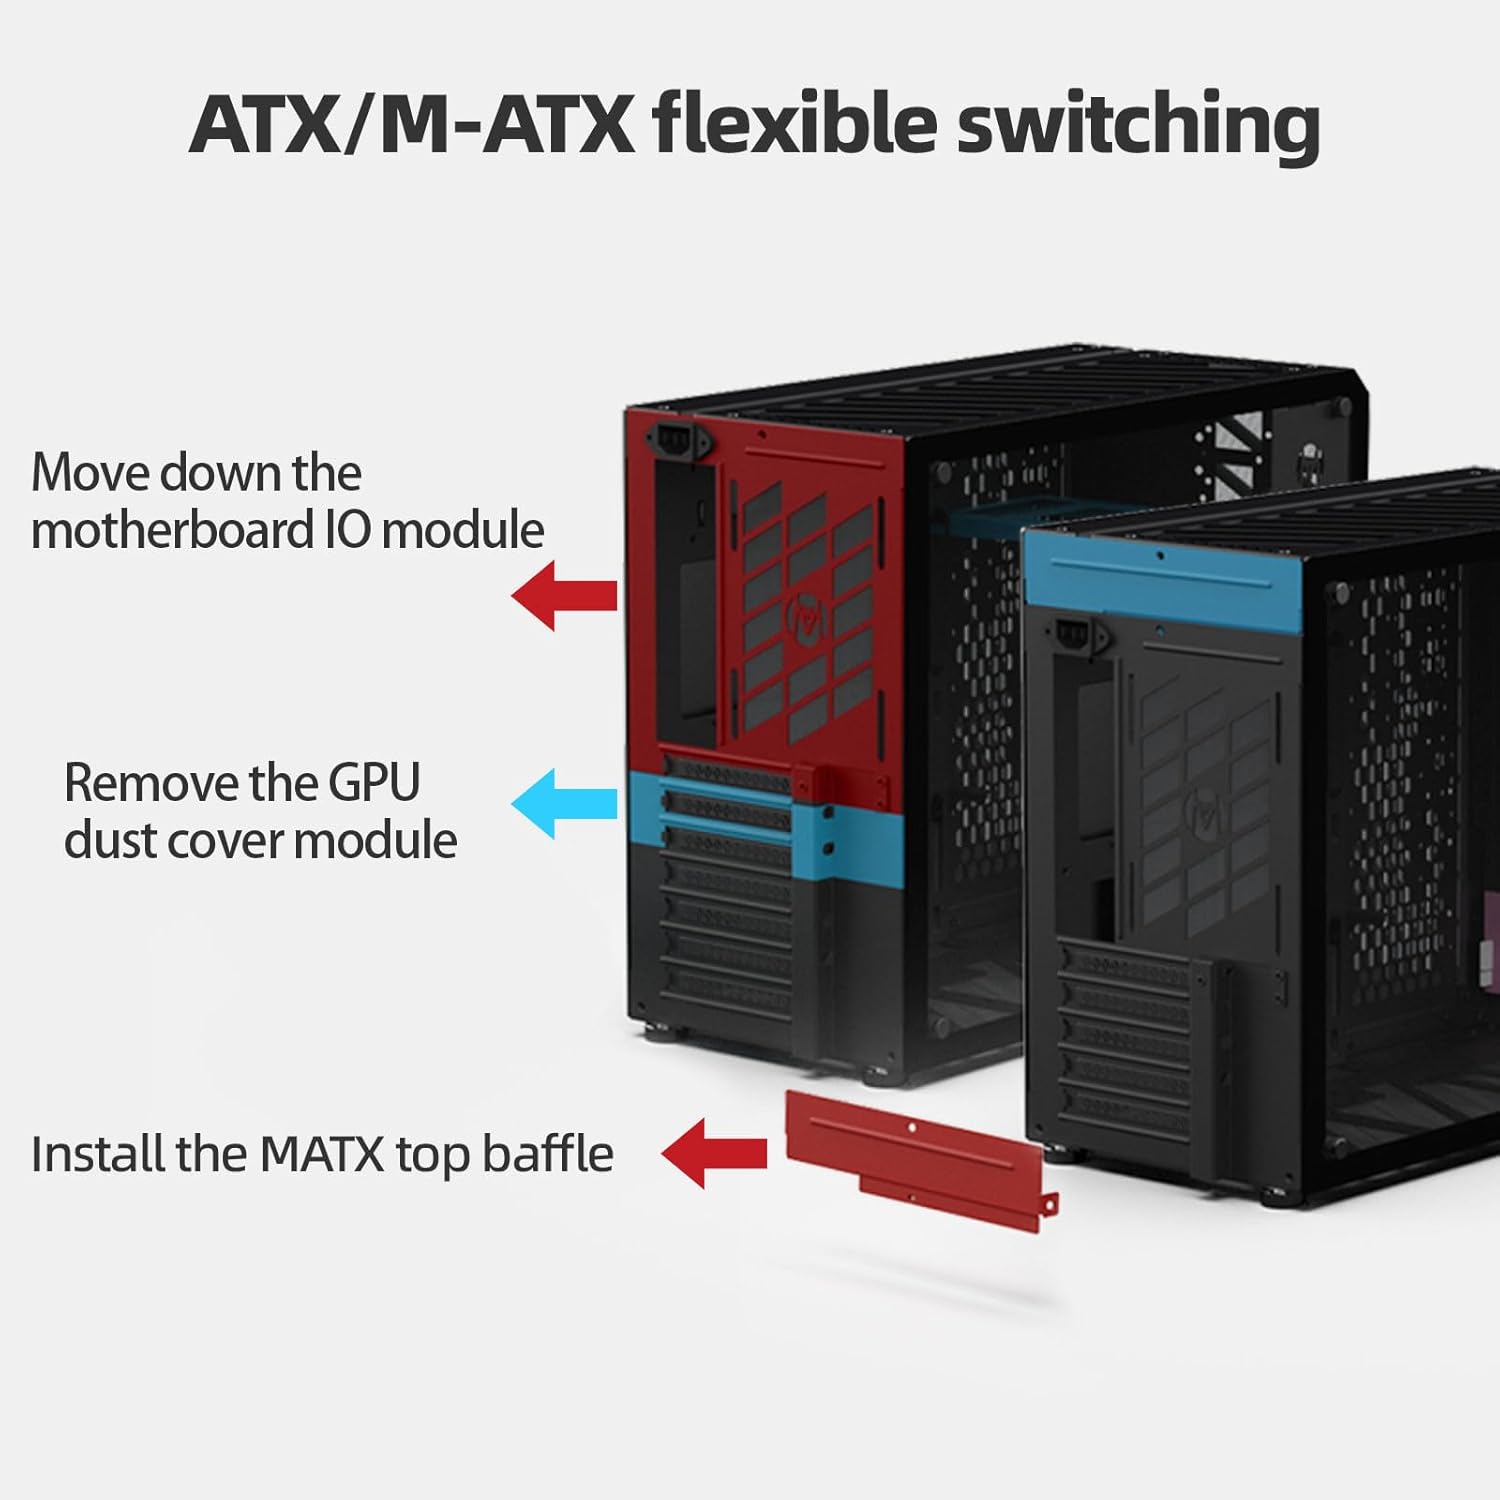
The C34Pro supports ATX, E-ATX (up to 27cm width), and Micro ATX motherboards. For MATX expansion, PCIe slot adjustments are available. Ensure proper standoffs are installed before mounting the motherboard.

Diagram showing the flexible switching mechanism for ATX and M-ATX motherboard configurations, including adjustments for PCIe slots.
4.3 Power Supply Unit (PSU) Installation
The case supports ATX PSUs up to 220mm in length. The PSU is typically mounted in the front of the case. Ensure all cables are routed efficiently after installation.
4.4 Graphics Processing Unit (GPU) Installation
The C34Pro offers excellent GPU compatibility, supporting cards up to 420mm in length. Install your GPU into the appropriate PCIe slot on your motherboard.
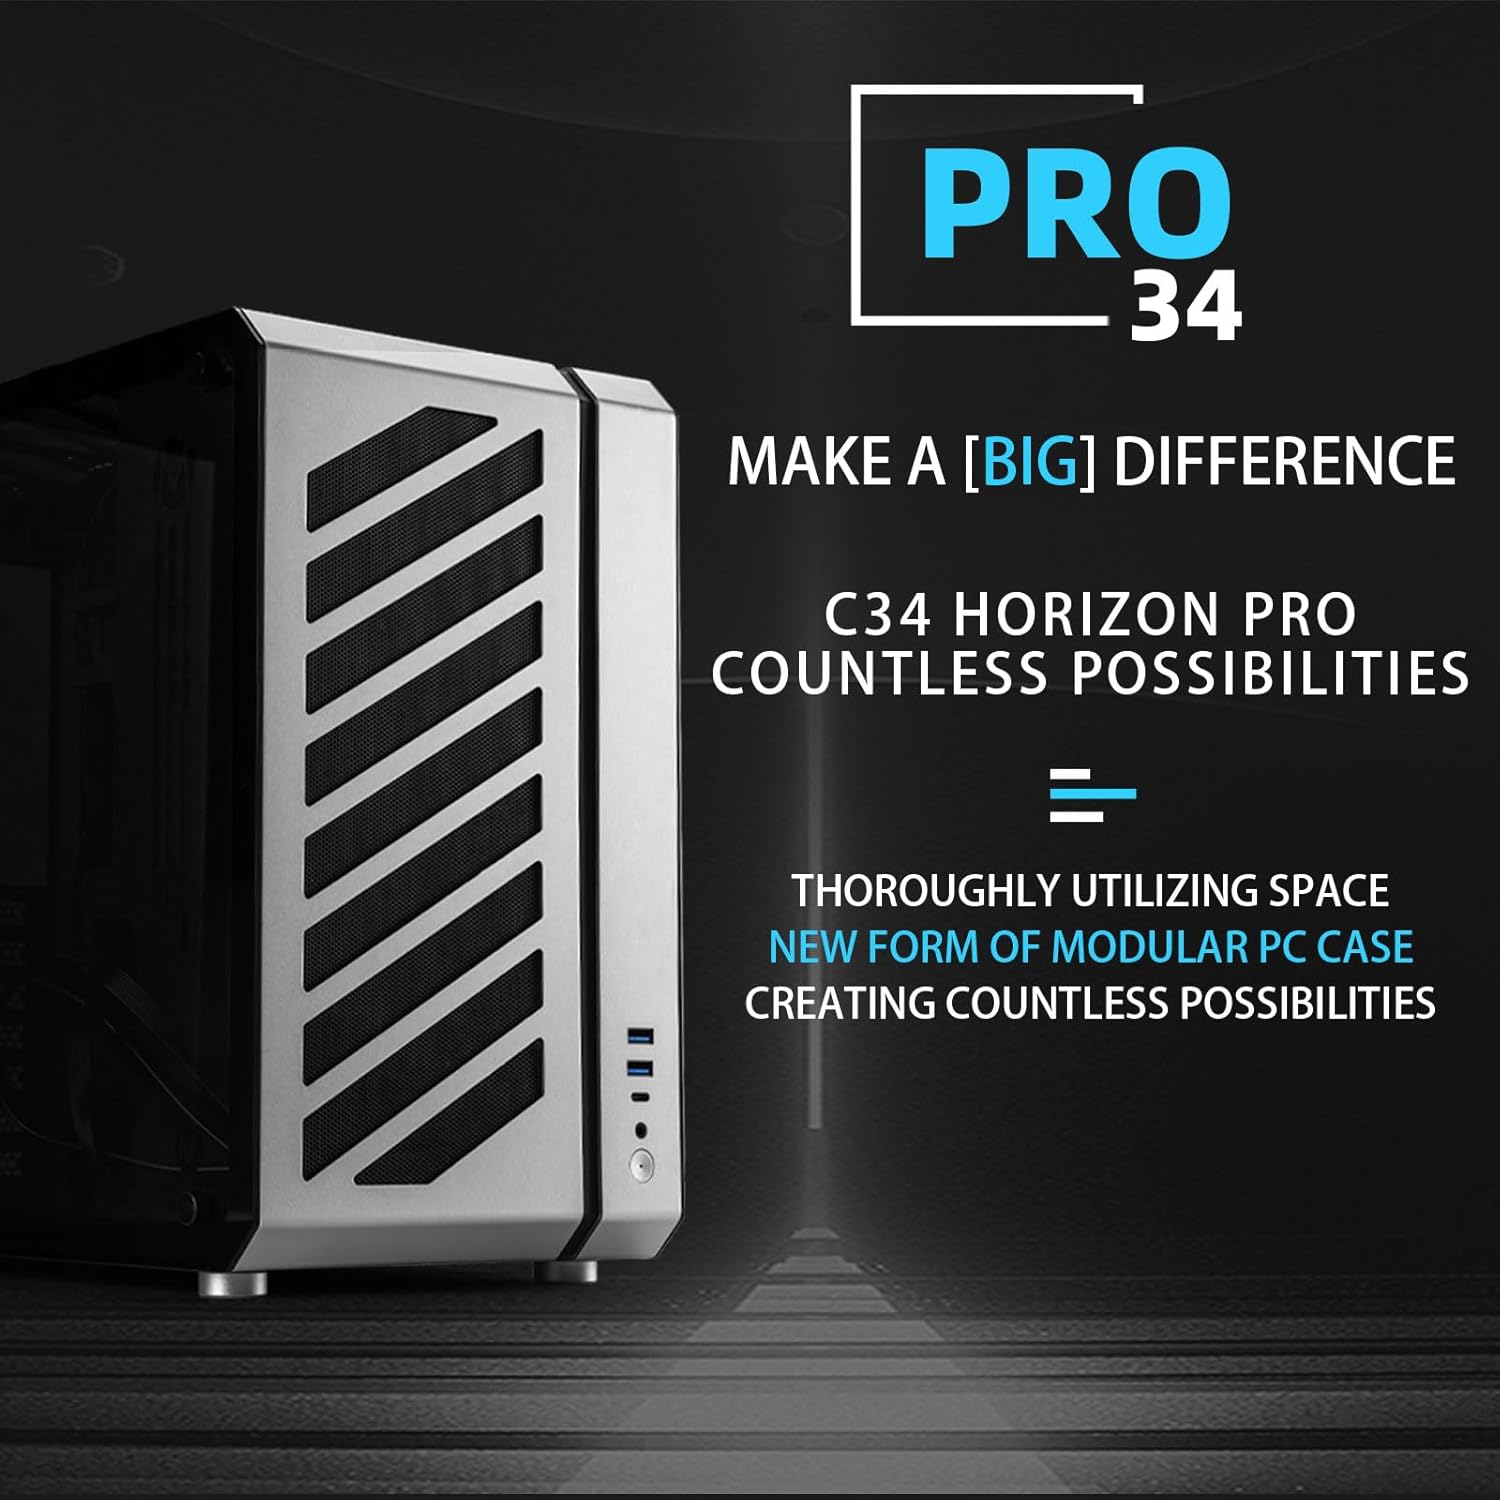
Image illustrating the maximum graphics card length supported by the C34Pro case, ensuring compatibility with high-performance GPUs.
4.5 Cooling System Setup
The case supports 360mm radiators and tower coolers up to 165mm. Utilize the multi-zone fan mounts (top, bottom, front) for optimal airflow. Dust filters are included to maintain system cleanliness.

Diagram illustrating the optimized airflow path within the C34Pro case, with bottom-in and top-out ventilation for efficient cooling.
Internal view of the C34Pro case demonstrating support for a 360mm All-in-One liquid cooler, showcasing radiator and fan placement.
4.6 Storage Drive Installation
The C34Pro provides mounting options for both 2.5-inch and 3.5-inch storage drives. Refer to the case's internal layout for specific drive bay locations and installation methods.
4.7 Cable Management
Utilize the 18mm cable management space behind the motherboard tray to route and organize your cables. This helps improve airflow and maintain a clean aesthetic.
4.8 Attaching the Carry Handle
The included carry handle can be attached to the top of the case for enhanced portability. Secure it using the provided screws and magnetic screwdriver.

The Mechanic Master C34Pro case shown with its detachable carry handle, emphasizing portability.
5. Operation
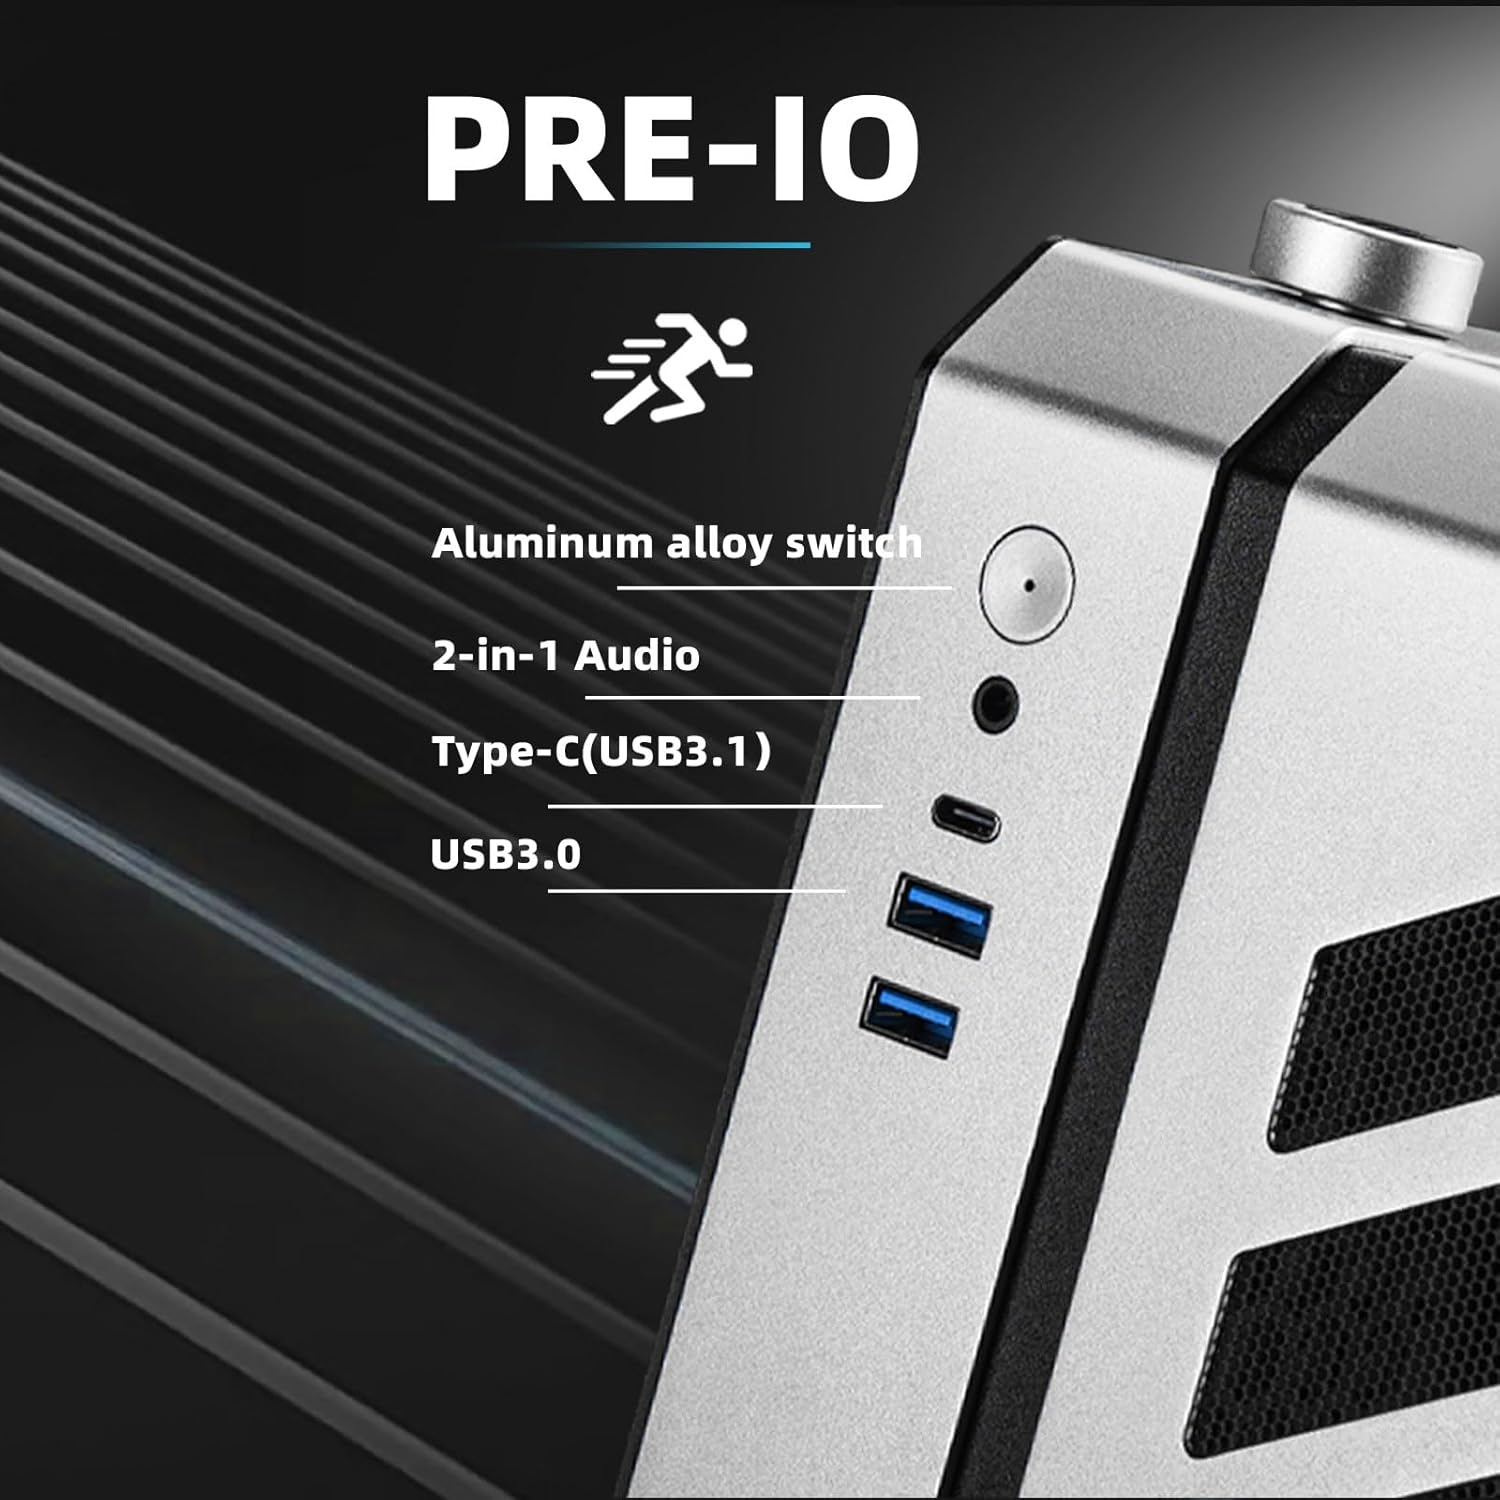
Once all components are installed and secured, connect your peripherals and power cable. Press the power button on the front I/O panel to start your system. Monitor system temperatures and fan speeds to ensure stable operation.
6. Maintenance
- Dust Filters: Regularly clean the dust filters located on the fan mounts to maintain optimal airflow and prevent dust buildup inside the case.
- Exterior Cleaning: Use a soft, damp cloth to clean the exterior surfaces of the case. Avoid abrasive cleaners that may damage the finish.
- Internal Inspection: Periodically inspect internal components for dust accumulation and ensure all connections remain secure.
7. Troubleshooting
- Installation Difficulty: The modular design may require patience. Refer to the relevant sections of this manual or online video guides for detailed steps.
- Missing Parts: If any parts, such as screws for the carry handle, are missing upon arrival, please contact customer support for assistance.
- Cooling Issues: Ensure all fans are correctly installed and oriented for proper airflow. Verify that dust filters are clean and not obstructing air intake/exhaust.
8. Warranty and Customer Support
For warranty information, technical support, or any inquiries regarding your MECHANIC MASTER C34Pro case, please refer to the official MECHANIC MASTER website or contact their customer service directly. Keep your proof of purchase for warranty claims.


