1. Introduction
The EPOMAKER x LEOBOG Hi75 is an aluminum alloy wired mechanical keyboard barebones kit designed for customization and high performance. It features a 75% layout with 81 keys, a gasket-mounted structure for enhanced typing feel, and a programmable mode-switching knob. This kit allows users to personalize their typing experience by choosing and installing their preferred switches and keycaps.
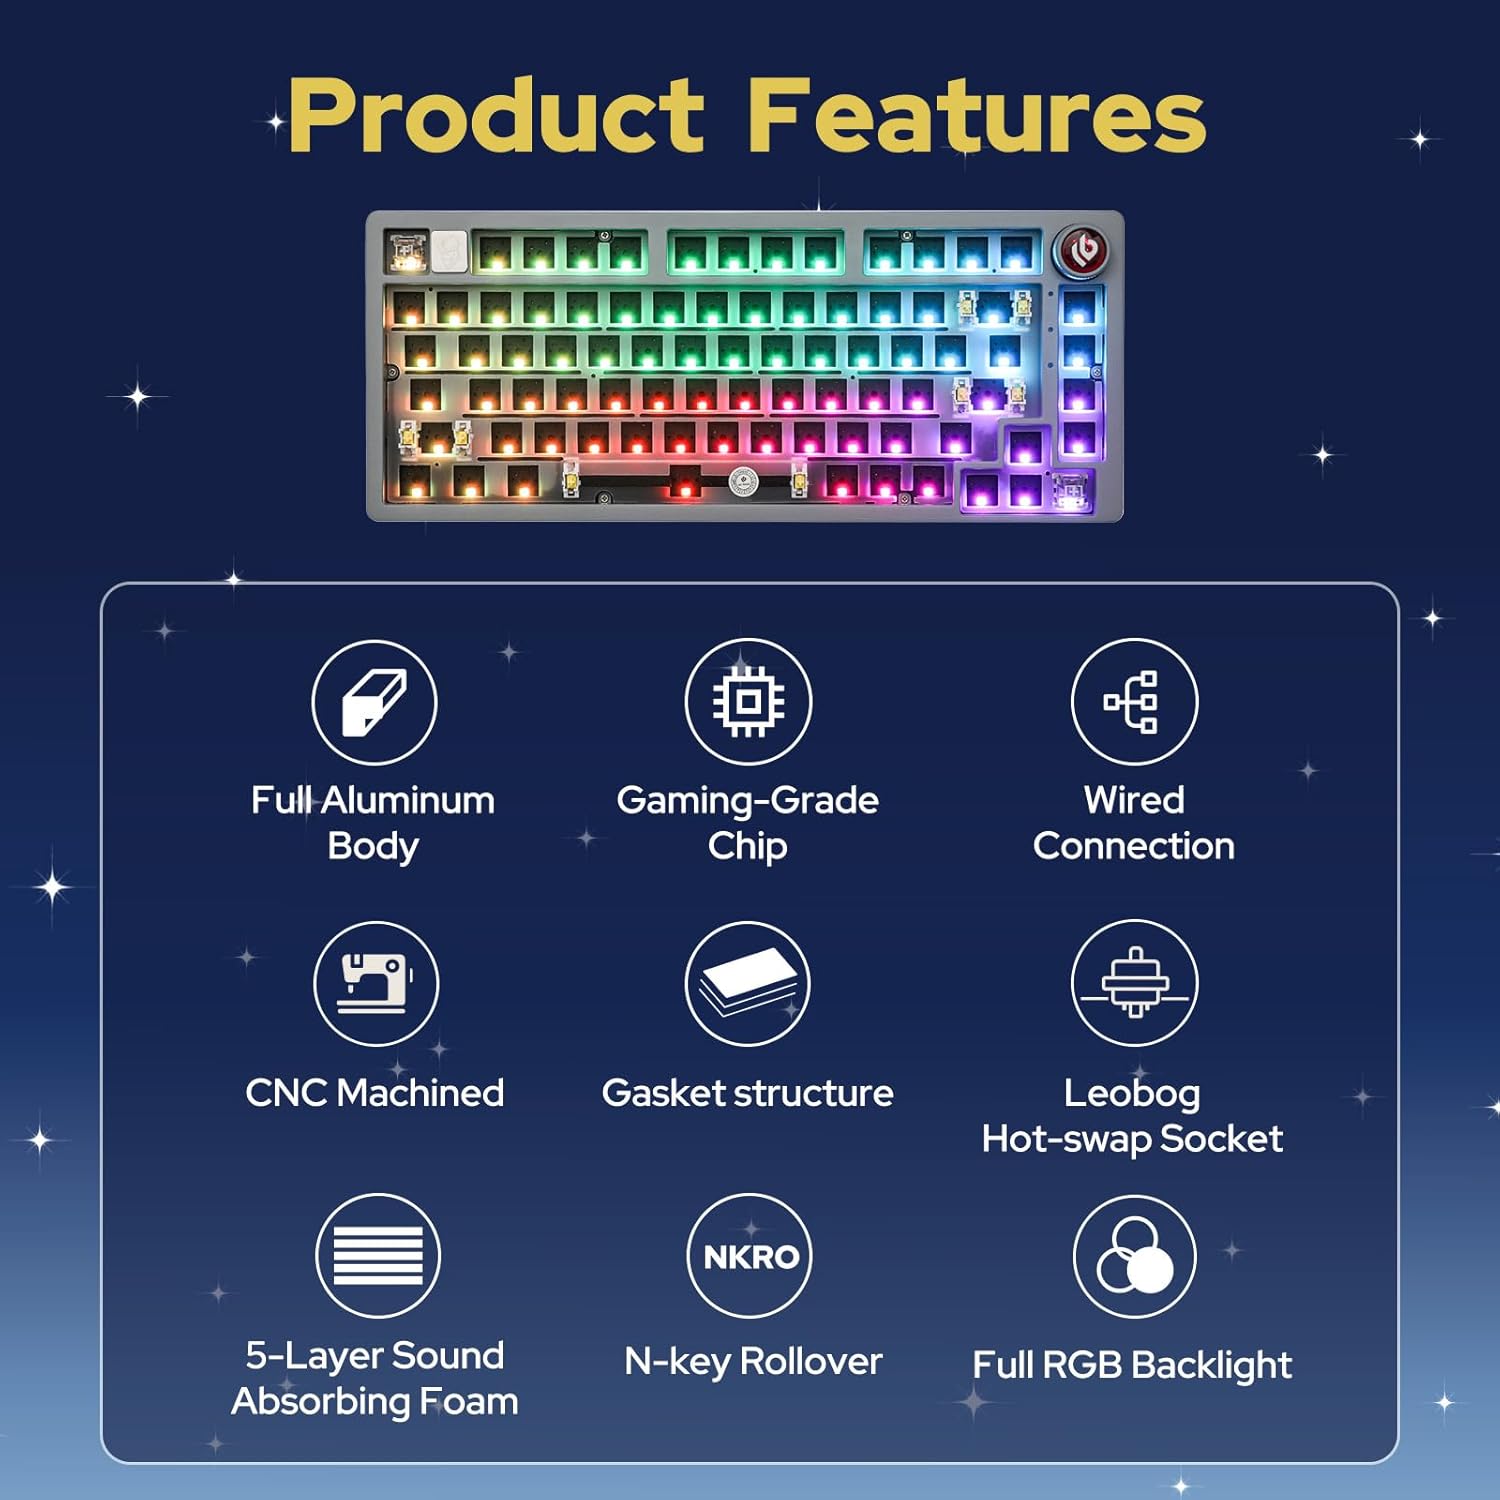
Key Features:
- Aluminum Alloy Build: Durable and premium chassis.
- 75% Layout: Compact yet functional with 81 keys.
- Gasket-Mounted Structure: Minimizes cavity sound and enhances typing feel.
- Mode-Switching Knob: Intuitive control for work/gaming modes, volume, and lighting.
- Full Key Hot-Swap Capability: Compatible with most 3/5-pin switches for easy customization.
- Advanced Gaming-Grade Chip: Ensures rapid and responsive keystroke registration.
- RGB Backlighting: Equipped with approximately 16 million colors, 17 lighting modes, and 10 music rhythm lighting effects.
- Wired Connectivity: Reliable USB-C connection.
2. Setup and Assembly
This section guides you through the initial setup and assembly of your Hi75 barebones keyboard kit.
2.1 Package Contents
- EPOMAKER x LEOBOG Hi75 Barebones Keyboard Kit
- USB-C Cable
- Keycap Puller
- Switch Puller
- User Manual
- Additional Keycaps (e.g., for Mac compatibility)
- Additional Switches (sample)

2.2 Installing Switches
- Align the pins of your chosen 3-pin or 5-pin mechanical switch with the hot-swap socket on the PCB.
- Gently press the switch down until it clicks into place. Ensure the pins are straight to avoid bending.
- Repeat for all desired keys.

Note: Use caution when inserting switches to prevent bending the pins. If a switch is not registering, remove it and check for bent pins.
2.3 Installing Keycaps
- Place your desired keycap over the installed switch stem.
- Press down firmly until the keycap is securely attached.
- Repeat for all keys.
Video 1: Demonstration of installing keycaps on a mechanical keyboard. This process is similar for the Hi75 kit.
2.4 Connecting the Keyboard
The Hi75 supports wired connectivity via USB-C.
- Connect the provided USB-C cable to the port on the keyboard.
- Connect the other end of the cable to an available USB port on your computer.
- The keyboard should be automatically recognized by your operating system.

Video 2: Unboxing and initial setup of the HI75 Gaming Keyboard Kit by EPOMAKER.
3. Operating Instructions
3.1 Mode-Switching Knob
The innovative knob on the Hi75 allows for quick transitions between different modes and controls:
- Short Press: Mute/unmute the device.
- Rotate Clockwise: Increase volume or adjust lighting/mode settings.
- Rotate Counter-clockwise: Decrease volume or adjust lighting/mode settings.
- Mode Switching: Pressing the knob can switch between Work Mode (constant RGB glow) and Gaming Mode (dynamic RGB flashing).

3.2 RGB Backlighting
The Hi75 features full RGB backlighting with multiple effects. Use the knob or specific key combinations (refer to the included manual for detailed shortcuts) to cycle through 17 lighting modes and 10 music rhythm lighting effects.

3.3 OLED Screen Customization
The integrated OLED screen can display various information such as date, battery level, time, connection mode, keyboard system, pictures, or GIFs. Refer to the included manual for specific key combinations to navigate and customize the OLED screen content.
Video 3: A demonstration of a 75% keyboard kit with a custom screen, similar to the OLED screen functionality on the Hi75.
3.4 Software Customization
The Hi75 supports proprietary software for advanced customization of key assignments, macros, and lighting effects. This software is typically available for Windows operating systems. Please visit the official EPOMAKER website for software downloads and instructions.

4. Maintenance
Proper maintenance ensures the longevity and optimal performance of your keyboard.
4.1 Cleaning
- Keycaps: Use the provided keycap puller to remove keycaps. Clean them with a mild soap solution and a soft cloth, then air dry completely before reattaching.
- Switches: Use compressed air to remove dust and debris from around the switches. Avoid spraying directly into the switch mechanism.
- Case: Wipe the aluminum alloy case with a soft, damp cloth. Avoid abrasive cleaners that could damage the finish.
4.2 Storage
When not in use, store the keyboard in a dry, dust-free environment. The included dust cover can help protect the keyboard from dust accumulation.
5. Troubleshooting
If you encounter any issues with your Hi75 keyboard, refer to the following common solutions:
- Keyboard not recognized:
- Ensure the USB-C cable is securely connected to both the keyboard and the computer.
- Try a different USB port on your computer.
- Test with a different USB-C cable if available.
- Keys not responding:
- Remove the keycap and switch for the non-responsive key.
- Check if the switch pins are bent. Gently straighten them with tweezers if necessary.
- Reinsert the switch firmly. If the issue persists, try replacing the switch with a spare.
- Ensure the keyboard is in the correct operating mode (e.g., Windows mode if using a Windows PC). Refer to the manual for mode switching shortcuts (e.g., Fn + W for Windows mode).
- RGB lighting issues:
- Check the keyboard's manual for RGB lighting control shortcuts.
- Ensure the keyboard software is installed and updated for advanced lighting customization.
6. Specifications
| Product Dimensions | 12.99 x 5.51 x 1.77 inches |
| Item Weight | 2.86 pounds |
| Manufacturer | EPOMAKER |
| Item Model Number | Hi75 |
| Connectivity Technology | USB-C |
| Keyboard Description | Gaming |
| Special Features | Backlit, Gasket-mounted, Hot-Swappable, NKRO, Wired |
| Keyboard Backlighting | RGB |
| Compatible Devices | PC |
7. Warranty and Support
For detailed warranty information and technical support, please refer to the official EPOMAKER website or contact their customer service directly. Keep your proof of purchase for warranty claims.
- Official Website: www.epomaker.com
- Customer Service: Refer to the website for contact details.


