HUIOP SL688 Desktop Laminator Machine
User Manual
1. Introduction and Product Overview
Thank you for choosing the HUIOP SL688 Desktop Laminator Machine. This multifunctional device is designed for both hot and cold lamination, featuring a 2-roller system for efficient and smooth results. It supports documents up to A4 size (9 inches max width) and comes with a comprehensive set of accessories including a paper cutter, trimmer, corner rounder, hole puncher, and binding rings, making it ideal for home, office, or school use.
Please read this manual thoroughly before operating the machine to ensure proper use, optimal performance, and safety.

Image 1.1: The HUIOP SL688 Laminator Machine shown with its complete set of accessories, including the paper cutter, corner rounder, hole puncher, and binding rings.
2. Safety Instructions
- Always place the laminator on a stable, flat, and heat-resistant surface.
- Do not operate the machine with wet hands or near water.
- Keep children and pets away from the laminator during operation.
- Ensure proper ventilation around the machine.
- Unplug the laminator from the power outlet when not in use or before cleaning.
- Do not insert objects other than laminating pouches into the machine's entry slot.
- If the machine emits smoke, unusual odors, or makes strange noises, immediately unplug it and contact support.
- Do not attempt to disassemble or repair the laminator yourself.
3. Product Features
- Hot and Cold Lamination: Versatile for various document types and pouch requirements.
- 2-Roller System: Ensures smooth, bubble-free lamination.
- Fast Warm-up: Heats up quickly for efficient use.
- Wide Entry: Accommodates documents up to 9 inches (A4 size).
- ABS Anti-Jam Button: For easy removal of misfed or jammed pouches.
- Comprehensive Accessory Kit: Includes paper trimmer, corner rounder, single hole puncher, and binding rings.
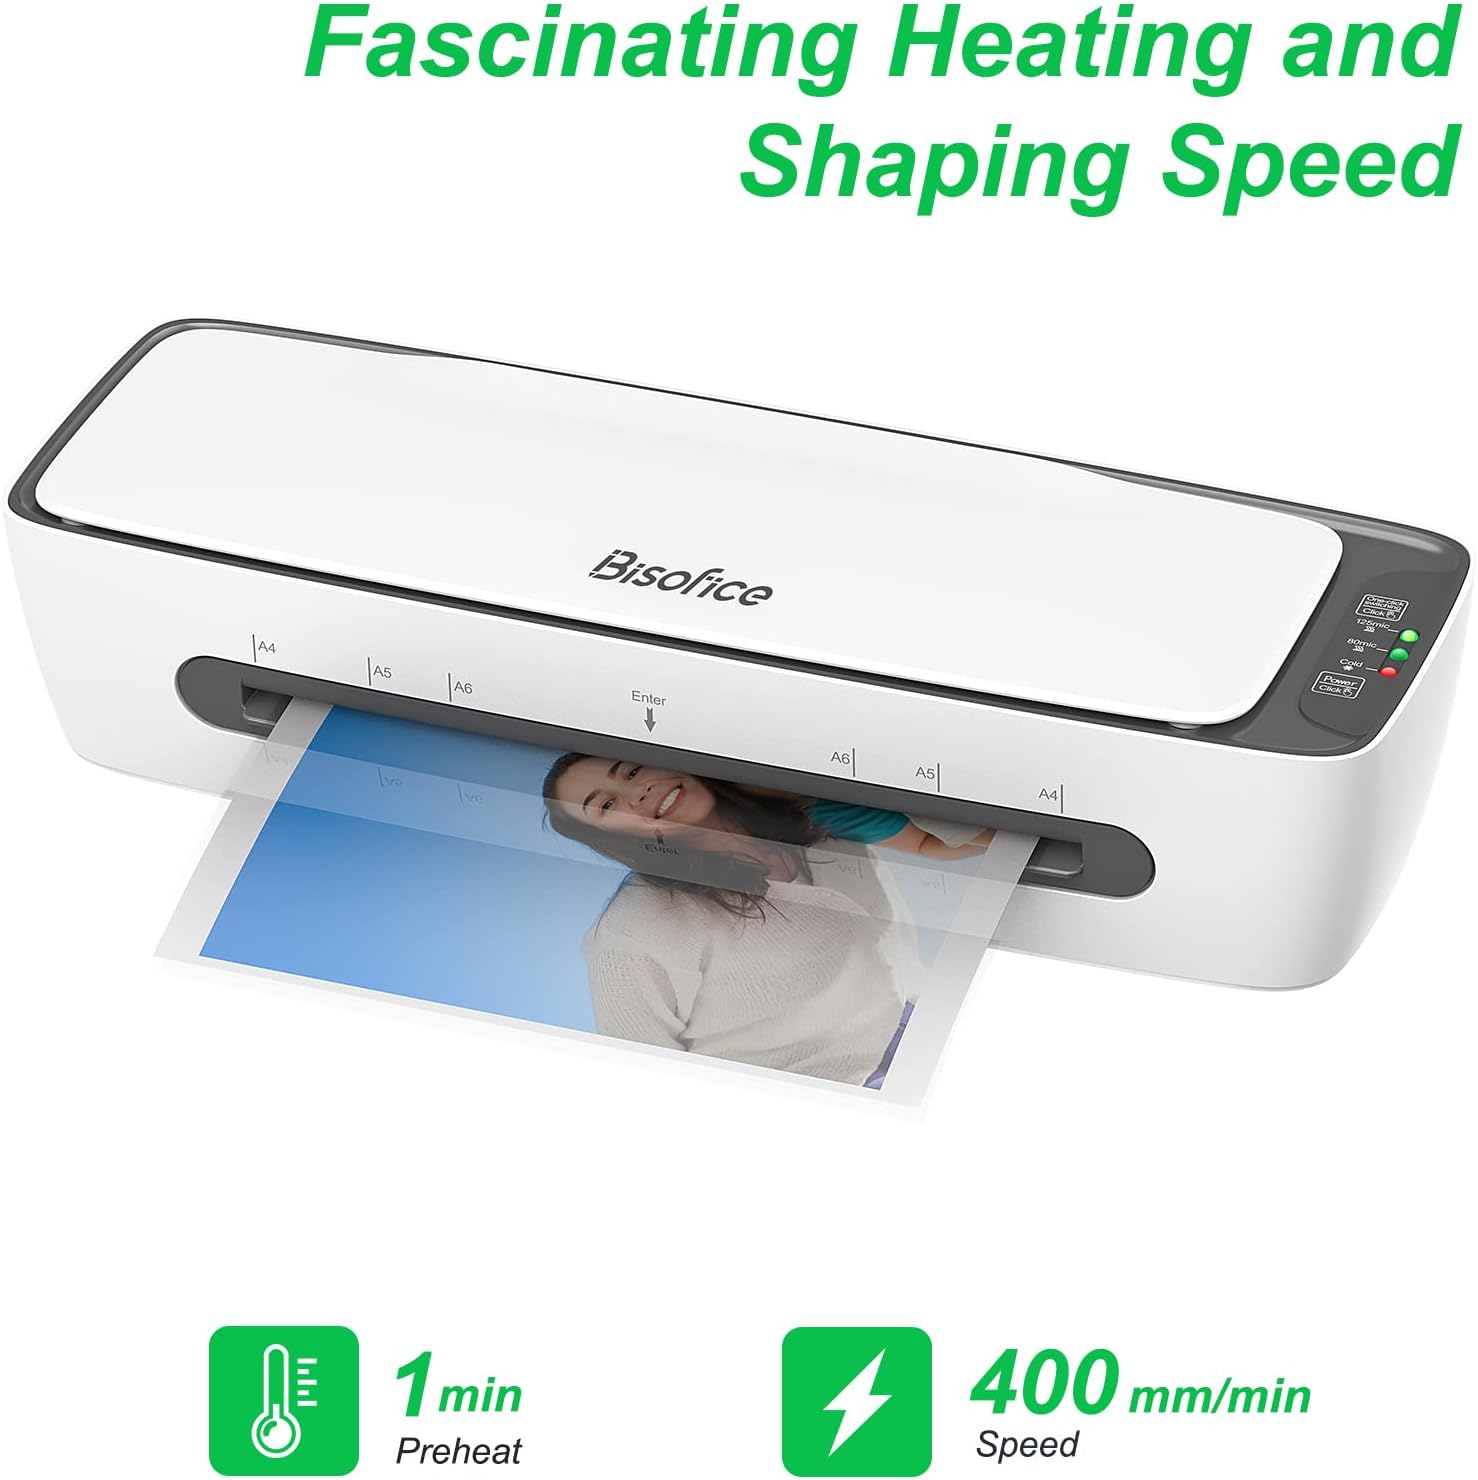
Image 3.1: The laminator's quick preheat time of 1 minute and lamination speed of 400 mm/min, highlighting its efficiency.
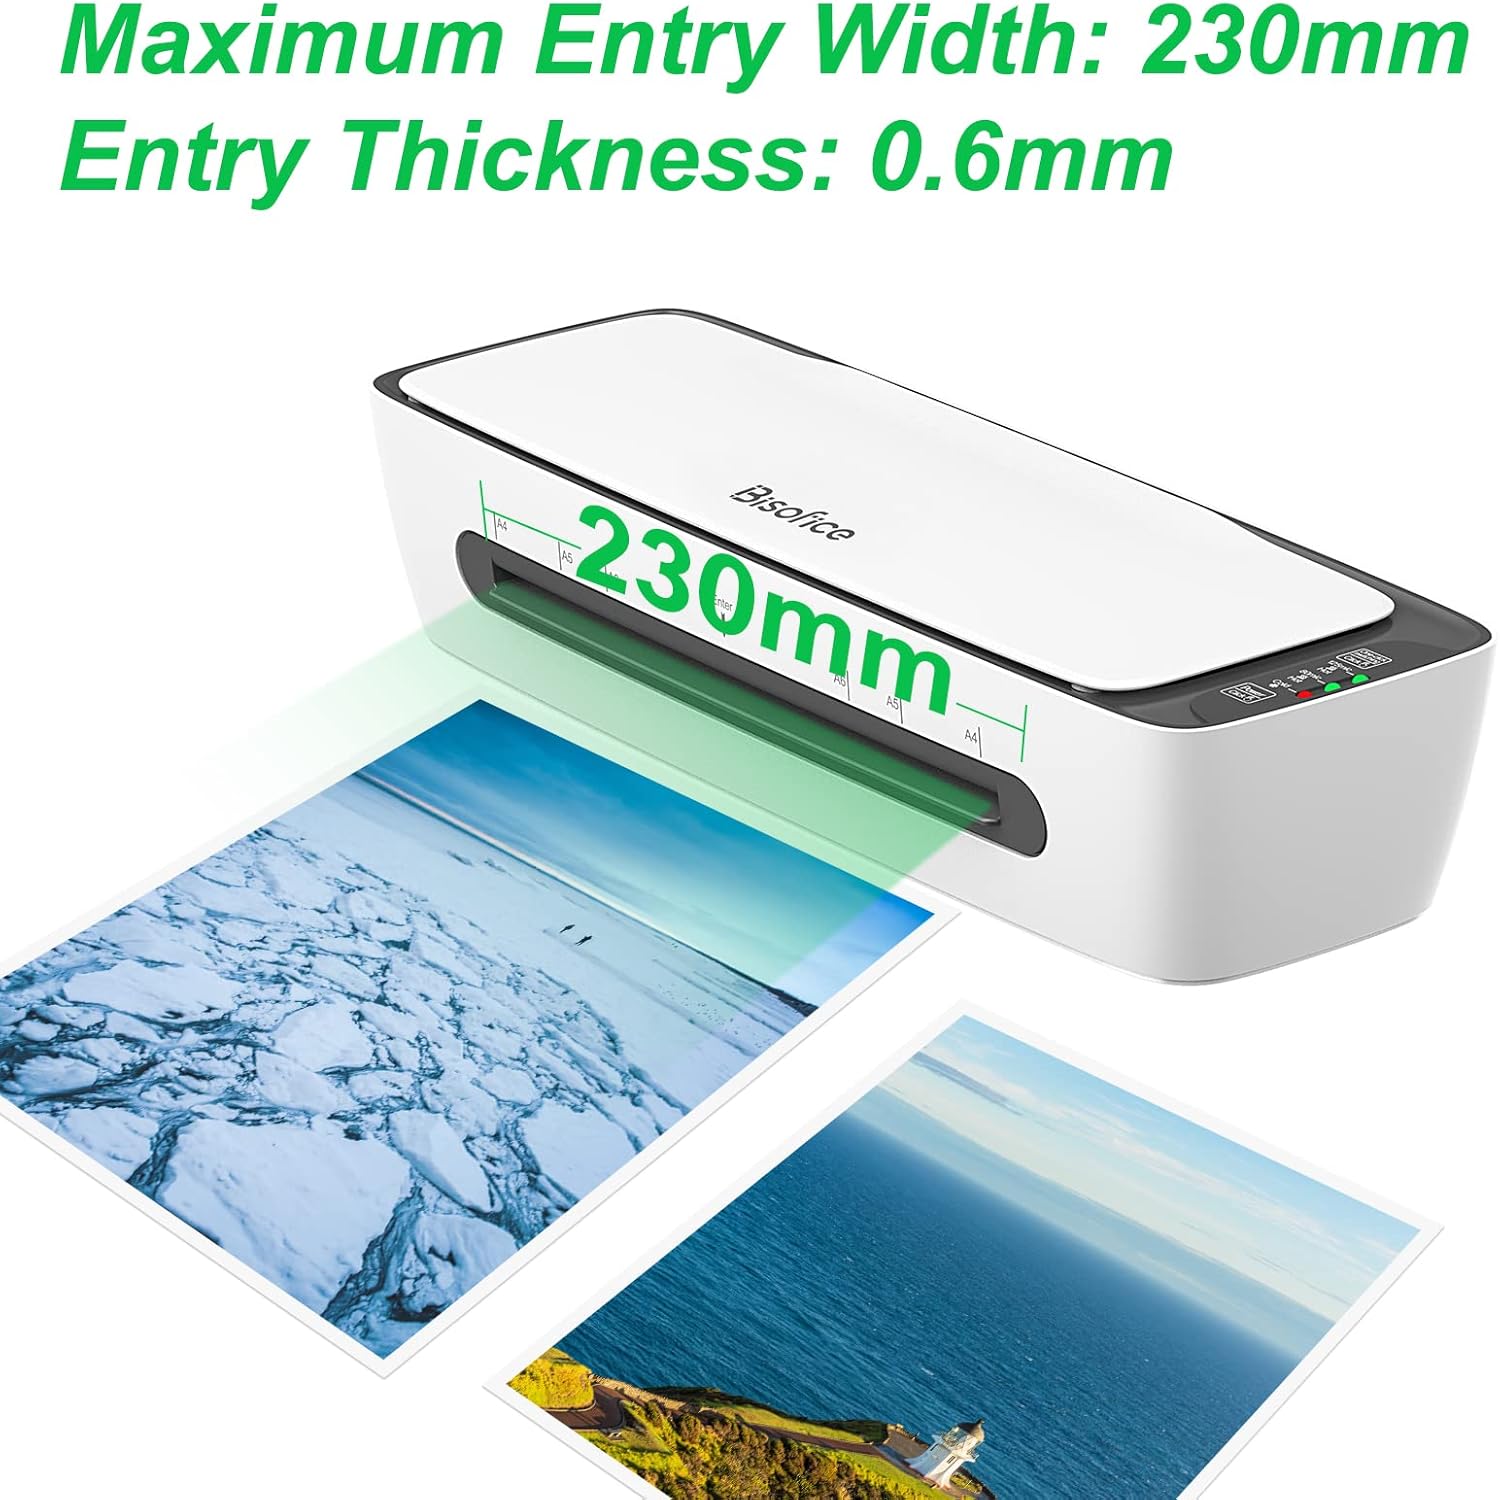
Image 3.2: Illustration of the laminator's maximum entry width of 230mm and maximum entry thickness of 0.6mm, accommodating various document sizes.
4. Setup
- Unpack: Carefully remove the laminator and all accessories from the packaging.
- Placement: Place the laminator on a flat, stable, and clean surface, ensuring adequate space around it for ventilation and document feeding.
- Power Connection: Plug the power cord into a standard electrical outlet.
- Initial Check: Ensure the entry and exit slots are clear of any obstructions.
5. Operating Instructions
5.1. Powering On and Warm-up
- Plug the laminator into a power outlet.
- Press the power button. The indicator light will illuminate, typically red, indicating the machine is warming up.
- Wait for the indicator light to turn green (or as specified by the machine's indicators) to signal that the laminator has reached the optimal operating temperature. This usually takes about 1 minute.
5.2. Hot Lamination
- Ensure the laminator is fully warmed up (green indicator light).
- Place your document inside a laminating pouch, ensuring it is centered and there is an even border around the document.
- Insert the sealed edge of the laminating pouch into the laminator's entry slot. Feed it straight and gently.
- The machine will automatically pull the pouch through. Do not pull or push the pouch during the lamination process.
- Once the pouch exits the machine, place it on a flat surface to cool and flatten.
5.3. Cold Lamination
- For cold lamination, ensure you are using self-adhesive cold laminating pouches.
- There is no need to wait for warm-up. Simply select the "Cold" setting if available, or proceed directly if the machine automatically detects cold pouches.
- Prepare your document in the cold laminating pouch as per the pouch manufacturer's instructions.
- Feed the pouch into the laminator's entry slot.
- Allow the machine to process the pouch.
5.4. Using the ABS Anti-Jam Button
In case of a misfeed or jam, immediately press and hold the ABS (Anti-Blocking System) button. This will release the rollers, allowing you to gently pull out the jammed pouch. Release the button once the pouch is clear.

Image 5.4.1: The ABS button on the laminator, used to release jammed pouches.
5.5. Using Included Accessories
- Paper Cutter/Trimmer: Use the integrated or separate paper cutter to trim documents or laminated pouches to desired sizes. Ensure the document is placed firmly against the guide for a straight cut.
- Corner Rounder: After lamination, use the corner rounder to create smooth, rounded corners on your documents, preventing sharp edges. Insert the corner of the laminated document into the slot and press down.
- Single Hole Puncher: Use the single hole puncher to create precise holes for binding. Align the puncher where you want the hole and press down.
- Binding Rings: After punching holes, use the binding rings to organize multiple laminated documents into a booklet or presentation. Open the rings, insert them through the holes, and close them securely.

Image 5.5.1: Close-up view of the paper cutter/trimmer, showing its measurement guides and cutting mechanism.

Image 5.5.2: Demonstration of the corner rounder punch, showing how it transforms sharp corners into smooth, rounded ones.

Image 5.5.3: The single hole puncher creating a 6mm diameter hole in a document.

Image 5.5.4: A set of metal binding rings, demonstrating their use for organizing punched documents.
6. Maintenance
- Cleaning: Ensure the laminator is unplugged and completely cool before cleaning. Use a soft, dry cloth to wipe the exterior. For stubborn marks, a slightly damp cloth can be used, but ensure no moisture enters the machine.
- Roller Cleaning: Periodically run a laminator cleaning sheet (not included) through the machine to remove any adhesive residue from the rollers.
- Storage: Store the laminator in a cool, dry place away from direct sunlight and extreme temperatures.
- Accessory Care: Keep the paper cutter, corner rounder, and hole puncher clean and free of paper debris.
7. Troubleshooting
| Problem | Possible Cause | Solution |
|---|---|---|
| Laminator not turning on. | No power supply. | Check if the power cord is securely plugged into the machine and the outlet. Test the outlet with another device. |
| Pouch is jammed. | Misfed pouch, pouch too thick, or document too large. | Press and hold the ABS button to release the rollers and gently pull out the pouch. Ensure pouches are inserted straight and are within thickness/size limits. |
| Lamination is cloudy or bubbly. | Insufficient heat (for hot lamination) or incorrect pouch thickness. | Ensure the machine is fully warmed up. Use the correct pouch thickness for your application. For hot lamination, ensure the hot mode is selected. |
| Lamination is wavy or wrinkled. | Pouch inserted unevenly or machine not fully warmed up. | Always insert the sealed edge of the pouch straight into the entry slot. Allow adequate warm-up time. |
8. Specifications
| Feature | Detail |
|---|---|
| Model | SL688 |
| Brand | HUIOP |
| Lamination Type | Hot & Cold |
| Roller System | 2-Roller |
| Max Entry Width | 9 inches (230mm) |
| Max Entry Thickness | 0.6mm |
| Min Pouch Thickness | 160 (2x80) micron |
| Max Pouch Thickness | 250 (2x125) micron |
| Warm-up Time | Approx. 1 minute |
| Lamination Speed | 400 mm/min |
| Product Dimensions | 16.54 x 6.69 x 4.33 inches |
| Manufacturer Part Number | MMOS6516US-MBM111 |

Image 8.1: Detailed specifications for minimum and maximum pouch thickness, and supported pouch sizes (Credit Card to A4).
9. Warranty and Support
For warranty information and technical support, please refer to the contact details provided with your purchase or visit the official HUIOP website. Keep your purchase receipt as proof of purchase for warranty claims.