1. Introduction
Thank you for choosing the CNBINGO 2-Gang Touch Switch and Schuko Socket. This manual provides essential information for the safe installation, operation, and maintenance of your new electrical device. Please read these instructions carefully before installation and retain them for future reference.
2. Product Overview
The CNBINGO 2-Gang Touch Switch and Schuko Socket is a modern electrical wall unit featuring two touch-sensitive light switches and one standard European (Schuko) power socket. It is designed with a durable tempered glass panel and includes an LED status indicator for convenience.
Key Features:
- Integrated Functionality: Combines two 1-way touch light switches and one AC 16A 250V Schuko socket.
- Claw Mounting: Designed for secure installation in standard wall boxes using either claws or screws.
- Flexible Wiring: Supports two wiring methods, with or without a neutral conductor, to suit various electrical setups.
- LED Status Indicator: Each switch button features a subtle backlight, indicating on/off status and aiding visibility in low light.
- Enhanced Safety: Constructed with a 4mm thick tempered glass panel and a fire-retardant PC base, incorporating child protection features.

Image: Front view of the CNBINGO 2-Gang Touch Switch and Schuko Socket in black, showcasing the two touch circles and the integrated Schuko socket.
3. Safety Information
WARNING: Electrical installation should only be performed by a qualified electrician. Always turn off the main power supply at the circuit breaker before beginning any electrical work.
- This device is a 1-way touch switch. It is not a changeover switch, a dimmer switch, or a smart switch with WLAN connectivity.
- It is not compatible with smart home systems like Alexa or Google Home.
- Ensure the power supply is completely disconnected before installation or maintenance.
- Do not exceed the specified voltage and amperage ratings (AC 250V, 16A).
- The product features a fire-retardant PC base and child protection for the socket.

Image: Visual warnings indicating that the product is not WLAN-enabled, not a dimmer, requires power off before installation, and is not a changeover switch.
4. Specifications
| Feature | Specification |
|---|---|
| Model Number | CNBINGO |
| Dimensions (L x W x H) | 15.7 cm x 8.6 cm x 3.6 cm |
| Weight | 320 grams |
| Voltage | 250 Volts (AC) |
| Amperage | 16 A |
| Material | Tempered Glass Panel, Fire-retardant PC Base |
| Connector Type | Touch |
| Mounting Depth | Minimum 35 mm |

Image: Diagram illustrating the product dimensions (157mm x 86mm) and the required minimum wall box depth of 35mm for installation.
5. Installation
5.1 Pre-Installation Checks
- Ensure the main power supply to the installation area is switched off at the circuit breaker.
- Verify that the wall box has a minimum depth of 35mm and a diameter of 60mm.
- Confirm you have the necessary tools: screwdriver, wire strippers, and a voltage tester.
5.2 Mounting
The device can be mounted using either claws or screws, depending on your wall box type. The quick-connect wiring terminals simplify the process.
- Carefully remove the glass panel to access the mounting frame and wiring terminals.
- Connect the wires as described in the 'Wiring Methods' section.
- Insert the device into the wall box. Secure it using the integrated claws or by screwing it into the wall box.
- Reattach the glass panel, ensuring it clicks securely into place.

Image: Illustration of quick wiring by pressing a button to insert wires and securing the unit with screws or clamps, contrasting with traditional screw terminals.

Image: Examples showing the device installed both horizontally and vertically in different room settings, demonstrating flexible orientation.
5.3 Wiring Methods
The switch offers two wiring options:
- Method 1: Without Neutral Conductor (2-wire system)
Connect the Live wire (L) and the Load wire (L1) to the corresponding terminals. This method is suitable for most standard installations. - Method 2: With Neutral Conductor (3-wire system)
Connect the Live wire (L), Load wire (L1), and Neutral wire (N) to their respective terminals. This method is recommended for low-power LED bulbs to prevent flickering.
For the integrated Schuko socket, connect the Live (L), Neutral (N), and Earth (E) wires to the designated terminals.

Image: Detailed wiring diagrams illustrating connections for both 2-wire (without neutral) and 3-wire (with neutral) systems for the switch, and standard connections for the socket.
6. Operation
The CNBINGO touch switch operates with a simple touch on the glass panel. The integrated LED backlight provides visual feedback and helps locate the switch in the dark.
- Switching On/Off: Lightly touch the circular icon on the glass panel to toggle the connected light on or off.
- LED Status: When the light is off, the LED emits a soft glow. When the light is on, the LED glows brighter. This indicator is designed to be visible without disturbing sleep.

Image: A hand demonstrating the touch operation of the switch, with a ceiling light illuminating in the background.
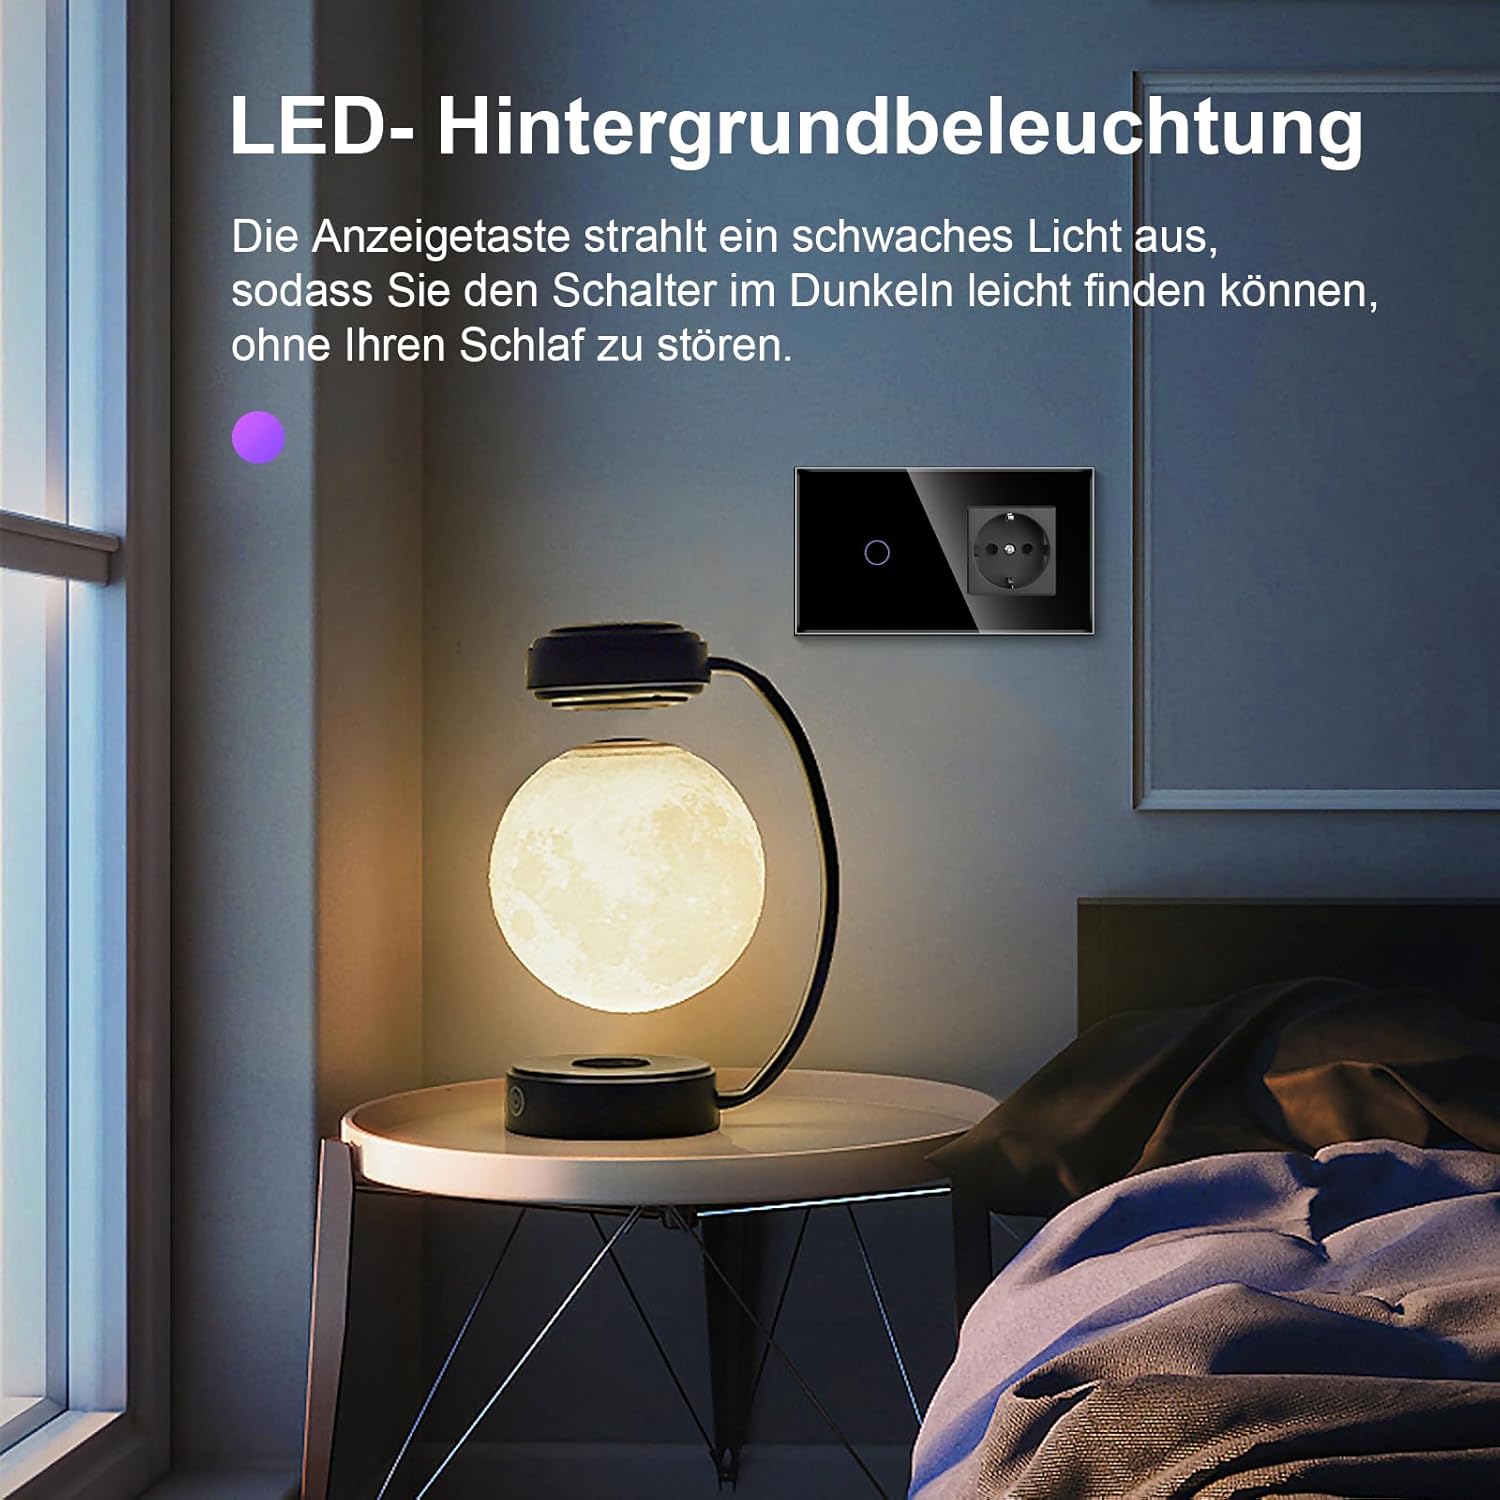
Image: The touch switch installed in a bedroom, showing its subtle LED backlight in a low-light environment, next to a bedside lamp.
7. Maintenance
The tempered glass panel is designed for easy cleaning and durability.
- To clean the surface, gently wipe with a soft, damp cloth.
- Avoid using abrasive cleaners, solvents, or harsh chemicals, as these may damage the glass or internal components.
- Ensure the device is dry before restoring power.

Image: A composite image highlighting the product's water-resistant surface, fire-protective materials, and ease of cleaning with a cloth.
8. Troubleshooting
- Light Flickering: If connected low-power LED bulbs flicker, try connecting a neutral conductor to the switch (Wiring Method 2). This often resolves instability issues with sensitive loads.
- No Response: If the switch does not respond to touch, ensure the main power supply is on and all wiring connections are secure. Recheck the wiring according to the diagrams in Section 5.3.
- Power Outage: In case of a power outage, the switch will retain its last state once power is restored.
- Persistent Issues: If problems persist after following these steps, consult a qualified electrician for further assistance. Do not attempt to repair the device yourself.
9. Warranty and Support
For warranty information or technical support, please refer to the product packaging or contact CNBINGO customer service through the retailer where the product was purchased. Keep your purchase receipt as proof of purchase.


