
1. Introduction
Thank you for choosing the Retevis P2 IP68 Waterproof 2 Way Radio. This professional two-way radio is designed for reliable communication in various environments, including commercial and construction settings. Its robust features, such as IP68 waterproofing, long-range capability, and noise cancellation, ensure clear and stable communication. This manual provides detailed instructions for the proper setup, operation, and maintenance of your device.
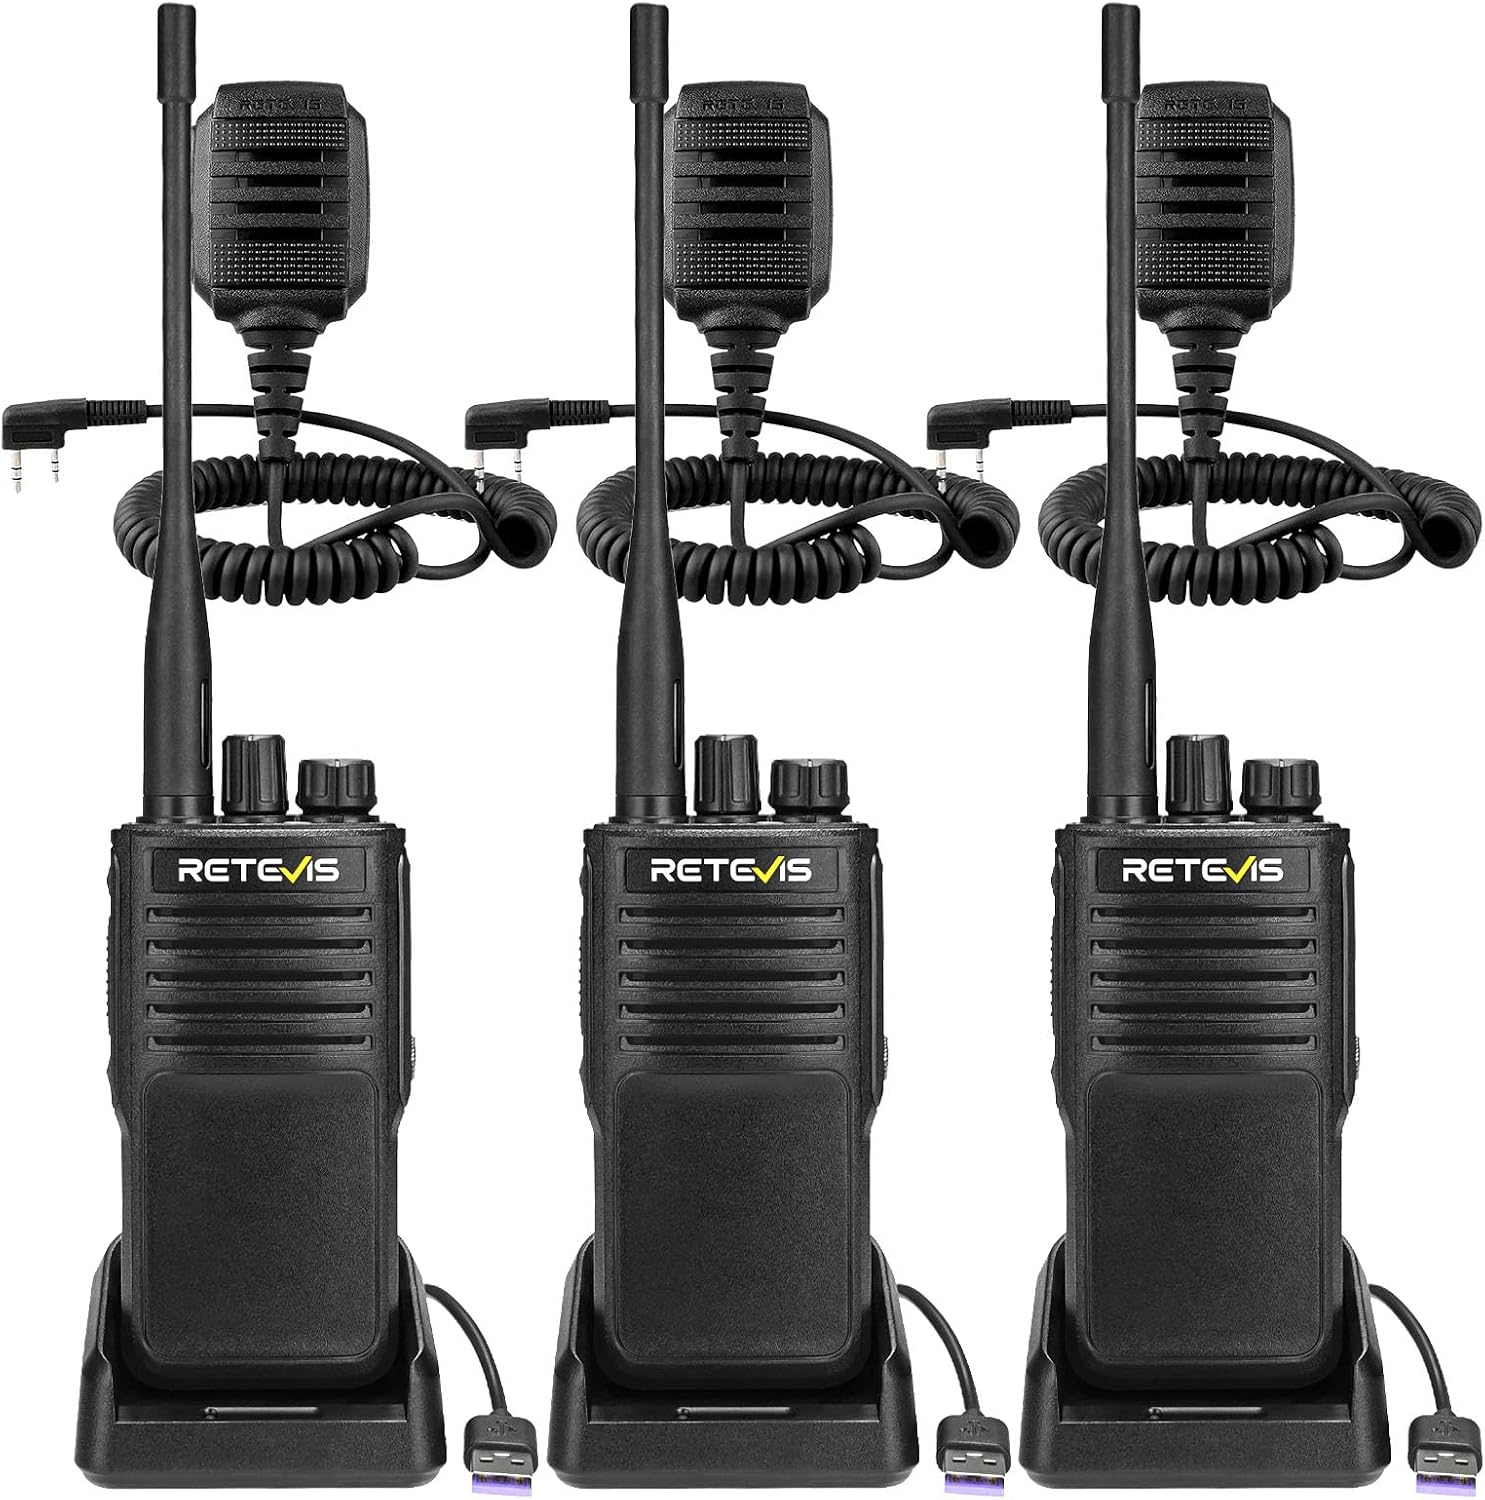
Image: Three Retevis P2 walkie-talkies, each with an attached speaker microphone and placed on its individual charging base. The radios are black and feature a sturdy design, highlighting the complete product package.
2. Package Contents
Before you begin, please verify that all items are present in your package:
- P2 Walkie Talkie (x3)
- Data Cable (x1)
- Battery (x3)
- Waterproof Microphone (x3)
- Charging Base (x3)
- Adapter (x3)
- User Manual (x3)
- Belt Clip (x3)
- Hand Strap (x3)
- Speaker Microphone (x3)

Image: A visual representation of the Retevis P2 package contents, including three walkie-talkies, batteries, charging bases, adapters, data cables, waterproof microphones, user manuals, belt clips, and hand straps, arranged neatly to show everything included.
3. Setup
3.1 Battery Installation and Charging
- Ensure the radio is powered off.
- Align the battery with the battery compartment on the back of the radio.
- Gently push the battery into place until it clicks securely.
- Connect the Type-C charging cable to the charging base and plug the adapter into a power outlet.
- Place the radio into the charging base. The charging indicator light will illuminate, indicating that charging has begun. A full charge typically takes several hours.
The P2 walkie-talkie features a 2500mAh battery, providing extended operational time for all-day work use.
3.2 Attaching the Speaker Microphone
The included waterproof speaker microphone enhances convenience during operation. Connect the K 2-pin connector of the speaker microphone to the corresponding port on the side of the walkie-talkie. Ensure a secure connection to maintain IP54 waterproof and dustproof integrity.

Image: A detailed view of the IP54 waterproof speaker microphone for the Retevis P2, showing its robust construction, coiled cable, PTT button, K 2-pin connector, and 360-degree rotatable clip.
3.3 Attaching the Belt Clip and Hand Strap
Secure the belt clip to the back of the radio using the provided screws. The hand strap can be attached to the designated loop on the radio for added security and portability.
4. Operating Instructions
4.1 Power On/Off and Volume Control
Rotate the power/volume knob clockwise to turn on the radio. Continue rotating to increase the volume. Rotate counter-clockwise to decrease volume and turn off the radio.
4.2 Channel Selection
Rotate the channel selector knob to choose your desired communication channel. The P2 supports 30 channels.
4.3 Push-to-Talk (PTT) Operation
To transmit, press and hold the PTT button on the side of the radio or the speaker microphone. Speak clearly into the microphone. Release the PTT button to receive.
4.4 Noise Reduction
The P2 features a built-in noise reduction chip for clear audio in noisy environments. Short press the lower side button to toggle the noise reduction function on or off.

Image: A Retevis P2 walkie-talkie with visual representations of sound waves, illustrating the noise canceling feature that provides clear reception even in loud factory or construction site settings.
4.5 VOX Function
The Voice Operated Exchange (VOX) function allows for hands-free transmission. Short press the upper side button to activate or deactivate VOX.
4.6 High-Power Calls
For extended range or stronger signal penetration, long press the third side button to quickly switch to high-power mode. The factory default setting is low power.
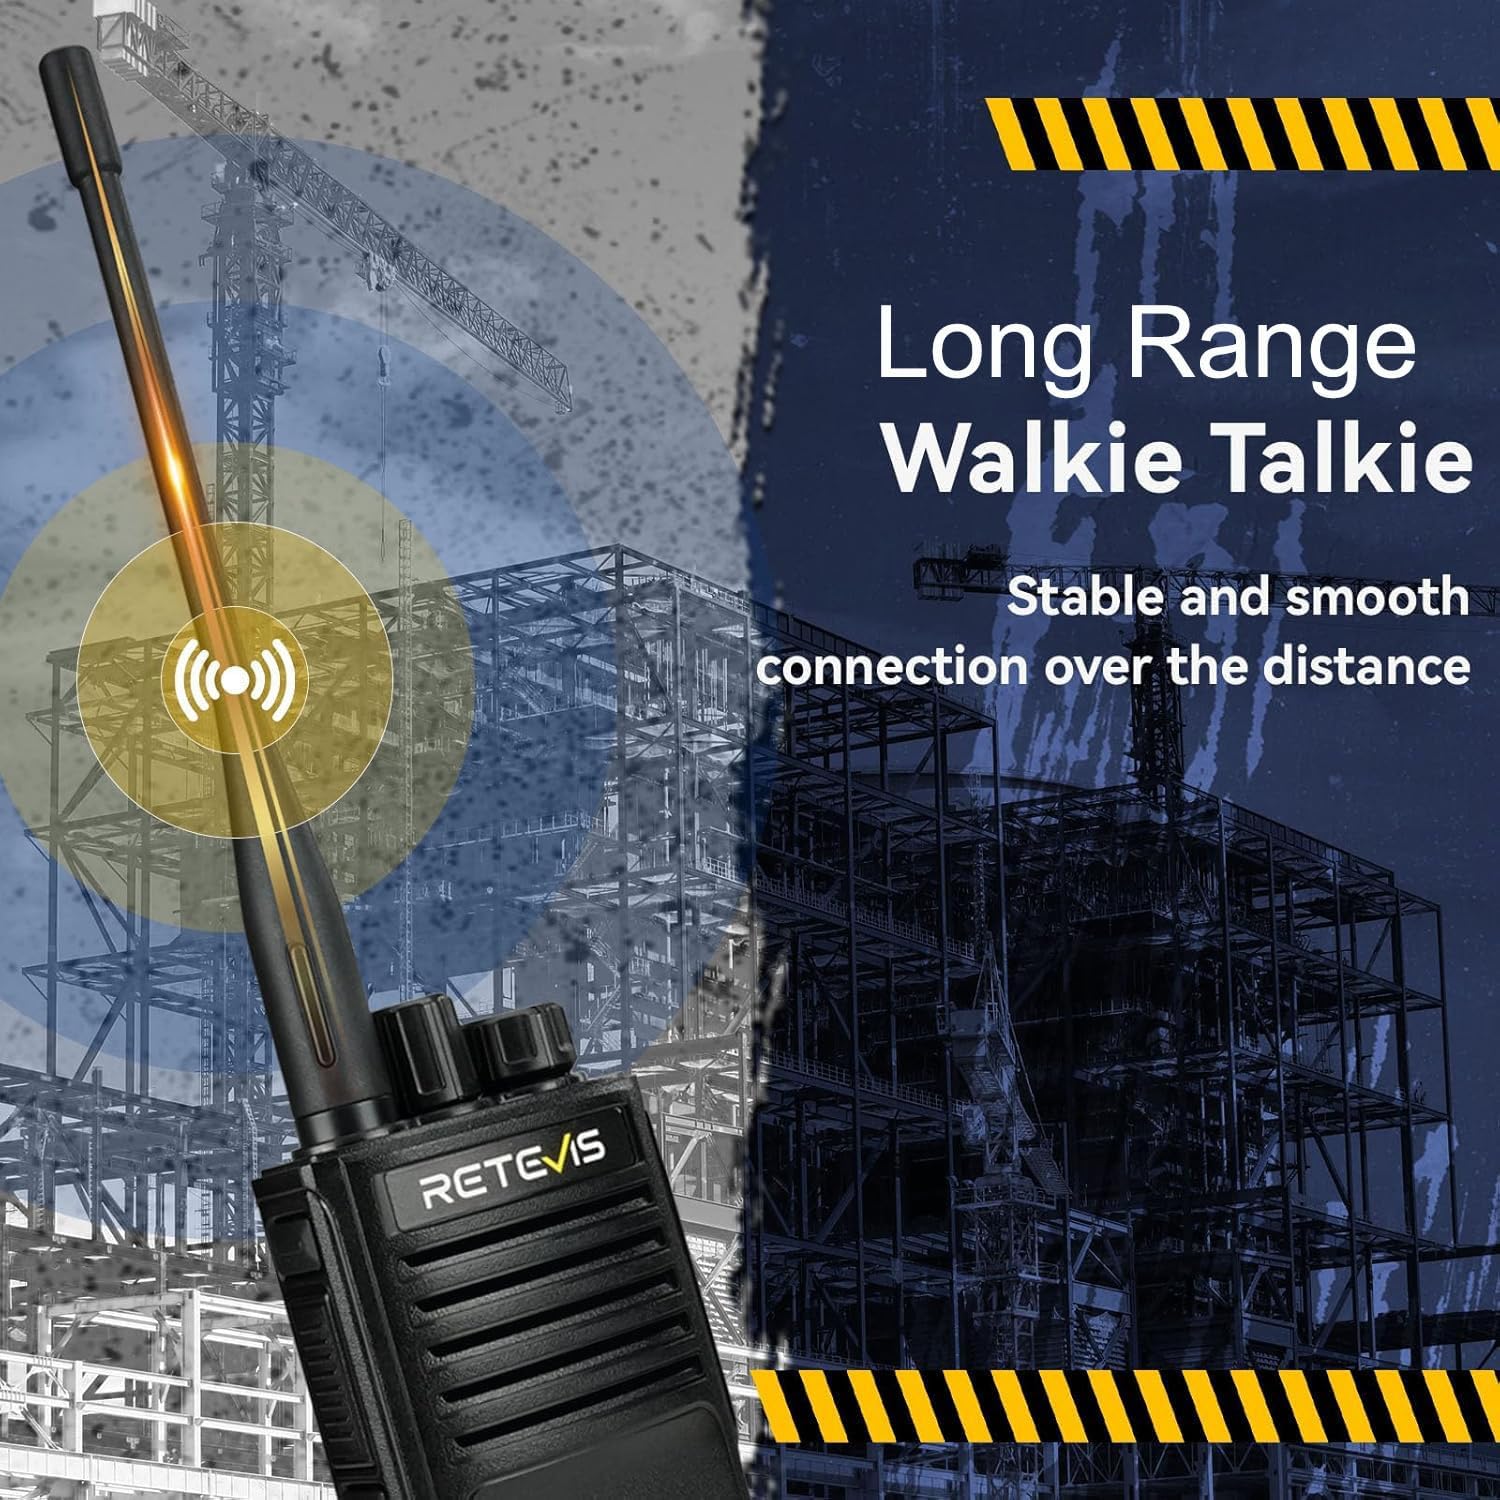
Image: A Retevis P2 walkie-talkie with an antenna emitting signal waves, superimposed over a construction site, symbolizing its long-range capability and stable connection over distance.
4.7 One-Click Compatibility
To achieve rapid compatibility with other Retevis walkie-talkies, press the third button on the side and the power knob of channel 1 simultaneously to turn on the walkie-talkie. Ensure that the radios share the same CTCSS/DCS codes for successful communication.

Image: Two Retevis walkie-talkies, one in focus and another faded in the background, with sound waves between them, demonstrating the good compatibility feature that allows communication with other brands if CTCSS/DCS lists match.
4.8 Emergency Alarm Functions
The P2 is equipped with both Man Down Alarm and Emergency Alarm features to enhance user safety:
- Man Down Alarm: This feature automatically triggers an alarm if the radio detects that the user has fallen or is in a horizontal position for an extended period.
- Emergency Alarm: Long press the upper side button to manually activate the emergency alarm, signaling for immediate assistance.
These functions are designed to provide quick response in emergencies.

Image: An animated graphic illustrating the Man Down Alarm feature, where the walkie-talkie detects a change in orientation (e.g., falling) and automatically triggers an alarm, indicated by a flashing red light.

Image: An animated graphic demonstrating the Emergency Alarm feature, where pressing a button on the walkie-talkie activates a flashing red light and siren, indicating an emergency situation.
5. Maintenance
5.1 Cleaning
Regularly clean the radio's exterior with a soft, damp cloth. Avoid using harsh chemicals or abrasive cleaners. Ensure all ports are free of dust and debris.
5.2 Waterproofing Considerations
The Retevis P2 is IP68 rated, meaning it can withstand immersion in 1 meter of water for up to 2 hours and is completely dustproof. While highly durable, always ensure the battery cover and accessory port covers are securely sealed before exposing the radio to water or dusty environments.

Image: A Retevis P2 walkie-talkie shown in a simulated rainy environment, emphasizing its IP68 waterproof rating and ability to support long-term use in harsh conditions.
5.3 Battery Care
To prolong battery life, avoid overcharging or completely draining the battery. Store the radio and batteries in a cool, dry place when not in use for extended periods.
6. Troubleshooting
If you encounter issues with your Retevis P2 radio, please refer to the following common problems and solutions:
| Problem | Possible Cause | Solution |
|---|---|---|
| No power | Battery not installed correctly or discharged. | Ensure battery is securely installed. Charge the battery fully. |
| Cannot transmit or receive | Incorrect channel or CTCSS/DCS code. Out of range. | Verify channel and CTCSS/DCS settings match other radios. Move closer to the other radio. |
| Poor audio quality / Noise | Noise reduction off, interference, or low signal. | Activate noise reduction. Move away from sources of interference. Ensure strong signal. |
| Short communication range | Low power mode, environmental obstructions. | Switch to high-power mode. Try to find a clearer line of sight. |
| Charging issues | Improper placement in charging cradle, faulty cable/adapter. | Ensure radio is correctly seated in the charging base. Check cable and adapter for damage. |
For advanced programming or persistent issues, it is recommended to use the official Retevis programming software. A USB programming cable is included with your purchase for this purpose.
7. Specifications
| Feature | Specification |
|---|---|
| Model Number | P2 |
| Item Weight | 4.99 pounds (total package) |
| Product Dimensions | 1.65 x 2.36 x 4.45 inches |
| Batteries | 3 Lithium Ion batteries required (included) |
| Battery Capacity | 2500mAh |
| Color | Black |
| Number of Channels | 30 |
| Frequency Range | GMRS |
| Talking Range Maximum | 5 Mile (under optimal conditions) |
| Voltage | 7.4 Volts (DC) |
| Water Resistance Level | IP68 Waterproof and Dustproof |
| Special Features | Emergency alarm, FM radio (24 channels storage), VOX, CHIRP support, Rugged design, Noise Cancelling, IP54 shoulder mic |
| Material | Solid metal aluminum plate (shock-resistant) |
8. Warranty and Support
8.1 Warranty Information
Retevis provides a 2-year warranty for the radio body and a 1-year warranty for accessories. Additionally, a 30-day no-reason return policy is offered. For service beyond the warranty period, maintenance services are available, with corresponding costs to be afforded by the buyer.
8.2 Customer Support
For any inquiries, technical assistance, or warranty claims, please contact Retevis customer support directly through Amazon. We aim to reply within 12 hours.
You can also visit the official Retevis Store on Amazon for more information and products.


