1. Introduction
The LILYGO T4-S3 ESP32-S3 is a versatile development board featuring a 2.41-inch AMOLED touch display. It integrates a powerful dual-core LX7 microprocessor, offering robust Wi-Fi and Bluetooth 5 (LE) connectivity. This board is designed for various embedded applications, providing a rich set of features for developers and enthusiasts.
Key features include:
- MCU: ESP32-S3R8 Dual-core LX7 microprocessor
- Wireless Connectivity: 2.4 GHz Wi-Fi & Bluetooth 5 (LE)
- Development Environments: Arduino, PlatformIO-IDE, Micropython
- Flash Memory: 16MB PSRAM: 8MB
- Onboard Functions: Boot Button, Reset Button, Micro SD Card slot
- Display: 2.41 inch SPI RGB AMOLED with 450(W) x 600(H) resolution, QSPI interface, and 800cd/m brightness.
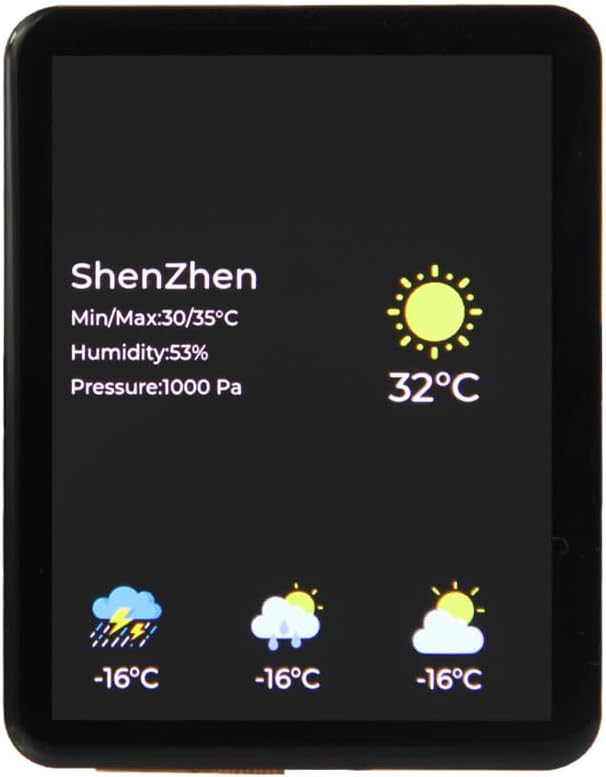
Figure 1.1: Front view of the LILYGO T4-S3 board displaying weather information.

Figure 1.2: Top-down view of the LILYGO T4-S3 development board, showing the main components and pin headers.
2. Setup
2.1 Package Contents
Verify that all components are present in your package:
- 1 x T4-S3-2.41 Development Board
- 1 x 1.27mm Female PIN (2*15P)
- 1 x Battery cable
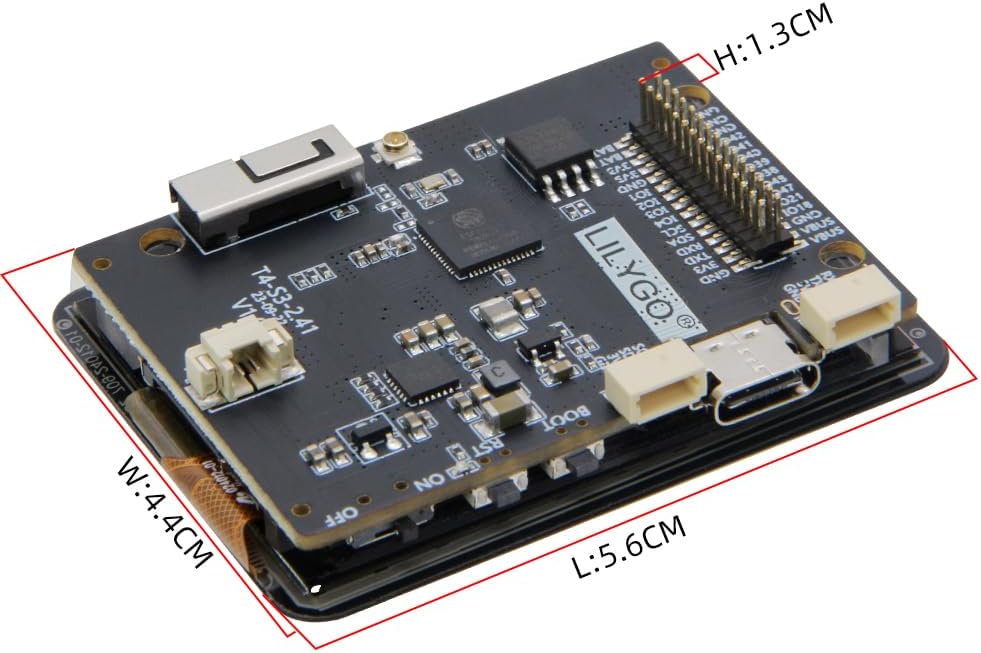
Figure 2.1: Included components: T4-S3 board, female pin header, and battery cable.
2.2 Initial Connection
To begin using the LILYGO T4-S3, connect it to your computer using a USB Type-C cable. This will provide power and enable communication for programming. The board also supports power input via the JST-GH 1.25mm connector for external battery power.
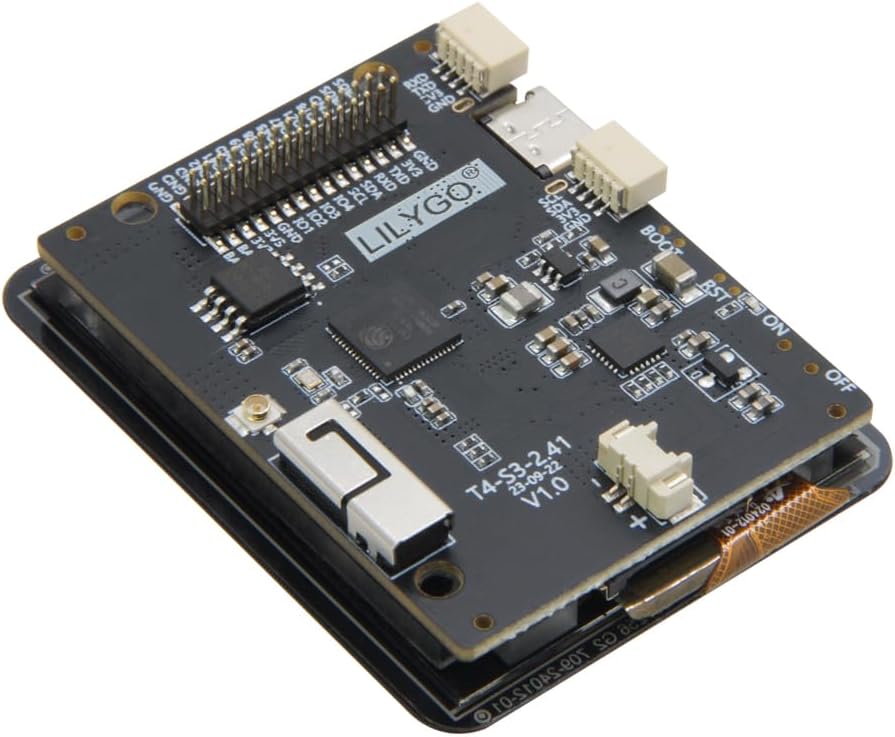
Figure 2.2: Angled view highlighting the USB Type-C port and JST-GH 1.25mm battery connector.
For external peripherals, the board features a 1.27pitch@IO Extension for general-purpose input/output and Qwiic connectors for easy integration with I2C sensors and modules.

Figure 2.3: Detailed pinout diagram of the LILYGO T4-S3-2.41 board, showing various interfaces and pin assignments.
3. Operating Instructions
3.1 Development Environments
The LILYGO T4-S3 supports development using popular platforms such as Arduino, PlatformIO-IDE, and Micropython. You can find detailed examples and libraries on the official GitHub repository: github.com/Xinyuan-LilyGO/LilyGo-AMOLED-Series.
3.2 Basic Operation
Once programmed, the board can perform various functions. The 2.41-inch AMOLED capacitive touch screen allows for interactive applications, such as displaying sensor data, controlling smart home devices, or running custom user interfaces. The onboard Boot and Reset buttons facilitate easy firmware uploads and system restarts.
The integrated Micro SD Card slot provides expandable storage for data logging, image assets, or larger program files.
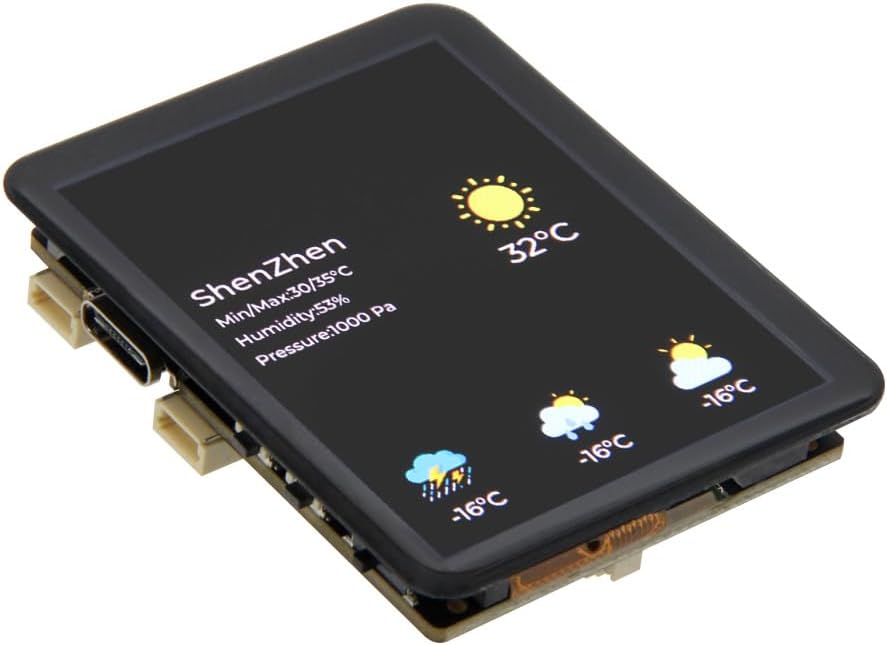
Figure 3.1: Detail of the Micro SD Card slot for expandable storage.
3.3 Product Overview Video
Watch this official video for a quick introduction to the product's features and usage.
Video 3.1: Introduction to the use of LILYGO T4-S3 products, demonstrating key features and components.
4. Maintenance
To ensure the longevity and optimal performance of your LILYGO T4-S3 development board, follow these maintenance guidelines:
- Keep Dry: Avoid exposing the board to moisture or high humidity, which can damage electronic components.
- Handle with Care: Static electricity can harm sensitive components. Handle the board by its edges and consider using anti-static precautions.
- Cleanliness: Keep the board free from dust and debris. Use a soft, dry brush or compressed air for cleaning. Do not use liquid cleaners.
- Temperature: Operate and store the board within its specified temperature range to prevent overheating or cold damage.
- Power Supply: Always use a stable and appropriate power supply (5V via USB-C or JST-GH) to prevent electrical damage.
5. Troubleshooting
If you encounter issues with your LILYGO T4-S3 board, consider the following troubleshooting steps:
- No Power/Display:
- Ensure the USB-C cable is securely connected to both the board and a powered USB port on your computer or power adapter.
- If using a battery, check its charge level and ensure it's correctly connected to the JST-GH port.
- Verify the battery switch (if present) is in the 'ON' position.
- Programming Errors:
- Check that the correct board and port are selected in your Arduino IDE or PlatformIO settings.
- Ensure all necessary drivers are installed for the ESP32-S3.
- Try holding down the 'Boot' button while pressing and releasing 'Reset' before uploading new firmware.
- Display Issues:
- Confirm that the display ribbon cable is properly seated in its connector.
- Check your code for correct display initialization and drawing commands.
- Connectivity Problems (Wi-Fi/Bluetooth):
- Verify your Wi-Fi credentials (SSID, password) are correct in your code.
- Ensure the 3D antenna is properly connected (if using an external antenna).
- Check for interference from other 2.4 GHz devices.
For more in-depth troubleshooting and community support, refer to the official GitHub repository and online forums.
6. Specifications
| Feature | Detail |
|---|---|
| MCU | ESP32-S3R8 Dual-core LX7 microprocessor |
| Wireless Connectivity | 2.4 GHz Wi-Fi & Bluetooth 5 (LE) |
| Development Platforms | Arduino, PlatformIO-IDE, Micropython |
| Flash Memory | 16 MB |
| PSRAM | 8 MB |
| Display Type | 2.41 inch SPI RGB AMOLED Capacitive Touch Screen |
| Display Resolution | 450(W) x 600(H) |
| Display Interface | QSPI |
| Display Brightness | 800 cd/m² |
| Onboard Functions | Boot Button, Reset Button, Micro SD Card Slot |
| Connectivity Ports | USB Type-C, JST-GH 1.25mm (Battery), Qwiic JST-SH 1.0mm |
| Dimensions (Approx.) | L: 5.6cm, W: 4.4cm, H: 1.3cm |

Figure 6.1: Approximate dimensions of the LILYGO T4-S3 board.

Figure 6.2: Overview of T4-S3 specifications and onboard functions.
7. Warranty and Support
LILYGO is committed to providing quality products and support. If you have any questions or suggestions regarding the LILYGO T4-S3 development board, please do not hesitate to contact us. We aim to answer your questions as soon as possible.
For technical documentation, code examples, and community support, please visit the official GitHub repository:


