
1. Introduction and Overview
This KCEVE KVM Switch allows you to control up to three computers using a single set of keyboard, mouse, and three monitors. It is designed to streamline your workspace by eliminating the need for multiple peripherals for each computer. This device supports high-resolution video output and high-speed USB 3.0 data transfer, making it suitable for various applications including office work, multimedia teaching, and gaming.
The KVM switch supports triple monitor setups for each connected computer, provided that each computer's graphics card supports multiple displays. It offers flexible display modes including extended, mirrored, and splicing wall display.

Image: The KCEVE KVM Switch unit, showing its compact design, front and rear ports, and the included power adapter, USB cables, and wired remote control.
2. Package Contents
Please verify that all items listed below are included in your package. If any items are missing or damaged, please contact customer support.

Image: A diagram illustrating the contents of the package, including the KVM switch, power adapter, USB cables, and wired controller, along with their respective lengths.
- Triple Monitor USB 3.0 HDMI+DP KVM Switch x1
- DC12V Power Adapter (1.5m/4.92ft) x1
- USB 3.0 Cables (1.5m/4.92ft) x3
- Wired Remote Controller (1.52m/4.98ft) x1
3. Product Features
- Triple Monitor Support: Connects 3 computers to 3 monitors, allowing seamless switching between systems. Each computer requires 1 HDMI and 2 DisplayPort connections to the KVM.
- Ultra HD Resolution: Supports resolutions up to 8K@60Hz (7680x4320) and 4K@144Hz (3840x2160). Backward compatible with lower resolutions.
- DisplayPort 1.4: Supports up to 8K@30Hz, 4K@144Hz, 4K@120Hz.
- HDMI 2.1: Supports up to 8K@60Hz, 4K@120Hz.
- USB 3.0 Hub: Features 4 USB 3.0 ports for connecting keyboard, mouse, printer, U disk, and other USB devices. Offers ultra-fast data transfer speeds up to 5Gbps.
- Multiple Display Modes: Supports extended, mirrored, and splicing wall display configurations.
- Broad Compatibility: Works with various input devices such as PCs, Laptops, Apple TV, PS3/PS4, Xbox. Compatible with Linux, Windows, Chrome OS, and macOS operating systems.
- Dual Switching Methods: Switch between connected computers using either the physical buttons on the KVM unit or the included wired remote control.
- Plug and Play: No drivers required for installation.
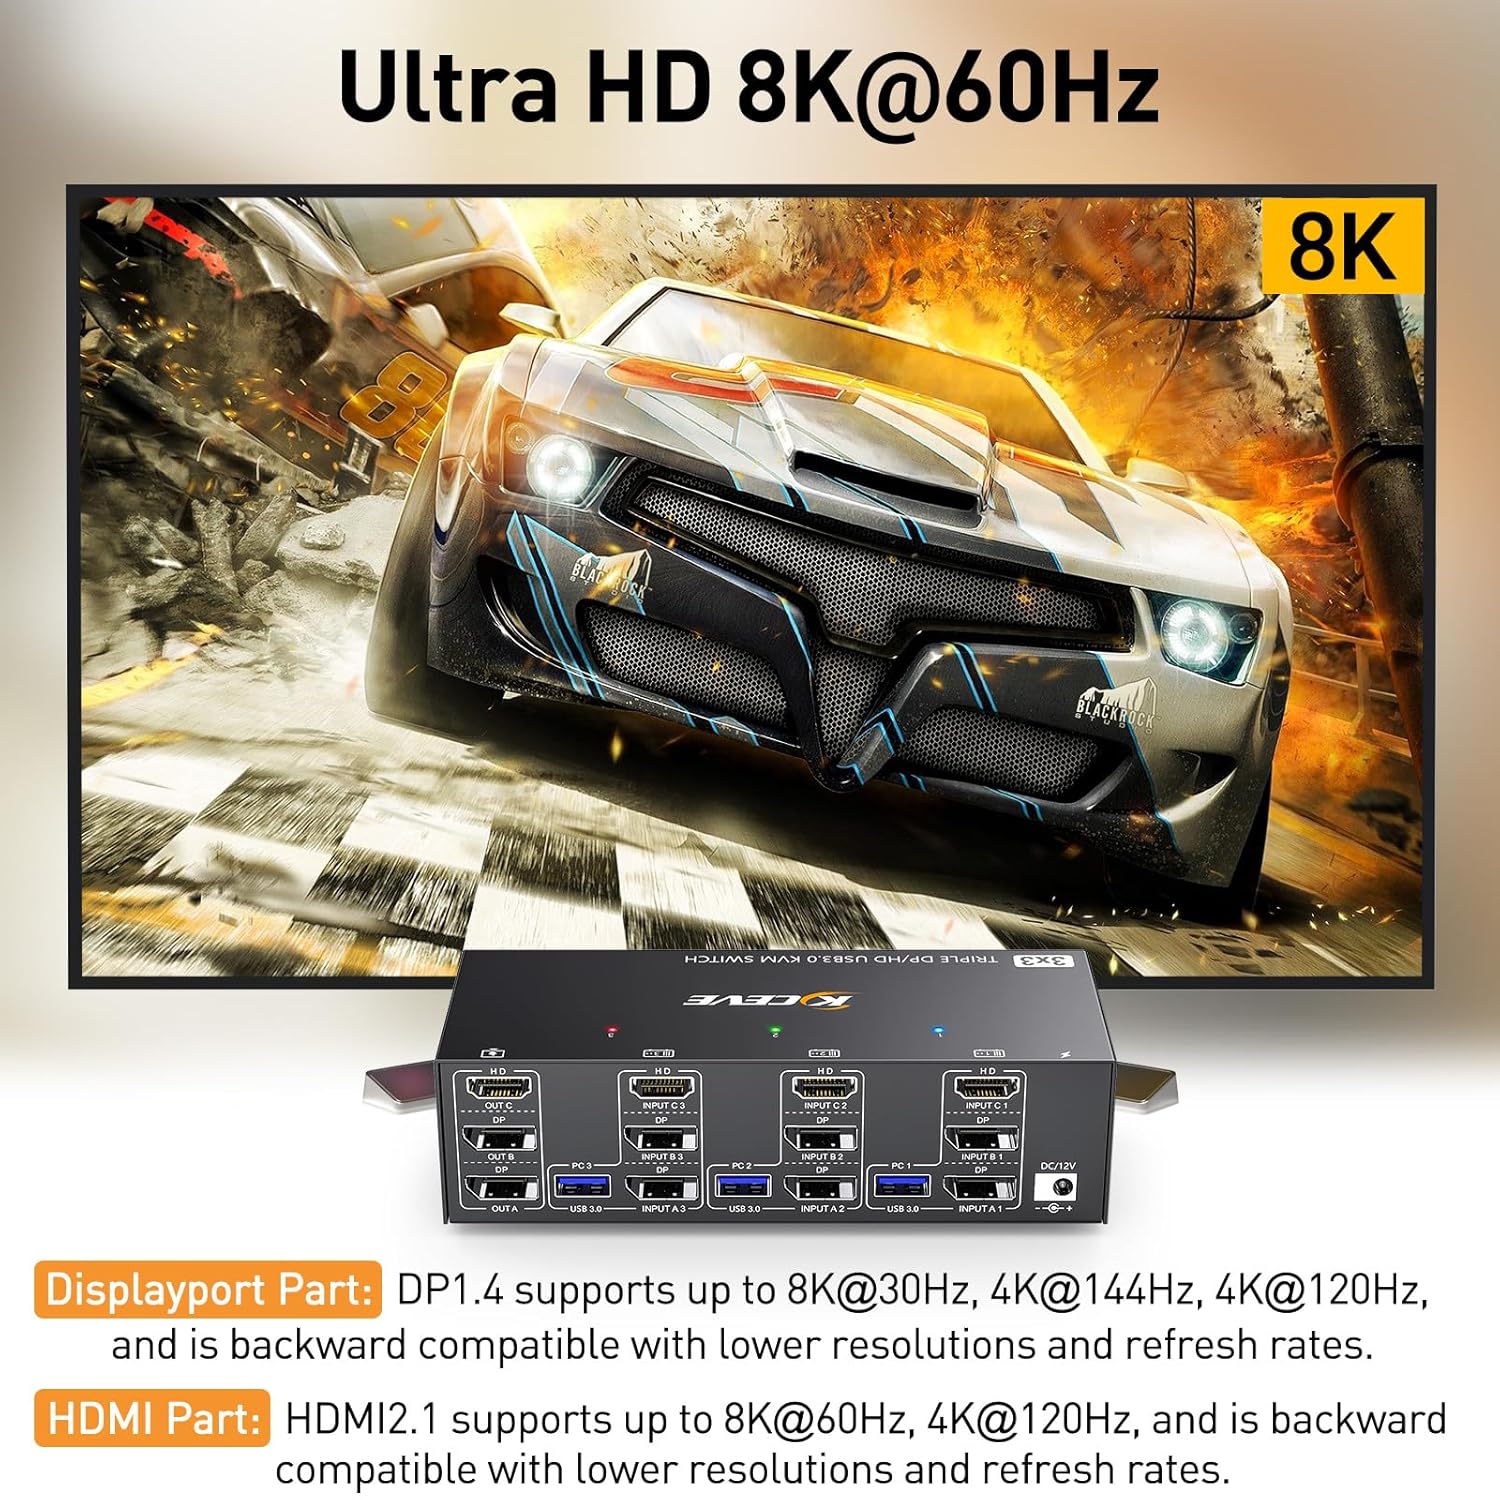
Image: Illustrates the KVM switch's capability to support Ultra HD 8K@60Hz resolution, highlighting the DisplayPort and HDMI specifications.
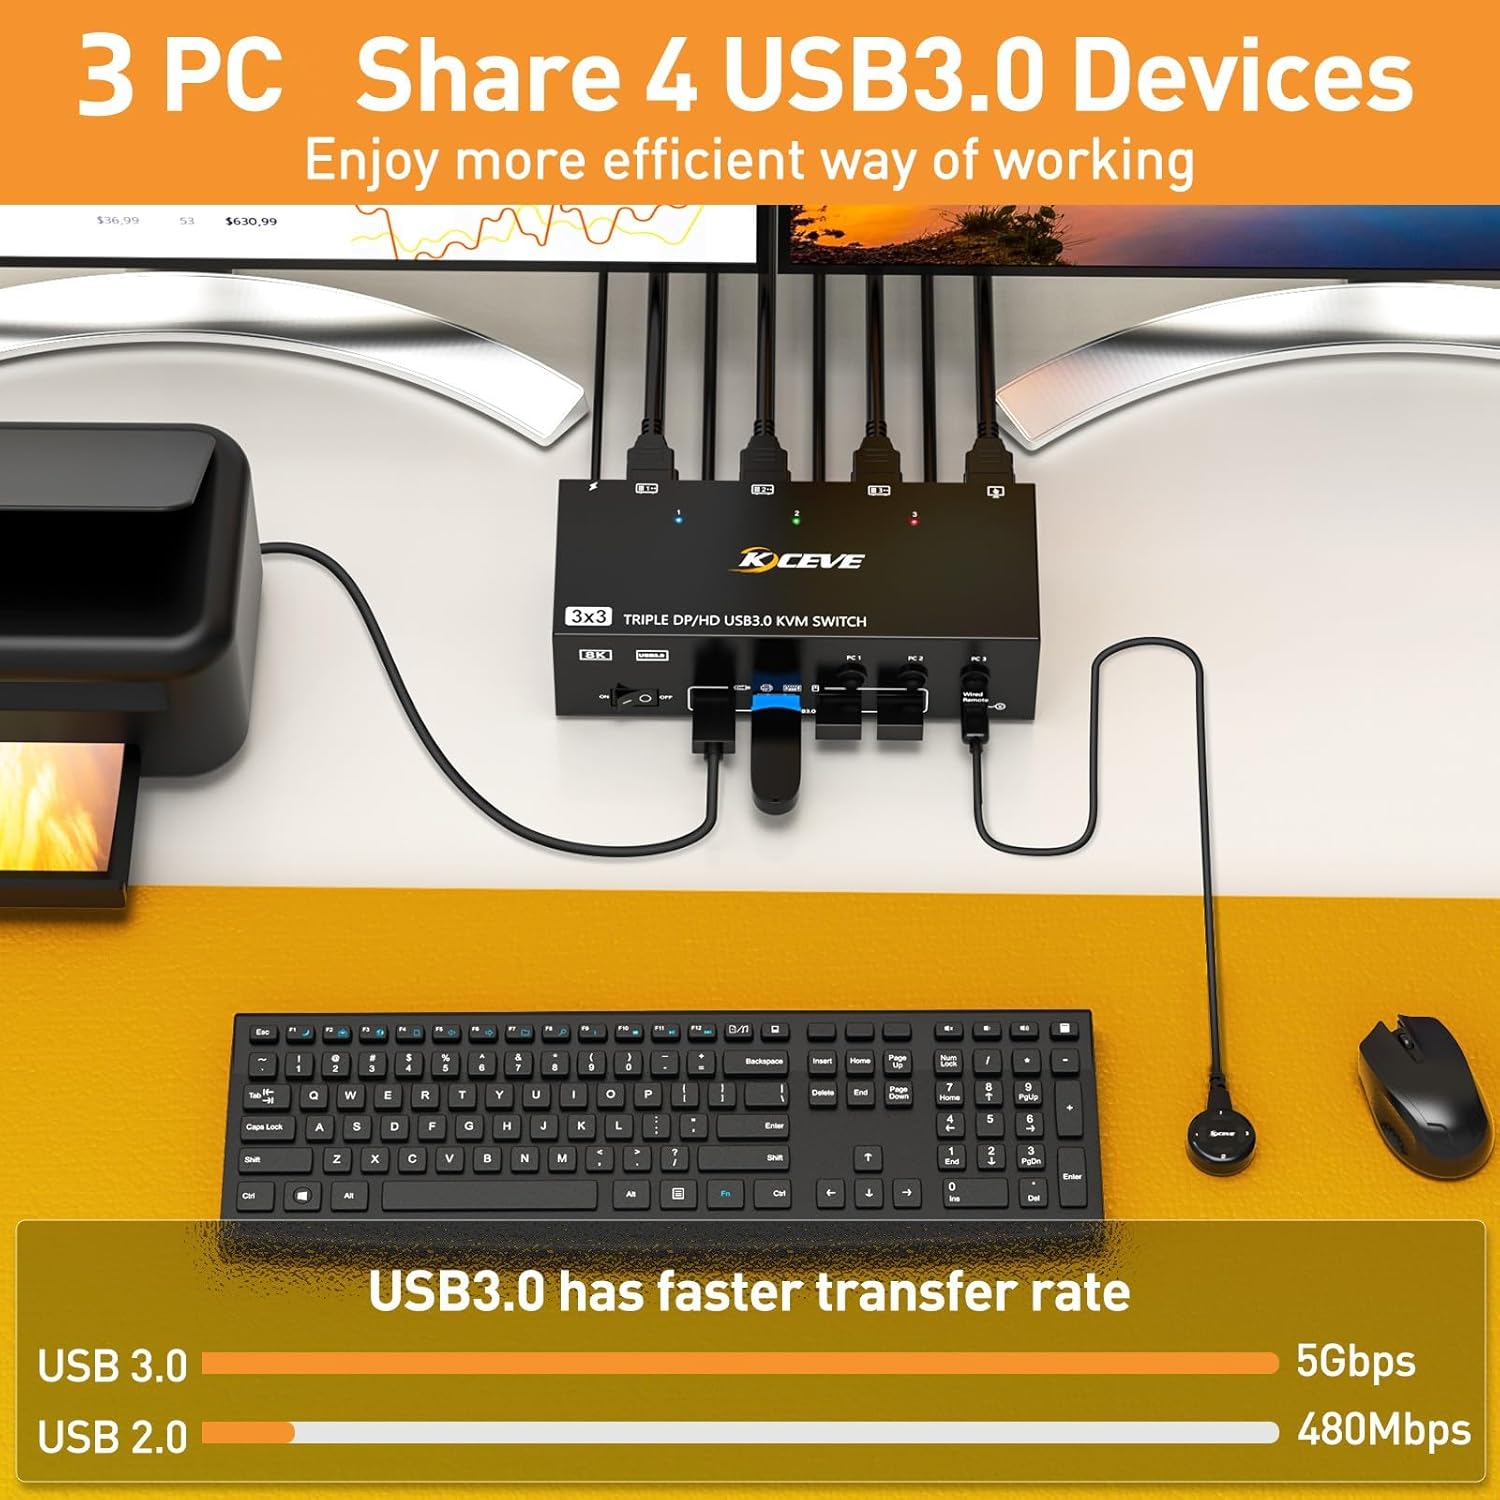
Image: Shows the KVM switch connected to three PCs, sharing a keyboard, mouse, and printer via its four USB 3.0 ports, emphasizing the faster data transfer rate compared to USB 2.0.
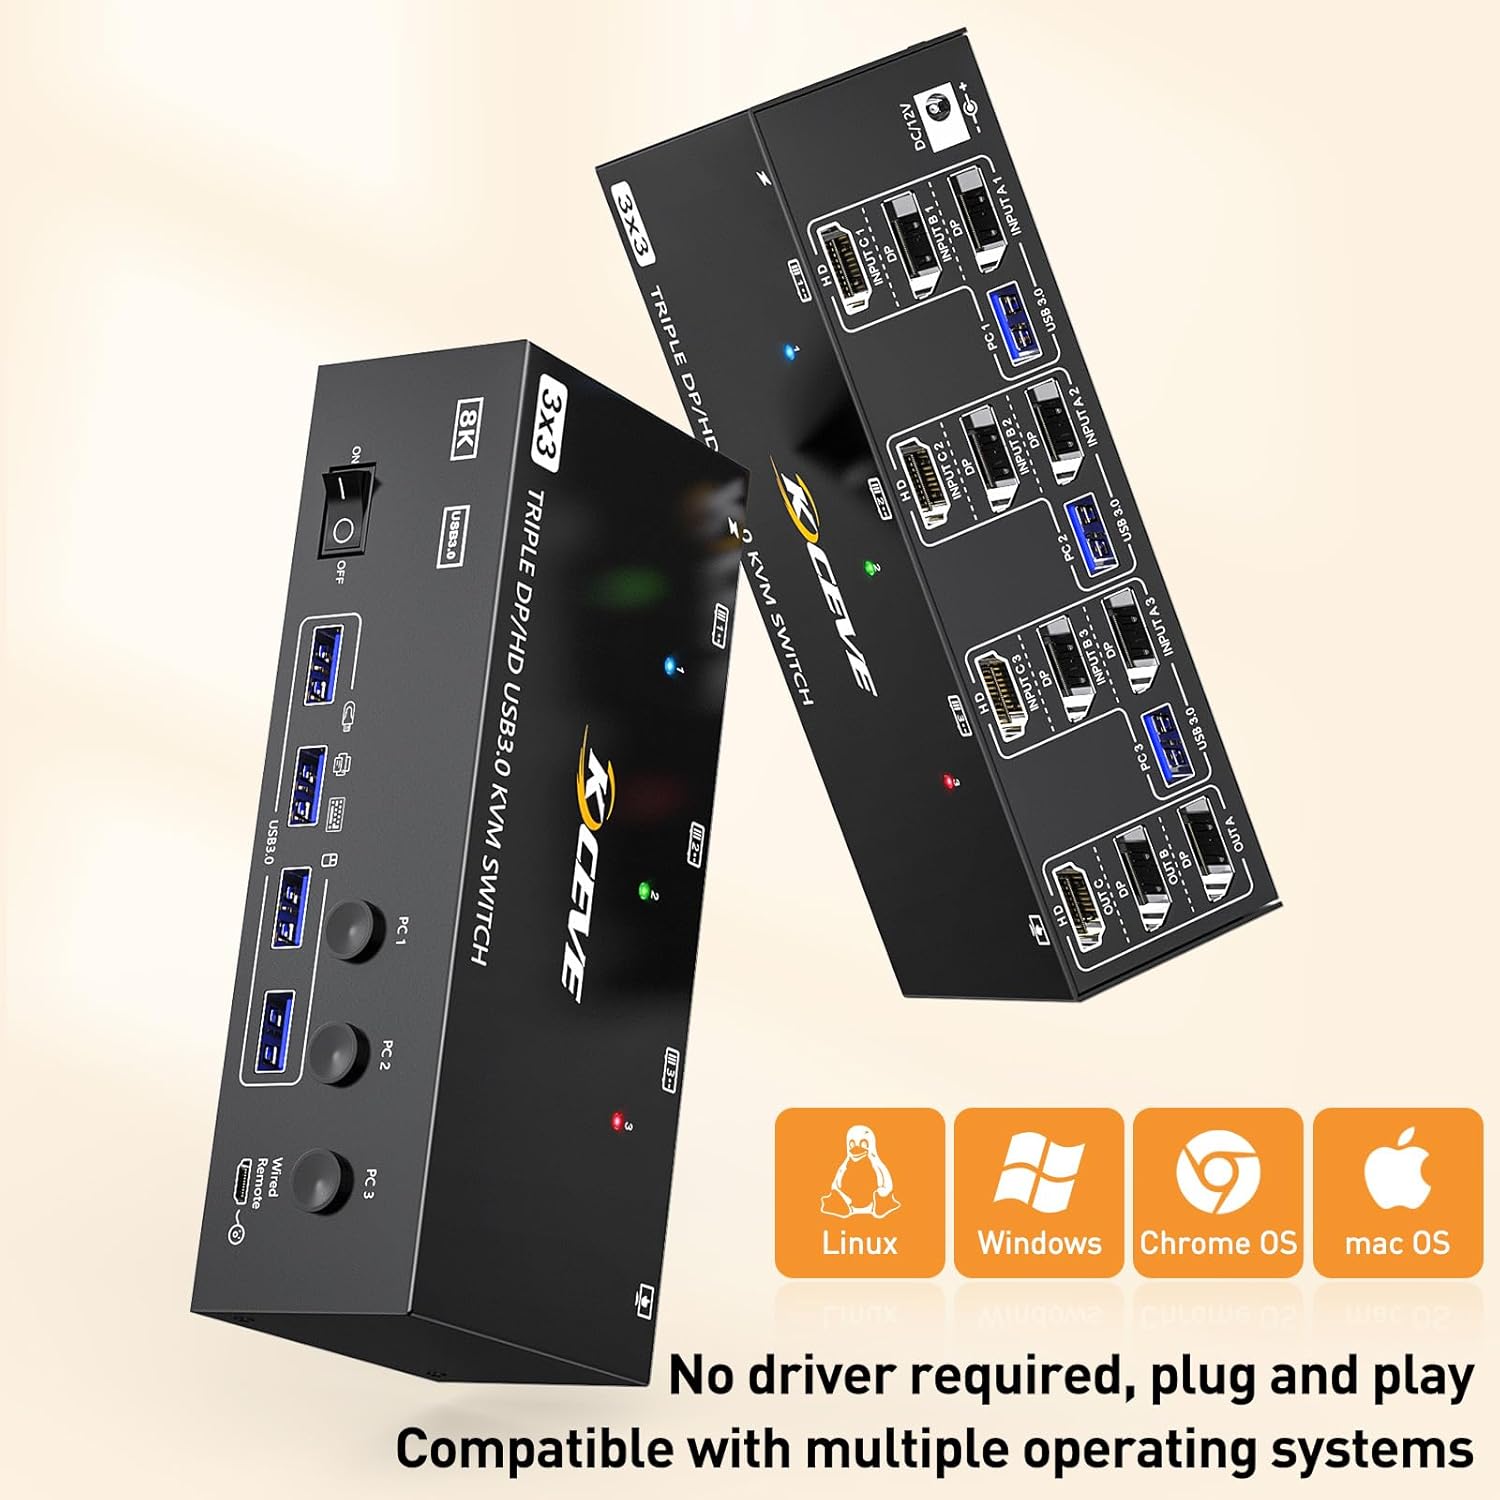
Image: Displays the KVM switch with icons representing compatibility with Linux, Windows, Chrome OS, and macOS, indicating its plug-and-play functionality without requiring drivers.
4. Setup Instructions
Follow these steps to properly set up your KCEVE KVM Switch. Ensure all devices are powered off before making connections.

Image: A detailed diagram showing the front and back panels of the KVM switch, illustrating how to connect computers, monitors, USB devices, and the power adapter.
- Power Off Devices: Ensure all computers and monitors are powered off before beginning the connection process.
- Connect Computers to KVM Inputs:
For each computer (PC 1, PC 2, PC 3), connect the following cables to the corresponding INPUT ports (e.g., INPUT A1, INPUT B1, INPUT C1, USB 3.0 for PC 1) on the KVM switch:
- One HDMI cable
- Two DisplayPort (DP) cables
- One USB 3.0 cable (from your computer's USB port to the KVM's USB 3.0 input port for that PC)
Note: To achieve 3-monitor functionality, each computer must have a graphics card capable of supporting three independent displays.
- Connect Monitors to KVM Outputs:
Connect your three monitors to the KVM switch's OUTPUT ports (OUT A, OUT B, OUT C):
- One HDMI cable to OUT A (HDMI)
- Two DisplayPort (DP) cables to OUT B (DP) and OUT C (DP)
- Connect USB Devices: Connect your keyboard, mouse, and any other USB 3.0/2.0/1.1 devices (e.g., printer, U disk) to the four USB 3.0 ports on the front panel of the KVM switch. For high-power USB devices, ensure stable operation by connecting an additional power adapter if needed (not included for USB devices).
- Connect Wired Remote Control: Plug the wired remote control into the dedicated port on the front panel of the KVM switch.
- Connect Power Adapter: Connect the included 12V DC power adapter to the DC/12V port on the rear of the KVM switch, then plug it into a power outlet. This provides sufficient power for the KVM switch and connected USB devices.
- Power On Devices: Power on the KVM switch, then your monitors, and finally your computers.
Important Note on Cables:
The final resolution and stability are highly dependent on the quality of your cables. Please use high-quality HDMI and DisplayPort cables. Using shorter 8K HDMI and DP cables can significantly improve the stability of the KVM switch, especially for high resolutions.
5. Operating Instructions
The KVM switch offers two convenient methods for switching between connected computers:

Image: Demonstrates the two methods of switching between computers: pressing the physical buttons on the KVM unit and using the wired remote control.
- Physical Button Switching:
Press the "PC 1", "PC 2", or "PC 3" button on the front panel of the KVM switch to select the desired computer. An LED indicator above each button will illuminate (blue for PC1, green for PC2, red for PC3) to show which computer is currently active.

Image: Close-up of the KVM switch's front panel showing the LED indicators for PC1 (blue), PC2 (green), and PC3 (red).
- Wired Remote Control Switching:
Use the included wired remote control to switch between computers. Press the corresponding button (1, 2, or 3) on the remote to select the desired PC.
6. Display Modes
The KVM switch supports various display modes, which are configured through your computer's operating system settings. The most common modes are Extended and Copy (Mirrored).

Image: Visual representation of "Extend Mode" where three monitors display different content, and "Copy Mode" where all three monitors display the same content.
- Extended Mode: In this mode, your three monitors act as one continuous desktop, allowing you to drag windows across screens and expand your workspace. This is ideal for multitasking and productivity.
- Copy (Mirrored) Mode: In this mode, all three monitors display the exact same content. This is useful for presentations or when you need to duplicate your display across multiple screens.
- Splicing Wall Display: This advanced mode allows for combining multiple displays into a single large virtual display, often used for video walls or specialized applications.
How to choose the display mode:
After connecting correctly, press "Windows + P" on your keyboard simultaneously. A small window will pop up, allowing you to choose your desired display mode (e.g., Duplicate, Extend, Second screen only).
7. Troubleshooting
| Problem | Possible Cause | Solution |
|---|---|---|
| No display on monitors after switching. |
|
|
| Keyboard or mouse not working. |
|
|
| Screen flickering or unstable display. |
|
|
| KVM crashes or causes computer issues. |
|
|
8. Specifications
| Model Number | 3033DHDZUSKC |
| Brand | KCEVE |
| Input Ports | 3 x HDMI, 6 x DisplayPort, 3 x USB 3.0 (Type-B) |
| Output Ports | 1 x HDMI, 2 x DisplayPort, 4 x USB 3.0 (Type-A) |
| Video Resolution | Up to 8K@60Hz, 4K@144Hz (DisplayPort), 4K@120Hz (HDMI) |
| USB Data Transfer Rate | Up to 5Gbps (USB 3.0) |
| Switching Methods | Physical Button, Wired Remote Control |
| Operating Voltage | DC 12V |
| Dimensions (L x W x H) | Approx. 6.37 x 2.59 x 1.73 inches (16.2 x 6.6 x 4.4 cm) |
| Weight | Approx. 1.83 Pounds (0.83 kg) |
| Operating Systems Supported | Linux, Windows, Chrome OS, macOS |
| Country of Origin | China |
Image: A diagram showing the physical dimensions of the KVM switch and a list of included accessories.
9. Maintenance
To ensure the longevity and optimal performance of your KCEVE KVM Switch, please follow these maintenance guidelines:
- Cleaning: Use a soft, dry cloth to clean the exterior of the KVM switch. Do not use liquid cleaners, aerosols, or abrasive materials, as they may damage the device.
- Ventilation: Ensure the KVM switch is placed in a well-ventilated area. Do not block any ventilation openings.
- Environment: Keep the device away from excessive heat, humidity, dust, and direct sunlight.
- Cable Management: Organize cables neatly to prevent strain on ports and accidental disconnections. Avoid bending cables sharply.
- Power Cycle: If you experience minor issues, a simple power cycle (unplugging the power adapter for a few seconds and then plugging it back in) can often resolve them.
10. Warranty and Support
KCEVE products are designed for reliability and performance. For specific warranty information, please refer to the warranty card included with your product or visit the official KCEVE website. If you encounter any issues or have questions regarding the setup, operation, or troubleshooting of your KVM switch, please contact KCEVE customer support through the vendor's contact information provided at the point of purchase or on their official website.
Please have your model number (3033DHDZUSKC) and purchase details ready when contacting support.


