Introduction
This manual provides detailed instructions for the assembly, operation, and care of your Rolife DIY Miniature House Kit Garage Workshop. Please read all instructions carefully before beginning assembly to ensure a smooth and enjoyable building experience. This kit is designed for individuals aged 14 years and up.

Image: The fully assembled Rolife DIY Miniature House Kit Garage Workshop, showcasing its detailed interior with miniature tools, shelves, and a checkered floor.
Safety Information
- Choking Hazard: This kit contains small parts and is not suitable for children under 3 years of age.
- Recommended Age: This product is recommended for individuals 14 years and up. Adult supervision is advised for younger builders.
- Sharp Edges: Some components may have sharp edges. Handle with care during assembly.
- Adhesives: If using additional adhesives (not included), ensure proper ventilation and follow the adhesive manufacturer's safety guidelines.
What's in the Box
Your Rolife DIY Miniature House Kit Garage Workshop includes the following components:
- Instruction book
- Pre-cut wood boards for structural components
- Various miniature accessories (tools, furniture, decorative items)
- LED lighting components
- Tweezers
Tools to be prepared (not included):
- 2 AAA batteries for LED lights
- Scissors
- Utility knife
- Binder clips
- Adhesive (glue)

Image: An overview of the kit's contents, including pre-cut wooden sheets, various small accessories, and the instruction manual, with hands beginning assembly.
Setup & Assembly
Follow the step-by-step instructions provided in the included instruction book. Each component is labeled for easy identification. Take your time and enjoy the building process.
- Preparation: Unpack all components and verify against the material list in the instruction book. Prepare your workspace and gather the necessary tools (scissors, utility knife, glue, AAA batteries).
- Component Identification: Carefully detach the pre-cut wooden pieces from their sheets. Use sandpaper (if included or desired) to smooth any rough edges.
- Structural Assembly: Begin by assembling the main structure of the garage workshop as guided by the instruction book. Pay close attention to the orientation of each piece.
- Detailing: Once the main structure is complete, proceed with assembling and placing the miniature furniture, tools, and decorative elements. Many items feature adhesive backing; for others, use glue as indicated.
- LED Lighting Installation: Install the LED lights according to the specific wiring diagrams in the manual. Ensure the battery box is correctly connected and batteries are inserted.
Video: An official demonstration of the assembly process for the Rolife DIY Miniature House Kit Garage Workshop, highlighting key steps and the detailed outcome.
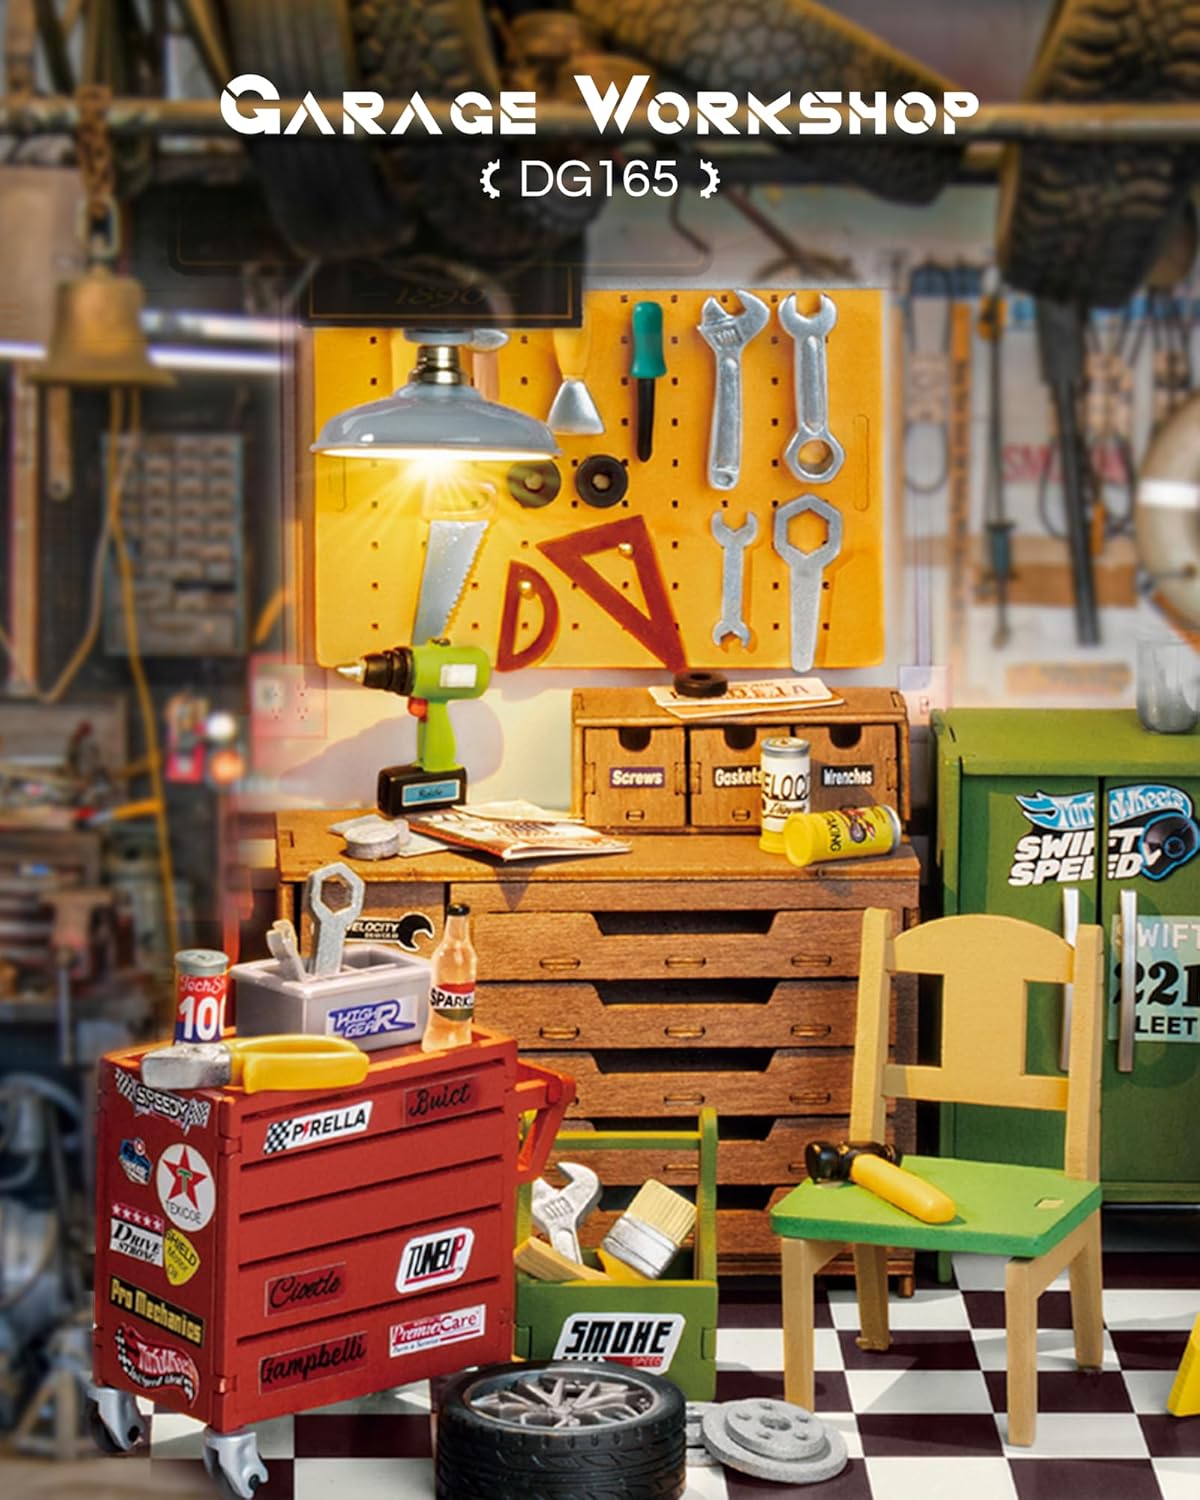
Image: A detailed view of the miniature garage workshop, featuring a workbench with tools, a rolling tool cabinet, and other intricate accessories.
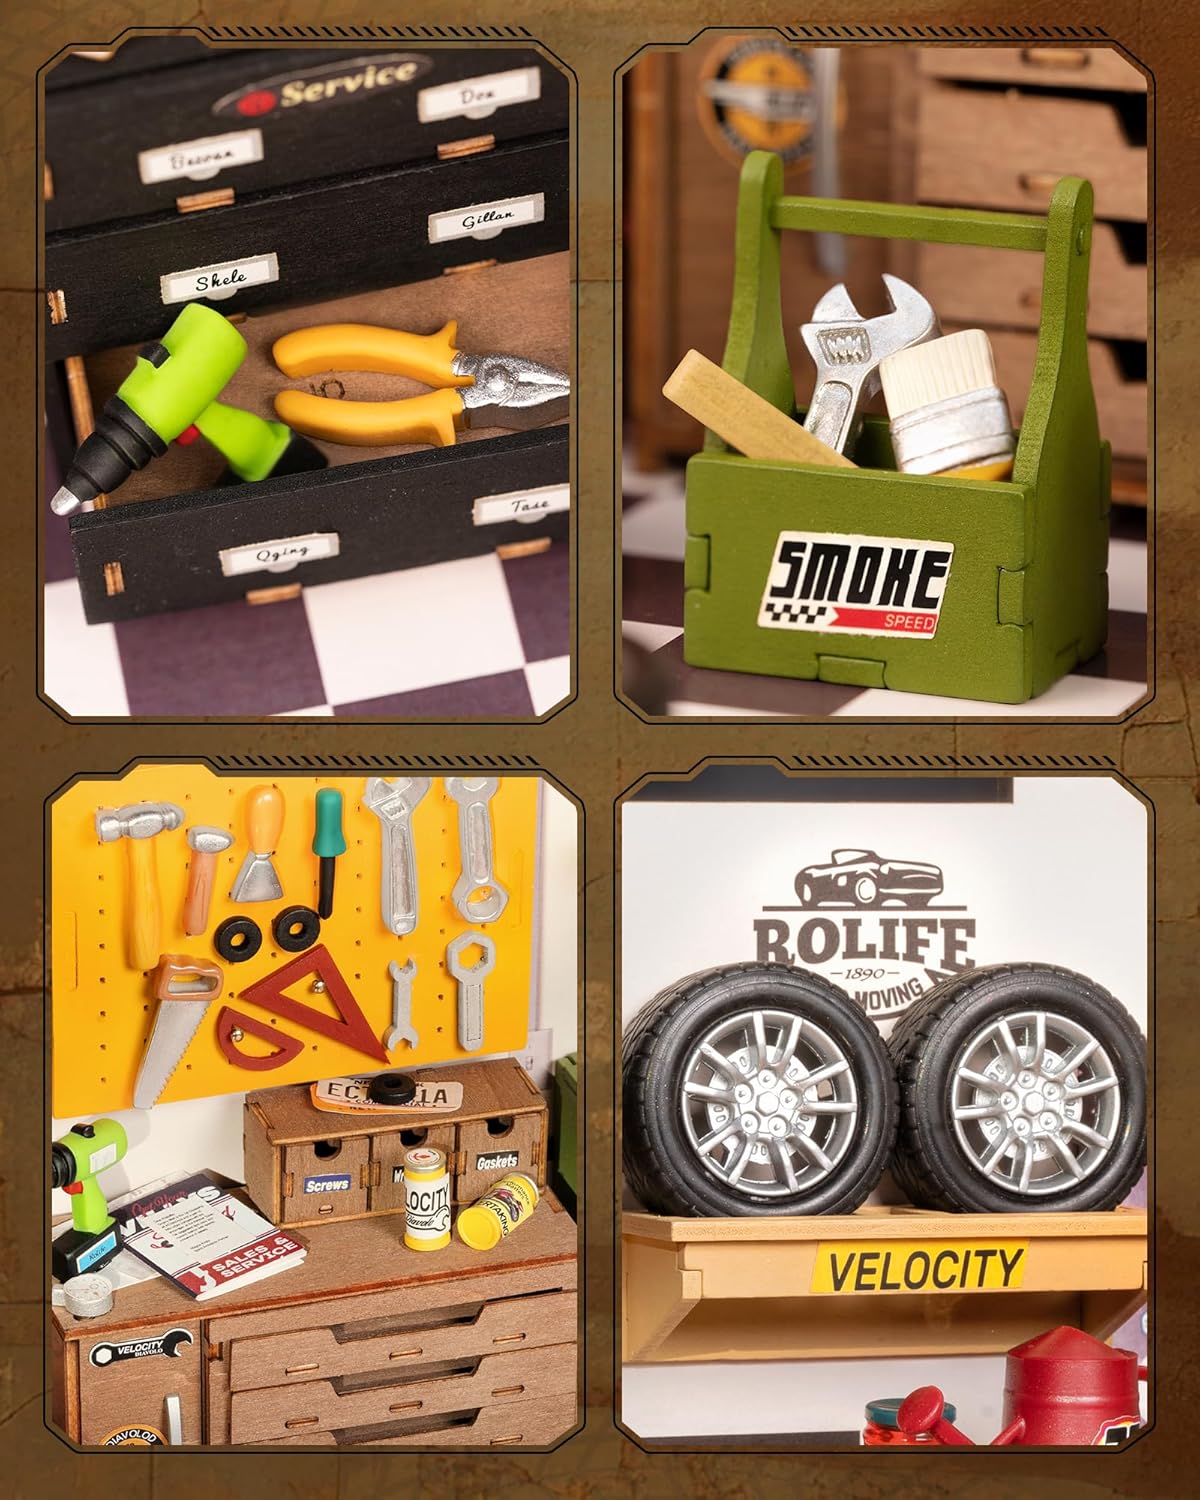
Image: Four close-up panels illustrating the rich details of the garage workshop, including organized tool drawers, a pegboard with hanging tools, and miniature tires on a shelf.
Operating Instructions (LED Lights)
The miniature garage workshop features LED lighting to enhance its display. To operate the lights:
- Battery Installation: Ensure two AAA batteries (not included) are correctly installed into the battery box. Observe polarity (+/-).
- Power On/Off: Locate the switch on the battery box. Slide the switch to the 'ON' position to illuminate the LED lights. Slide to 'OFF' to turn them off.

Image: The miniature garage workshop with its LED lights activated, creating a cozy ambiance. A close-up inset shows the battery compartment and switch.
Maintenance
To maintain the appearance and longevity of your miniature house kit:
- Cleaning: Gently dust the model with a soft, dry cloth or a soft brush. Avoid using liquid cleaners, which may damage the materials.
- Handling: Handle the assembled model with care to prevent damage to delicate components.
- Storage: Store the model in a dry environment away from direct sunlight and extreme temperatures to prevent warping or fading.
- Battery Replacement: Replace batteries when LED lights dim or stop working. Remove batteries if the model will not be used for an extended period.
Troubleshooting
If you encounter issues with your miniature house kit, refer to the following common solutions:
- LED Lights Not Working:
- Check if the switch on the battery box is in the 'ON' position.
- Verify that the batteries are correctly installed with proper polarity.
- Ensure the battery box connections are secure and the wires are not broken.
- Replace with new AAA batteries.
- Parts Not Fitting: Ensure you are using the correct parts for each step by cross-referencing with the instruction book's diagrams and labels. Gentle sanding may be required for a snug fit.
- Parts Breaking: Handle delicate parts with extreme care. If a part breaks, use a strong adhesive to repair it.
Specifications
| Feature | Detail |
|---|---|
| Product Dimensions | 9.4 x 5.8 x 6.7 inches |
| Item Weight | 1.76 pounds |
| Model Number | DG165 |
| Manufacturer Recommended Age | 14 years and up |
| Batteries Required | 2 AAA batteries (not included) |
| Scale | 1/20 |
Warranty and Support
For any questions, missing parts, or support needs regarding your Rolife DIY Miniature House Kit Garage Workshop, please contact the manufacturer directly through their official website or the retailer where the product was purchased. Please retain your proof of purchase for warranty claims.