
1. Introduction
Thank you for choosing the XREXS 17.2" Large Digital Wall Clock. This manual provides detailed instructions for setting up, operating, and maintaining your new clock. Please read this manual thoroughly before use to ensure optimal performance and longevity of your device.
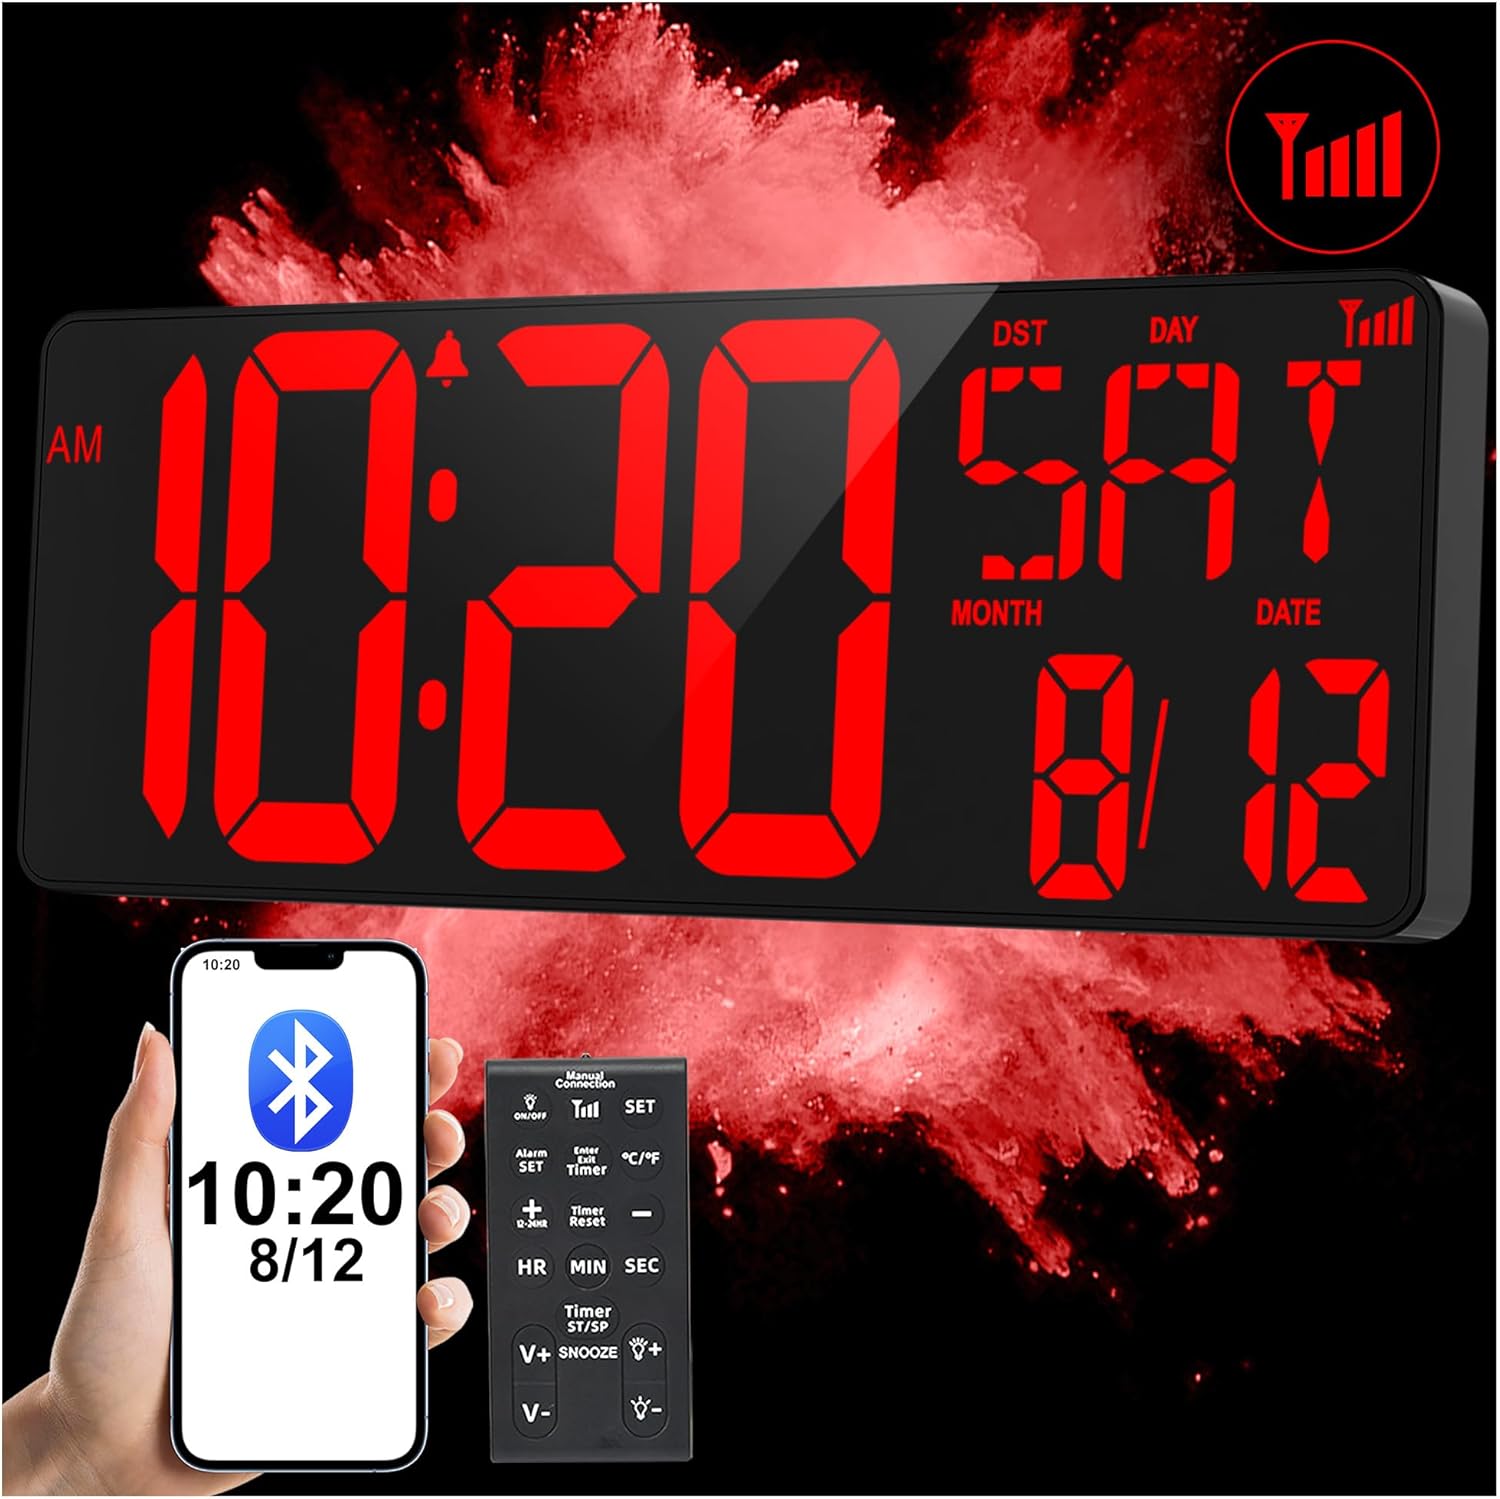
Figure 1: XREXS 17.2" Large Digital Wall Clock with remote control and Bluetooth sync feature.
2. Setup
2.1 Unpacking and Powering On
Carefully remove the clock and all accessories from the packaging. The clock is primarily powered by a wall plug. Connect the provided power adapter to the clock and plug it into a standard electrical outlet.
2.2 Battery Installation (Backup)
The clock requires 4 AAA batteries (included) for backup. These batteries ensure that time settings are retained during a power outage. Locate the battery compartment on the back of the clock, insert the batteries according to the polarity markings, and close the compartment.
2.3 Placement
The XREXS Digital Wall Clock can be wall-mounted using the two keyholes on the back or placed on a tabletop or shelf using its fold-out backstand.
2.4 Bluetooth Time Synchronization
The clock features automatic time synchronization via Bluetooth, ensuring precise timekeeping without manual adjustments. Follow these steps:
- Ensure your mobile phone's Bluetooth is turned on.
- Plug in the clock. The signal reception symbol on the clock display will start flashing.
- On your phone, go to Bluetooth settings and look for the device named "LED CLOCK".
- Confirm pairing. Once successfully connected, the clock will automatically synchronize its time with your phone. The signal indicator will disappear after flashing for approximately 10 seconds.

Figure 2: Bluetooth connection for automatic time synchronization.

Figure 3: Detailed steps for Bluetooth time synchronization.
For a visual guide on connecting Bluetooth and auto-calibrating time, please watch the official product video below:
Video 1: Demonstrates how to connect the XREXS Digital Wall Clock to Bluetooth for automatic time calibration, as well as manual time synchronization options.
2.5 Manual Time Synchronization
If manual synchronization is preferred or necessary, you can long-press the "SNOOZE" button on the remote control until the signal indicator starts flashing. Alternatively, press the "Signal" button on the remote to manually sync the time at any time.
3. Operating Instructions
3.1 Display Modes
The clock features a large LED display that shows time, date, and indoor temperature. It supports both 12-hour and 24-hour display formats. The date and temperature display can automatically switch every 5 seconds.

Figure 4: Overview of the extra-large LED screen display and its features.
3.2 Brightness Adjustment
The clock has an automatic dimming function that adjusts brightness according to ambient light levels. You can also manually adjust the brightness to 4 levels or turn the screen off using the remote control.

Figure 5: Auto-dimming and manual brightness control.
3.3 Alarm Function
The clock includes an alarm function with three working modes to suit different needs: Work Everyday, Work on Mon to Fri, and Work on Weekend. Use the remote control to set and activate alarms.

Figure 6: Three distinct alarm modes for flexible scheduling.
3.4 Timer/Countdown Function
The clock supports both count-up and countdown timer functions, useful for various activities like cooking or exercise. You can set hours, minutes, and seconds using the remote control.

Figure 7: Stopwatch and countdown timer functions.

Figure 8: Visual representation of the timer and countdown features.
3.5 Remote Control Usage
The included remote control allows for convenient operation of all clock functions from a distance of up to 32 feet. Buttons on the remote include power on/off, SET, Alarm SET, Timer, Timer Reset, HR, MIN, SEC, SNOOZE, and brightness adjustments.

Figure 9: Easy operation with the included remote control.
4. Maintenance
4.1 Cleaning
To clean the clock, gently wipe the display and casing with a soft, dry cloth. Avoid using abrasive cleaners, solvents, or spray cleaners directly on the clock, as these may damage the surface or internal components.
4.2 Battery Replacement
While the clock is primarily plug-in powered, the 4 AAA backup batteries should be replaced periodically, typically when the display shows signs of dimming or if time settings are not retained during power outages. Ensure the clock is unplugged before replacing batteries.
5. Troubleshooting
5.1 Time Not Syncing or Incorrect Time Display
- Check Bluetooth Connection: Ensure your phone's Bluetooth is on and connected to "LED CLOCK".
- Power Cycle: If the display shows gibberish or incorrect time after a power outage, try unplugging the power cord and removing the backup batteries for a few seconds. Then, reconnect the power and reinsert the batteries. This often resolves display and synchronization issues.
- Manual Sync: Use the remote control to manually sync the time if automatic sync fails.
5.2 Remote Control Not Responding
- Check Batteries: Ensure the remote control batteries are correctly inserted and not depleted.
- Line of Sight: Make sure there are no obstructions between the remote control and the clock's sensor.
5.3 Display is Too Dim or Too Bright
- Auto-Dimming: The clock has an auto-dimming feature. Ensure it's not in a location with extreme light conditions that might interfere with the sensor.
- Manual Adjustment: Use the brightness buttons on the remote control to manually adjust the display brightness.
6. Specifications
| Feature | Detail |
|---|---|
| Brand | XREXS |
| Model Number | LY080 |
| Display Type | Digital LED |
| Product Dimensions | 16.5"W x 5.7"H |
| Item Weight | 2.33 pounds |
| Power Source | Power Plug (AC Adapter) |
| Backup Batteries | 4 AAA batteries (included) |
| Special Features | Adjustable Brightness, Alarm, Calendar Display, Large Display, Timer, Bluetooth Sync, Temperature Display |
| Mounting Type | Wall Mount, Tabletop |
7. Warranty and Support
7.1 Warranty Information
Warranty information for your XREXS Digital Wall Clock is typically provided with the product packaging or can be found on the official XREXS website. Please retain your proof of purchase for warranty claims.
7.2 Customer Support
For any questions, technical assistance, or support regarding your XREXS product, please visit the official XREXS Store on Amazon or contact their customer service directly.
Visit the XREXS Store for more information.