
1. Introduction
Welcome to the user manual for your new db-tronic Raspberry Pi 5 8GB Kit. This comprehensive kit provides everything you need to embark on creative projects, robotics, programming, and various computing applications. The Raspberry Pi 5 is a powerful single-board computer designed for versatility and high performance, offering significant improvements over its predecessors.
This manual will guide you through the setup, operation, and maintenance of your Raspberry Pi 5 kit, ensuring you get the most out of its advanced features and capabilities.

Figure 1: Overview of the db-tronic Raspberry Pi 5 8GB Kit components.
2. What's Included
Your db-tronic Raspberry Pi 5 8GB Kit comes with the following essential components:
| Item | Description |
|---|---|
| 1 | Raspberry Pi 5 Quad-core Board (8GB RAM) |
| 2 | Official 27W USB-C Power Supply |
| 3 | Official Case with Integrated Fan |
| 4 | 64GB MicroSD Card (up to 100MB/s) |
| 5 | Exclusive db-tronic Packaging |
| 6 | 1-meter 4K Micro HDMI to HDMI Cable |
| 7 | Aluminum Heatsink |
| 8 | USB Card Reader |
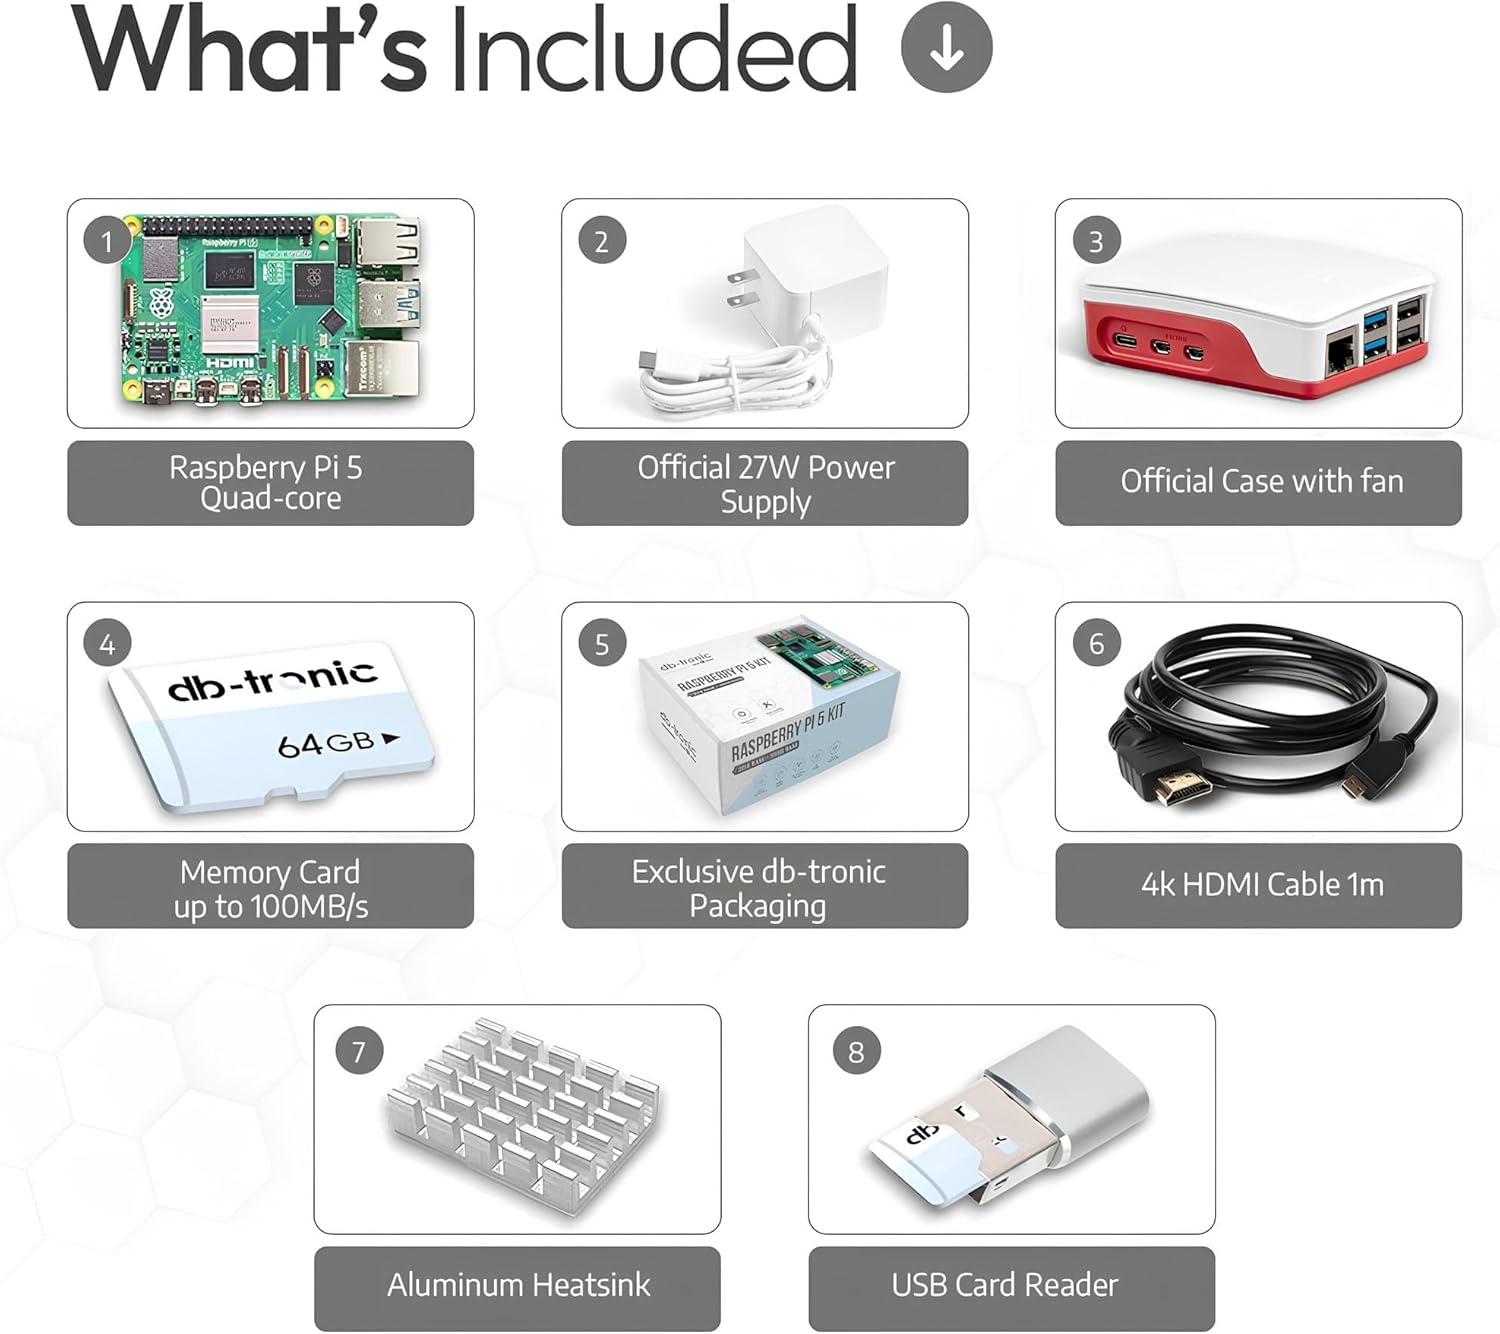
Figure 2: Detailed view of the kit's contents.
3. Setup Guide
Follow these steps to set up your Raspberry Pi 5 kit:
- Prepare the MicroSD Card: Insert the included 64GB MicroSD card into the USB card reader, then connect it to your computer. If the card is not pre-loaded with an operating system (like Raspberry Pi OS), download the official Raspberry Pi Imager from raspberrypi.com/software/ and follow the instructions to flash your desired OS onto the card. Once done, safely eject the card from your computer.
- Install the Heatsink and Case: Carefully attach the aluminum heatsink to the main processor chip on the Raspberry Pi 5 board. Then, place the Raspberry Pi 5 board into the official case. Ensure the fan is properly connected to the fan header on the board for optimal cooling.
- Insert MicroSD Card: Locate the MicroSD card slot on the Raspberry Pi 5 board and gently insert the prepared MicroSD card until it clicks into place.
- Connect Peripherals: Connect your display(s) to the micro HDMI ports using the provided 4K Micro HDMI cable. You may need an adapter if your display uses a standard HDMI port. Connect your keyboard and mouse to the USB 2.0 or USB 3.0 ports.
- Network Connection (Optional): For a wired network connection, connect an Ethernet cable from your router to the Gigabit Ethernet port on the Raspberry Pi 5. For wireless, Wi-Fi is built-in and can be configured after booting.
- Connect Power: Connect the official 27W USB-C power supply to the USB-C power input port on the Raspberry Pi 5. The system will automatically power on.
Your Raspberry Pi 5 is now ready for use. The operating system should boot up, and you can begin exploring its functionalities.
4. Operating Your Raspberry Pi 5
Once your Raspberry Pi 5 is set up and powered on, you can interact with it just like a desktop computer. The pre-installed Raspberry Pi OS provides a user-friendly graphical interface.
- Desktop Environment: Navigate the desktop using your connected mouse and keyboard. Applications can be launched from the start menu.
- Internet Connectivity: If using Wi-Fi, click on the network icon in the top right corner of the screen to connect to your wireless network. For wired connections, it should connect automatically.
- Software Updates: It is recommended to regularly update your system software. Open a terminal and run the commands:
sudo apt updateandsudo apt full-upgrade. - Shutdown: To safely shut down your Raspberry Pi, click on the Raspberry Pi icon in the top left corner, select 'Shutdown', and then 'Shutdown' again. Always shut down properly to prevent data corruption on the MicroSD card.
5. Features & Specifications
The Raspberry Pi 5 offers impressive performance and a rich set of features for a wide range of applications.
Key Features:
- Processor: Broadcom BCM2712, 2.4 GHz Quad-core 64-bit ARM Cortex-A76 CPU.
- Graphics: VideoCore VII GPU, supporting OpenGL ES 3.1 and Vulkan 1.2.
- Memory: 8GB LPDDR4X-4267 SDRAM.
- Video Output: Dual 4Kp60 HDMI output with HDR support.
- Wireless Connectivity: Dual-band 802.11ac Wi-Fi and Bluetooth 5.0 / Bluetooth Low Energy (BLE).
- USB Ports: 2 x USB 3.0 ports (5 Gbps simultaneous operation), 2 x USB 2.0 ports.
- Ethernet: Gigabit Ethernet with PoE+ support (requires separate PoE+ HAT).
- Camera/Display Interfaces: 2 x 4-lane MIPI camera/display transceivers.
- Expansion: PCIe 2.0 x1 accessory port (requires separate M.2-HAT or adapter), 40-pin GPIO header.
- Power: 5V/5A DC via USB-C, with Power Delivery support.
- Real-time Clock (RTC): Built-in RTC, supported by an external battery (not included).
- Power Button: On-board power button for convenient power control.

Figure 3: Raspberry Pi 5 board with key components.
Technical Specifications:
| Specification | Value |
|---|---|
| CPU Model | Cortex |
| CPU Speed | 2.4 GHz |
| RAM Size | 8 GB |
| Memory Storage Capacity | 64 GB (MicroSD) |
| Connectivity Technology | Ethernet, Wi-Fi, Bluetooth |
| Operating System | Raspberry Pi OS |
| Included Components | Raspberry Pi 5 8GB, Power Supply, Case, SD Card, HDMI Cable, Heatsink |
| Product Dimensions | 16.51 x 10.79 x 8.1 cm |
| Item Weight | 390 grams |

Figure 4: Raspberry Pi 5 advantages: Compact, Powerful, Energy-Efficient.
6. Official 27W USB-C Power Supply
The kit includes an official 27W USB-C power supply, specifically designed to meet the power requirements of the Raspberry Pi 5. This power supply ensures stable and reliable operation for all your projects and applications.
- Output: 5.1V / 5A
- Connector: USB-C
- Cable Length: 1.5 meters

Figure 5: Official 27W USB-C Power Supply.
7. Official Case with Fan
The included official case not only provides protection and an attractive appearance for your Raspberry Pi 5 but also ensures efficient cooling. The integrated fan and heatsink are crucial for maintaining optimal performance, especially during demanding tasks, by preventing overheating.
- Design: Optimized for perfect airflow.
- Cooling: Features an active fan and includes an aluminum heatsink.
- Installation: Easy to install the Raspberry Pi 5 board into the case.
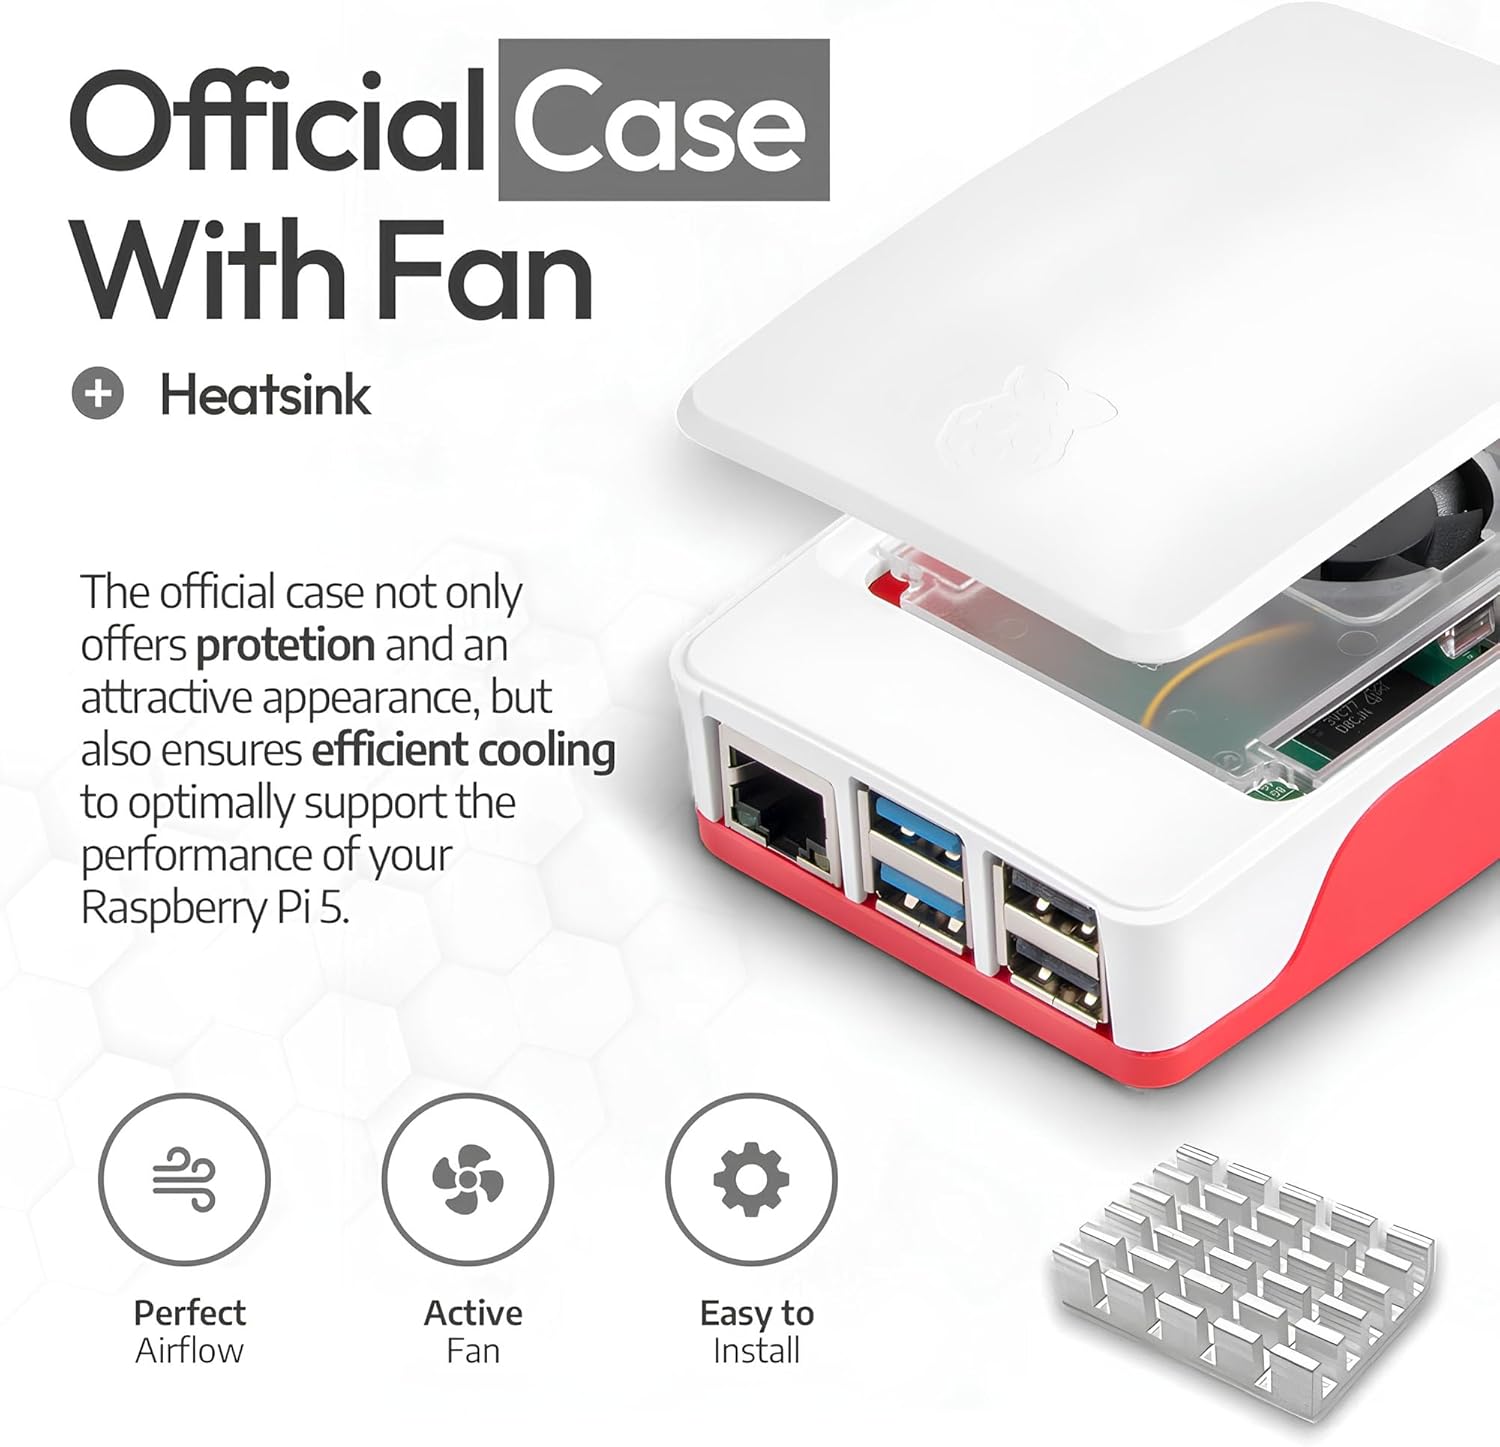
Figure 6: Official Case with Fan and Heatsink.
8. Memory Card & USB Reader
The kit provides a 64GB MicroSD card and a USB card reader to maximize the performance of your Raspberry Pi. The MicroSD card offers a fast data transfer rate, making it an ideal storage solution for your operating system and applications.
- Capacity: 64GB
- Speed: Up to 100MB/s download, 45MB/s upload (Class 10, High Speed)
- Compatibility: Supports high-speed SDR104 mode.
- Accessory: Includes a USB card reader for easy flashing and data transfer.
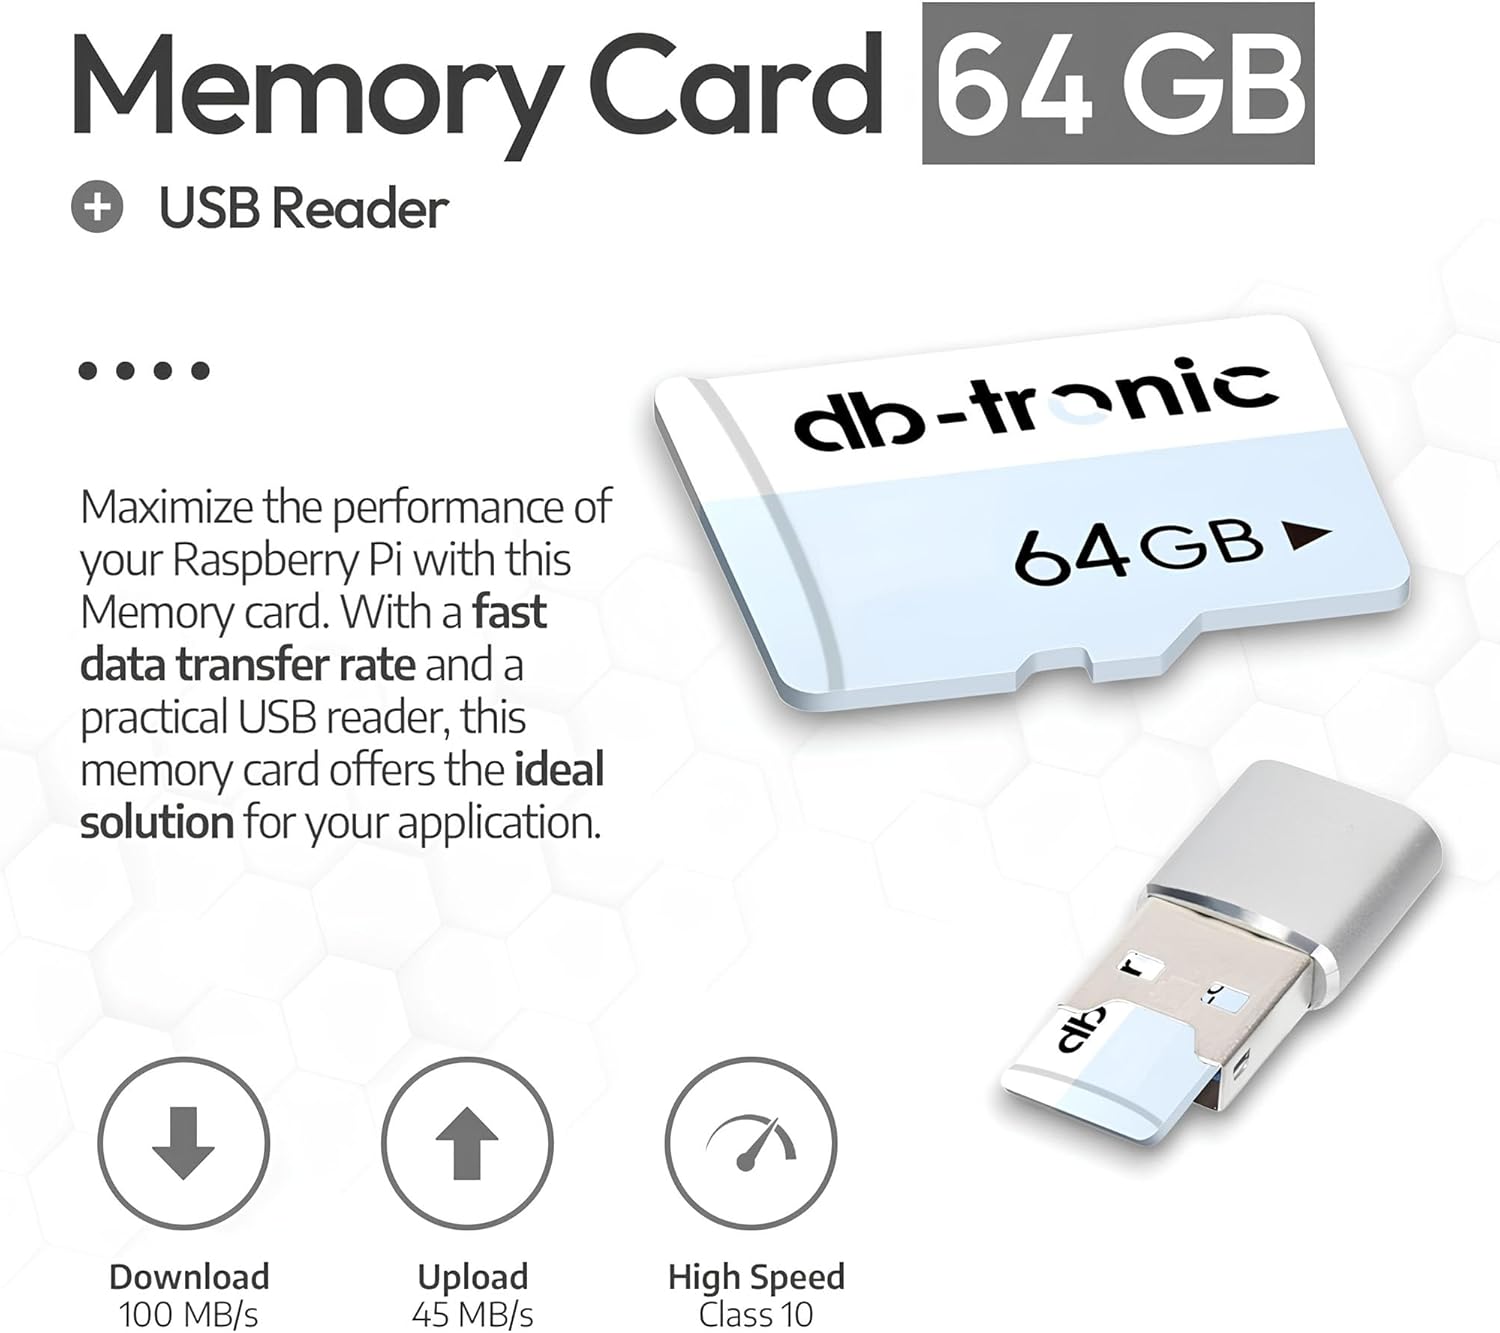
Figure 7: 64GB MicroSD Card and USB Reader.
9. Maintenance
Proper maintenance ensures the longevity and optimal performance of your Raspberry Pi 5:
- Keep it Clean: Regularly clean the case and fan vents to prevent dust buildup, which can hinder cooling. Use a soft, dry cloth.
- Temperature Control: Ensure the Raspberry Pi operates within its recommended temperature range. Avoid placing it in direct sunlight or enclosed spaces without adequate ventilation. The included fan and heatsink are vital for this.
- Safe Shutdown: Always perform a proper software shutdown before disconnecting power to prevent data corruption on the MicroSD card.
- Handle with Care: Avoid static discharge by handling the board by its edges. Do not apply excessive force to ports or connectors.
10. Troubleshooting
Here are some common issues and their potential solutions:
- No Display Output:
- Ensure the micro HDMI cable is securely connected to both the Raspberry Pi and the display.
- Verify the display is set to the correct input source.
- Check if the MicroSD card has a valid operating system image and is inserted correctly.
- Power Issues (No Boot):
- Confirm the official 27W USB-C power supply is used and properly connected. Lower wattage power supplies may not provide enough current.
- Ensure the power outlet is functional.
- Check the MicroSD card for proper insertion and integrity.
- Network Connectivity Problems:
- For wired Ethernet, check the cable connection and router status.
- For Wi-Fi, ensure the correct network name (SSID) and password are entered.
- Restart the Raspberry Pi and your router.
- Overheating:
- Ensure the heatsink is properly attached and the fan is connected and spinning.
- Verify the case vents are not obstructed.
- Reduce workload if consistently running hot.
For more detailed troubleshooting or specific technical support, please refer to the official Raspberry Pi documentation online or contact db-tronic customer support.
11. Warranty and Support
Your db-tronic Raspberry Pi 5 8GB Kit is covered by the manufacturer's standard warranty. Please retain your proof of purchase for any warranty claims.
For technical assistance, product inquiries, or warranty information, please contact db-tronic customer support through the retailer's platform or the official db-tronic website. Online resources, forums, and communities for Raspberry Pi are also excellent sources of information and peer support.


