1. Product Overview
The Wishiot XH-C2X WiFi BT Module is an updated version of the ESP-01S, featuring an ESP8684H4 chip with 4MB Flash and 32Mbit memory. This module provides dual Wi-Fi and Bluetooth functionality, making it suitable for a wide range of IoT and embedded applications.
Important Note: The XH-C2X module is not compatible with Prusa Mini and other Prusa printer motherboards.

Figure 1: Two XH-C2X WiFi BT Modules, showcasing their compact design and pin headers.
2. Key Features and Specifications
2.1. Wi-Fi Capabilities
- Supports IEEE 802.11 b/g/n protocol.
- Supports 20 MHz and 40 MHz bandwidth in the 2.4 GHz band.
- 1T1R mode with data rates up to 72 Mbps.
- Maximum +18dBm output power in 802.11b mode.
- Supports Infrastructure BSS Station mode, SoftAP mode, Station + SoftAP mode, and Hybrid mode.
- Operating channel center frequency range: 2412 ~ 2484 MHz.
- Automatic Beacon Monitoring (Hardware TSF).
- 3 virtual Wi-Fi interfaces.
2.2. Bluetooth Capabilities
- Protocol: Low Energy Bluetooth (Bluetooth LE), Bluetooth 5, Bluetooth mesh.
- RF: NZIF Receiver with -98 dBm Sensitivity.
- Rate support: 125 Kbps, 500 Kbps, 1 Mbps, 2 Mbps.
- Channel Selection Algorithm #2.
- Wi-Fi and Bluetooth coexist and share the same antenna.
2.3. Hardware Specifications
- Module Interface: GPIO, SPI, UART, I2C, I2S, IR, LED PWM, Temperature Sensor, SAR ADC, General Timers, Watchdog Timers.
- Onboard Clock: 26 MHz Crystal, 32 kHz Crystal.
- Operating Voltage: 3.0-3.6V.
- Operating Current: Average: 80 mA.
- Operating Temperature Range: -40°C to +85°C.
- Package Size: 16 mm x 24 mm x 3 mm.
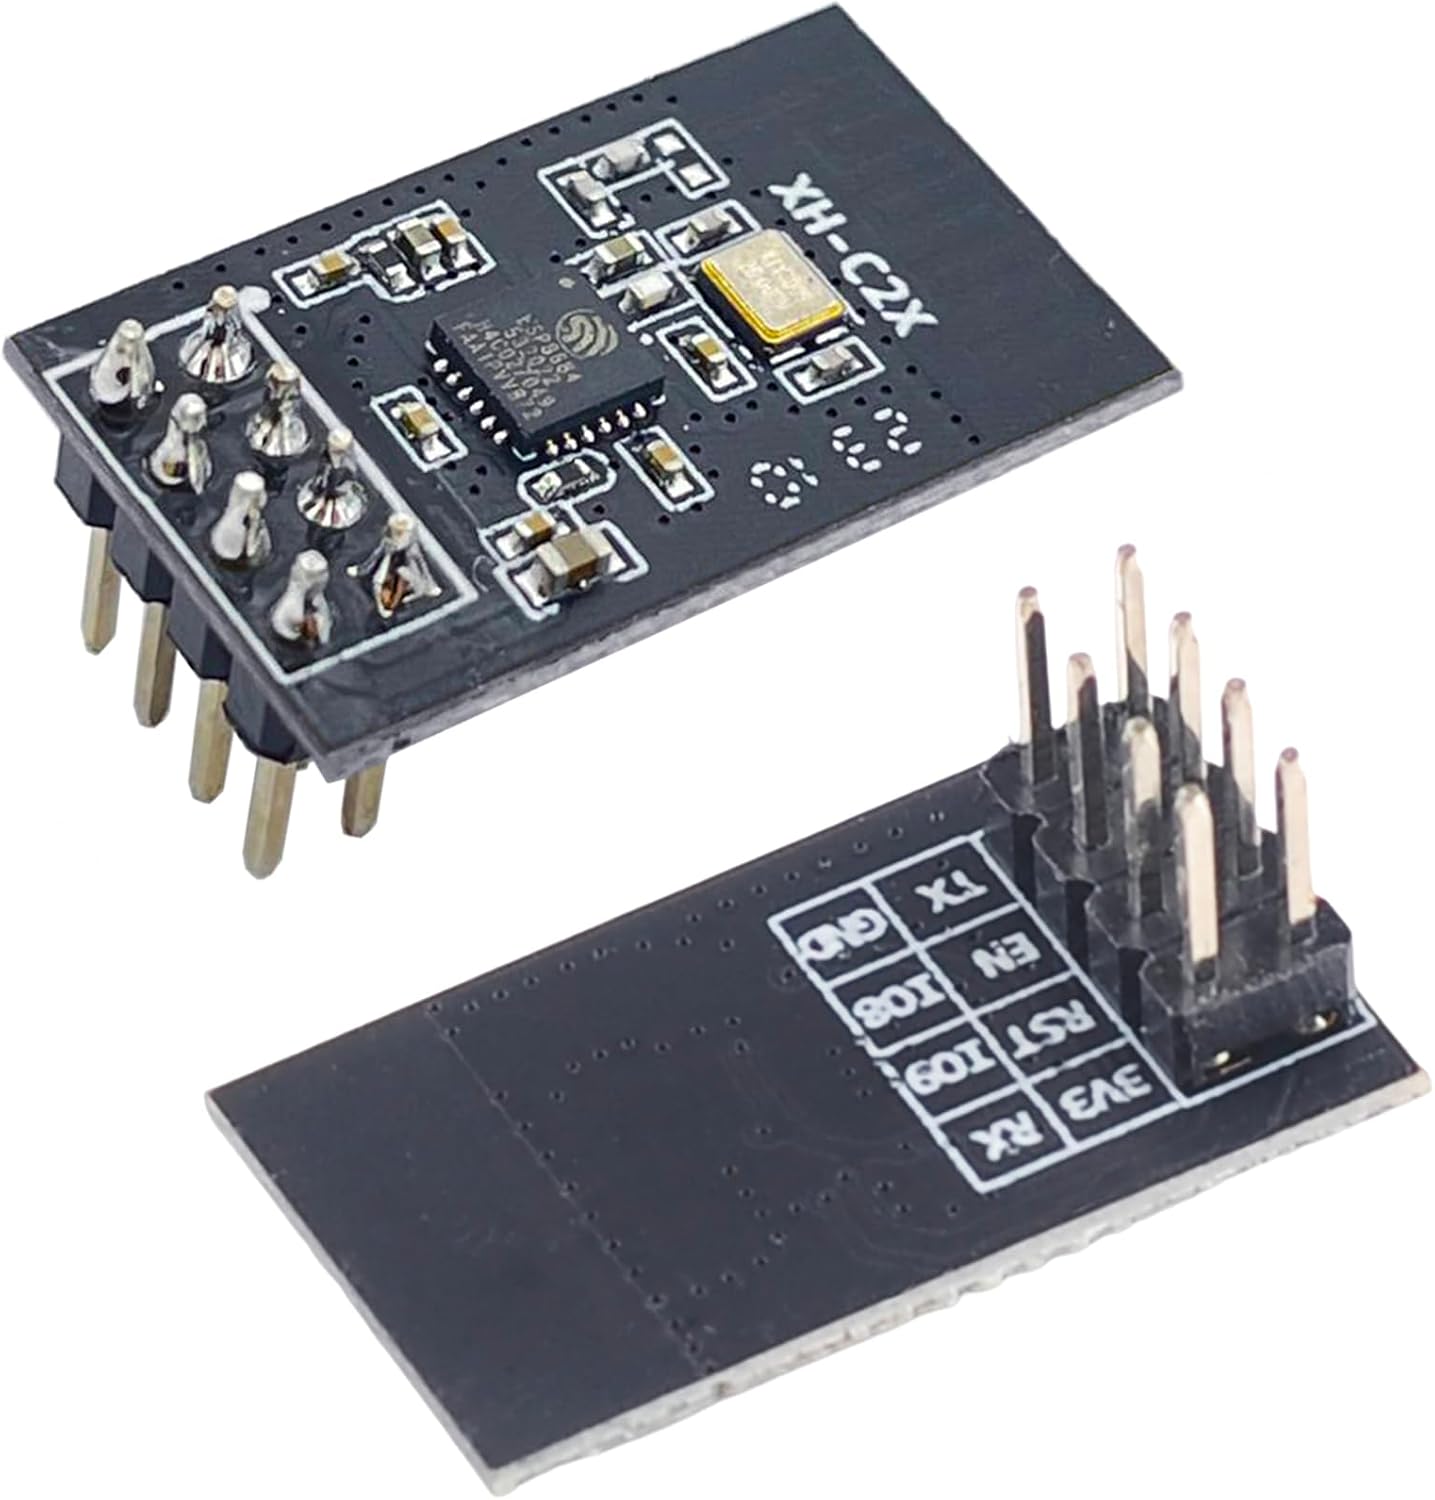
Figure 2: Top and bottom view of a single XH-C2X module, showing the pin labels on the underside.

Figure 3: Detailed dimensions of the XH-C2X module, including pin spacing and overall size.
3. Pinout and Module Structure
Understanding the pinout and internal structure is crucial for proper integration and development.

Figure 4: Pinout diagram for the XH-C2X module, detailing each pin's name, style (I/O), and description. Includes notes on UART Download Mode and Flash Boot Mode.

Figure 5: Block diagram illustrating the internal structure of the XH-C2X module, highlighting the 2.4G WiFi & BT5.0 SOC, RISC-V 32 CPU, memory, and various peripheral interfaces.
4. Setup and Firmware Flashing
To utilize the XH-C2X module, firmware flashing is often required. This section outlines the general process.
4.1. Required Tools and Drivers
- ESP8684H4 Programmer: A dedicated programmer board is needed to connect the module to your computer for flashing. An example is shown in the tutorial video.
- CP2102 Driver: Ensure the CP2102 driver is installed on your PC for the programmer board to be recognized. You can typically find this driver on the Silicon Labs website: silabs.com/developers/usb-to-uart-bridge-vcp-drivers.
- Espressif Flash Download Tool: This software is used to flash the firmware onto the module. Download it from the Espressif website: espressif.com.cn/en/support/download/other-tools.
- Firmware Files: Obtain the appropriate firmware for your application. For AT firmware, refer to Espressif's support page: espressif.com.cn/en/support/download/at. When selecting firmware, choose the ESP32-C2 4MB Series.
4.2. Flashing Procedure
- Connect the Module: Connect the XH-C2X module to the programmer board.
- Install Drivers: If not already installed, install the CP2102 driver. Verify the COM port in Device Manager.
- Open Flash Download Tool: Launch the Espressif Flash Download Tool. Select "ESP32-C2" as the ChipType.
- Load Firmware: Load the bootloader.bin file and other necessary firmware files into the tool, specifying their addresses.
- Configure Settings: Choose the correct COM port and set the BAUD rate (a higher BAUD rate can speed up flashing).
- Start Download: Click the "START" button to begin the flashing process.
- Verify: After flashing, open a serial port assistant and press the RESET button on the programmer to see the print information, confirming successful firmware upload.

Figure 6: Screenshot of the Espressif Flash Download Tool interface, highlighting the selection of "ESP32-C2" as the ChipType for flashing.
4.3. Firmware Flashing Tutorial Video
For a visual guide on the firmware flashing process, please refer to the official tutorial video:
Video 1: Tutorial on flashing firmware for the XH-C2X module based on Espressif guidelines. This video demonstrates the steps for connecting the module to a programmer, using the Espressif Flash Download Tool, and verifying the firmware upload.
5. Software Development and Usage
The XH-C2X module supports various software development approaches for integration into your projects.
5.1. Software Features
- Wi-Fi Modes: Station/softAP/SoftAP+station.
- Security Mechanism: WPA/WPA2/WPA2-Enterprise/WPS.
- Encryption Types: AES/RSA/ECC/SHA.
- Firmware Upgrade: UART Download/OTA (Over the network/Through the host to download and write firmware).
- Software Development: Supports cloud server development/SDK for user firmware development.
- Network Protocol: IPv4, IPv6, SSL, TCP/UDP/HTTP/FTP/MQTT.
- User Configuration: AT+ Command Set, Cloud Server, Android/iOS APP.
5.2. Application Scenarios
This module is ideal for a variety of applications, including:
- Smart Home / Smart Building
- Electric Lighting
- Baby Monitor / Webcam
- Wearable Electronics
- Smart Bus
- Wireless Location Sensing / Wireless Positioning System Beacon
- Industrial Wireless Control
6. Troubleshooting
Here are some common issues and their potential solutions:
- Module not recognized by PC: Ensure the CP2102 driver is correctly installed. Check Device Manager for the COM port. Try a different USB cable or port.
- Flashing fails or module does not respond: Verify that "ESP32-C2" is selected as the ChipType in the Flash Download Tool. Double-check all connections between the module and the programmer. Ensure the correct firmware files are selected and loaded at the right addresses. Some users report that the module comes with very old software, requiring a firmware update.
- Module not connecting to Wi-Fi/Bluetooth: Check your code and configuration for correct network credentials or Bluetooth pairing procedures. Ensure the module is within range of the network/device.
- Compatibility with Prusa Mini: As stated, this module is not compatible with Prusa Mini and other Prusa printer motherboards due to chip differences (ESP8684H4 vs. ESP8266). Attempting to use it with these printers will not work.
- Slow data rate: While the module supports up to 72 Mbps, actual performance can vary based on network conditions, antenna quality, and application. Ensure optimal signal strength and consider antenna placement.
7. Additional Resources
For further information and support, you may find these resources helpful:
- Wishiot Official Store: Visit the Wishiot Store on Amazon
- Espressif Documentation: Refer to the official Espressif documentation for detailed technical specifications and development guides for the ESP8684H4 chip.
8. Product Showcase Video
View a brief showcase of the Wishiot XH-C2X WiFi BT Module:
Video 2: A short demonstration video showcasing the physical appearance and features of the Wishiot XH-C2X WiFi BT Module.