
1. Safety Information
Please read and understand this entire manual before attempting to assemble, operate, or install the product. Failure to do so could lead to electric shock, fire, or serious personal injury.
- Ensure the power is turned off at the circuit breaker before installation or maintenance.
- All wiring must be in accordance with national and local electrical codes. If you are unfamiliar with wiring, consult a qualified electrician.
- The mounting structure must be capable of supporting the weight of the fan (approximately 19.01 pounds).
- Do not operate the fan with damaged blades or any visible defects.
- Keep hands, hair, and clothing away from moving fan blades.
- This fan is designed for both indoor and outdoor (covered patio) use. Ensure proper protection from direct water exposure for outdoor installations.
2. Package Contents
Verify that all components listed below are included in your package. If any parts are missing or damaged, contact Ohniyou customer support.
- Ceiling Fan Motor Assembly
- Fan Blades (5)
- Light Kit Assembly
- Remote Control
- Wall Mount Bracket for Remote
- Mounting Bracket
- Hardware Pack (screws, wire nuts, washers, etc.)
- User Manual
3. Setup and Installation
Follow these steps carefully for proper installation. Professional installation is recommended if you are not experienced with electrical wiring.
3.1 Pre-Installation
- Turn off power at the main circuit breaker.
- Ensure the ceiling joist or support structure can hold the fan's weight.
- Unpack all components and lay them out to ensure nothing is missing.
3.2 Mounting the Fan
Attach the mounting bracket securely to the ceiling junction box. Ensure all screws are tightened.
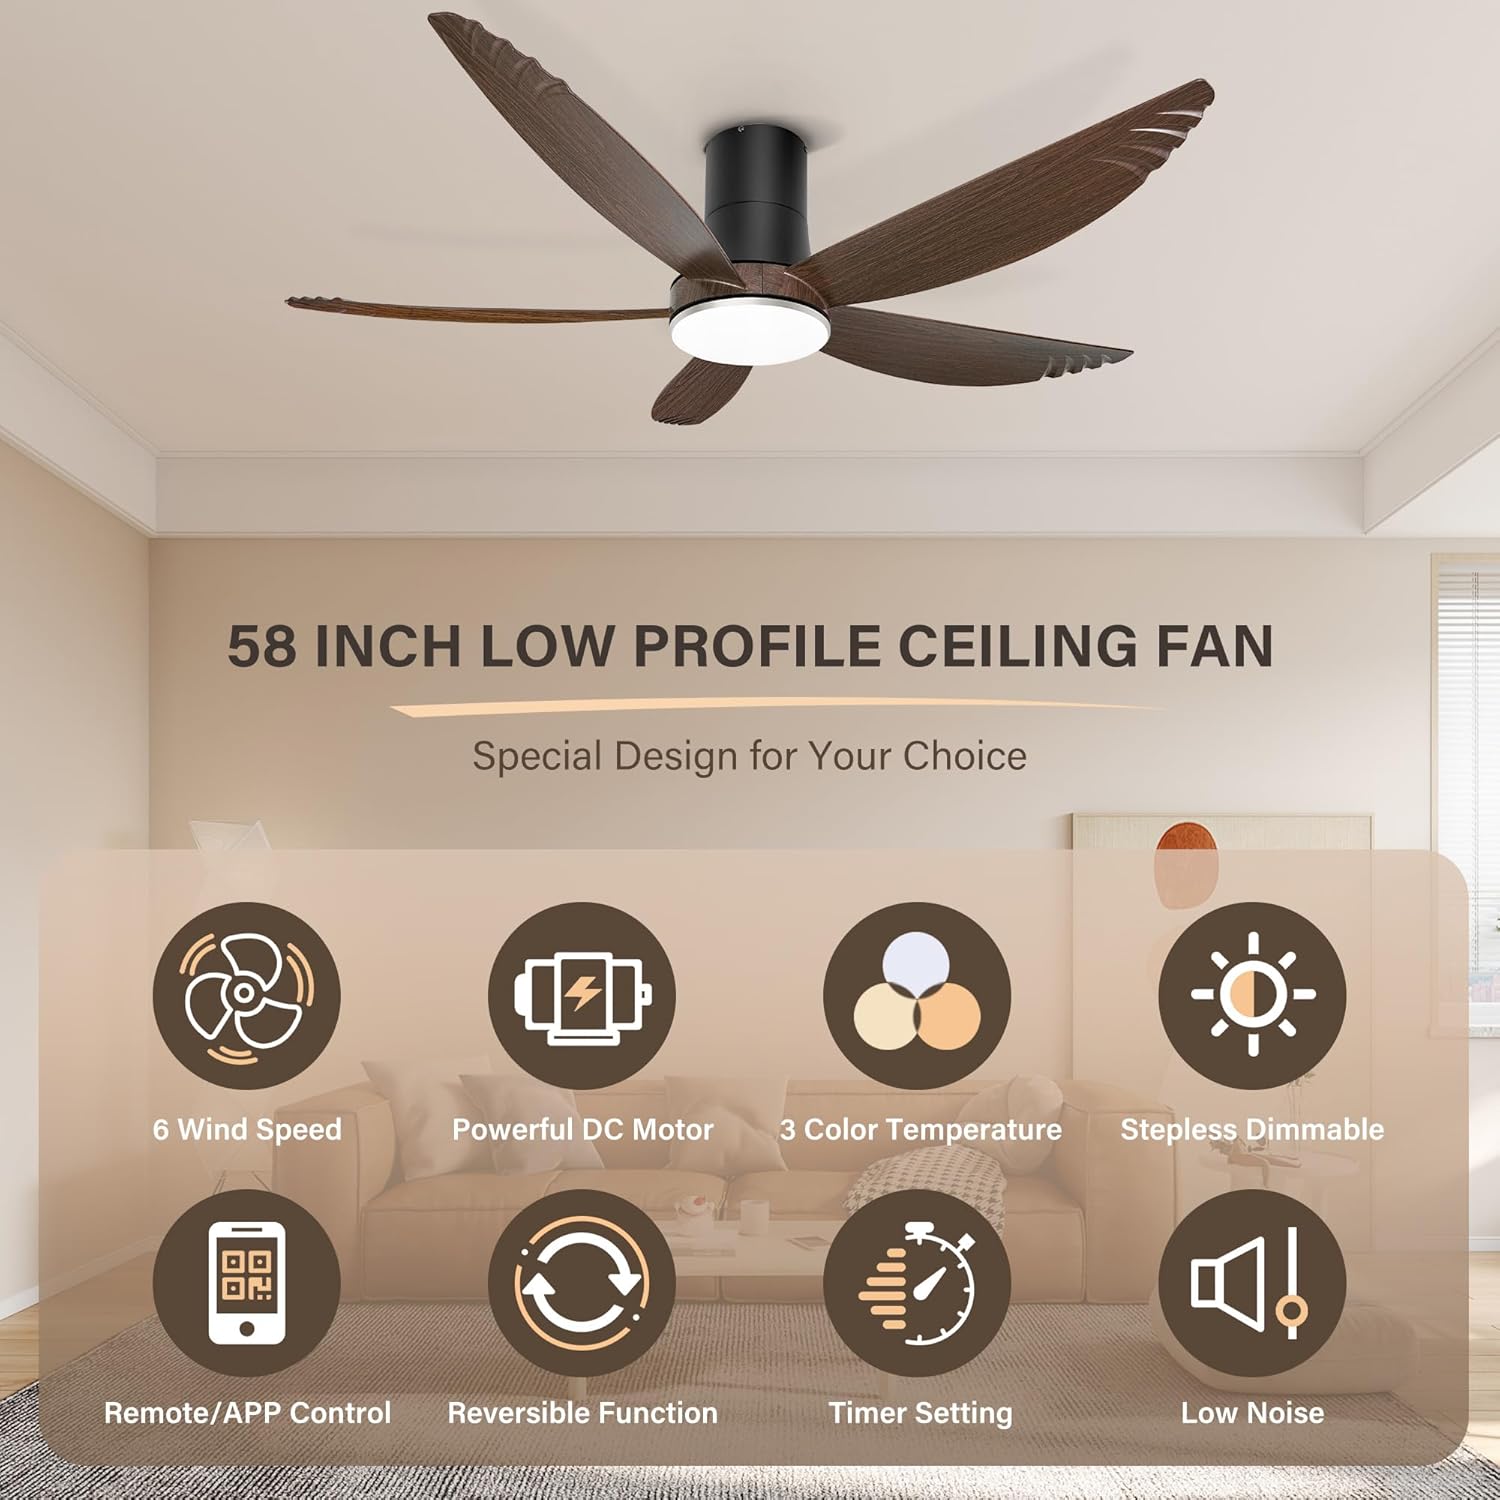
Figure 3.2.1: Illustration showing the secure attachment of the mounting bracket to the ceiling junction box, ready for fan assembly.
3.3 Wiring Connections
Connect the fan's electrical wires to the household wiring according to the diagram. Use the provided wire nuts to secure connections. Ensure proper grounding.

Figure 3.3.1: Detailed wiring diagram illustrating the connection points for the fan's electrical components to the household power supply.
3.4 Attaching Fan Body and Blades
Carefully lift the fan motor assembly and attach it to the mounting bracket. Secure it with the designated screws. Then, attach each fan blade to the motor housing using the provided screws, ensuring they are firmly fastened.

Figure 3.4.1: Visual guide demonstrating the correct method for attaching the fan blades to the motor assembly.
3.5 Installing the Light Kit
Connect the light kit wires to the fan motor assembly wires. Secure the light kit to the bottom of the fan motor housing.
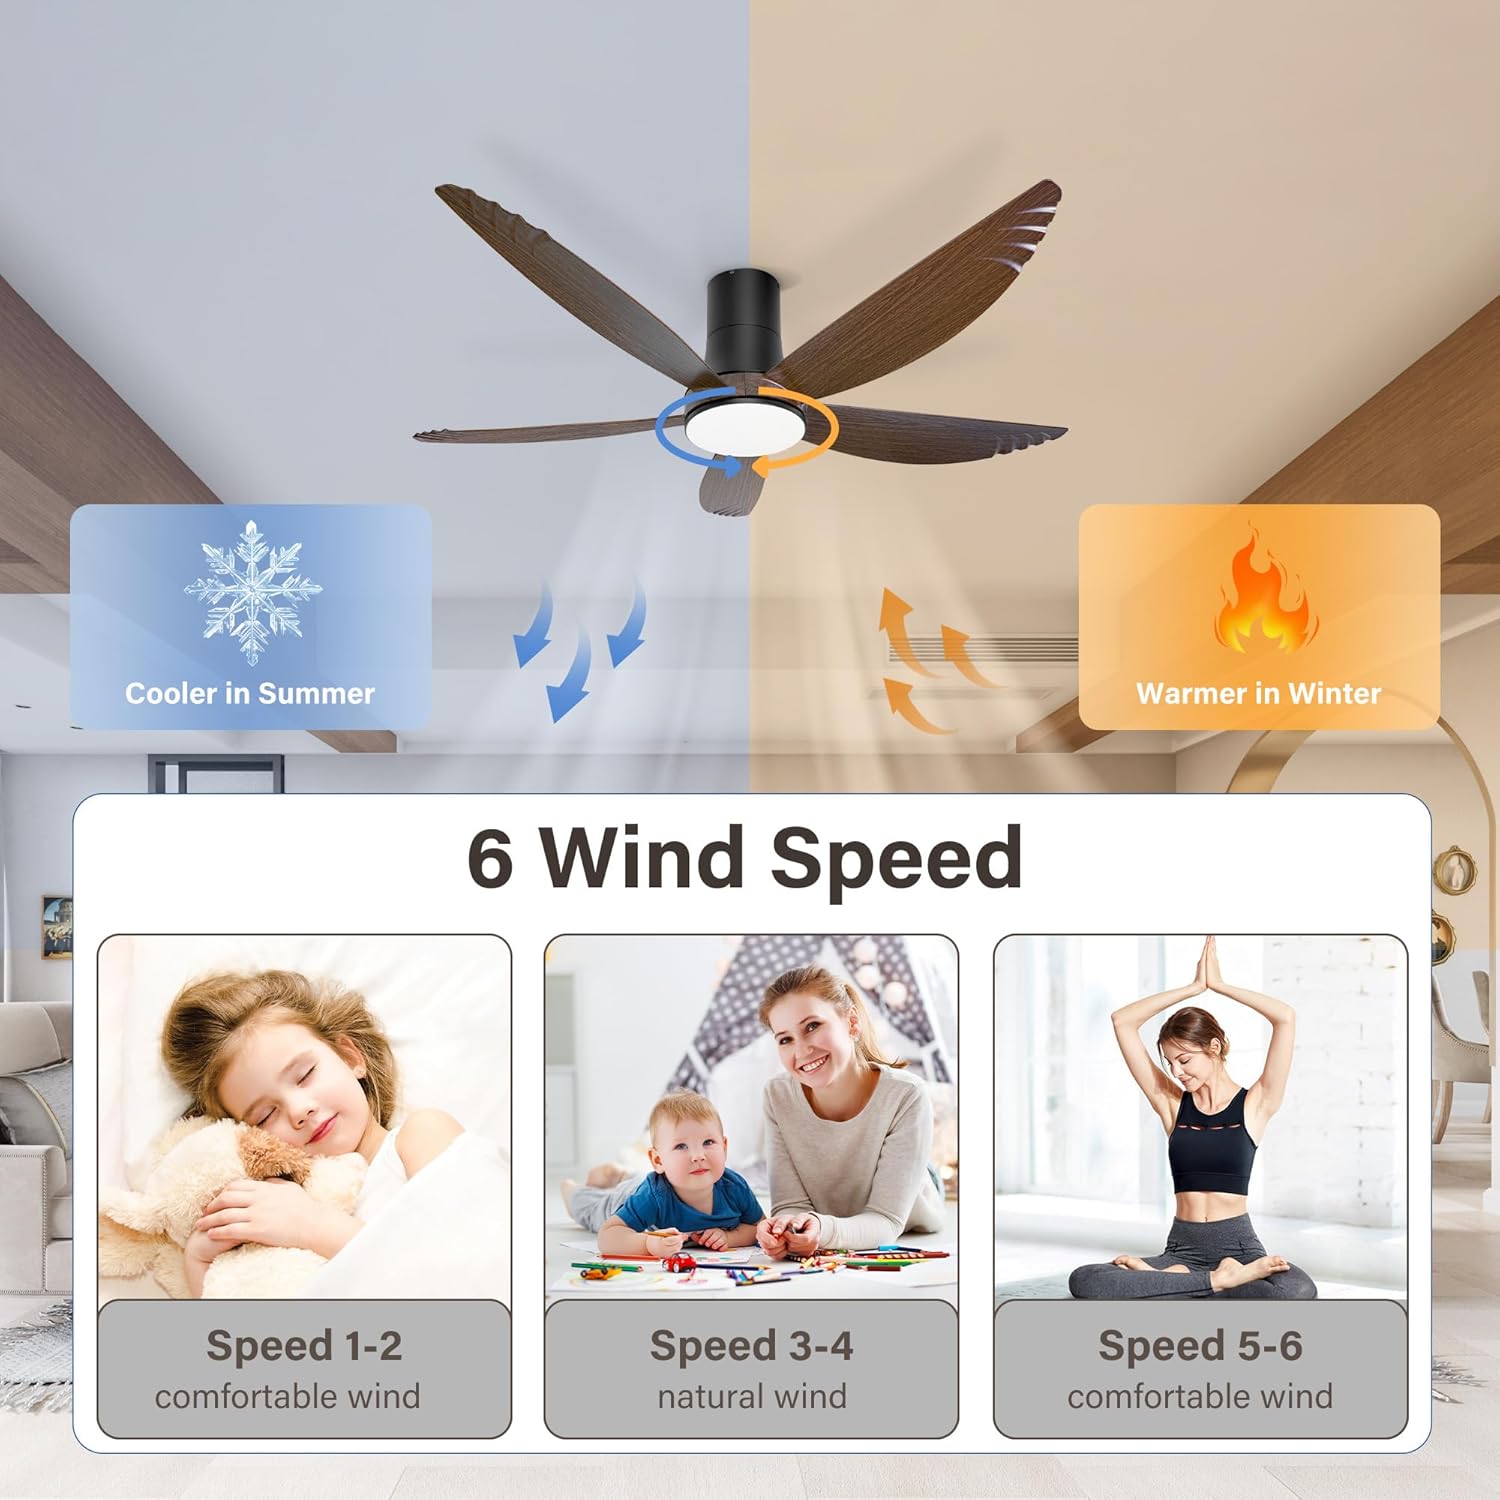
Figure 3.5.1: Image illustrating the final step of attaching the integrated light kit to the fan's main body.
3.6 Remote Control Pairing
After installation and restoring power, pair the remote control with the fan. Typically, this involves pressing a 'SETUP' or 'PAIR' button on the remote within a few seconds of turning on the power to the fan.

Figure 3.6.1: Depiction of the remote control, highlighting the 'SETUP' button used for pairing the remote with the ceiling fan.
3.7 App Control Setup
For app control, download the dedicated application by scanning the QR code provided in the manual or on the product packaging. Follow the in-app instructions to connect your fan to your smart device.

Figure 3.7.1: Image displaying the QR code for downloading the mobile application to control the ceiling fan.
4. Operating Instructions
Your Ohniyou ceiling fan can be operated using the included remote control or a compatible mobile application.
4.1 Remote Control Functions
The remote control provides comprehensive control over the fan and light features.

Figure 4.1.1: Overview of the remote control and a smartphone screen showing the fan's app interface.

Figure 4.1.2: A detailed layout of the remote control, indicating the function of each button for fan and light operation.
- Light Switch: Turns the light ON/OFF.
- Sound Switch: Toggles audible feedback from the fan.
- Color Change Temperature: Cycles through 3000K Warm Light, 4500K Natural Light, and 6000K Cold White.
- LED Dimming/Color Dimming: Adjusts light brightness from 10% to 100%.
- Fan Forward/Reverse: Changes the direction of fan rotation for summer (downward airflow) or winter (upward airflow) modes.
- Adjust Fan Speed: Selects from 6 wind speeds.
- General Off: Turns off both fan and light.
- Delay 2 Hours: Sets a 2-hour timer for automatic shutdown.
- Nightlight: Activates a low-brightness night mode.
- Pair Code: Used for initial remote pairing.
- Fan Off: Turns off the fan only.
4.2 App Control Functions
The mobile app offers similar controls to the remote, with an intuitive graphical interface.

Figure 4.2.1: Screenshot of the mobile application interface for controlling the fan's various settings.
- 6 Speeds: Adjust fan speed from gentle breeze to strong airflow.
- Dimmable: Control light brightness.
- Timer: Set automatic shut-off times.
- 3 Colors: Change light color temperature (Warm, Natural, Cold White).
4.3 Reversible Function (Summer/Winter Mode)
The fan features a reversible DC motor, allowing it to circulate air effectively in both warm and cool seasons.

Figure 4.3.1: Diagram illustrating the airflow patterns for summer mode (cooling, downward airflow) and winter mode (circulating warm air, upward airflow).
- Summer Mode: Blades rotate counter-clockwise, pushing air downward to create a cooling effect.
- Winter Mode: Blades rotate clockwise, drawing air upward to circulate warm air trapped near the ceiling.
4.4 Timer Setting
The fan includes a timer function for convenience, allowing you to set it to turn off automatically after a specified period.

Figure 4.4.1: Visual representation of the timer settings and other comfort features like night mode and mute function.
- Set the timer for 2, 4, or 8 hours using the remote or app.
- The fan will automatically shut off once the set time expires.
5. Maintenance
Regular maintenance ensures the longevity and optimal performance of your ceiling fan.
- Cleaning: To clean the fan, wipe the blades and motor housing with a soft, damp cloth. Do not use abrasive cleaners or solvents. Ensure power is off before cleaning.
- Blade Balance: If the fan wobbles, check that all blade screws are tight. Ensure blades are not bent or damaged.
- Light Cover: Periodically remove and clean the light cover to maintain optimal light output.
- Connections: Annually check all electrical connections and mounting hardware for tightness.
6. Troubleshooting
If you encounter issues with your fan, refer to the following common problems and solutions:
| Problem | Possible Cause | Solution |
|---|---|---|
| Fan does not start | No power; Loose wiring; Remote not paired | Check circuit breaker; Verify all wire connections; Re-pair remote control. |
| Light does not work | Loose wiring; LED module issue | Check light kit wiring; Contact customer support if LED module is faulty. |
| Fan wobbles | Loose blades; Uneven blade balance; Loose mounting | Tighten all blade screws; Check for bent blades; Ensure mounting bracket is secure. |
| Remote not responding | Dead batteries; Not paired; Interference | Replace batteries; Re-pair remote; Reduce interference sources. |
| App control not working | No Wi-Fi connection; App not connected to fan | Ensure stable Wi-Fi; Follow in-app connection steps; Restart app/phone. |
| Fan is noisy | Loose screws; Motor issue | Check all screws; If noise persists, contact customer support. |
7. Specifications
- Brand: Ohniyou
- Model Name: GLX068
- Electric Fan Design: Ceiling Fan
- Room Type: Bedroom, Dining Room, Home Office, Kitchen, Living Room, Patios
- Noise Level: 35 dB (Quiet DC Motor)
- Finish Type: Polished
- Theme: Farmhouse
- Voltage: 110 Volts
- Switch Type: Remote
- Control Method: Remote, APP
- Product Dimensions: 58 x 58 x 8.26 inches (L x W x H)
- Item Weight: 19.01 pounds
- Features: 6 Wind Speeds, Dimmable Light, 3 Color Temperatures (3000K, 4500K, 6000K), Reversible Function, Timer Setting

Figure 7.1.1: The Ohniyou 58 Inch Ceiling Fan, showcasing its design and included remote control and app interface.
Figure 7.1.2: An infographic highlighting key features such as 6 wind speeds, powerful DC motor, 3 color temperatures, stepless dimming, remote/app control, reversible function, timer setting, and low noise.
Figure 7.1.3: Visual representation of the fan's stepless dimming capability and the three adjustable color temperatures: 3000K Warm Light, 4500K Natural Light, and 6000K Cold White.
Figure 7.1.4: An image emphasizing the fan's quiet operation (below 30dB), 2-hour timer function, and night light mode, with a child sleeping peacefully.

Figure 7.1.5: A diagram detailing the fan's dimensions (58 inches in diameter, 8.26 inches in height) and a guide for suitable room sizes (medium rooms, 12FT*12FT to 18FT*18FT).
8. Warranty and Support
For warranty information, technical support, or replacement parts, please contact Ohniyou customer service. Refer to the contact details provided on the product packaging or the official Ohniyou website.
Please have your model number (GLX068) and purchase date available when contacting support.