
Singer 4432
Singer 4432 Heavy Duty Sewing Machine Instruction Manual
Your comprehensive guide to operating and maintaining your Singer 4432 sewing machine.
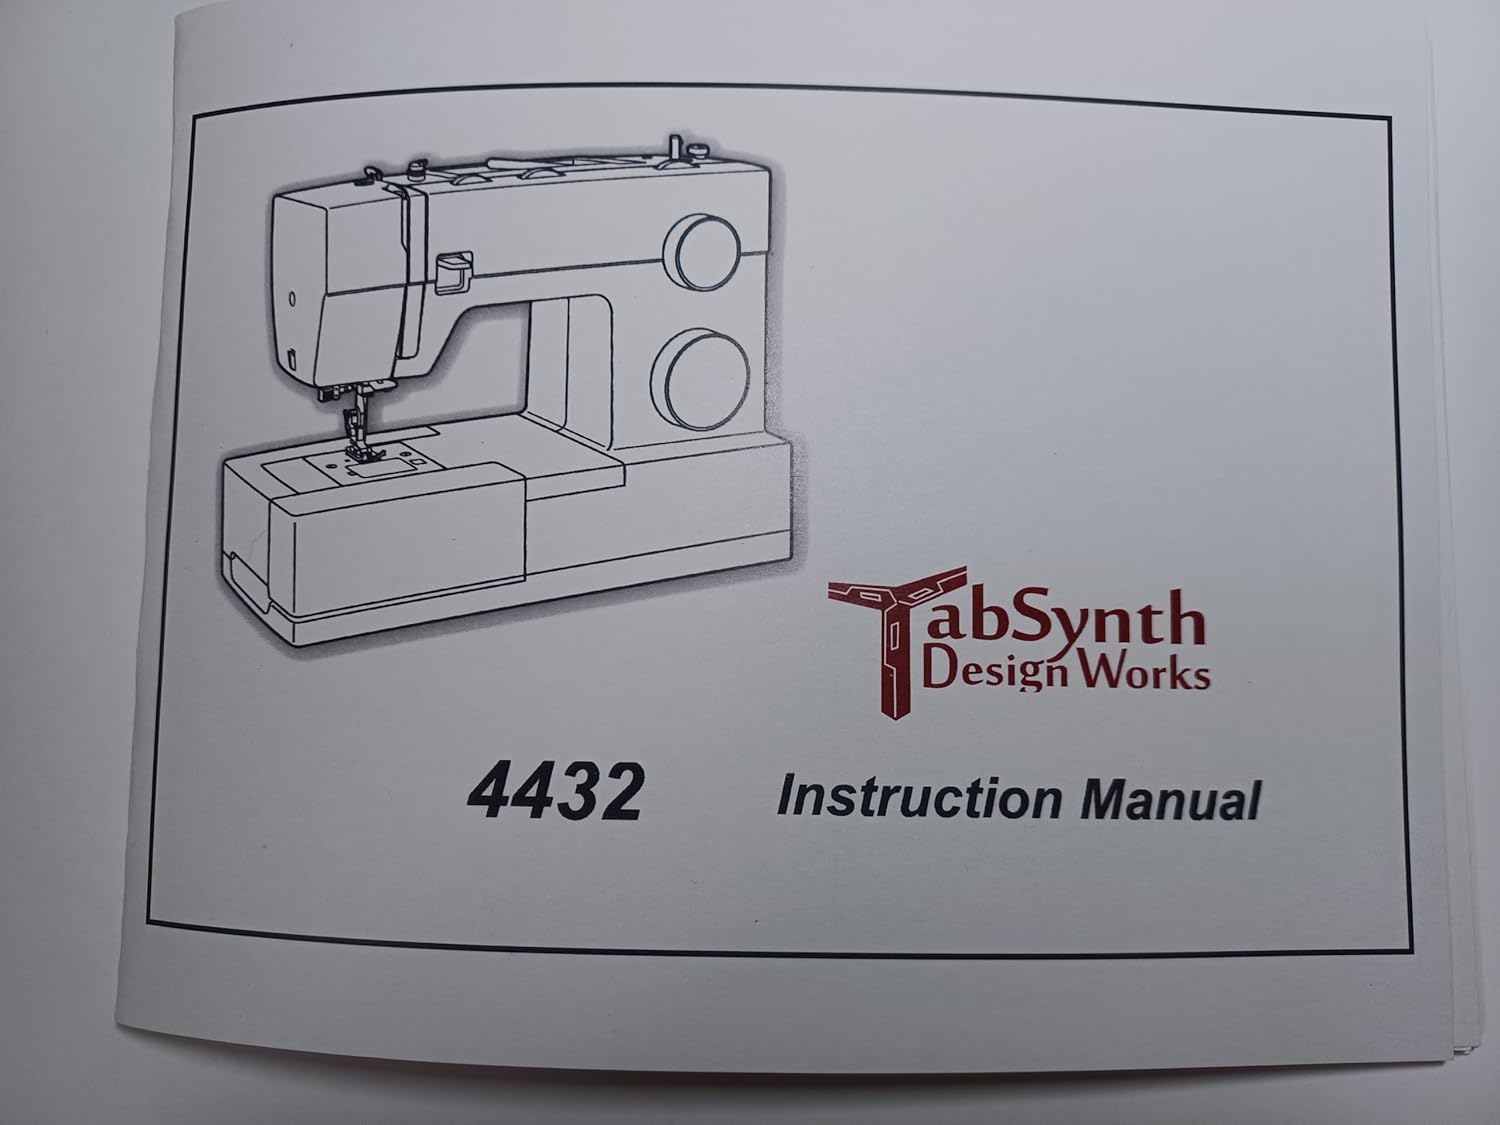
Image: Front cover of the Singer 4432 Sewing Machine Instruction Manual.
Introduction
As the owner of a new SINGER sewing machine, you are about to begin an exciting adventure in creativity. From the moment you first use your machine, you will know you are sewing on one of the easiest to use sewing machines ever made.
We recommend that, before you start to use your sewing machine, you discover the many features and the ease of operation by going through this instruction book, step by step, seated at your machine.
To ensure that you are always provided with the most modern sewing capabilities, the manufacturer reserves the right to change the appearance, design or accessories of this sewing machine when considered necessary.
SINGER is the exclusive trademark of The Singer Company S.à.r.l. or its Affiliates. ©2013 The Singer Company Limited S.à.r.l. or its Affiliates. All rights reserved.

Image: Introduction page from the manual.
Important Safety Instructions
When using an electrical appliance, basic safety should always be followed, including the following:
Read all instructions before using this sewing machine.
DANGER – To reduce the risk of electric shock:
- Always unplug this sewing machine from the electrical outlet immediately after using and before cleaning.
- Do not reach for a sewing machine that has fallen into water. Unplug immediately.
WARNING – To reduce the risk of burns, fire, electric shock, or injury to persons:
- Do not allow to be used as a toy. Close attention is necessary when this sewing machine is used by or near children.
- Use this sewing machine only for its intended use as described in this manual. Use only attachments recommended by the manufacturer as contained in this manual.
- Never operate this sewing machine if it has a damaged cord or plug, if it is not working properly, if it has been dropped or damaged, or dropped into water. Return the sewing machine to the nearest authorized dealer or service center for examination, repair, electrical or mechanical adjustment.
- Never operate the sewing machine with any air openings blocked. Keep ventilation openings of the sewing machine and foot controller free from the accumulation of lint, dust, and loose cloth.
- Never drop or insert any object into any opening.
- Do not use outdoors.
- Do not operate where aerosol (spray) products are being used or where oxygen is being administered.
- To disconnect, turn all controls to the off ("O") position, then remove plug from outlet.
- Do not unplug by pulling on cord. To unplug, grasp the plug, not the cord.
- The sound pressure level under normal operating conditions is 70dB(A).
- Never drop off the machine or unplug when the machine is not operating properly.
- Never place anything on the foot control.
- If the supply cord is bad with foot controller damaged, it must be replaced by the manufacturer or its service agent or a similarly qualified person in order to avoid a hazard.
- This appliance is not intended for use by persons (including children) with reduced physical, sensory or mental capabilities, or lack of experience and knowledge, unless they have been given supervision or instruction concerning use of the appliance by a person responsible for their safety.
- Children should be supervised to ensure that they do not play with the appliance.
SAVE THESE INSTRUCTIONS
This sewing machine is intended for household use only.

Image: Important Safety Instructions page.
Principal Parts of the Machine
Familiarize yourself with the various components of your Singer 4432 sewing machine. Understanding each part's function is crucial for proper operation and maintenance.
- 1. Thread tension dial
- 2. Presser foot pressure adjustment
- 3. Thread take-up lever
- 4. Reverse sewing lever
- 5. Thread cutter
- 6. Presser foot lifter
- 7. Needle plate cover
- 8. Removable extension table/ accessory storage
- 9. Three needle position dial
- 10. Bobbin stopper
- 11. Stitch width dial
- 12. Stitch length dial
- 13. Pattern selector dial
- 14. Automatic threader
- 15. One step buttonhole lever
- 16. Horizontal spool pin
- 17. Bobbin winding spindle
- 18. Hole for auxiliary spool pin
- 19. Handwheel
- 20. Buttonhole stitch balance adjustment slot
- 21. Power and light switch
- 22. Main plug socket
- 23. Rotary thread guide
- 24. Upper thread guide
- 25. Face plate
- 26. Handle
- 27. Presser foot lifter
- 28. Drop feed control
- 29. Foot speed control
- 30. Power cord

Image: Diagram of the sewing machine's principal parts.
Accessories
Your Singer 4432 sewing machine comes with a set of standard accessories to enhance your sewing experience. Additional optional accessories may be available for purchase from your authorized retailer.
Standard Accessories:
- All-purpose foot
- Zipper foot
- Buttonhole foot
- Button sewing foot
- Seam ripper/brush
- Edge quilting guide
- Needle pack
- Spool holders (2x)
- Bobbins (3x)
- L-screwdriver
- Auxiliary Spool Pin
- Spool pin felt (2x)
- Soft cover
Optional Accessories (These 10 accessories are not supplied with this machine, but are available for purchase from your authorized retailer):
- Cording foot
- Darning/embroidery foot
- Even feed foot
- Gathering foot
- Invisible hem foot
- Open toe foot
- Overcasting foot
- Pintuck foot
- Rolled hem foot
- Twin needle

Image: Accessories list and illustrations.
Setup and Preparation
Winding the Bobbin
Proper bobbin winding is essential for smooth sewing. Follow these steps:
- Place thread and corresponding spool holder on to spool pin.
- Snap thread into thread guide.
- Wind thread clockwise around bobbin winder tension discs.
- Thread bobbin as illustrated and place on spindle.
- Push bobbin spindle to right.
- Hold thread end securely.
- Step on foot control pedal.
- Trim thread close to the bobbin & then continue winding until bobbin is full.
- Cut thread, push bobbin spindle to left and remove.
Please Note: When the bobbin winder spindle is in "bobbin winding" position, the machine will not sew and the handwheel turns. To start sewing, push the bobbin winder spindle to the left (sewing position).
Attaching the Presser Foot Shank
The presser foot shank holds various presser feet. To attach it:
- Raise the presser foot with the presser foot lifter. Loosen the screw on the presser shank screw. Line up the opening in the shank with the opening on the presser bar and then tighten the screw.
Attaching the presser foot:
- Lower the presser foot shank using the presser foot lifter, until the cut-out is directly above the pin. The presser foot will engage automatically.
Removing the presser foot:
- Raise the presser foot with the presser foot lifter. Raise the lever and the foot disengages.
Attaching the edge/quilting guide:
- Attach the edge/quilting guide in the slot as illustrated. Adjust as needed for hems, pleats, quilting, etc.
Attention: Turn the power switch to "O" (off) when carrying out any of the above operations!
Needle/Fabric/Thread Chart
Selecting the correct needle, fabric, and thread combination is vital for optimal sewing results. Refer to the chart below:
| NEEDLE SIZE | FABRICS | ALL PURPOSE THREAD |
|---|---|---|
| 9-11 (70-80) | Lightweight fabrics-fine silks, voile, muslin, tricot, interlocks, cotton knits, tricot, jerseys, crepes, woven polyester, batiste, organdy, chiffon. | Thread in cotton, polyester or cotton wrapped polyester. |
| 11-14 (80-90) | Medium weight fabrics-cotton, satin, seersucker, knit cloth, double knits, lightweight woolens. | Most threads sold are all purpose and are suitable for these fabrics. Use the same thread in the upper tension and in the bobbin. |
| 14 (90) | Medium weight fabrics-cotton duck, woolens, heavier knits, terrycloth, denims. | |
| 16 (100) | Heavyweight fabrics-canvas, woolens, outdoor tent and awning fabrics, upholstery fabrics (light to medium). | |
| 18 (110) | Heavy weight, overcoat fabrics, upholstery fabrics, some leathers and vinyls. | Heavy duty thread in the upper tension, all purpose thread in the bobbin. Use stitch length 3 or 4. |
IMPORTANT: Match needle size to thread size and weight of fabric.
NEEDLE SELECTION:
| NEEDLES | EXPLANATION | TYPE OF FABRIC |
|---|---|---|
| SINGER® 2020 | Standard for sharp needles. Sizes range from 9 (70) to 18 (110). | Natural woven fabrics-wool, cotton, silk, etc. Not recommended for double knits. |
| SINGER® 2045 | Semi-ball point needle, blunted. 9 (70) to 18 (110). | Synthetic and light/medium woven fabrics, polyester blends. Knits-polyester, cotton, rayon, lycra, spandex, double knits. Also sweater knits, lycra, swimsuit fabric, elastic. |
| SINGER® 2032 | Leather needles. 12 (80) to 16 (110). | Leather, vinyl, upholstery. (Leaves smaller hole than standard large needle.) |
Note:
1. For best sewing results, always use genuine SINGER® needles.
2. Replace needle often (approximately every 4th garment) and/or at first thread breakage or skipped stitches.

Image: Setup instructions for presser foot and needle/fabric chart.
Operating Your Sewing Machine
This section covers the basic operations and settings for your Singer 4432, allowing you to begin your sewing projects.
Stitch Width Dial & Stitch Length Dial
The stitch width and length dials allow you to customize your stitches for various fabrics and sewing needs. Adjust these dials according to the desired stitch pattern and fabric type.
- Stitch Width Dial: Controls the width of zigzag and decorative stitches.
- Stitch Length Dial: Controls the length of all stitches, from short to long.
Refer to the stitch pattern chart in your manual for recommended settings for different stitches.
Basic Sewing Operations
This machine supports various sewing functions, including:
- Choosing Your Pattern
- Three Needle Position Dial
- Stitch Width Dial & Stitch Length Dial
- Sewing Straight Stitch
- Reverse Sewing / Removing the Work / Cutting the Thread
- Choosing Stitch Patterns
- Blind Hem
- Sew 1-step Buttonholes
- Left and Right Side Balance for Buttonhole
- Sewing on Buttons
For detailed instructions on each operation, please consult the relevant pages in your physical manual.
Maintenance
Regular maintenance ensures the longevity and optimal performance of your Singer 4432 sewing machine. Key maintenance tasks include:
- Cleaning: Regularly clean lint and dust from the bobbin area and feed dog. Use a small brush for this purpose.
- Lubrication: Refer to your manual for specific lubrication points and recommended lubricants.
- Needle Replacement: Replace needles frequently (approximately every 4th garment) or at the first sign of skipped stitches or thread breakage.
- General Inspection: Periodically check for loose screws or worn parts.
Always unplug the machine from the power source before performing any cleaning or maintenance.
Troubleshooting Guide
This guide helps you identify and resolve common issues you might encounter with your sewing machine.
| CAUSE | CORRECTION |
|---|---|
| The machine is not threaded correctly. | Rethread the machine. |
| The thread tension is too tight. | Reduce the thread tension (lower number). |
| The needle is not inserted correctly. | Insert the needle correctly. |
| The needle is damaged. | Replace the needle. |
| The bobbin case is not inserted correctly. | Remove and reinsert the bobbin case and pull on the thread. |
| The bobbin is wound wrong. | Rewind the bobbin. |
| The thread is too thick for the needle. | Select a larger needle. |
| Poor quality thread. | Select a better quality thread. |
| Fabric has been pulled. | Remove the fabric, rethread and insert correctly. Do not pull on the fabric while sewing, let the feed dogs pull the fabric under the needle. |
| Lint or oil have collected on the hook or needle bar. | Clean the hook and feed dog as described. Lubricate the needle bar. |
| Thread is caught in the hook, because upper tension is not threaded correctly. | Remove the upper thread and bobbin case. Gently rock the handwheel back and forwards to bind and remove the thread from bobbin area. |

Image: Troubleshooting guide page.
Specifications
Key specifications for the Singer 4432 Sewing Machine Manual (Reprint):
- ASIN: B0CQTZCQFM
- Publisher: TabSynth Design Works
- Item Weight: 3.2 ounces
- Dimensions: 0.1 x 5.5 x 7 inches
Correct Disposal of this Product
This marking indicates that this product should not be disposed with other household wastes throughout the European Union. To prevent possible harm to the environment or human health from uncontrolled waste disposal, recycle it responsibly to promote the sustainable reuse of material resources. To return your used device, please use the return and collection systems or contact the retailer where the product was purchased. They can take this product for environmental safe recycling.
Image: Environmental disposal information.
Video Overview of the Manual
Watch this video for a quick flip-through of the Singer 4432 Sewing Machine User's Manual, providing a visual overview of its contents.
Video: Flip through of the User's Manual for the Singer 4432 Sewing Machine.
Support and Contact
This instruction manual is a reprint published by TabSynth Design Works. For inquiries regarding this specific manual reprint, please contact the publisher.
For product support related to the Singer 4432 sewing machine itself, please refer to the official Singer website or contact Singer customer service.
Related documents4432


Ask a question about this manual
Ask about setup, troubleshooting, compatibility, parts, safety, or missing instructions. Manuals+ will review the question and use this page’s manual context to help answer it.