
Juno WF6 ALO20 SWW5 90CRI MVOLT MW M6
Juno WF6 ALO20 SWW5 90CRI MVOLT MW M6 Canless LED Wafer Downlight Instruction Manual
Model: WF6 ALO20 SWW5 90CRI MVOLT MW M6
Brand: Juno
1. Product Overview
The 6-inch Canless Wafer Downlight from Juno features an innovative, slim design that allows for quick and easy installation into as little as 3 inches of plenum space. This makes it suitable for ceiling spaces where traditional recessed housings may not fit. Wafers install directly into drywall, eliminating the need for separate recessed housings. Once installed, this versatile downlight offers an all-in-one design with switchable white color temperature and adjustable lumen output technology, providing the equivalent of 15 static products in one unit.
2. Key Features
- Canless Design: No housing required, installs directly from below the ceiling.
- Energy Savings: Long-life LEDs with a high-efficiency driver for superior illumination and extended service life.
- Dimmable: Smooth dimming capability down to 10 percent.
- Ratings & Listings: Certified for wet locations, CSA certified, and IC Rated for direct contact with insulation.
- Easy Installation: Designed for quick retrofit, remodel, or new construction without the need for housing.
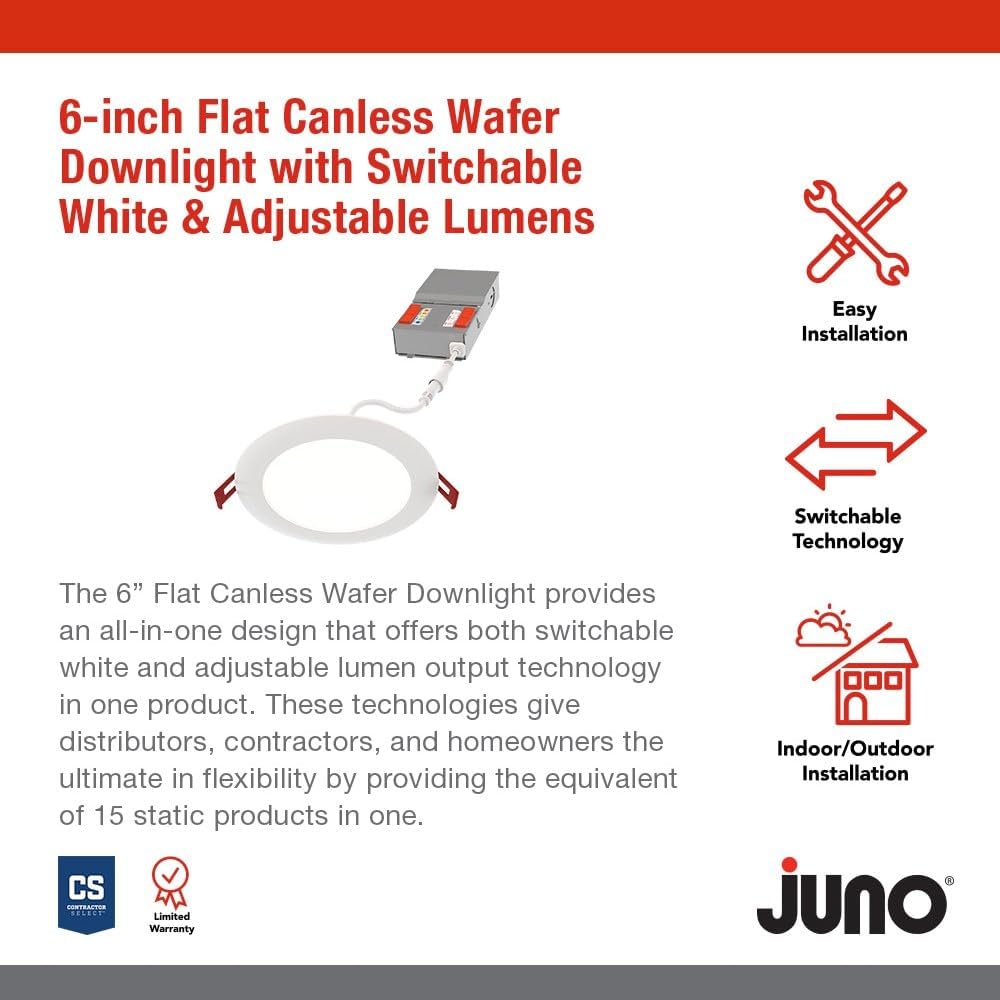
Image: Overview of key features including easy installation and switchable technology.
3. Setup & Installation
The Juno Canless LED Wafer Downlight is designed for straightforward installation. Please ensure power is turned off at the circuit breaker before beginning any electrical work.
3.1. Components
The product includes the LED wafer downlight and a remote driver box. The fixture and remote driver box are IC rated for direct contact with insulation.

Image: The main components of the downlight system, showing the LED wafer and its remote driver box.
3.2. Installation Steps
- Ensure power is disconnected at the main circuit breaker.
- Cut a hole in the ceiling according to the specified diameter for the 6-inch model. Refer to the product dimensions for precise measurements.
- Connect the remote driver box to the building's electrical wiring. Follow local electrical codes and guidelines.
- Connect the LED wafer downlight to the remote driver box.
- Insert the remote driver box into the ceiling opening.
- Push the LED wafer downlight into the ceiling opening. The spring clips will secure the fixture in place.
- Restore power and test the light.

Image: Detailed dimensions of the 6-inch downlight, showing its slim profile for easy installation.
4. Operating Instructions
This downlight offers adjustable settings to customize your lighting experience.
4.1. Color Temperature Adjustment
The remote driver box features a switch to select from five color temperature options:
- 2700K Soft White
- 3000K Warm White
- 3500K Neutral White
- 4000K Cool White
- 5000K Daylight
4.2. Lumen Output Adjustment
The remote driver box also includes a switch for three adjustable lumen output settings:
- Low
- Medium
- High

Image: Close-up of the remote driver box, highlighting the switches for adjusting color temperature and lumen output.
4.3. Dimming
The downlight is dimmable to 10 percent with compatible dimmers. Ensure your dimmer switch is suitable for LED lighting to achieve optimal performance.
5. Maintenance
The Juno Canless LED Wafer Downlight requires minimal maintenance. To clean the fixture, ensure power is off and gently wipe the surface with a soft, dry cloth. Avoid using abrasive cleaners or solvents, as these may damage the finish or electrical components.
6. Troubleshooting
If you experience issues with your downlight, consider the following common solutions:
- No Light: Check the circuit breaker to ensure power is on. Verify all electrical connections are secure.
- Flickering Light: Ensure the dimmer switch is compatible with LED lighting. Check for loose connections.
- Incorrect Color/Brightness: Verify the switches on the remote driver box are set to your desired color temperature and lumen output.
For more detailed troubleshooting steps, please refer to the official Troubleshooting Guide (PDF).
7. Specifications
| Attribute | Value |
|---|---|
| Brand | Juno |
| Model Name | Canless |
| Part Number | WF6 ALO20 SWW5 90CRI MVOLT MW M6 |
| Size | 6-Inch |
| Color | Matte White |
| Material | Aluminum |
| Style | Flat Trim |
| Light Fixture Form | Recessed |
| Room Type | Bathroom, Bedroom, Conference Room, Game Room, Living Room |
| Product Dimensions | 6.69"L x 6.69"W x 1.25"H |
| Indoor/Outdoor Usage | Indoor, Outdoor |
| Power Source | Hardwired |
| Installation Type | Flush Mount |
| Special Feature | Adjustable Color Temperature, Dimmable, Energy Efficient, Low Voltage, Waterproof |
| Light Source Type | LED |
| Voltage | 120 Volts |
| Light Color | Adjustable White |
| Wattage | 16 watts |
| Water Resistance Level | Waterproof |
| Manufacturer | Acuity Brands Lighting |
| UPC | 197589217360 |
8. Warranty & Support
This Juno product comes with a Limited Warranty. For specific terms and conditions, please refer to the warranty documentation included with your purchase or contact the manufacturer directly.
For additional support and to explore other Juno products, visit the official Juno Store on Amazon.
Related documentsWF6 ALO20 SWW5 90CRI MVOLT MW M6


Ask a question about this manual
Ask about setup, troubleshooting, compatibility, parts, safety, or missing instructions. Manuals+ will review the question and use this page’s manual context to help answer it.